Okay, don't be frustrated with the NewB here, I watched the video, followed the exact instructions 5 times. It looks correct and looks like everything the guy is doing on the video.
So when I save the image and use it to place into Adobe Indesign, this happens as shown on the image. Can someone explain this to me? Does something not compute from Ps to Id in the process?
.jpg)
The Pen tool is just another way to draw a selection edge. It will help you draw the curve perfectly, but by itself the Pen tool isn't going to crop anything.
It sounds like what you expect is a curved crop. Unfortunately that is not going to happen. You can only have a rectangular crop. What you are really after is having transparency outside the curve so that it doesn't block what's behind it.
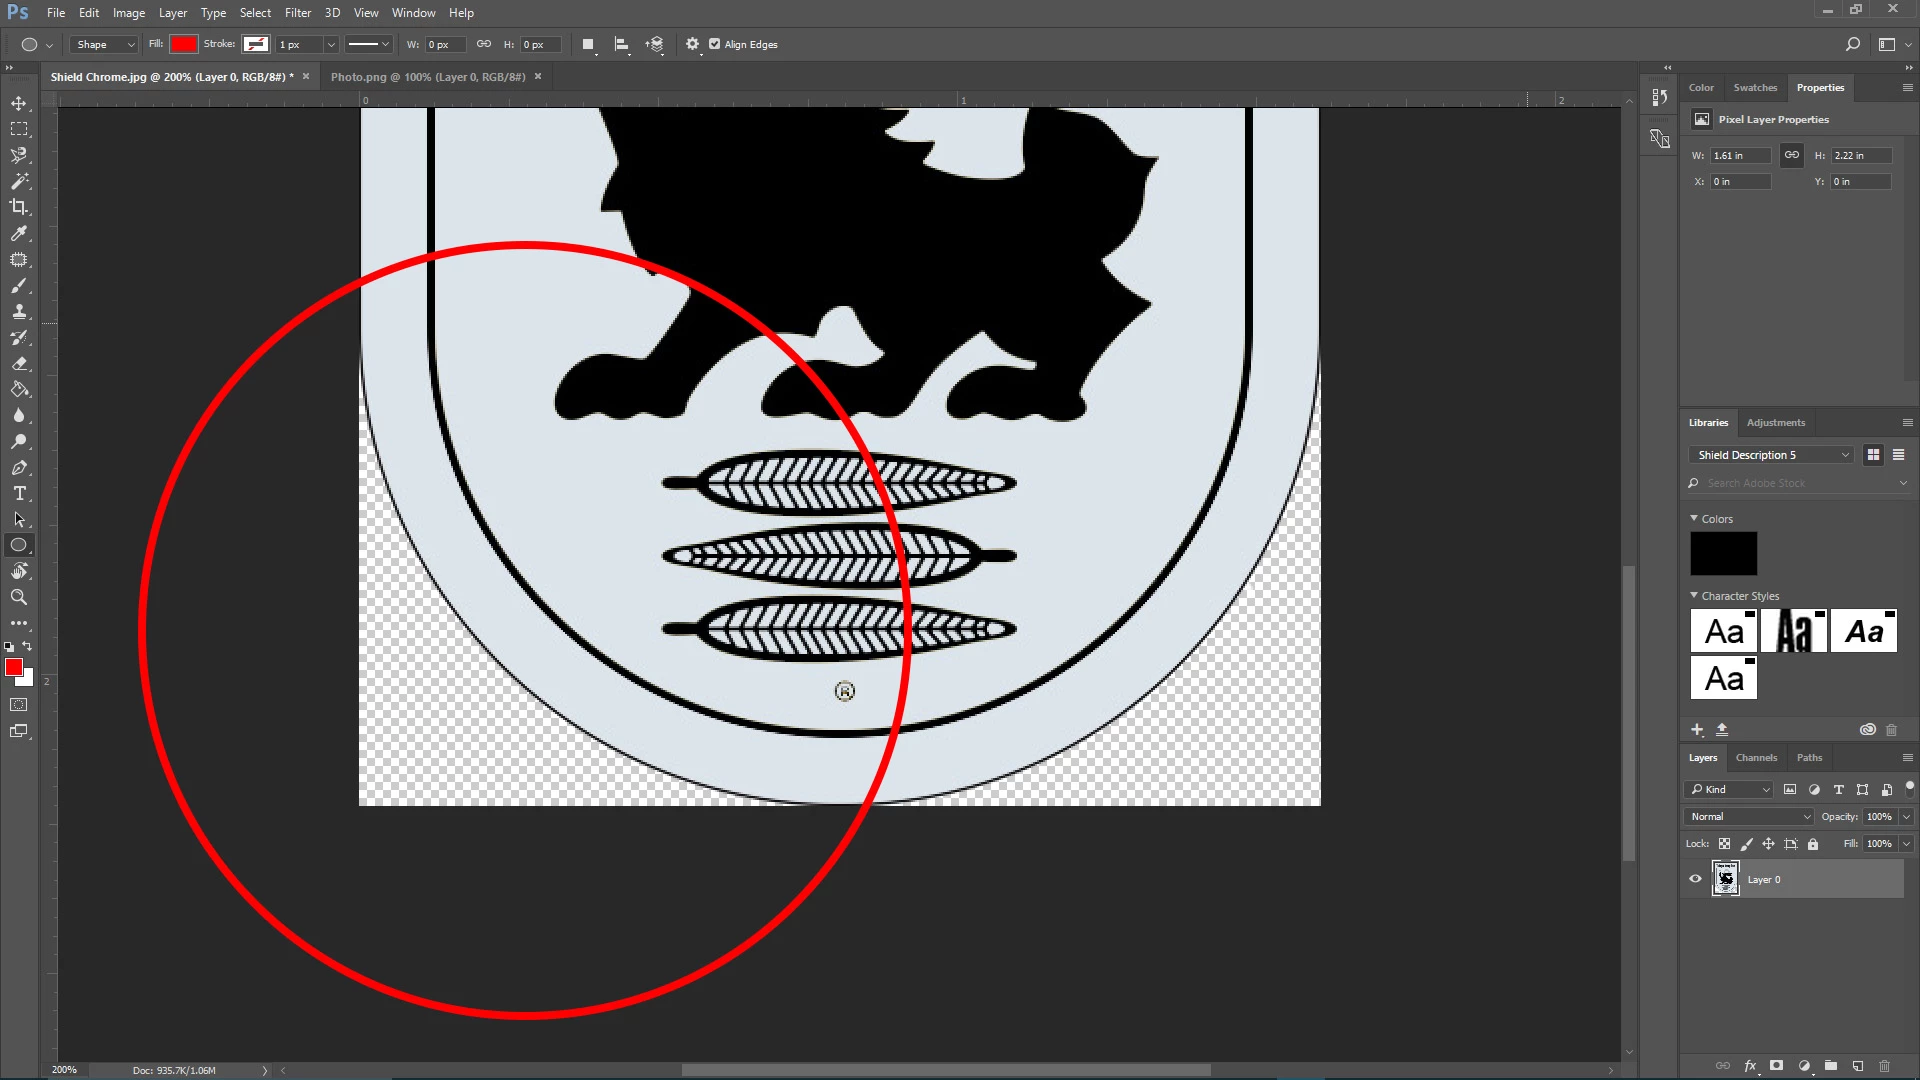
When you're looking at the image in Photoshop, as long as you can see the checkerboard pattern behind the image you have transparency anywhere the checkerboard is visible. If you can see that in Photoshop, good. The next requirement is to save it in a format that preserves transparency, which InDesign will respect. Typically, especially with layered files, you want to save it in Photoshop or TIFF format with the Layers option enabled, because that preserves transparency when you place the image in InDesign.
Some other formats such as JPEG do not support transparency.