Participant
January 22, 2019
Answered

How to decrease size of smart object in Photoshop

  • January 22, 2019
  • 1 reply
  • 1241 views

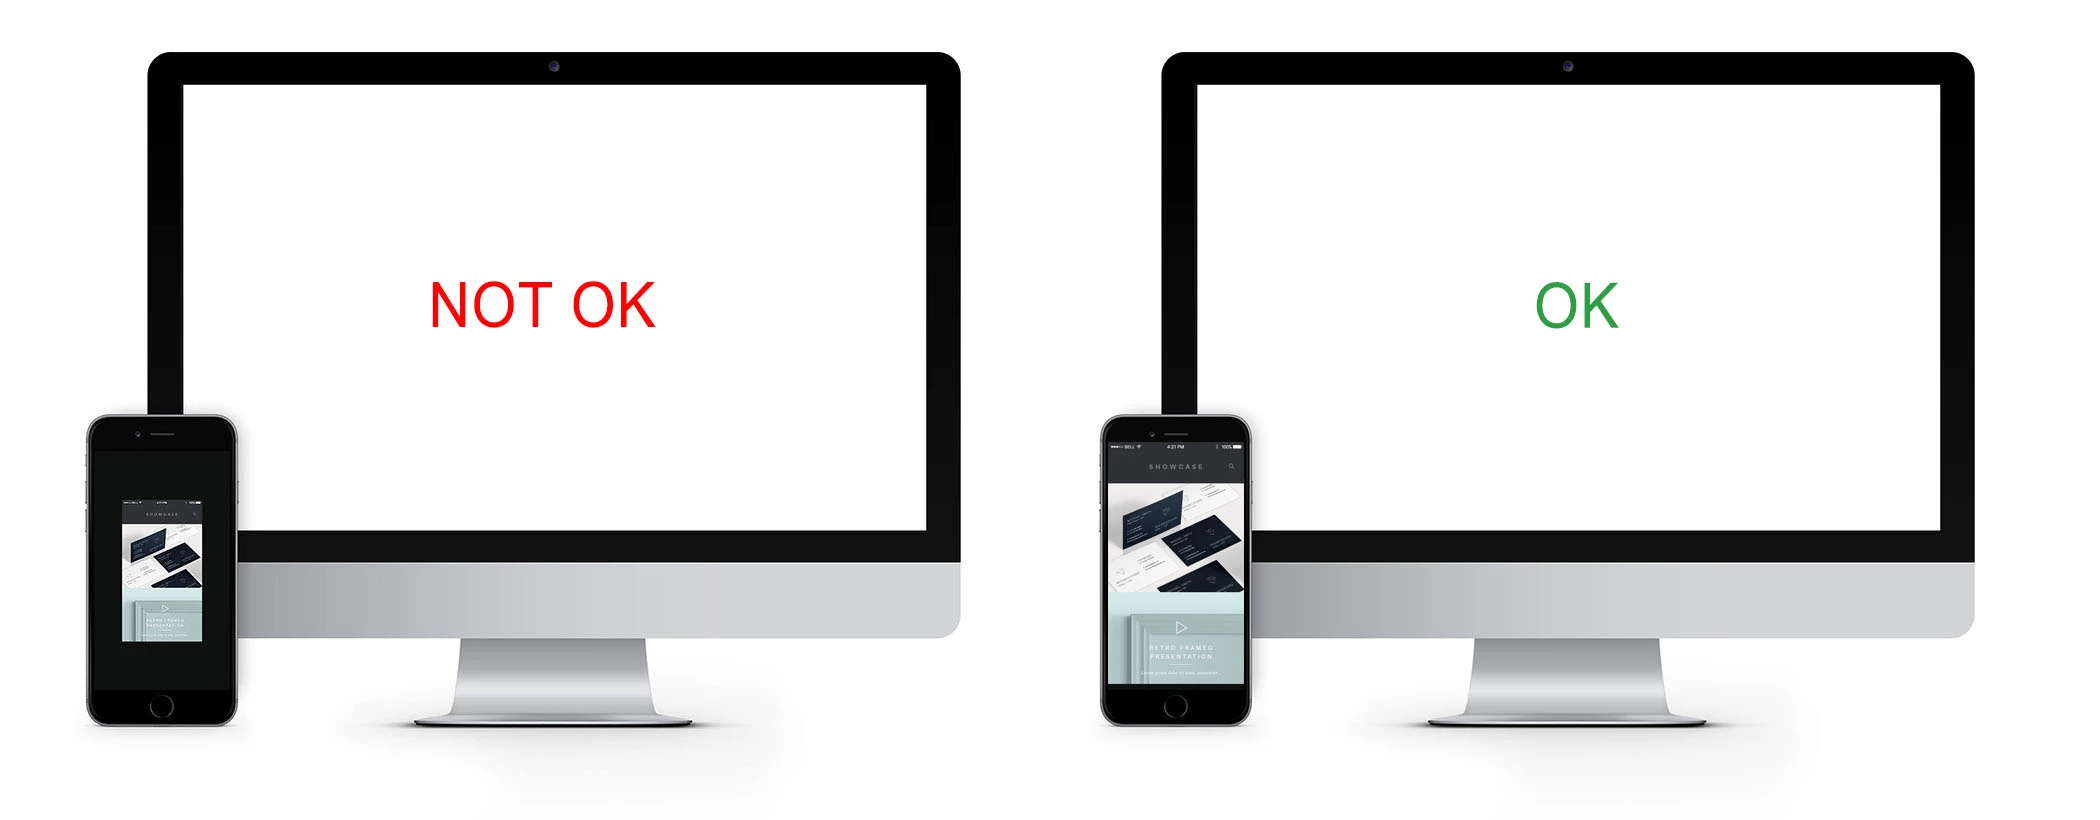
I downloaded a website showcase mockup, which uses smart objects for the screen layers of a monitor and a smartphone to make it easier to place designs. I need to decrease the size of the smartphone screen layer but am finding that when I do this and then paste a website screenshot, a blank border around the image is added in the final mockup instead of the image being stretched to cover the whole layer.

I don't have much experience in using smart objects, so any help would be appreciated.

This topic has been closed for replies.
Correct answer Bojan Živković11378569

Let me guess what ca help you. If Smart Object content in editing mode is larger of what you need in mockup then you can decrease dimensions of Smart Object layer content in the following way:

  • Edit Smart Object layer content and decrease dimensions to match (or to work with) dimensions of your screenshot. Confirm and save what will return you to main document (mockup) where you will probably see that Smart Object content is smaller of what you need.
  • Transform Smart Object layer using Ctrl/Cmd + T to cover entire area as it use to before decreasing smart object content dimensions in the first step.
  • Edit Smart Object layer and paste screenshot then save and close as usually.

1 reply

davescm
Community Expert
Community Expert
January 22, 2019

Why do you need to decrease the size of the screen layer SO?  If you do that, as you have seen, it will not fit the rest of the image.

Think of the SO as a container layer. You put the content within it, which can be one or several layers.  You size it to fit the image in which it is displayed.

Dave

Participant
January 22, 2019

Because the screenshot I need to paste is smaller than the smart object size. If I enlarge the screenshot after I paste it on the smart object it gets pixelated.

Bojan Živković11378569
Community Expert
Community Expert
January 22, 2019

I think the issue the other way round Bojan. The OP was starting with a small image and needed to increase it's size - but was then seeing pixels. He tried to get around it by scaling down the SO but of course then it did not match the rest of the template image.

Happy to be corrected if I've picked it up wrongly

Dave


Lets see what OP will say finally. To start seeing pixelated image it must be heavily enlarged right? If you take screenshot on mobile version and paste in mockup and does not match then mockup is much larger of real world mobile site (not excluded possibility) or something else is problem.