- Home
- Photoshop ecosystem
- Discussions
- Re: How to exactly position center of Radial Blur ...
- Re: How to exactly position center of Radial Blur ...
Copy link to clipboard
Copied
Has someone a method, how to exactly position the center of Filter / Blur / Radial Blur?
Will really appreciate any help!
Many thanks in advance!
 1 Correct answer
3am, and not asleep 😞
Roland, I'll add a tiny bit to what Dave said.
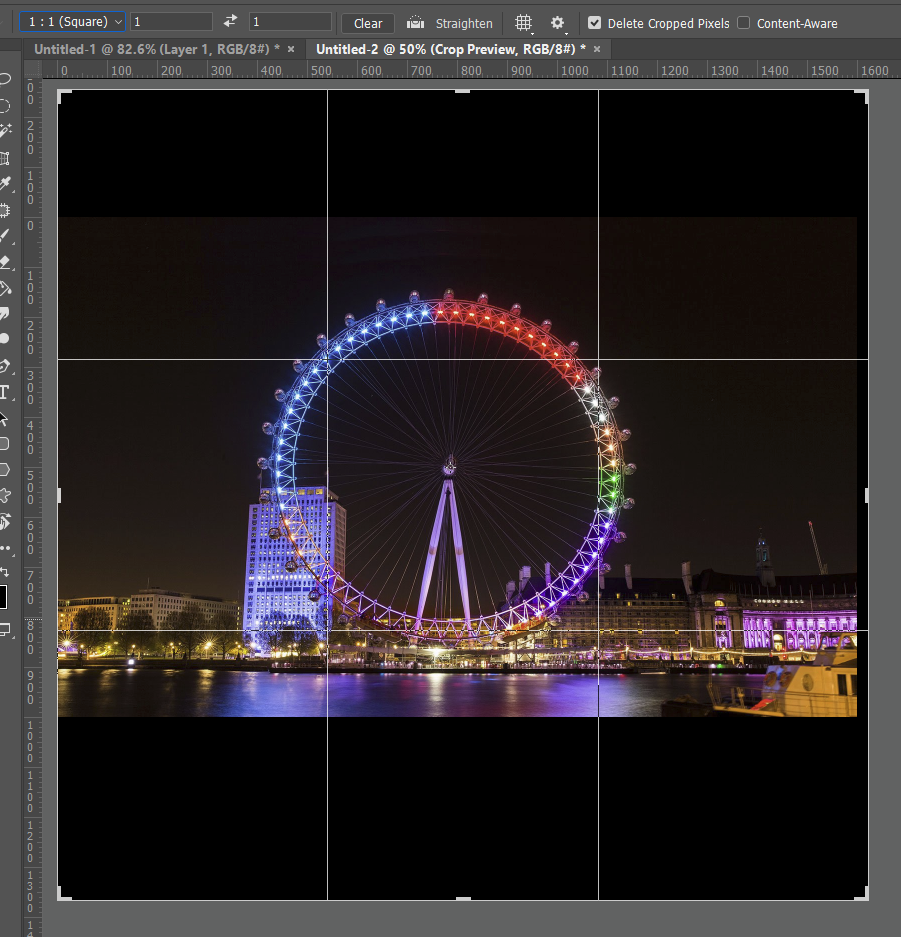
Select the Crop tool and set to 1:1

Nudge one of the corner handles to make it live. You will then be able to move the image so that the desired center point is aligned with the center handle.
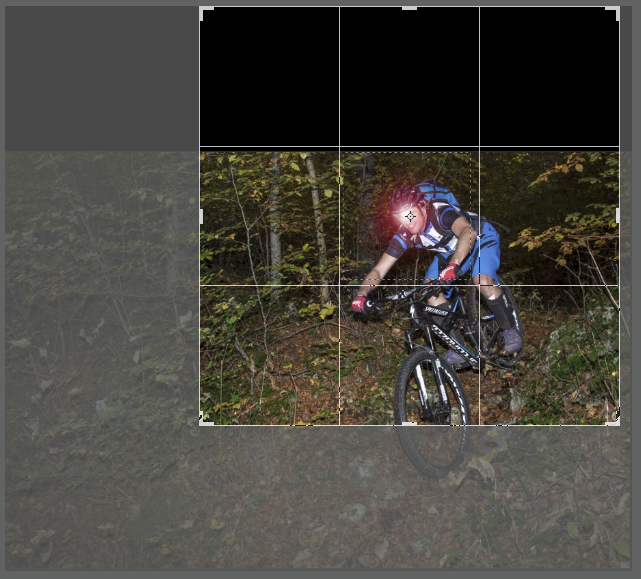
Now hold down the Alt key, and drag any of the corner handles. This forces the Canvas to expand concentrically from the center point, and as the Crop tool is set to 1:1, you _must_ end up with a square perfectly centered over your desired po
...Explore related tutorials & articles
Copy link to clipboard
Copied
Convert the layer that you want to blur to a smart object. Then apply the radial blur. To edit the radial blur, right click on the effect on the layers panel and reposition until you have it perfect. G
Copy link to clipboard
Copied
Hi Grant, many thanks for the hint. But I'm afraid, I didn't get it. The field to reposition the center is square and something 500 x 500 pixels in size. My picture to apply the Radial Blur is not square, it's h x b 6000 x 4000 pixels and I can do what I want, I never hit precisely the center where I want to have my Radial Blur positioned. What do I make wrong?
Please have here some screen shots:
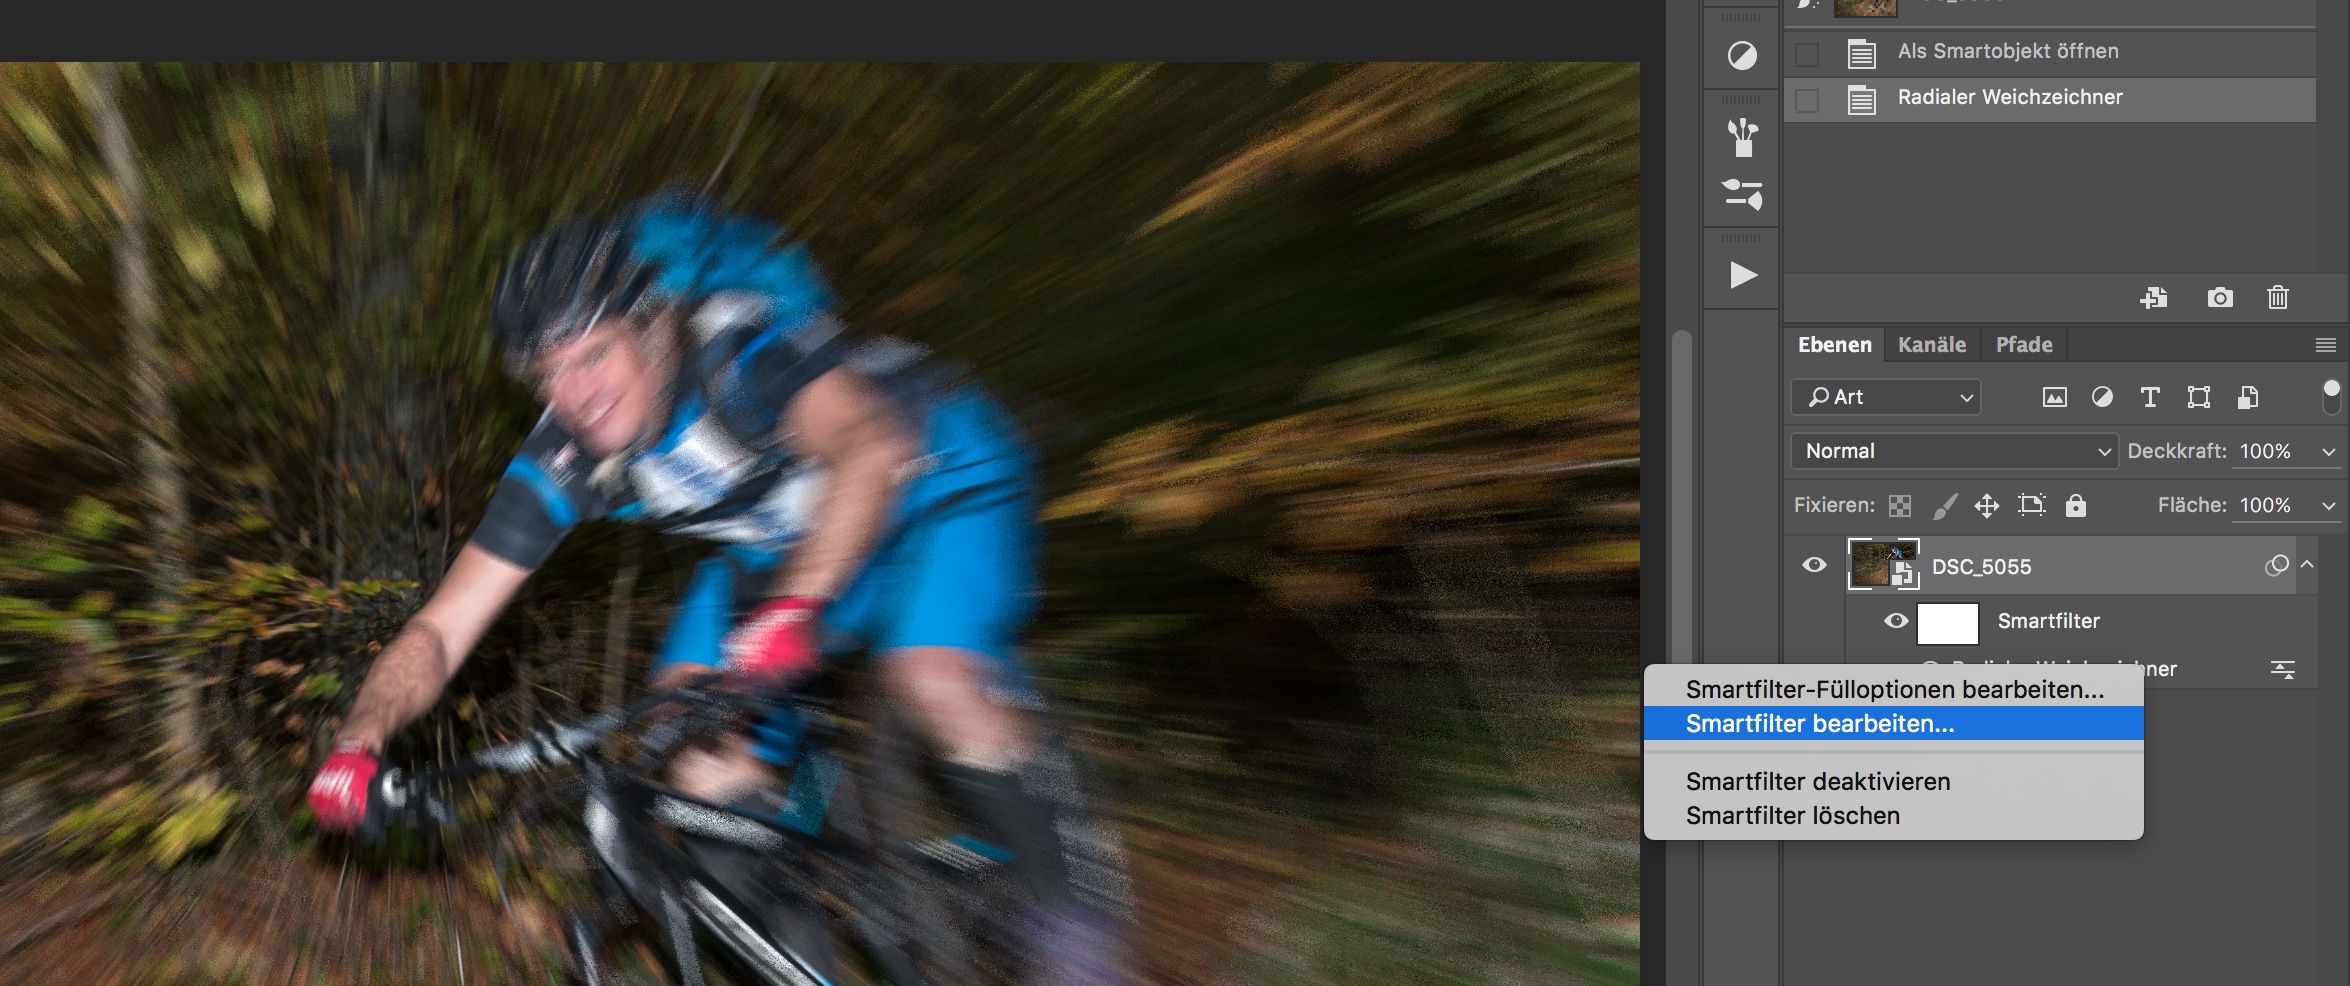
and
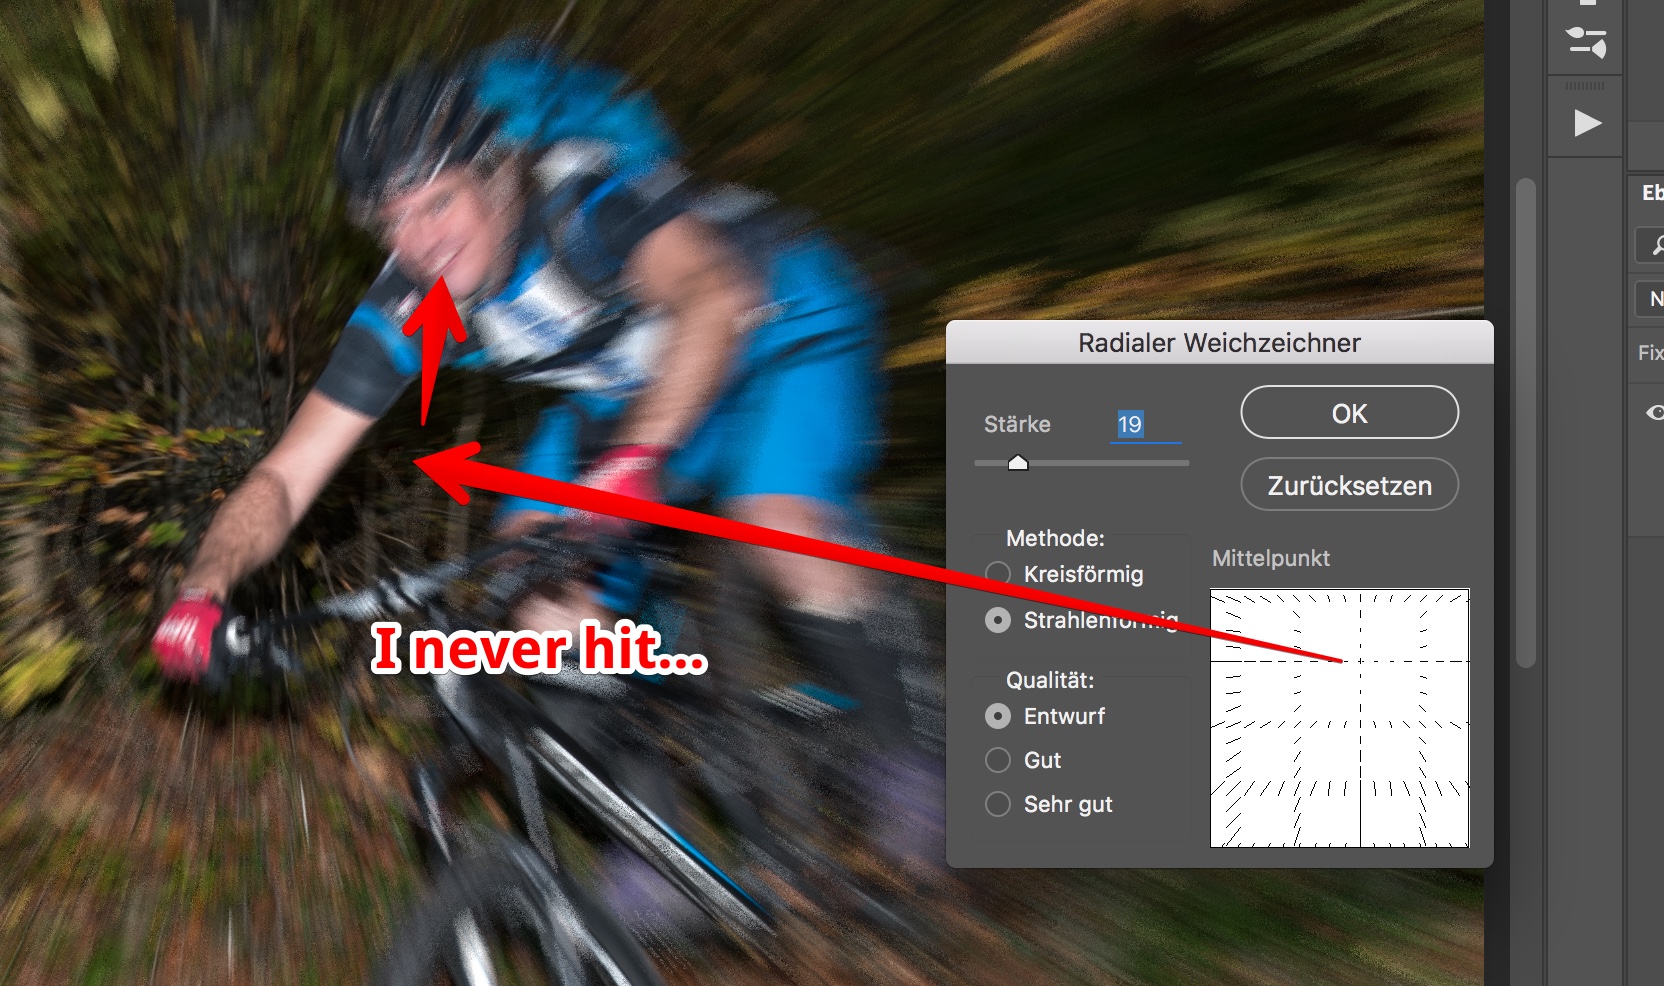
Is there a way how to activate some optical control/feedback in this tiny white box???
Cheers, Roland
Copy link to clipboard
Copied
Yes you can get it exact if you need to. This method relies on the default position being at the centre of the image
Convert your layer/s to blur into a smart object

Decide where you want to be the exact centre of your blur.
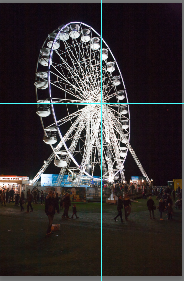
Look in the info panel and check the x y co-ordinates

Calculate the increase in canvas size you need to make that the exact centre of a larger canvas
Increase the canvas size (Image Canvas Size) within the smart object to make that original point the centre of the canvas
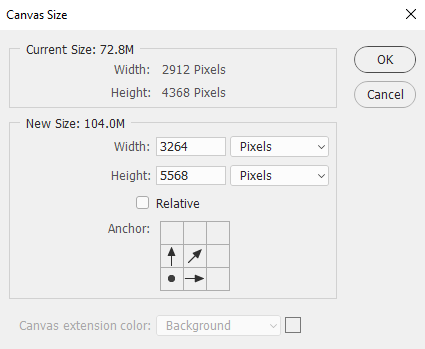

Close the smart object (saving the changes)
Apply the blur

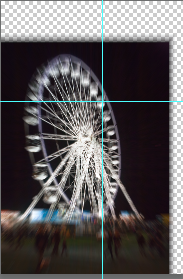
Move the SO layer complete with blur back to its original place in the image
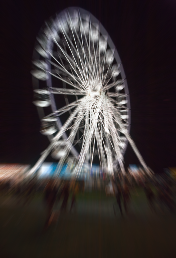
Hope that helps
Dave
Copy link to clipboard
Copied
I like your thinking Dave, but wouldn't it be easier to Shift Alt drag out from the central point with the Marquee tool to make your square selection. Copy to new layer and make a smart object? That's what I do with things like aircraft propellers.

Copy link to clipboard
Copied
Hi Trevor
That works if you are only blurring part of the image (e.g. a wheel or propeller). However if you want to blur the entire image centered on a particular spot , (the way I did with my example where I applied a zoom blur using blur - radial blur ) I have not found a better alternative than extending the canvas.
Dave
Copy link to clipboard
Copied
Ahhh... I didn't get that point.
OK then. Select the Crop tool and set Ratio to 1:1. Move image sop that desired center point is under central handle, and ALT drag a corner handle to fully encompass the image. Hit return and you automatically extend the canvas.
I think that might be Check Mate LOL ![]()
![]() Hurry up and make your move because it is 1a-bloody-m here again and I really need my beauty sleep.
Hurry up and make your move because it is 1a-bloody-m here again and I really need my beauty sleep.
![]()
Copy link to clipboard
Copied
Hi Trevor
You win, that works well and I now have just gained a simplified version for my workflow ![]()
![]()
![]()
Dave
Copy link to clipboard
Copied
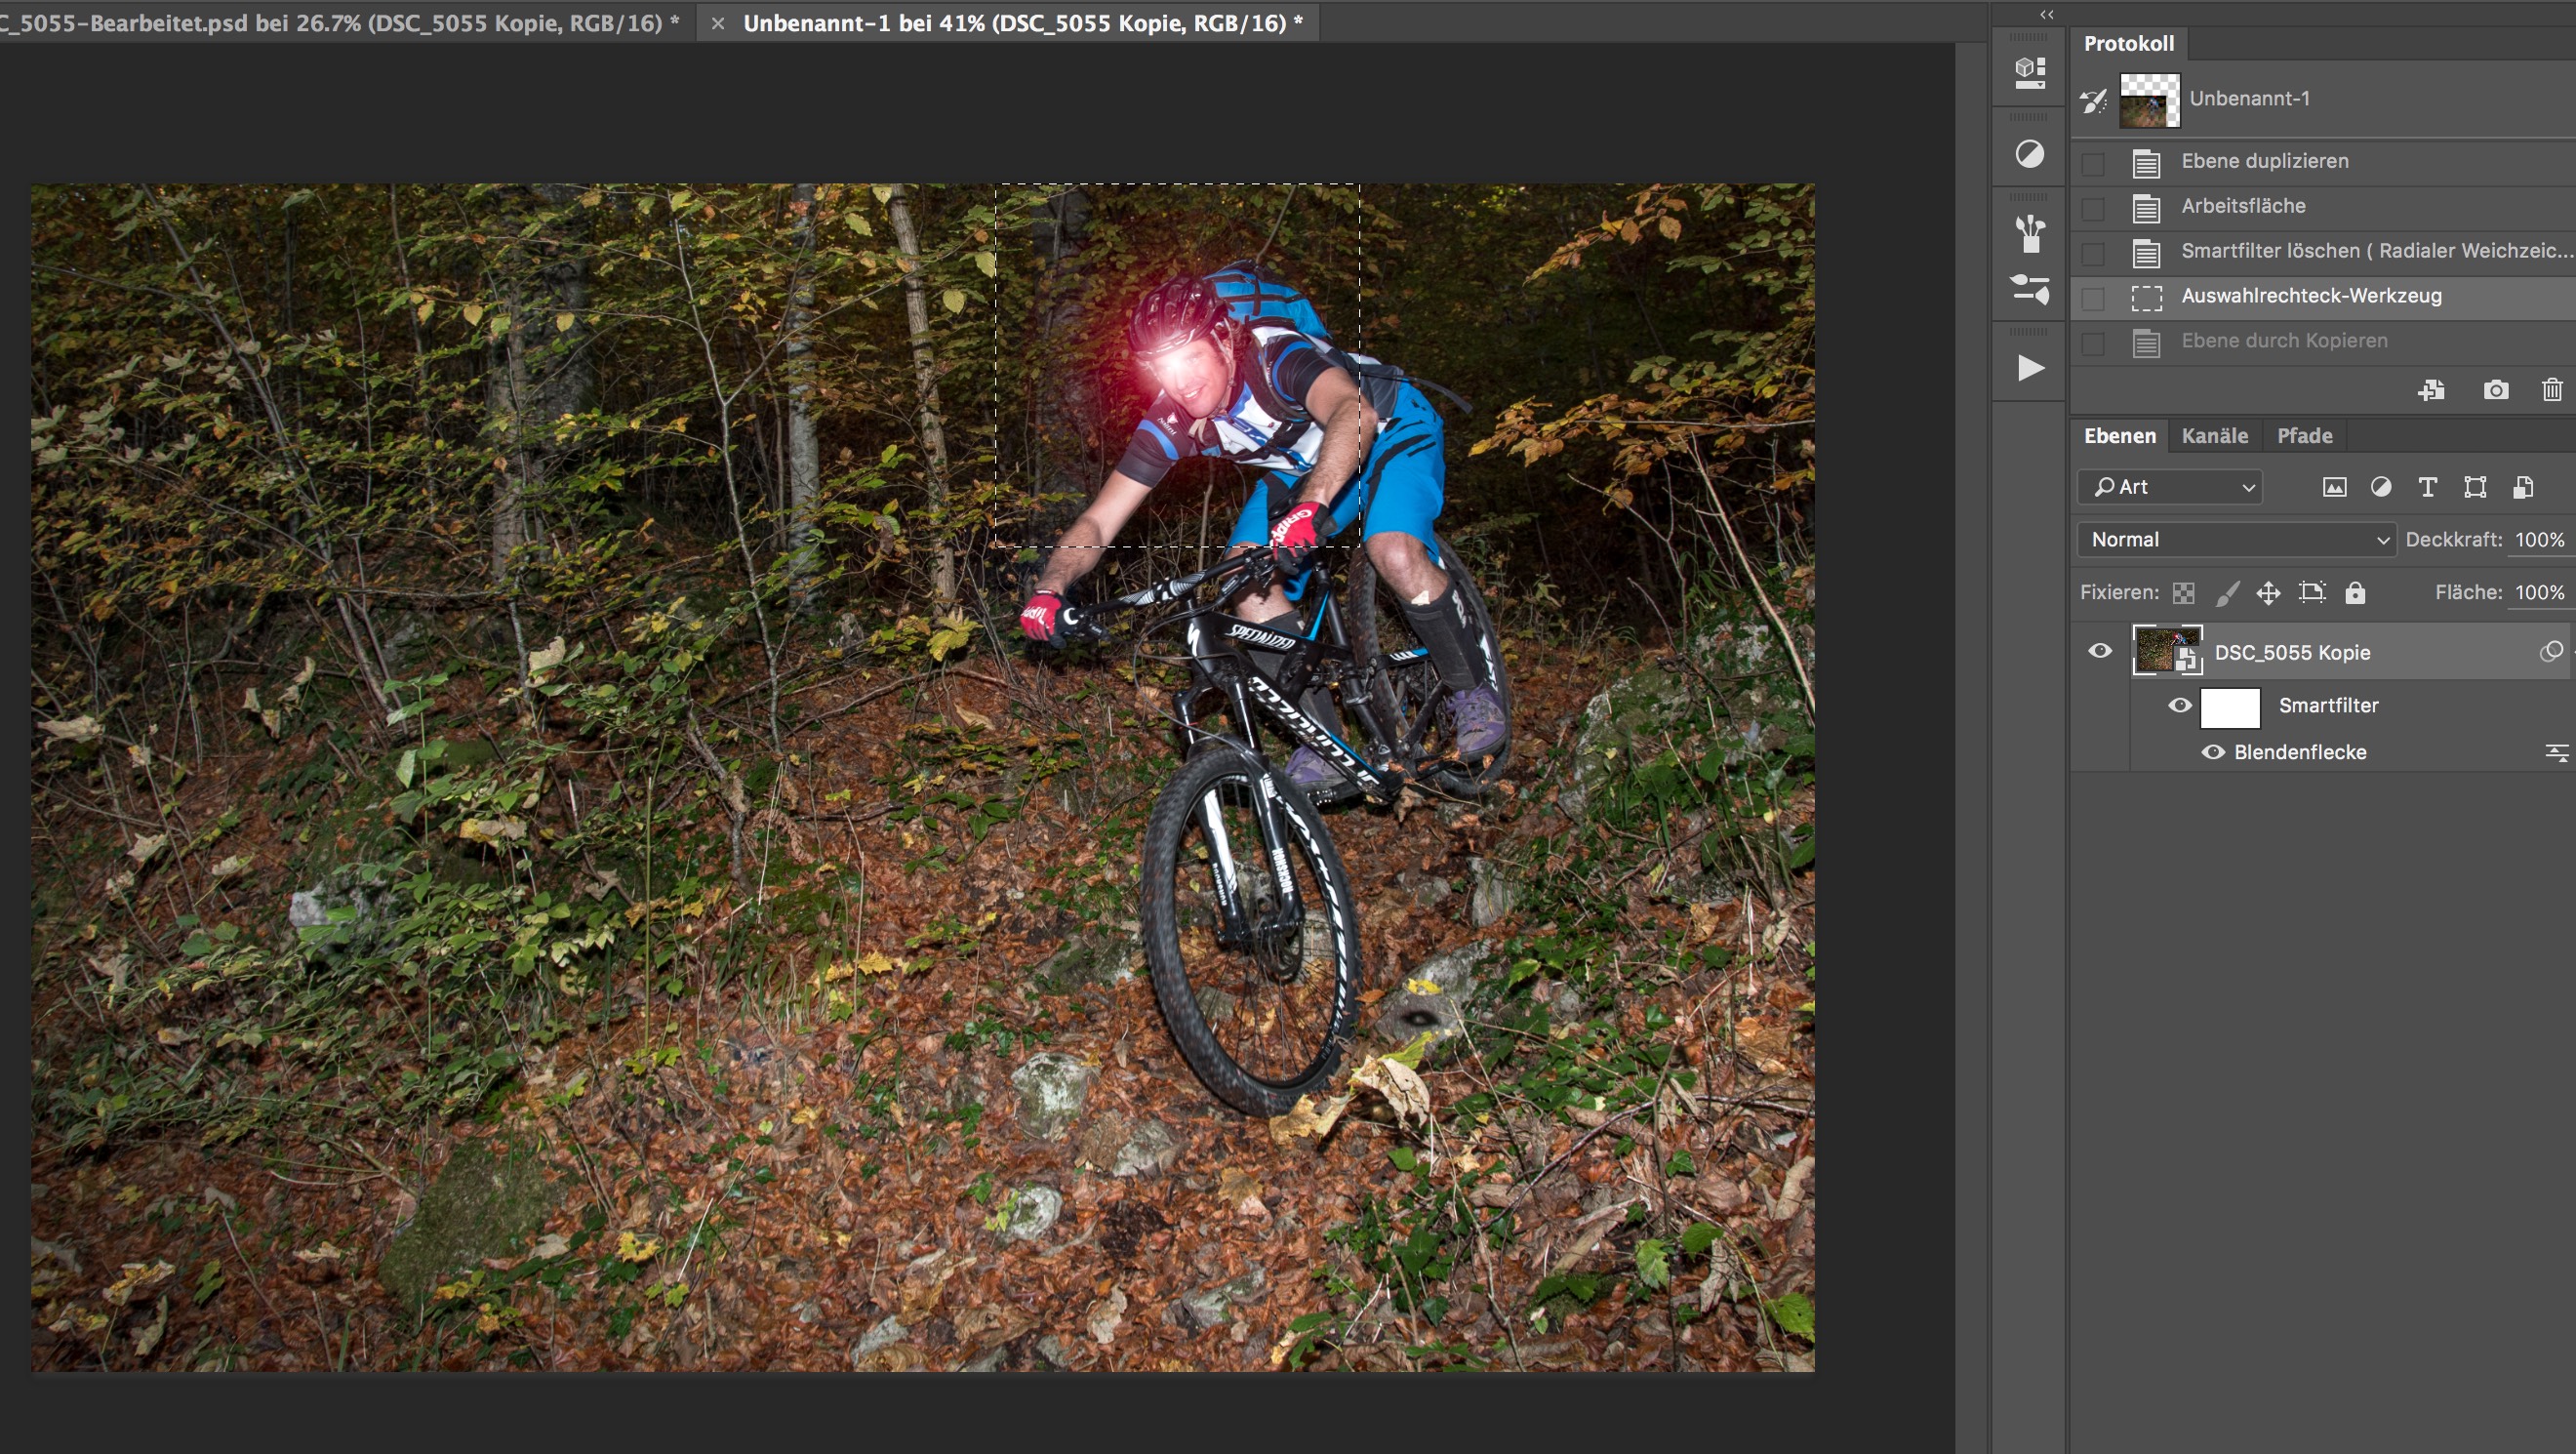
Trevor, many thanks for reply. But on a picture like this is does not work, even with the marquee active, the RB is positioned in the center of the image:
Copy link to clipboard
Copied
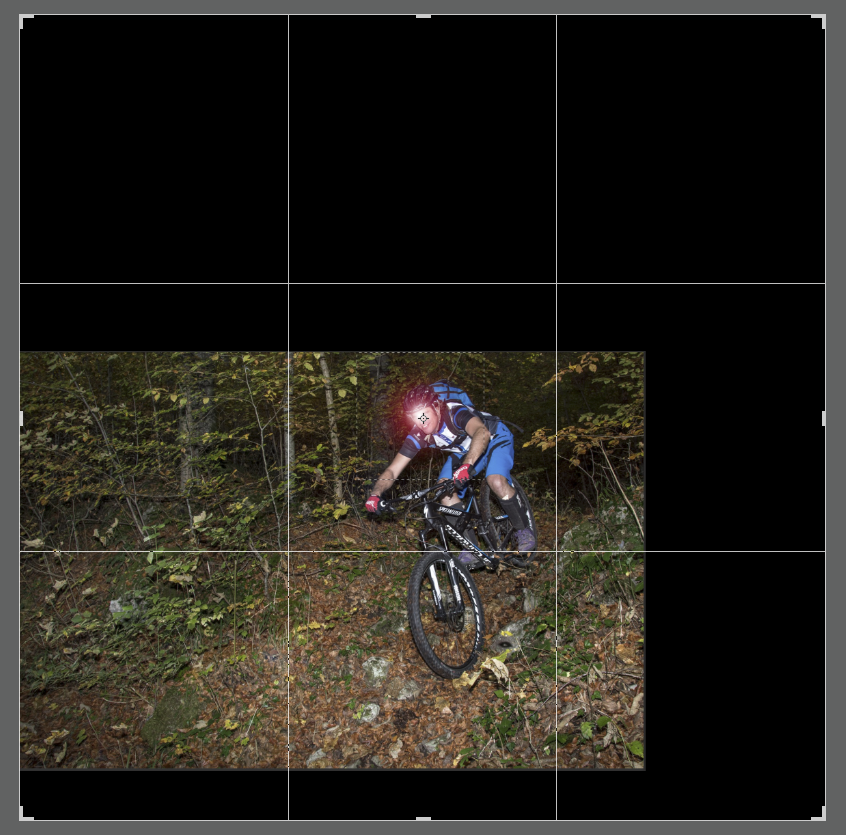
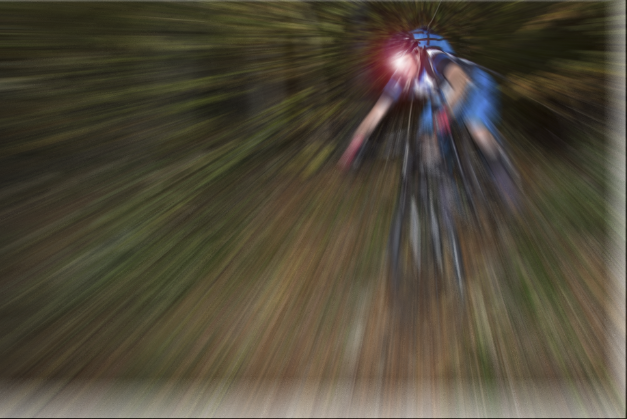
Roland you are missing a step. You need to make a copy of the square selection and make _that_ a Smart Object.
Then double click to open in new window and apply the radial blur.
But as Dave pointed out, you want the blur to extend over the entire image, but if you use Dave's or my tricks to extend the canvas, then no need to use a Smart Object
Copy link to clipboard
Copied
Trevor, PS: I normally prefer SO, because it's non destructive.
Copy link to clipboard
Copied
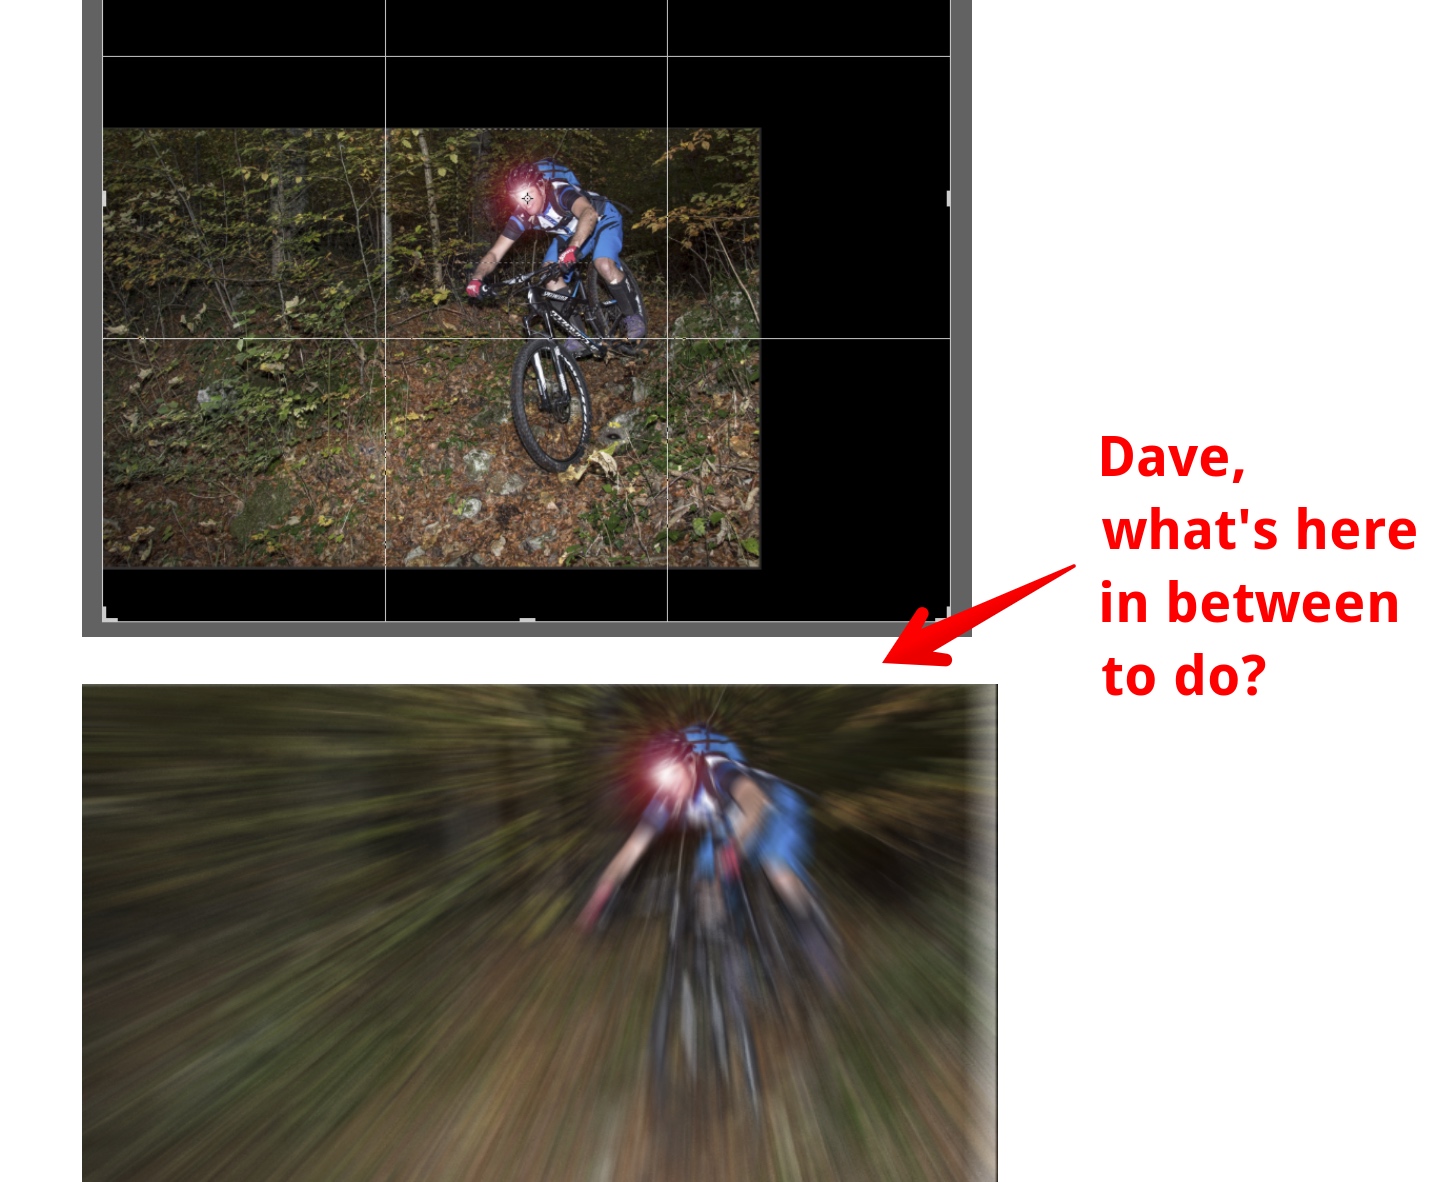
Trevor, please help, I am now completely confused and stuck in blind spots, don't get it and can not reproduce:
Copy link to clipboard
Copied
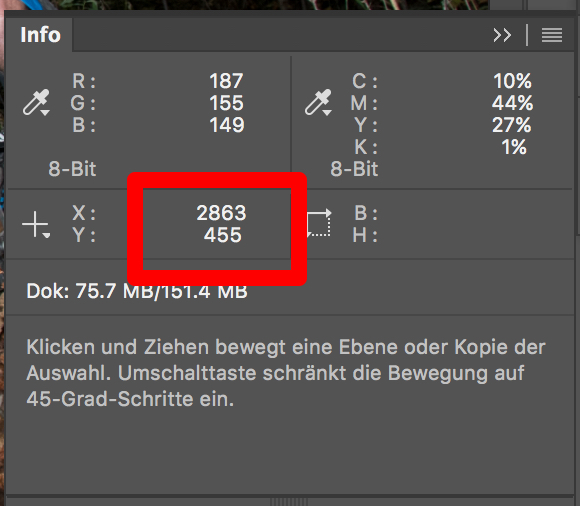
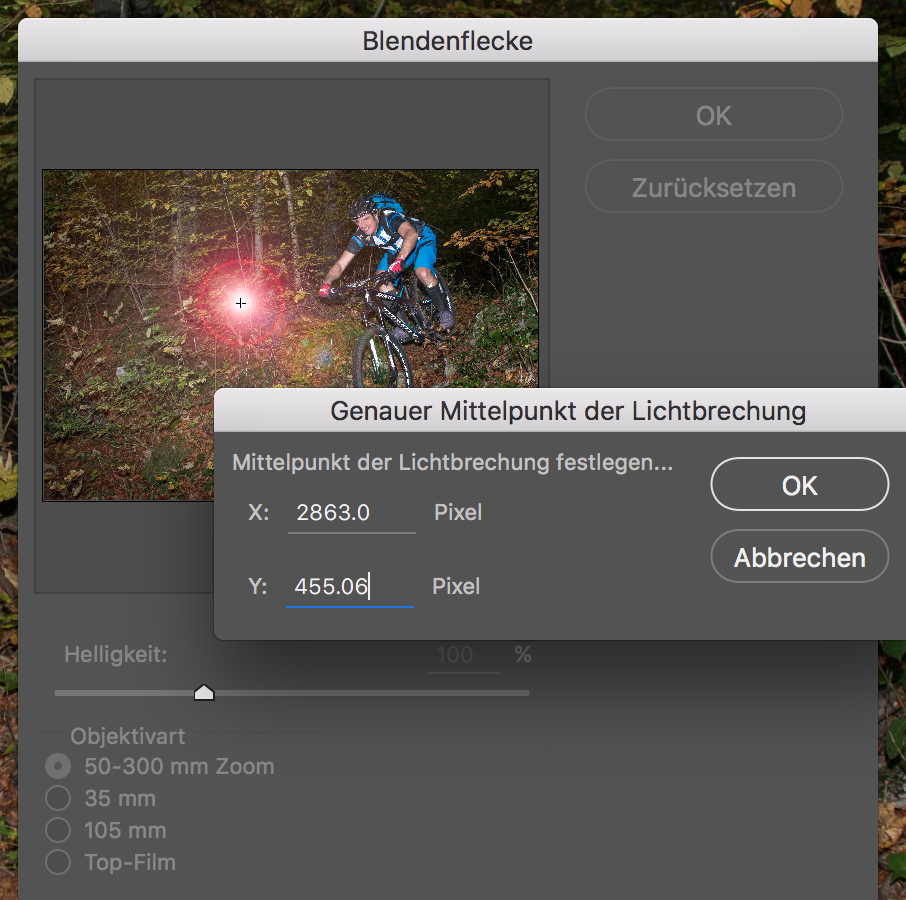
I am seeking for something like you can use with the Lens Flare (thanks to Jesús Ramirez from PTC for this hint):
- Hover mouse over light position
- from Info panel get the X/Y coordinates
- Add Lens Flare filter
- Alt + Click on the tiny image will open the dialog box
- enter XY coordinates
- ...and you're good to go: the center of flare is at exact position.
I am seeking a "hidden keyboard shortcut" for the Radial Blur. Unfortunately I must say, that the Radial Blur filter is very inconvenient to be applied... 😕
Copy link to clipboard
Copied
Hi Dave
Many thanks for your reply.
But I could not reproduce it, something I must make wrong in the workflow; If I do so, after resizing the canvas back to original picture size, the center of Radial Blur is also moved back to the center.
FYC, here my workflow: I opened a copy my SO in a new file, resized as in you description the canvas (opt+cmd+C), applied the Radial Blur: center perfectly there where it should be. Now - by drag and top - I copied the smart filter back to may other file with the original canvas size where the center of Radial Blur was also back to center of image.
Copy link to clipboard
Copied
Hi Roland
Once you have extended the canvas within the smart object - leave it extended and close the SO. Apply the blur to the SO which will centre on that extended canvas.
Now just move the SO layer to reposition (do not re-open the SO and resize the canvas) that way the layer and blur will move together
Dave
Copy link to clipboard
Copied
awesome tip!
Copy link to clipboard
Copied
Grant, Dave's or mine? I can unfortunately not reproduce Dave's steps...
Copy link to clipboard
Copied
Roland
Here is a simplified version of what I showed earlier - using Trevor's crop tool suggestion but still using a smart objects so you can alter/redo the blur later if needed
1.Use the crop tool (in the options bar set it to Ratio 1 to 1 ) and extend it so that the centre point is over the desired centre point for the blur in your image

Then click on the tick icon to accept the crop
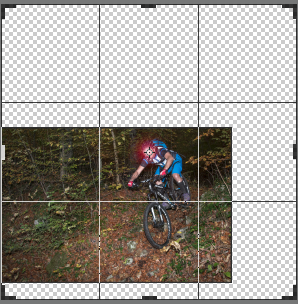
2. Convert to a smart object
3. Apply your radial blur to the SO

4. Convert that filtered layer to a smart object (in other words you now have a nested SO)
5 Crop as required
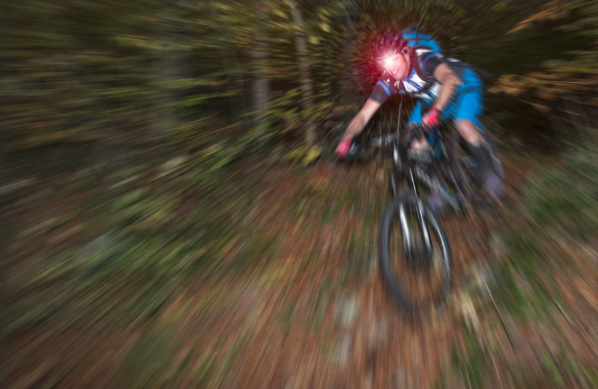
Dave
Copy link to clipboard
Copied
3am, and not asleep 😞
Roland, I'll add a tiny bit to what Dave said.
Select the Crop tool and set to 1:1

Nudge one of the corner handles to make it live. You will then be able to move the image so that the desired center point is aligned with the center handle.

Now hold down the Alt key, and drag any of the corner handles. This forces the Canvas to expand concentrically from the center point, and as the Crop tool is set to 1:1, you _must_ end up with a square perfectly centered over your desired point.

Byt all means make the layer a Smart Object, but be warned, Pixel Peeping is the first step to utter madness. Before you know it you'll be obsessing over colour look up tables and buying an Eizo. Personally, I like to make nice pictures.
Copy link to clipboard
Copied
First: thanks to all for help ![]()
![]()
![]()
2nd: Trevor please go to bed ![]()
3rd: I think I got it (do I? ![]() )
)
4th: But there is a non beautiful transparency in the layer, coming back from the SO, where I applied the RB to the nested SO. Please see below.
Somehow all answers have something correct in it, but I may only check one as correct answer. I took those of Trevor, because he stayed awake until 3 am ![]()
@Adobe, please provide a more convenient Radial Blur Fiter on next minor upgrade. If possible, please non destructive, like e.g. an adjustment layer or a smart filter. Or at least something like the "Alt + Click" dialog box of Lens Flare filter to set the centre point exactly where needed. Many thanks in advance. ![]() This would be cool
This would be cool ![]() .
.
Cheers to all,
Roland
Fuzzy frame:
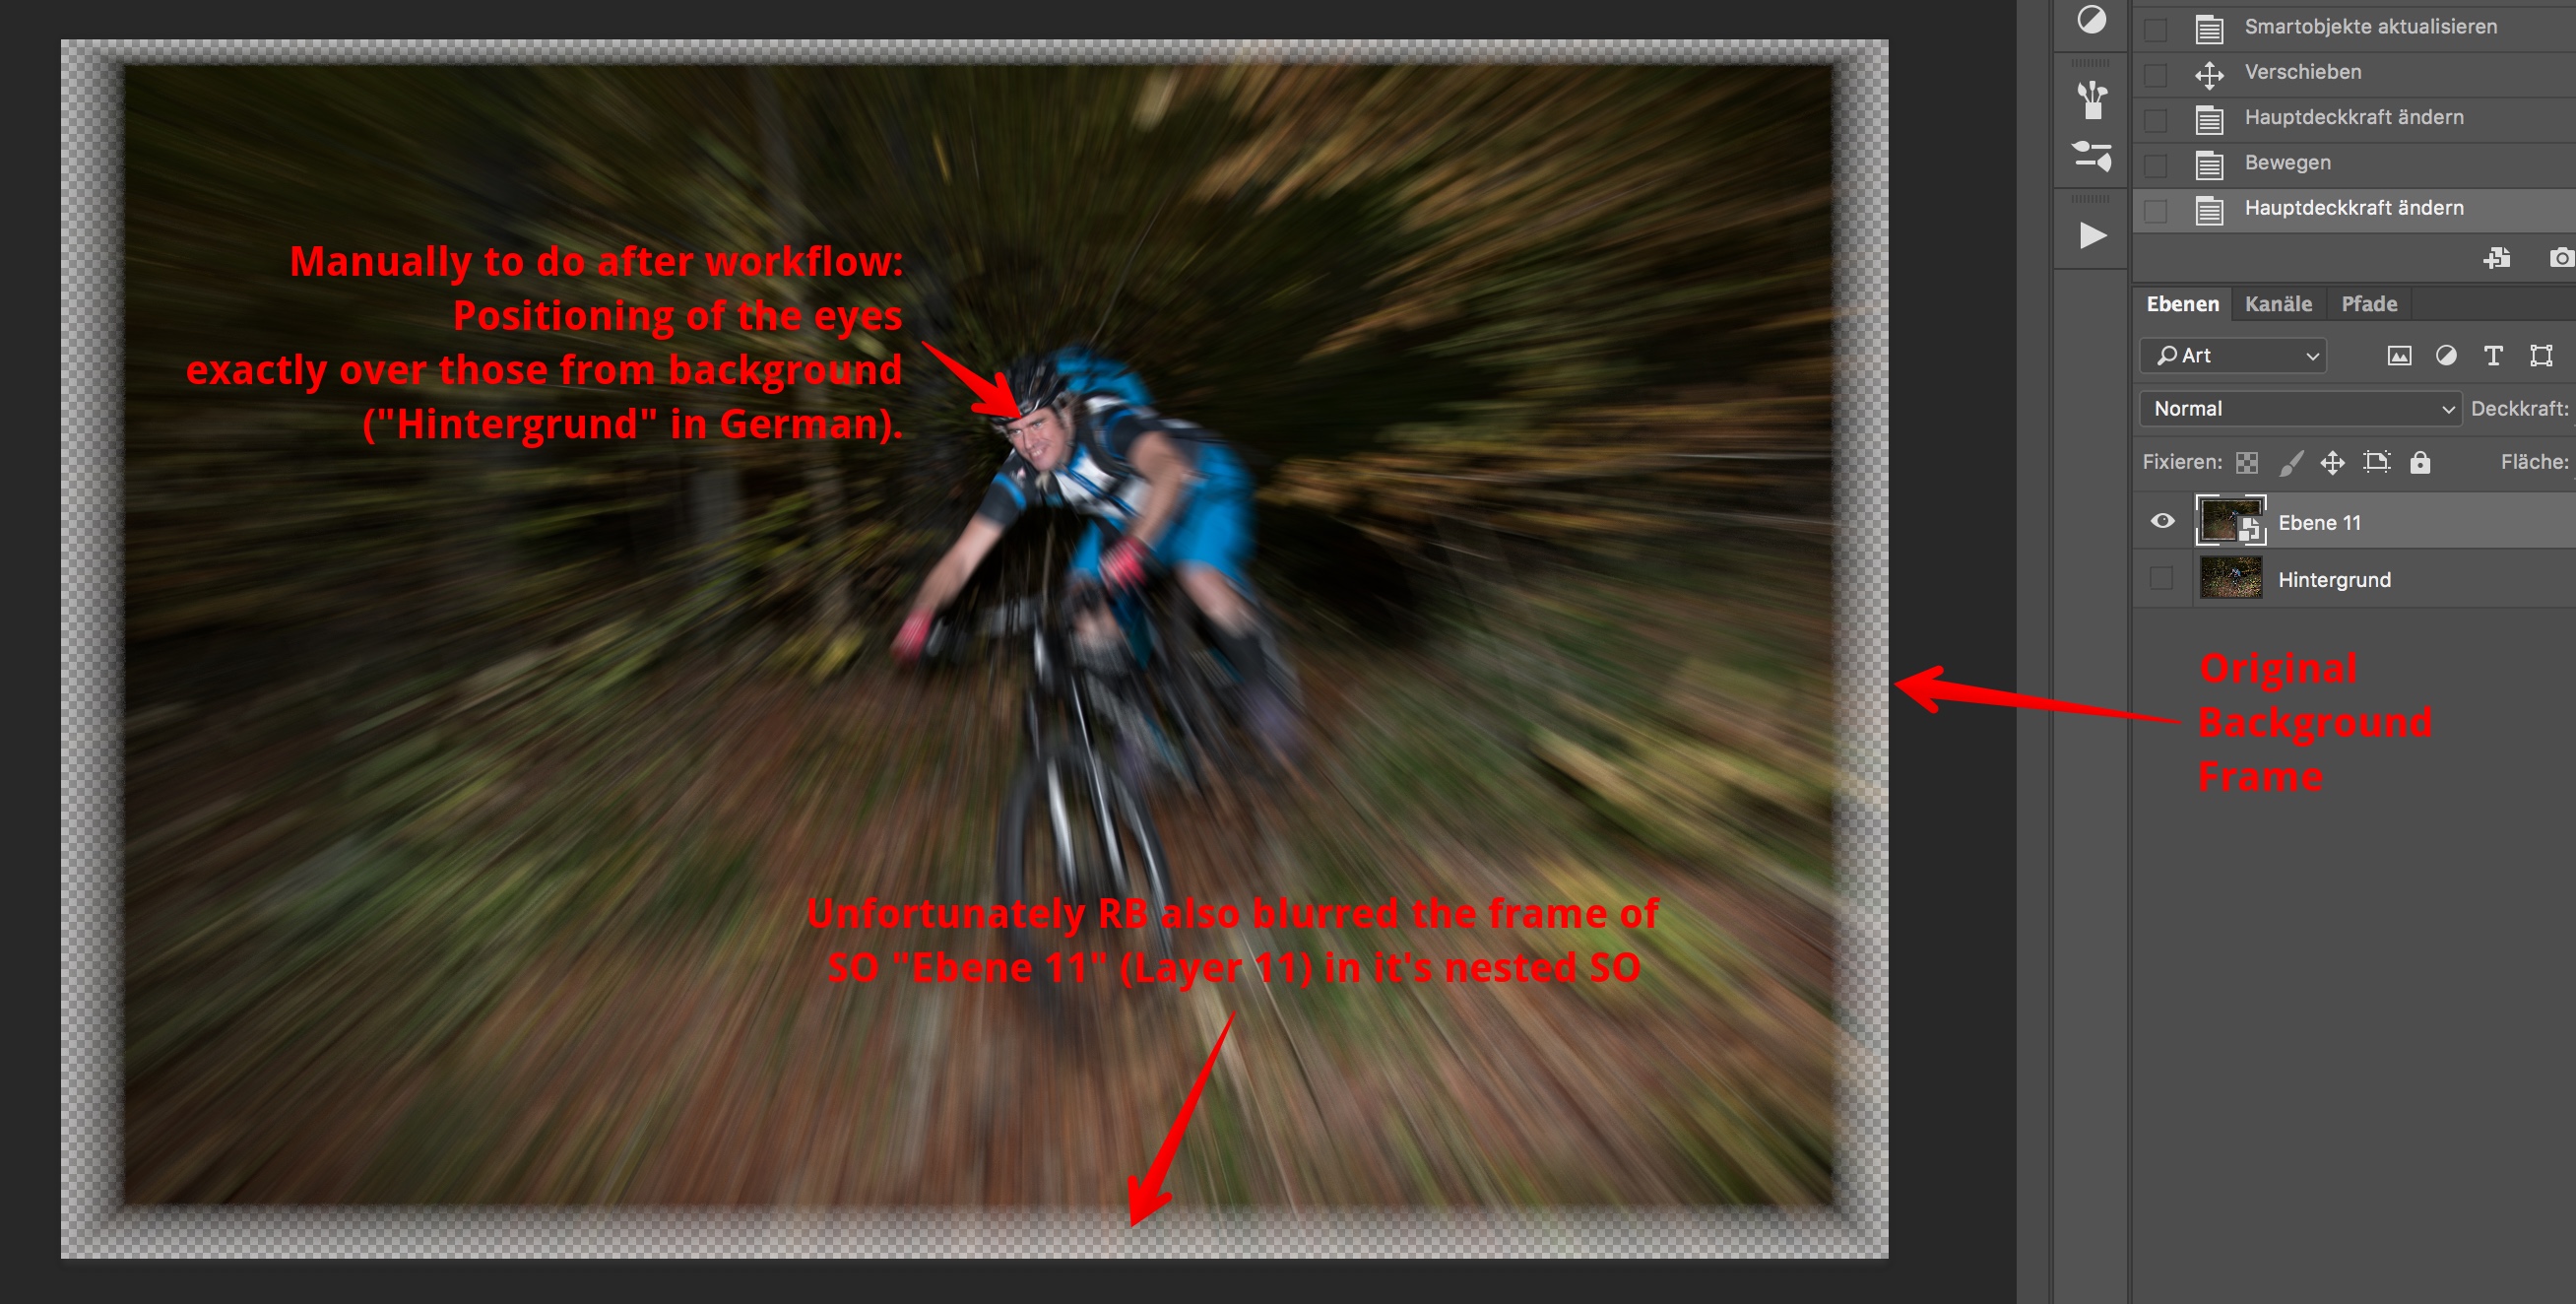
Copy link to clipboard
Copied
You can avoid the transparent pixels being blurred into your image if you tick the Content Aware box when you do your crop expansion

This will fill the blank area with similar content to your image

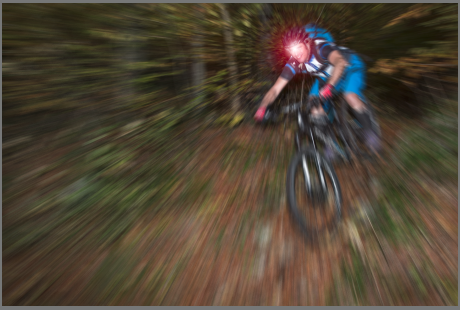
Dave
Copy link to clipboard
Copied
Dave, thanks, this helped.
FYC: Even after deleting most of the content aware pixels in the SO having the RB, by checking "Delete Cropped Pixels" it was with only 2 layers necessary to use the large file format > 2GB and save as .PSB
Here as comparison the workflow in Affinity Photo (sorry, I said the bad word ![]() 😞 How to Zoom Blur in Affinity Photo - YouTube - it's dramatically easier to center the Zoom Blur where you want to...
😞 How to Zoom Blur in Affinity Photo - YouTube - it's dramatically easier to center the Zoom Blur where you want to...
I could quick and dirty Google entries from persons, already having the same problem/question in 2002. Because you need this for propellers, wheels, wings of bees and 1000 other things you should be able to precisely position the centre of the Radial and Zoom Blur, it's quite hard for me to understand, why this is not made more convenient to use since at least 14 years.
I have no ideal how to place successfully an enhancement request at Adobe and I hope, someone will read this lines who really can help.
However: again many thanks to the very kind support and patience of davescm and Trevor.Dennis - guys, thanks a lot!
Copy link to clipboard
Copied
I agree the method I used above is something of a workaround ![]()
You can raise a feature request on the link below where it is more likely to be seen by Adobe staff
Photoshop Family Customer Community
Dave
Copy link to clipboard
Copied
OMG, I thought I am posting there. Uh-oh, I am no specialist in Forum handling. Can I somehow transfer this from here to there?
Copy link to clipboard
Copied
It is a separate forum which tends to be for raising ideas/bugs. This one is great for user to user help and advice.
I don't think a thread can be transferred but, if you follow the link, it doesn't take long to raise an idea there and others can chip in (or vote "me too")
Dave
-
- 1
- 2


