- Home
- Photoshop ecosystem
- Discussions
- Re: How to Make an Editable TEXT Portrait from a P...
- Re: How to Make an Editable TEXT Portrait from a P...
Copy link to clipboard
Copied
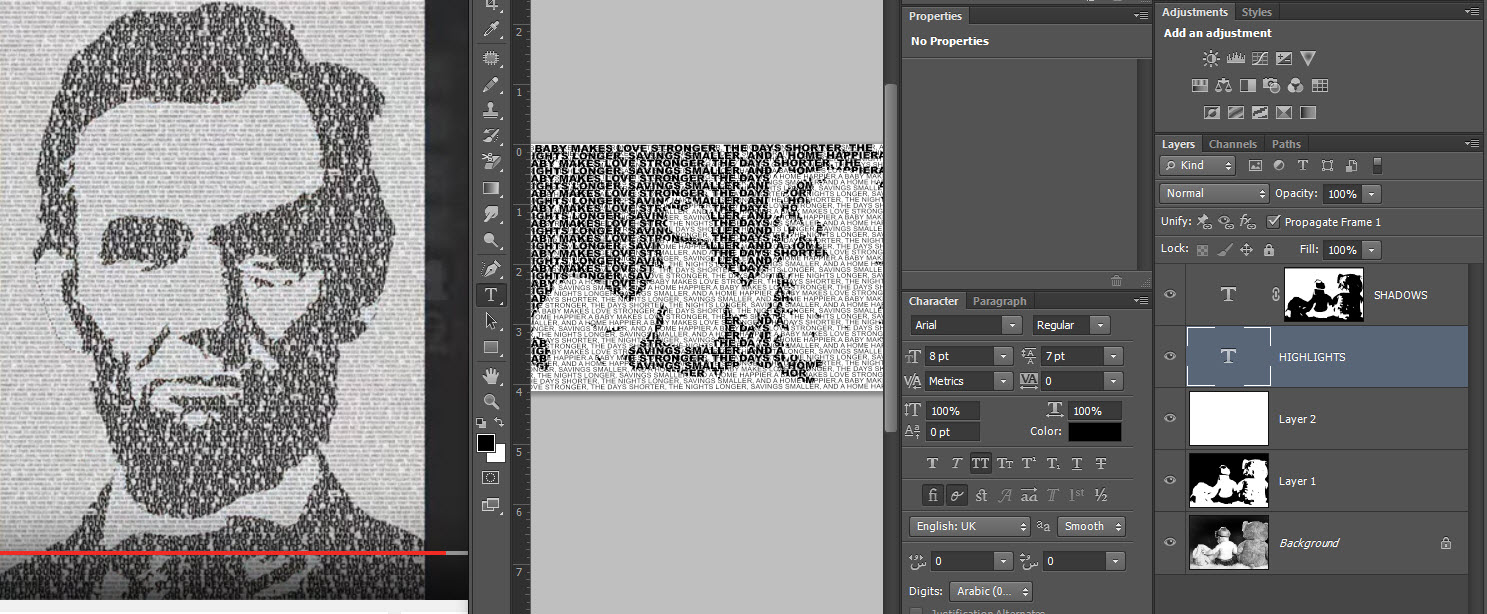
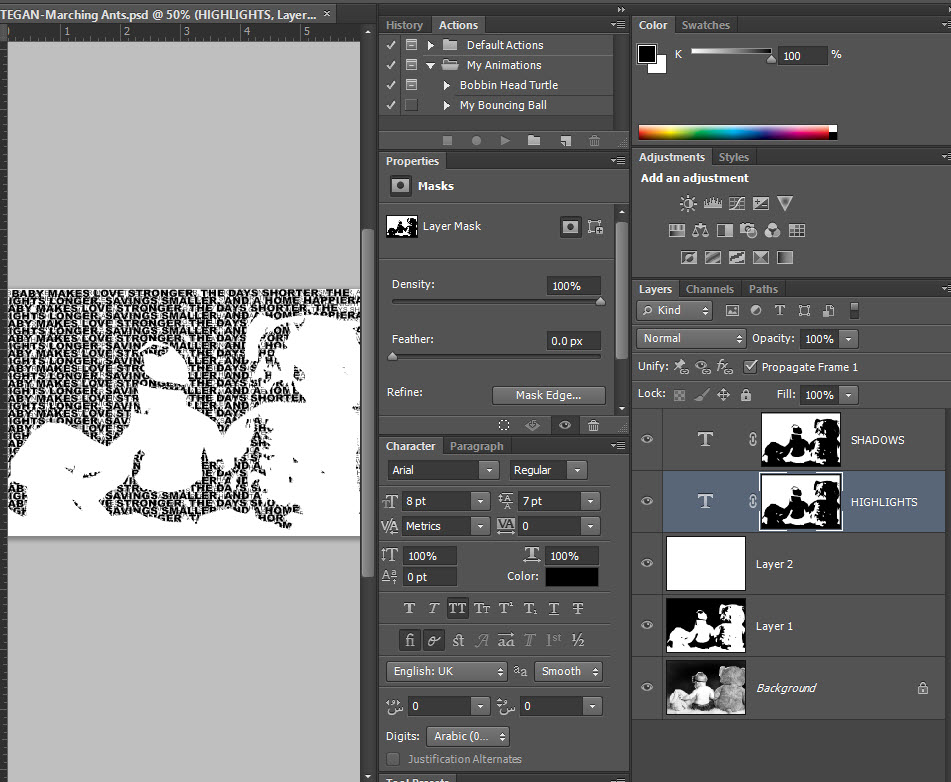
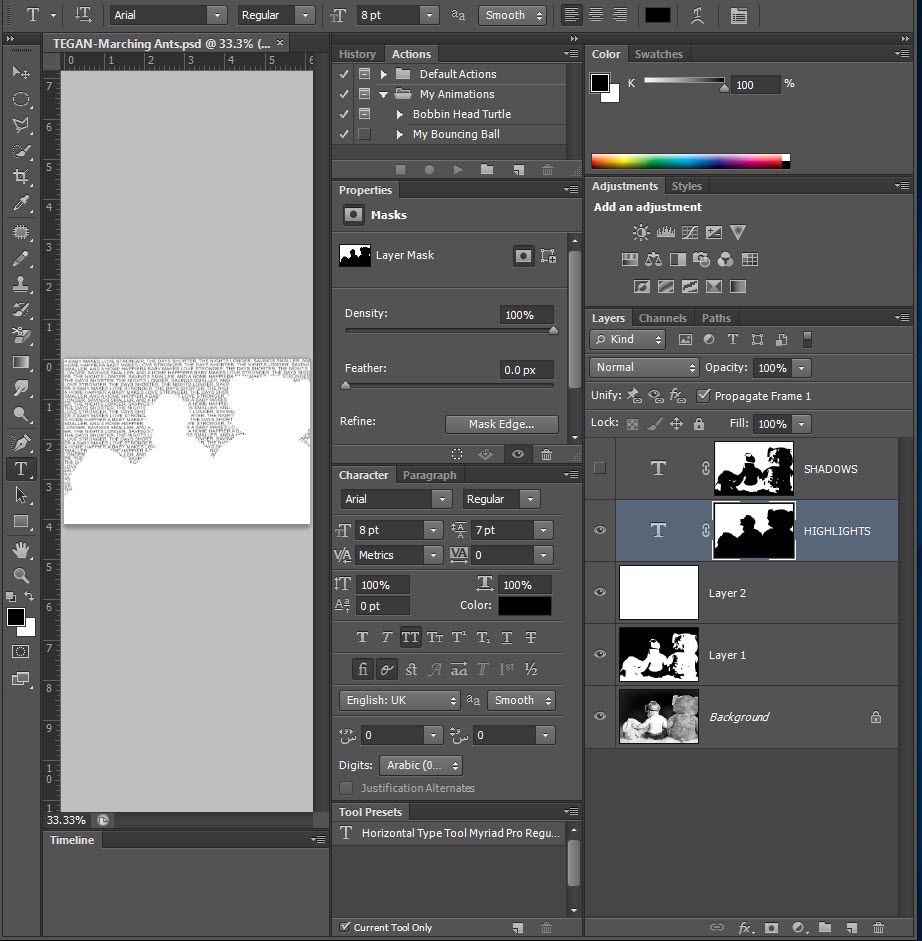
I am working on a BlueLightning tutorial; the image on the left--as shown in tutorial. My image on the right contains marching ants.The next step is to click on the Layer Mask, but it inverts the text (last image). I can't figure out what I am doing wrong? Thanks for looking, Lucie.
 1 Correct answer
This looks like the tutorial.
Photoshop CS6 Tutorial: How to Make an Editable TEXT Portrait from a Photo. - YouTube
Nancy
Explore related tutorials & articles
Copy link to clipboard
Copied
It looks like you're making the same selection for both the highlights and the shadows. either use ctrl/cmd-shift-i to invert the selection or ctrl/cmd-i to invert the mask (make sure the mask is selected).
Copy link to clipboard
Copied
The instructions are:
Open your Channels panel and Ctrl-click or Cmd-click on the Shadows thumbnail to make it into a selection.
Open back up to you Layers panel and click on the Layer mask button to make a layer mask next to the active layer, which is the Shadows text.
Make the Highlights text layer, visible and active.
Go back to your Channels panel and Ctrl-click or Cmd-click on the Highlights thumbnail to make it into a selection and then go to the Shadows thumbnail and press Ctrl+ Alt on a PC or Cmd + Opt on a Mac to subtract the shape from the Highlights shape leaving just the highlights of the portrait.
Open back up your Layers panel and click on the layer mask button to make a layer mask next to the highlights text.
Here is image of my Channels Panel: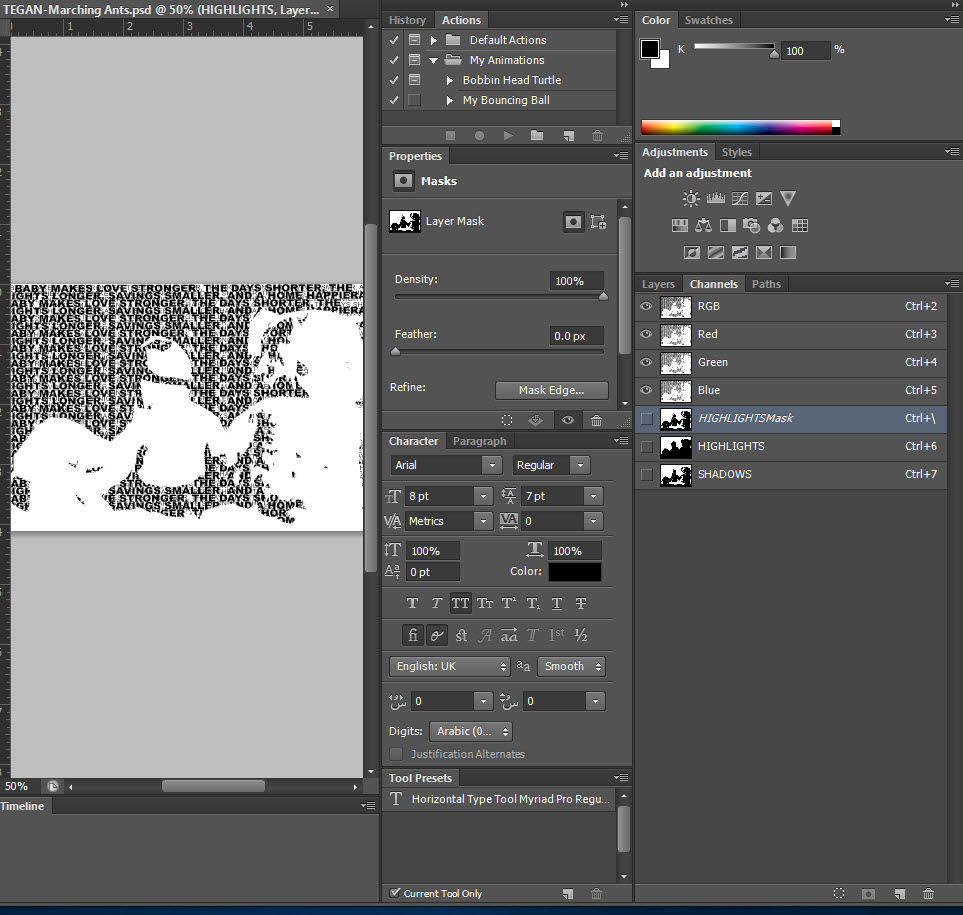
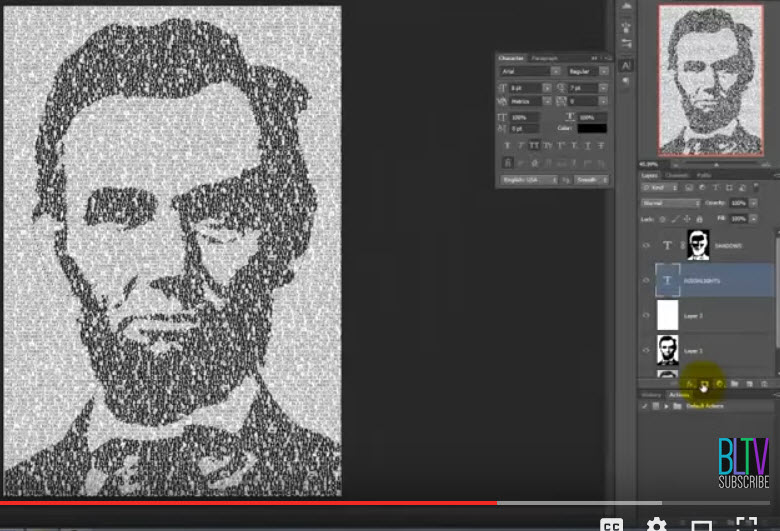
And here is what it should resemble:
Copy link to clipboard
Copied
I'm not 100% sure what tutorial you're using, or what the exact outcome you want, but here's what I tried. There are lots of ways to do this:
Make a selection of for the highlights (I did a silhouette, according to one tutorial I saw.), then save the selection as a mask. The selected area should be white, If not, press ctrl/cmd-i to invert it. Then I used the threshold to create a b&w image to make my black selection. I inversed this, as what was to be black needed to be white. Went to channels, ctrl-clicked on the thumbnail, and saved it as a channel.
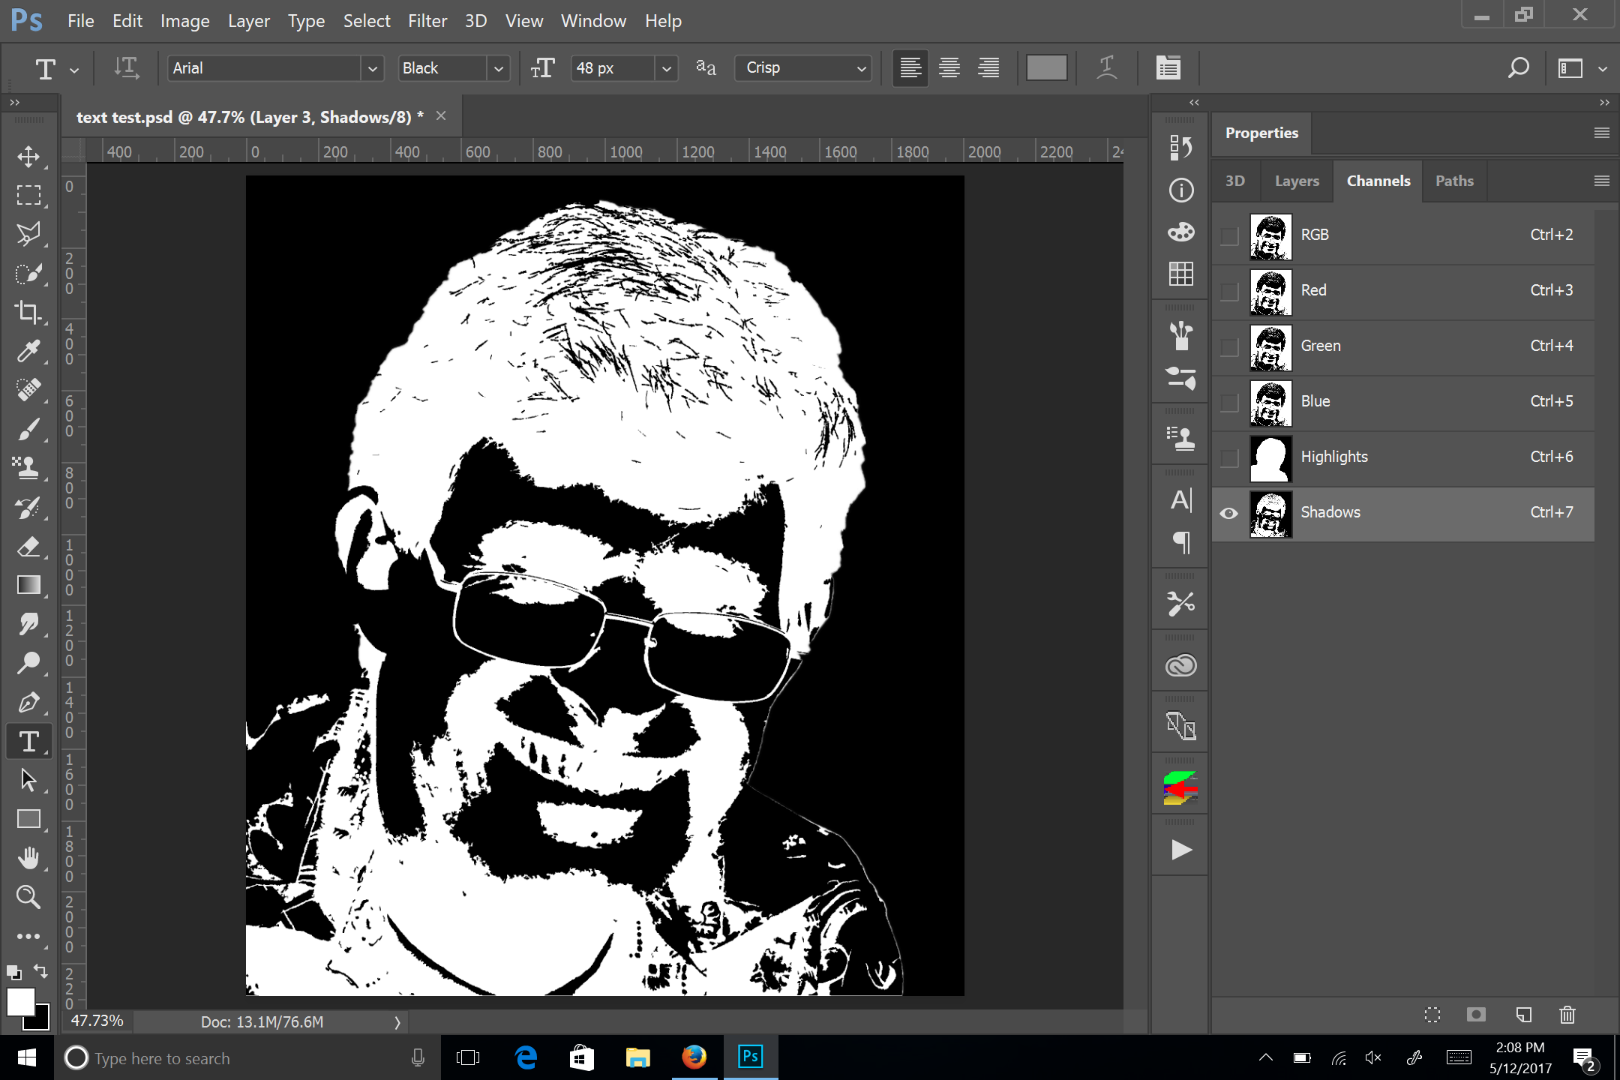
Then I loaded this shadow selection (ctrl-click on the channel thumb), went back to the layers panel and created a layer mask for the chadows:
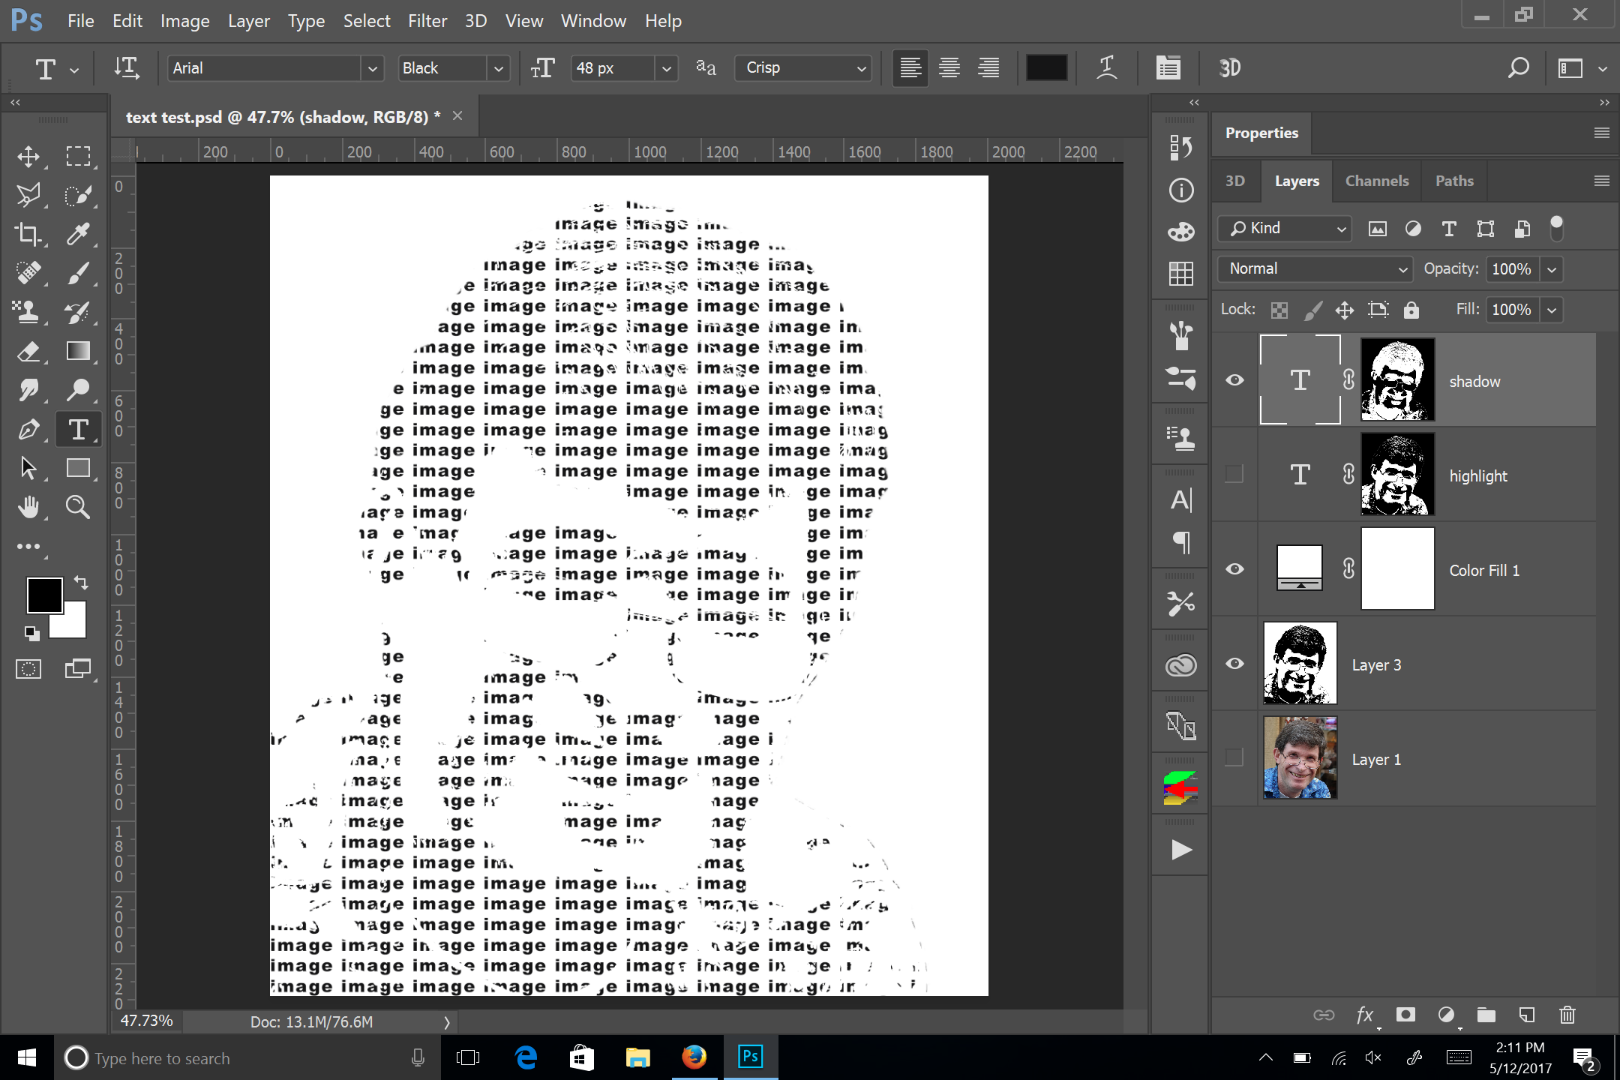
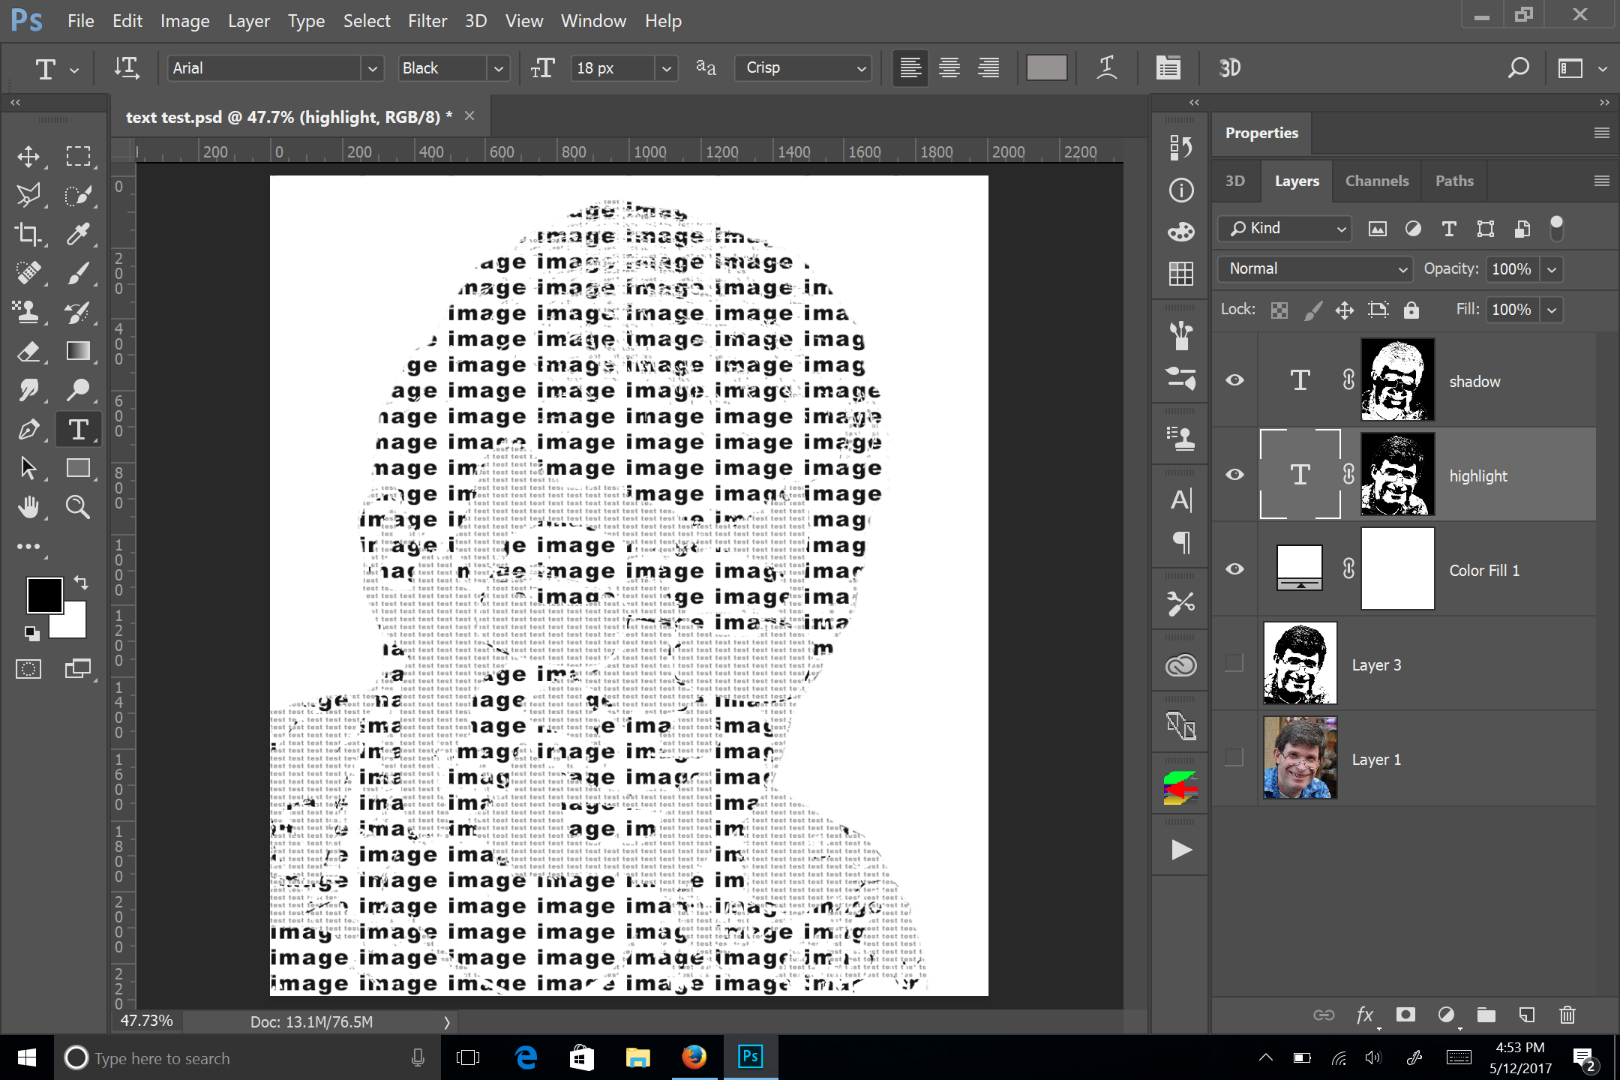
Then I went back to the channels panel and made a selection of the highlights. Frankly, at this point, if your highlight text layer is below your shadow text layer, that's all you need to do. You can do as you mentioned alt clicking on the shadow channel to subtract that selection, but you really don't need to. I then added the highlight mask to the highlight text layer:

Copy link to clipboard
Copied
This looks like the tutorial.
Photoshop CS6 Tutorial: How to Make an Editable TEXT Portrait from a Photo. - YouTube
Nancy
Copy link to clipboard
Copied
Chuck, thanks so much. I will give your instructions a go. Here is the link to the tutorial: Photoshop CS6 Tutorial: How to Make an Editable TEXT Portrait from a Photo. - YouTube (Marty of BlueLightning is one of my favorite tutorial sites). I know the instructions are correct. Each time I start over I find something I missed. So far, if you look at his Transcript below his tutorial--I get as far as line #6:49 then somehow I am not understanding where/when/how I am messing up.
Copy link to clipboard
Copied
Okay, I looked at the tutorial, and it does make sense. He's not having the highlight text inside the shadow text area, where as my original post was just having the shadow text itself blocking the highlight text. So, yes, you need to make a selection of the highlight channel (a silhouette in the case of the tutorial and my example, where the highlight part is white). Then press ctrl-alt and click on the shadow thumbnail channel, which should be reversed, having the black areas whites. Then back to the layer panel to create the layer mask on the highlight text.
Copy link to clipboard
Copied
The first two images above:
First image is a split screenshot (image on left is that of tutorial, to the right is screenshot of my progress).
The next image is also a split screenshot (tutorial image to the left, my progress after taking the next step):
Open your Channels panel and Ctrl-click or Cmd-click on the Shadows thumbnail to make it into a selection.
Open back up to you Layers panel and click on the Layer mask button to make a layer mask next to the active layer, which is the Shadows text.
Make the Highlights text layer, visible and active.
Go back to your Channels panel and Ctrl-click or Cmd-click on the Highlights thumbnail to make it into a selection and then go to the Shadows thumbnail and press Ctrl+ Alt on a PC or Cmd + Opt on a Mac to subtract the shape from the Highlights shape leaving just the highlights of the portrait.
Open back up your Layers panel and click on the layer mask button to make a layer mask next to the highlights text.
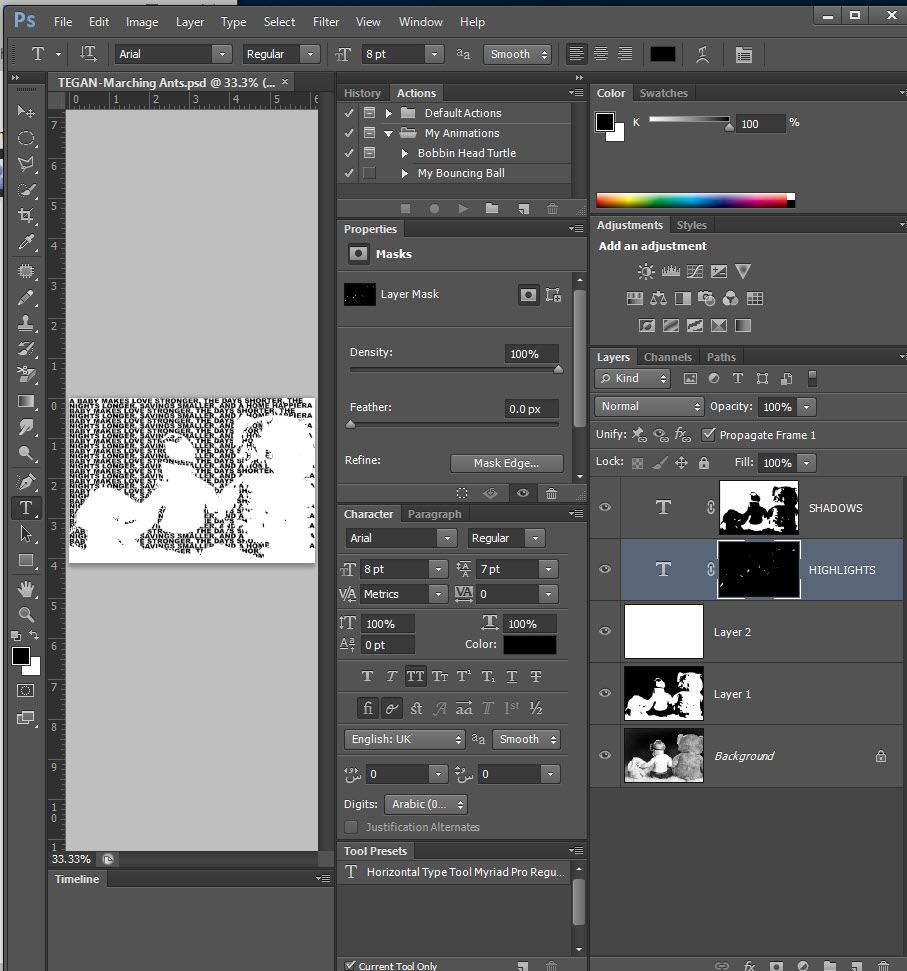
The text appears in the background rather than in the portrait itself?
A screenshot of the Channels panel:

I think I have that disease where I see things backward. My husband can't understand why, when I look at a floor plan of our house, I can't figure out what room is directly above the room we are sitting in. But! I did figure out how to string our weed wacker (which my husband, son, and son-in-law couldn't do after going through three weed wackers in two years)! I had to teach them and I don't let them forget it (lol).
Copy link to clipboard
Copied
Another attempt:

Copy link to clipboard
Copied
It looks like you selections are off. I'm not sure where you want what text, but you highlight and shadow selections are nearly identical. I would say you need to invert your shadow channel.
Copy link to clipboard
Copied
I would like both the shadow and hightlight to appear iniside the portrait as yours image has it. Mine are all appearing in background. I am going to start from scratch again later today. I am sure I am missing something and I have gone back so many times I have completely confused myself--again.
Copy link to clipboard
Copied
Then you need to invert the highlight channel for making selections.
Copy link to clipboard
Copied
You actually need to invert both the highlight and shadow channels.
Copy link to clipboard
Copied
Hi Chuck, I did try to invert both, but in both cases the Select, Invert was grayed out. I deleted everything and am going to start over this afternoon. I'm off to mow along our ditch--we are having a wedding in our backyard next Saturday. Hey, thanks so much--I'll let you know how I make out!
Copy link to clipboard
Copied
Thanks Nancy and Chuck for all your help. I finally got it--each time I ran into trouble it was because I was not following the exact instructions in the tutorial. The picture I used is not the best choice for this tutorial (rear view of portrait). I am going to do this tutorial over using a front facing portrait, play around with the text sizes/colors a bit more and will be back with my end results.
Copy link to clipboard
Copied
Just a quick thanks and to show you my second attempt at making an editable text portrait from a photo. It is a quickie; the hardest part will be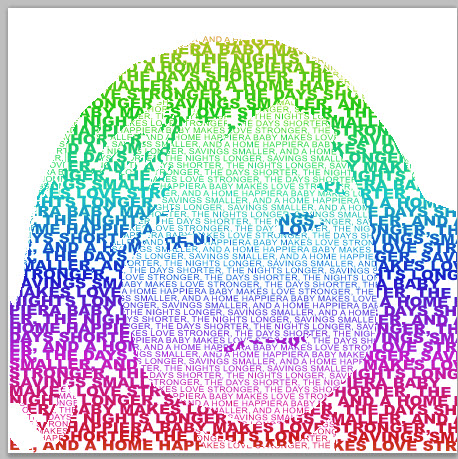 finding a suitable photo!
Find more inspiration, events, and resources on the new Adobe Community
Explore Now