Copy link to clipboard
Copied
Olá, gostaria de saber, se é possível fazer este efeito no Illustrator, ou se somente é possível no Photoshop, e se podem me esclarecer qual a melhor forma de fazê-lo.
Essa junção de duas imagens, de forma suave. Parece que uma acaba e começa a outra, sem ser uma divisão exata de duas imagens, como numa colagem, por exemplo

É esta divisão suave das duas fotos que gostaria de fazer:
.png)
Espero que eu tenha conseguido me fazer compreender.
Obrigado!
 1 Correct answer
Hi
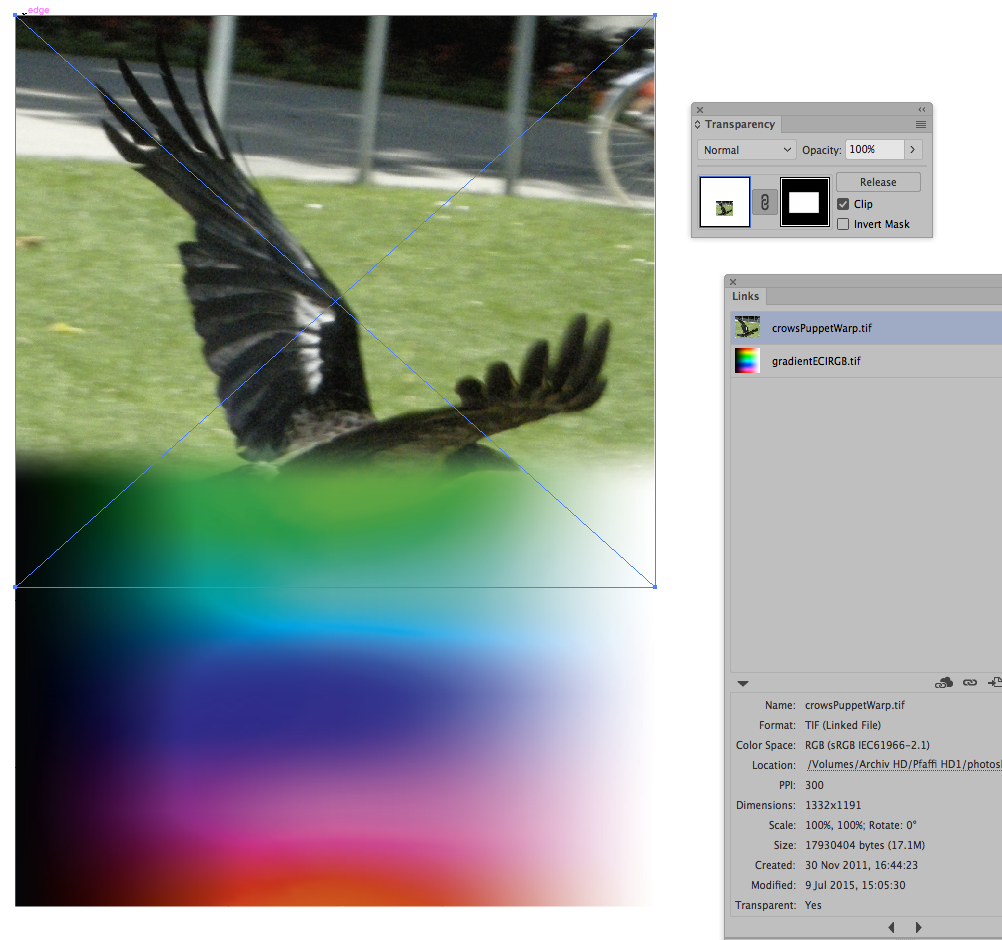
You do it with layers and masks. A mask will show the layer it associated with where the mask is white and the layer(s) below where the mask is black. Where it is grey it will be semi transparent.
In the simple example below, there are two images each on a separate layer. The upper layer has a mask and the transition from black to white is a soft gradient (made with the gradient tool) - therefore the transition between those layers is also a soft gradient.


Hope that helps
Dave
Explore related tutorials & articles
Copy link to clipboard
Copied
I would prefer doing such things in Photoshop with Layer Masks.
Illustrator does offer options but I would not recommend them in this case:

Copy link to clipboard
Copied
Hi
You do it with layers and masks. A mask will show the layer it associated with where the mask is white and the layer(s) below where the mask is black. Where it is grey it will be semi transparent.
In the simple example below, there are two images each on a separate layer. The upper layer has a mask and the transition from black to white is a soft gradient (made with the gradient tool) - therefore the transition between those layers is also a soft gradient.


Hope that helps
Dave

Copy link to clipboard
Copied
Thank you a lot Dave for the tip. That's exactly what I was looking for.
Unfortunately I do not have much experience in Photoshop. Would it be asking a lot more step by step how to do this?
Some points that leave me in doubt:
1. Have you put the pictures already in 1: 1?
2. How did you put these blanks that appear in the thumbnails?
Thank you, and more for your patience.
(sorry my english im from Brazil)
Copy link to clipboard
Copied
Hi
1. I opened the lower layer and extended the canvas (by dragging with the crop tool which can extend as well as crop)
2. I placed the second image on a new layer - by dragging it in from another open document with the move tool.
3. I used the move tool to position the image on the upper layer so that it overlapped the image on the lower layer. The blank areas on each thumbnail are where the image does not extend the full size of the canvas. You only see the thumbnail that way if the options in the layer panel (top right of the panel) are set as "Thumbnail contents -Entire document"
4. I added a layer mask to the second image using Layer - Layer Mask - Reveal All
5. I then selected that layer mask and used the gradient tool to draw a gradient starting and finishing within the overlapped area
I hope that helps you
Dave

Copy link to clipboard
Copied
Hi Dave. Thanks a lot for your patience.
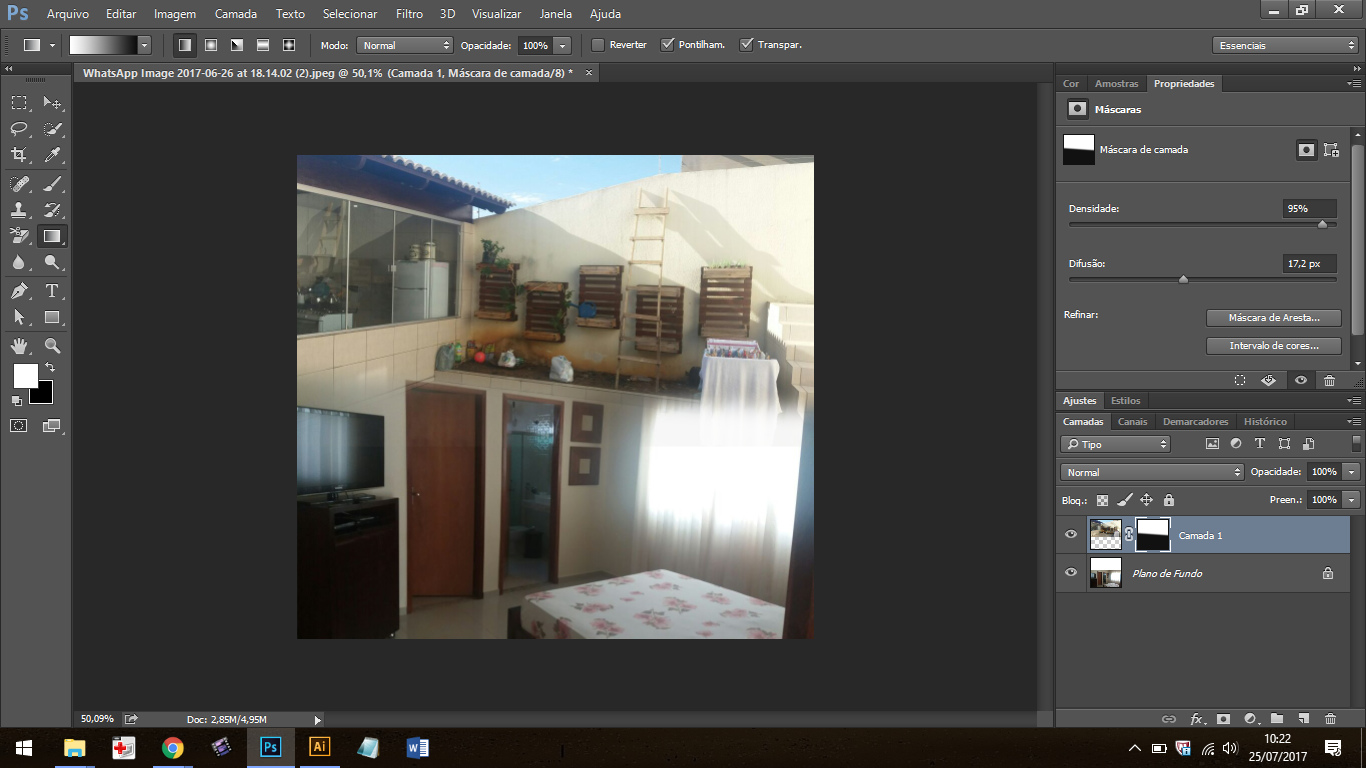
Eu cheguei até aqui. Alguma outra dica para melhorar?

