- Home
- Photoshop ecosystem
- Discussions
- Re: How to save pdf in photoshop cs5 with cropmark...
- Re: How to save pdf in photoshop cs5 with cropmark...
How to save pdf in photoshop cs5 with cropmarks / bleed?
Copy link to clipboard
Copied
I have created crop makrs and a 10mm bleed using FILE > PRINT > OUTPUT > PRINTING MARKS / FUNCTIONS
What is the correct way of saving my file as pdf with the crop marks and bleed?
Thanks for your help...
Explore related tutorials & articles
Copy link to clipboard
Copied
If that works for you, that fine, but remember that printing a pdf does not support some of the features like layers, multimedia, etc.
If you need to save as a pdf, instead of printing, you may be resorted to manually creating the crop marks. Bleed is simple as it is an extended canvas.
Another option if you have them is to use Illustrator or InDesign. as both can export a pdf with crop marks and a bleed.
Copy link to clipboard
Copied
Hi
I am having a similar issue.
I have started doing some designing that needs to be professionally printed.
The printers want a PDF with bleed lines.
I am proficient in Photoshop but not InDesign which they use.
I have tried using InDesign but it won't even allow me to open files in it as not compatible.
So....is my only option to draw the bleed lines in or is there another way?
If it is the only way....how do I do this??
Thanks heaps in advance.
Cheers
Copy link to clipboard
Copied
What you can do (It may not be properbut should work) Is
Use rectangle shape tool draw it out to the full size of the document. The shape does not need a fill, but it does need a stroke. (You can be creative enough, if you choose to, to add additional shapes to use as a boolean cutter to shorten the lines of the stroked edge)
Make sure it is on the bottom or 1 above the background (so it is visible but behind everything else).
Use the crop tool or Image>Canvas size... to extend your document's canvas out beyond the printer's edge. (ex. if your paper is 8.5"X11" extend the canvas to something like 9x12")
Then any layer that has color to the paper's edge extend that layer out into the bleed area.
If you have InDesign, that will save you a lot of work since it natively supports bleeds. I believe Illustrator now supports bleeds as well.
InDesign can read psd and pdf files, so if they are not importing, it maybe worth your while to figure it out.
But once you have the shape done for photoshop, you could save it giving it a name like bleed template. Then it will be ready for the next time.
Copy link to clipboard
Copied
You don't open image files in InDesign, you PLACE them in an existing InDesign document..
Create a new InDesign doc, FILE- NEW-Document
Set your Page Size to the same size as your image.
Make sure you have the size of your bleed entered in the Bleed file. If you don't see Bleeds & Slugs, click More Options.
You can use inches, Picas & Point, mm etc. this example of p9 equals .125 inch (1/8 inch)

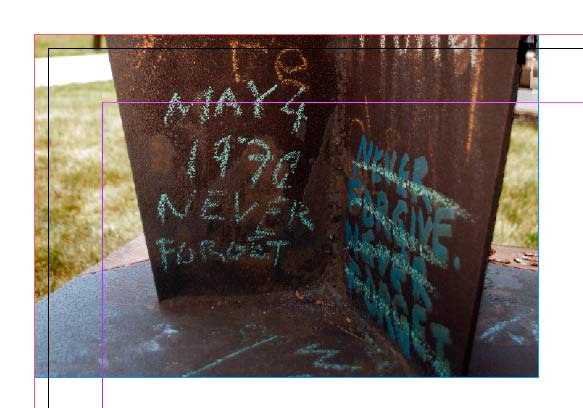
In the InDesign doc you should see 3 colored lines:
Black line = final size of document after trimming.
Red line = show bleed area outside the document edge
Magenta line = margin inside page
Go to the FILE menu, PLACE and browse to your image and place into the ID doc.
Use the black arrow to move the edge of the image to the red bleed line.

Go to FILE menu, EXPORT and choose PDF - Print
Make sure you have CROP MARKS and USE DOCUMENT BLEED SETTINGS selected.

Open your PDF in Acrobat to view the image with your crop marks and bleed.

I'm assuming you are using a high resolution images for printing? 300 PPI (pixel per inch) is a general standard for items that will be viewed close up (no more than arm's length away
What exactly are you designing? If you are designing items with a lot of text you should be using InDesign.
Photoshop is mainly for image manipulation, while you can add text in Photoshop it is limited, and unless you know what you are doing may results in substandard products for printing purposes.