- Home
- Photoshop ecosystem
- Discussions
- Re: How would I make this picture look more authen...
- Re: How would I make this picture look more authen...
How would I make this picture look more authentic?
Copy link to clipboard
Copied
Hello,
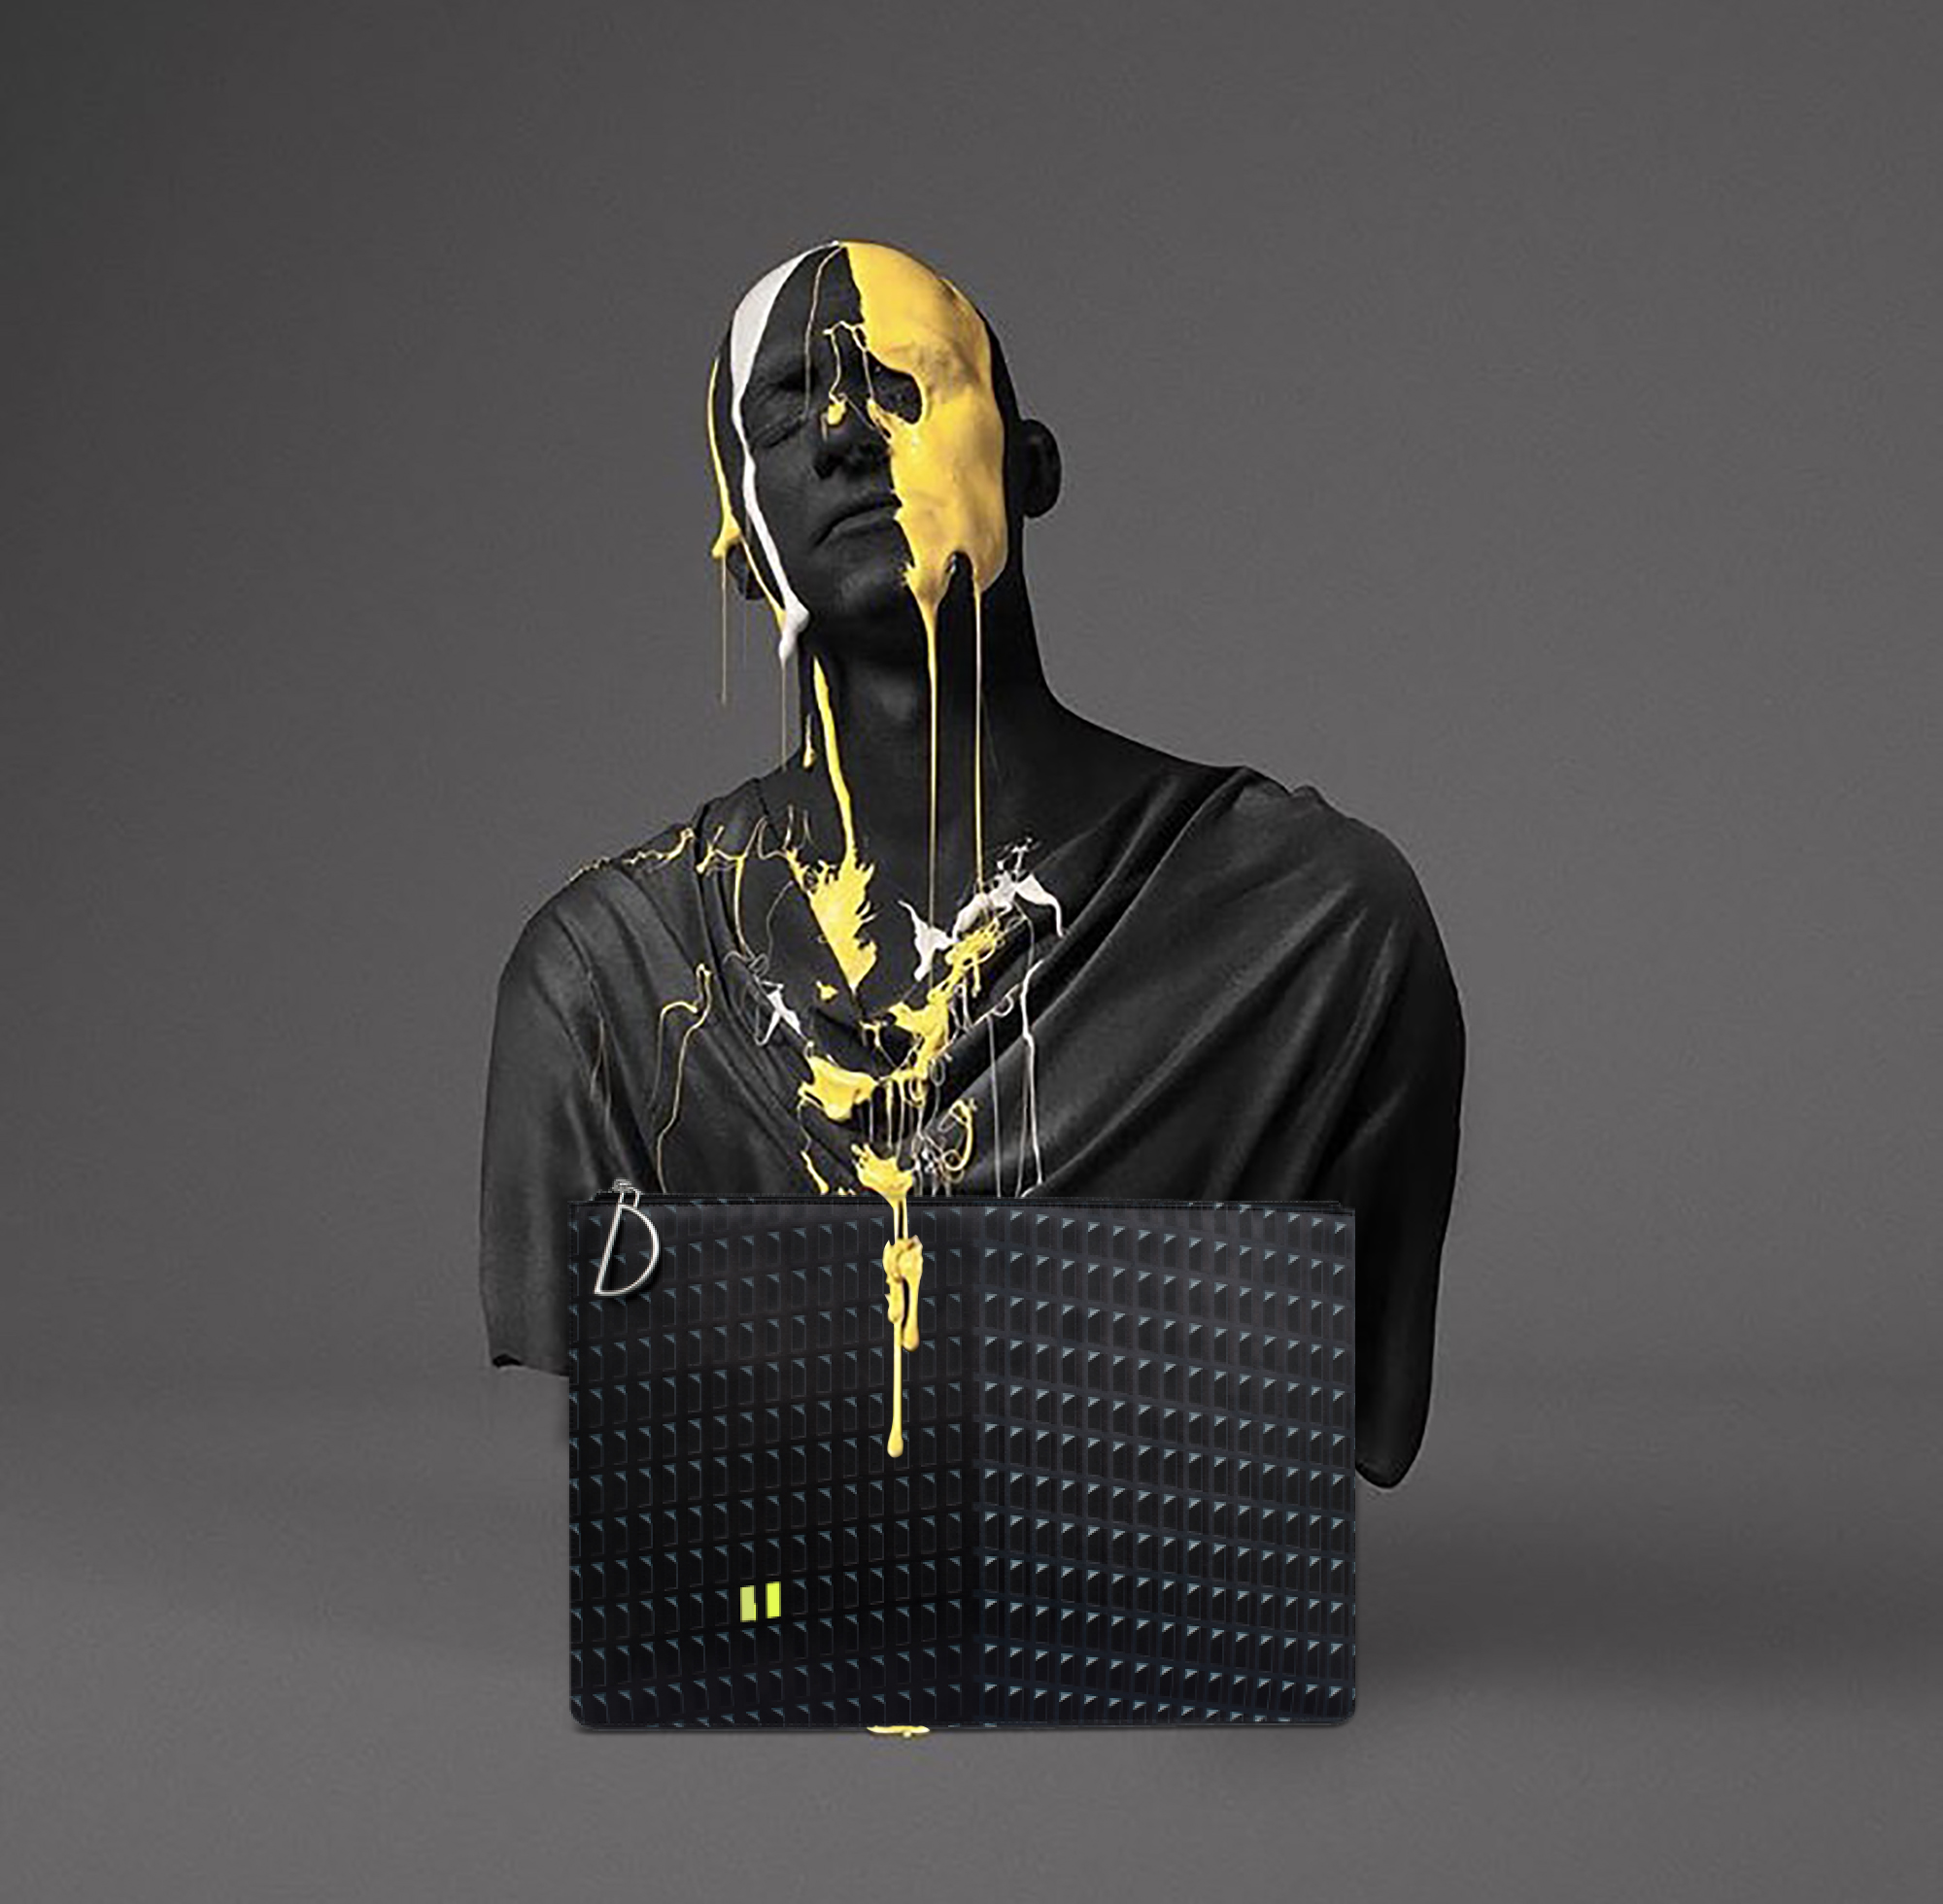
I am just wondering how I would be able to make this picture look more authentic.
The picture is authentic except for the bag which I placed there. I doesn't look that bad, but a little bit to much "cut in".
How would I be able to make the bag look more authentic in the picture?
Explore related tutorials & articles
Copy link to clipboard
Copied
Hi
Perspective and lighting
The bump pattern on the bag appears to show a fold in the middle - but the top and bottom edges of the bag do not follow that line and hence the perspective between the edges and the pattern looks jarring.
The statue is lit mainly from the top left as we look at it. The bag looks lit from the right, assuming that centre line is indeed a corner, with the bumps lit from directly above.
The perpective warp tool would deal with the perspective along with some masking. As for the lighting, initially try flipping the bag, then you can paint in shadows as required.
Dave
Copy link to clipboard
Copied
Hello,
Thank you for your help.
How would I use the perspective tool on this one?
And how would the shadows be drawn?
Copy link to clipboard
Copied
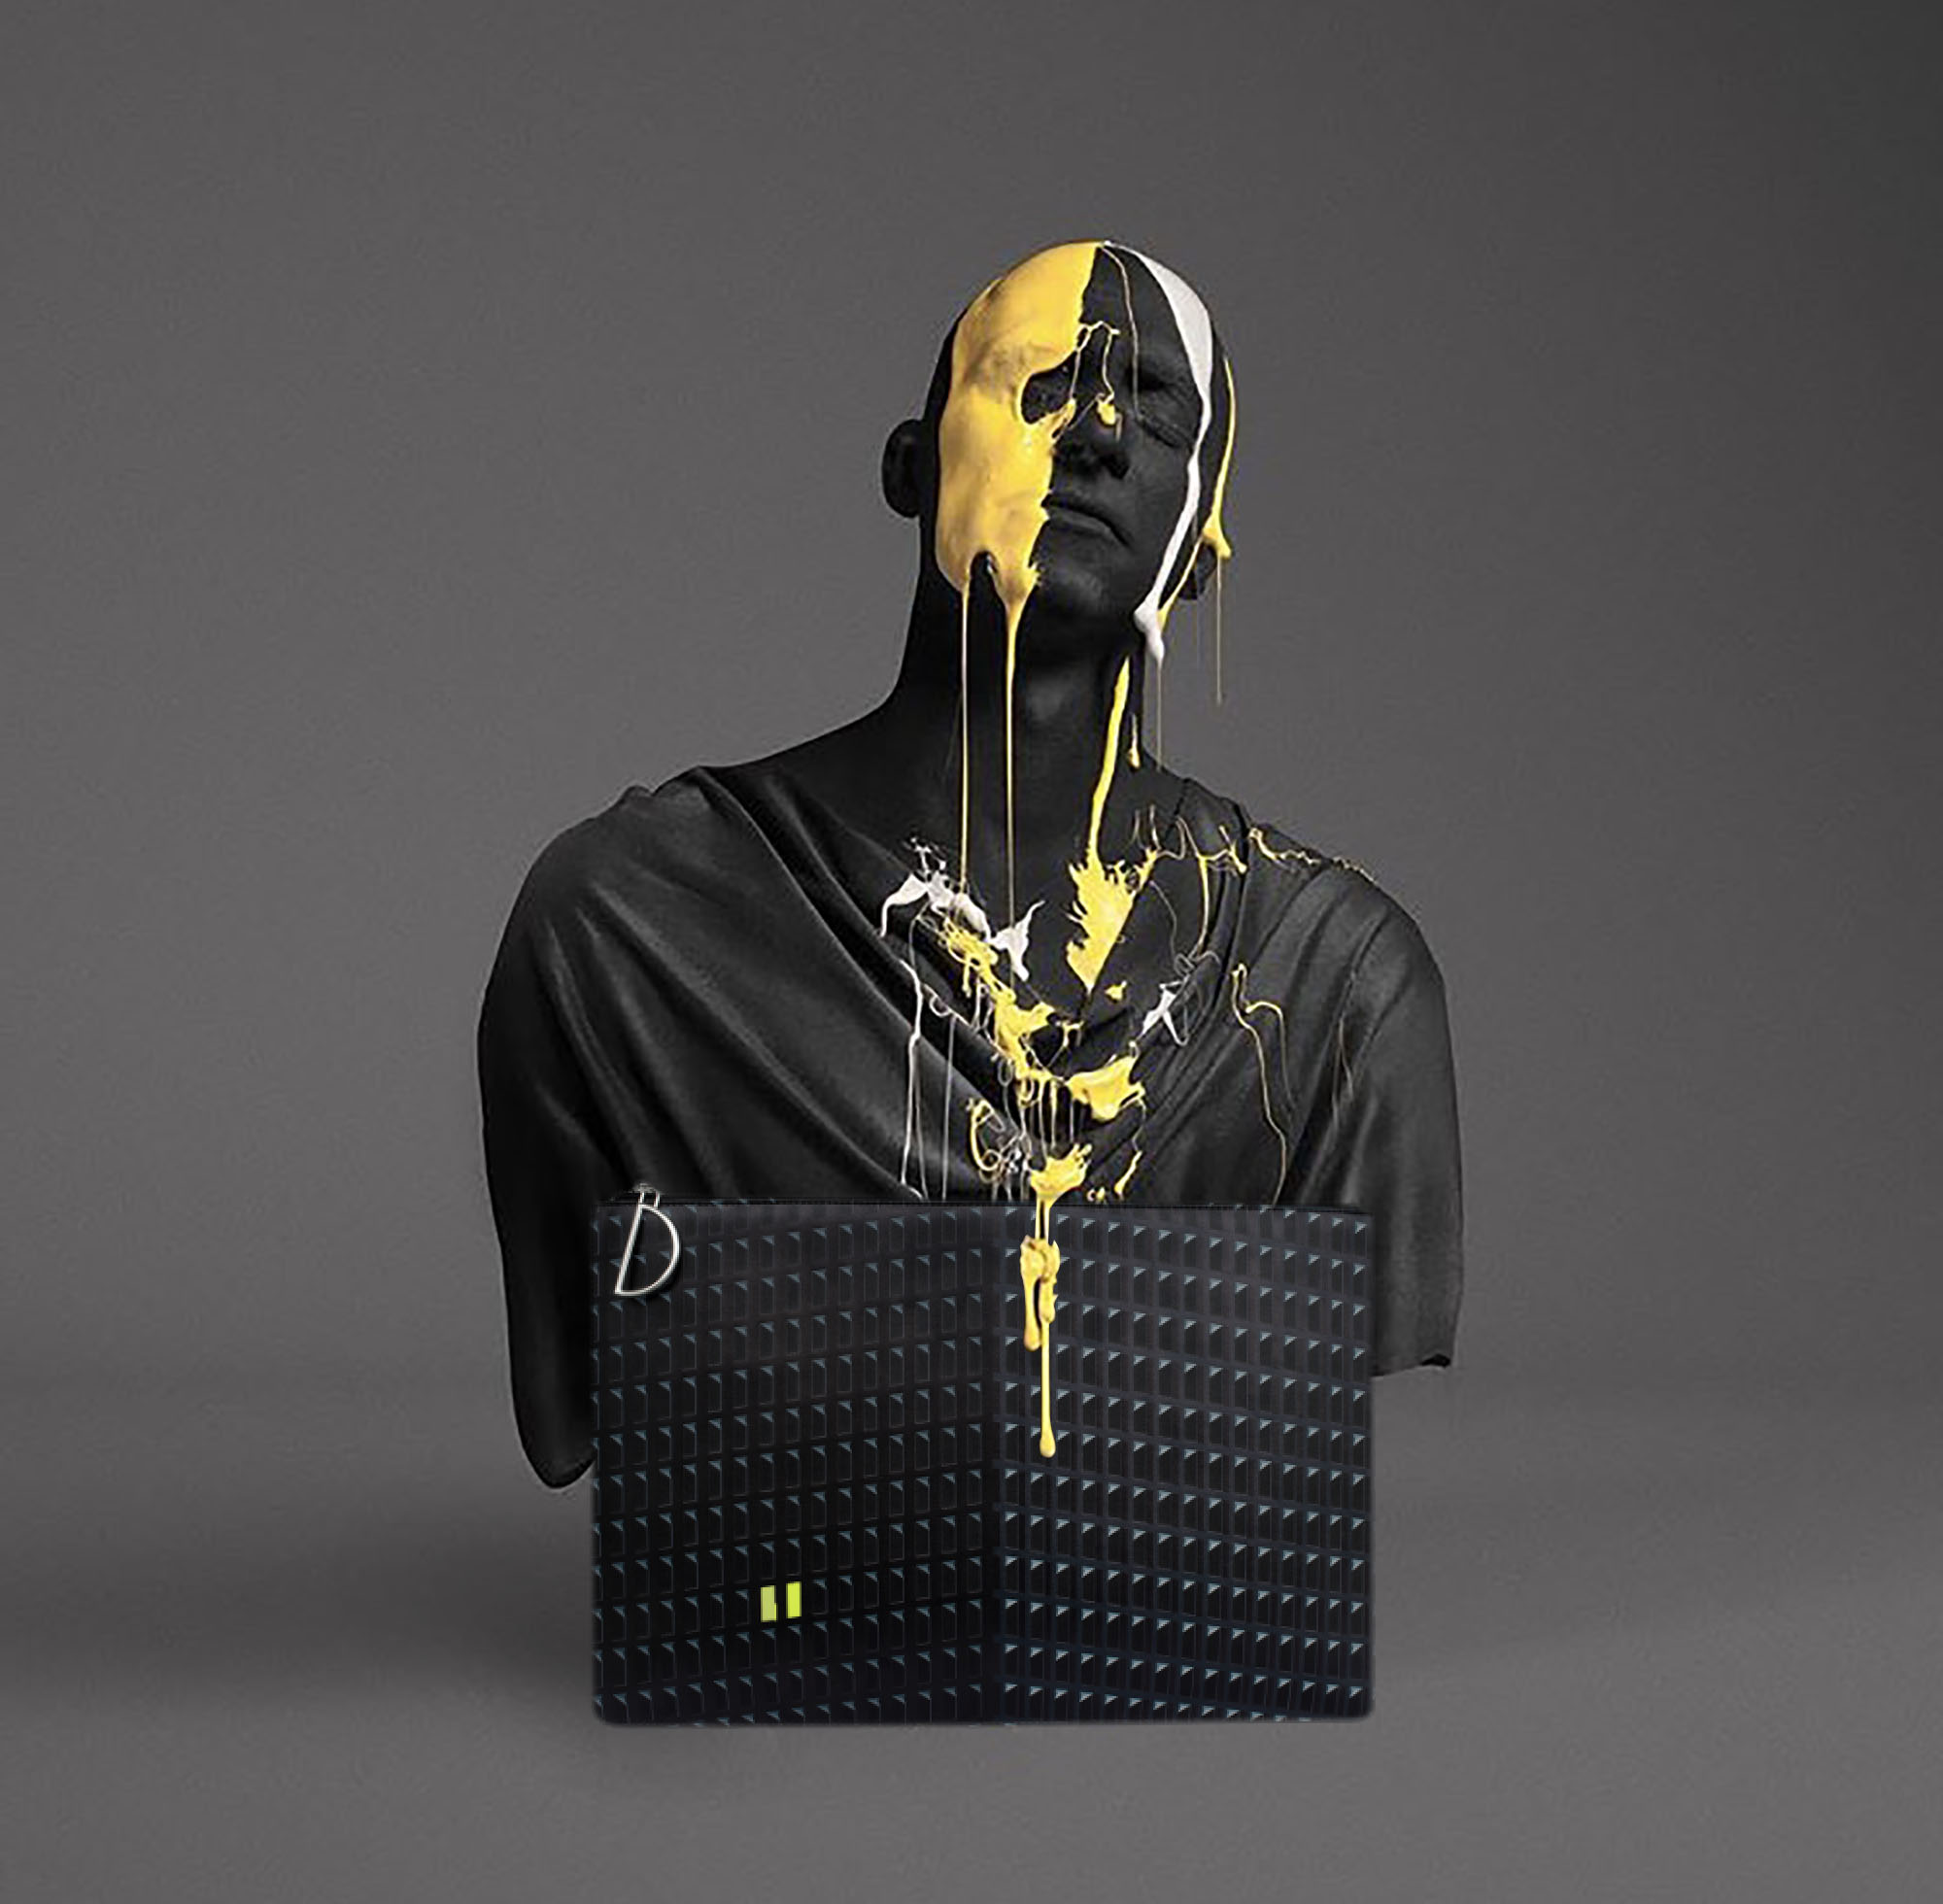
This is my progress.
Copy link to clipboard
Copied
wizardwithpen wrote
Hello,
Thank you for your help.
How would I use the perspective tool on this one?
And how would the shadows be drawn?
Hi
Assuming the bag is on a separate layer, draw grids around each of the main elements with the perspective tool and pull them into place. You may need to mask separately (i.e use an unlinked mask) to get the shape of the bag and the studs/circles to align.
For shadows use a separate layer set to multiply blend mode and paint with a soft low opacity brush set to black
Dave
Copy link to clipboard
Copied
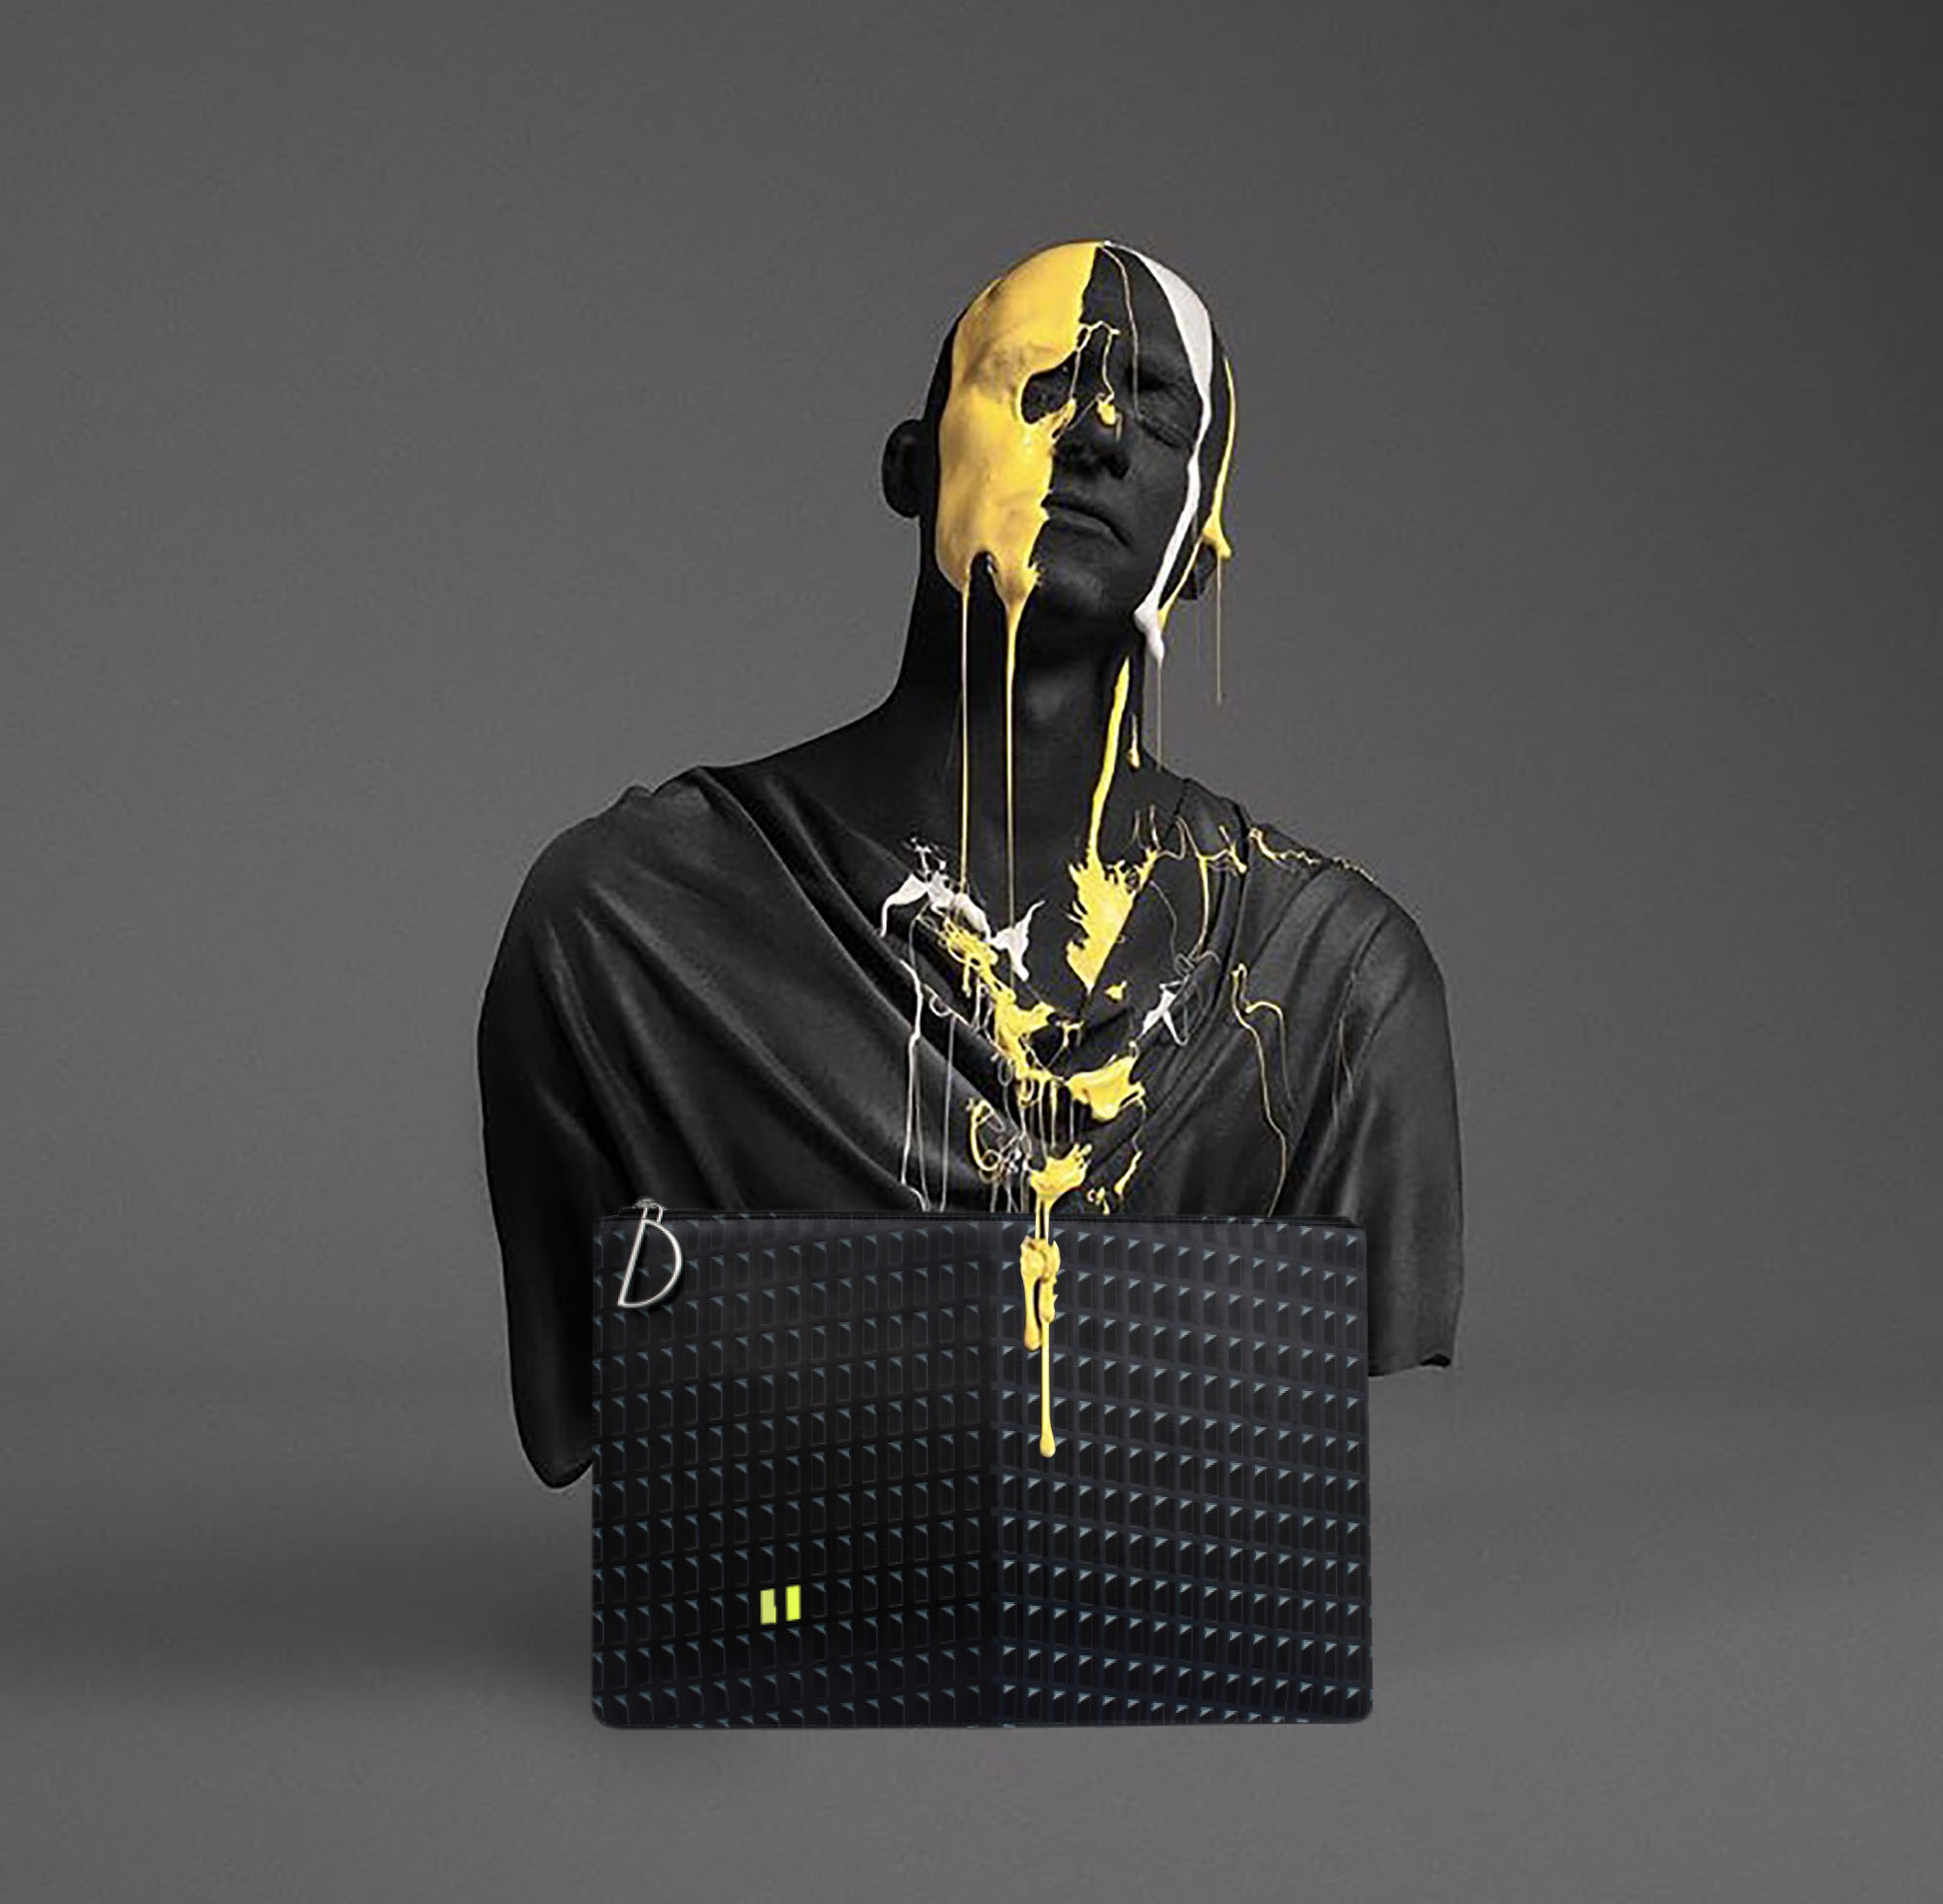
Made the change with the shado, thanks.
Masked separetley.
Fixed the perspective, but quite unsure how I should warp it. Is this the right way?
Copy link to clipboard
Copied
Hi!
I had an idea and wanted to send it to you--Here are a few examples of adding a black and white radial gradient as an Overlay layer to bring the focus to the bag and statue. I've included the layers panel in these screen captures so you can see where the gradient was drawn. This gives a little more dramatic lighting to the background and highlights the statue and bag.
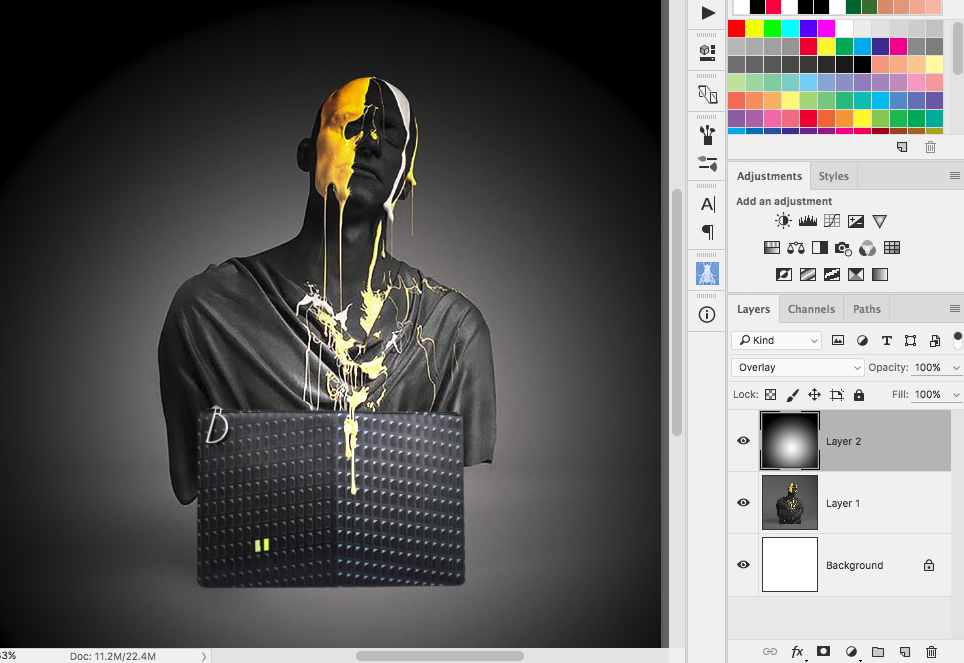
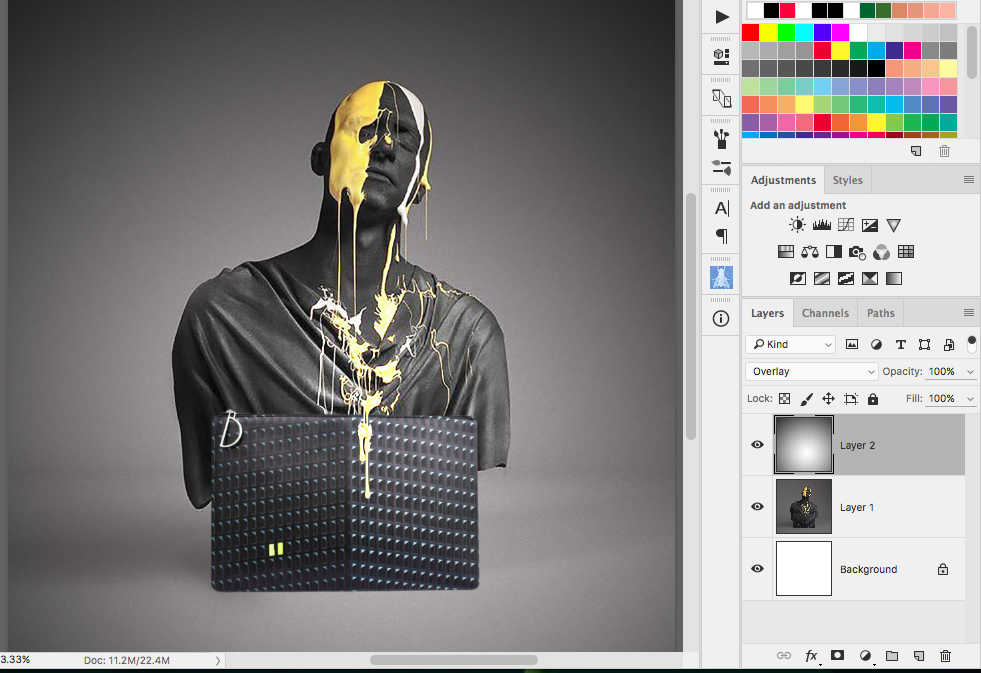
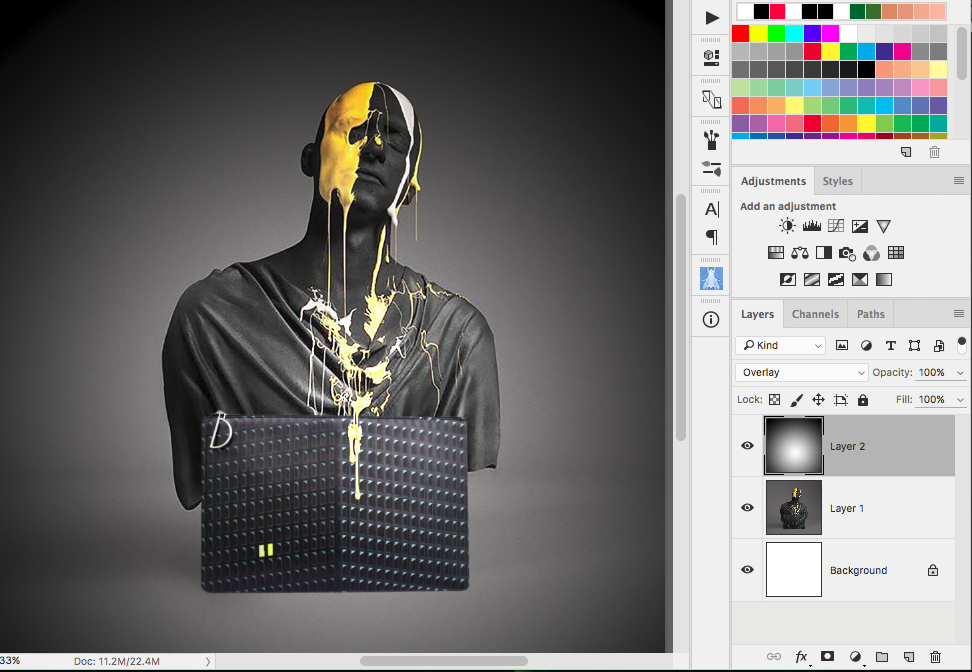
The gradient is a little different in all three--you can see the differences in the layers panel. Compare them side by side to your original image to see the changes.
Let me know what you think?
Michelle
Copy link to clipboard
Copied
Hi
When I mentioned perspective warp I was thinking of something like this - using perspective warp on the pattern and using an unlinked mask to shape the bag
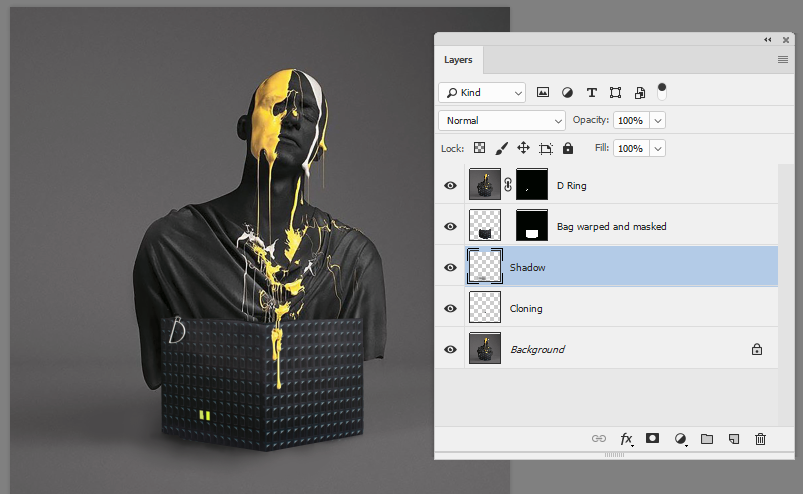
Dave
Copy link to clipboard
Copied
the angle of the white drip is wrong
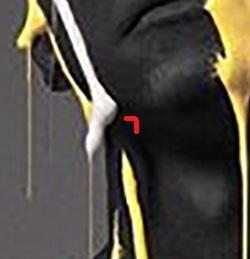
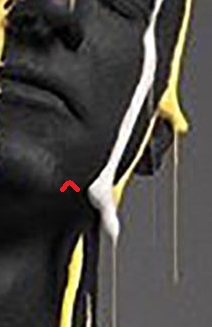
you get away with the yellow one because of the ear
Copy link to clipboard
Copied
Hi jensj79447901,
On things like this, I select the item and use the free-transform choice. Then I smooth edges to soften the edges. This looks more like a box than a bag. Bags have soft edges unless it is hard-edged paper fold bag. Regards. JH
Copy link to clipboard
Copied
Helped me a lot!
Copy link to clipboard
Copied
Cool concept btw. But you have a few things going on. Let's take a look.
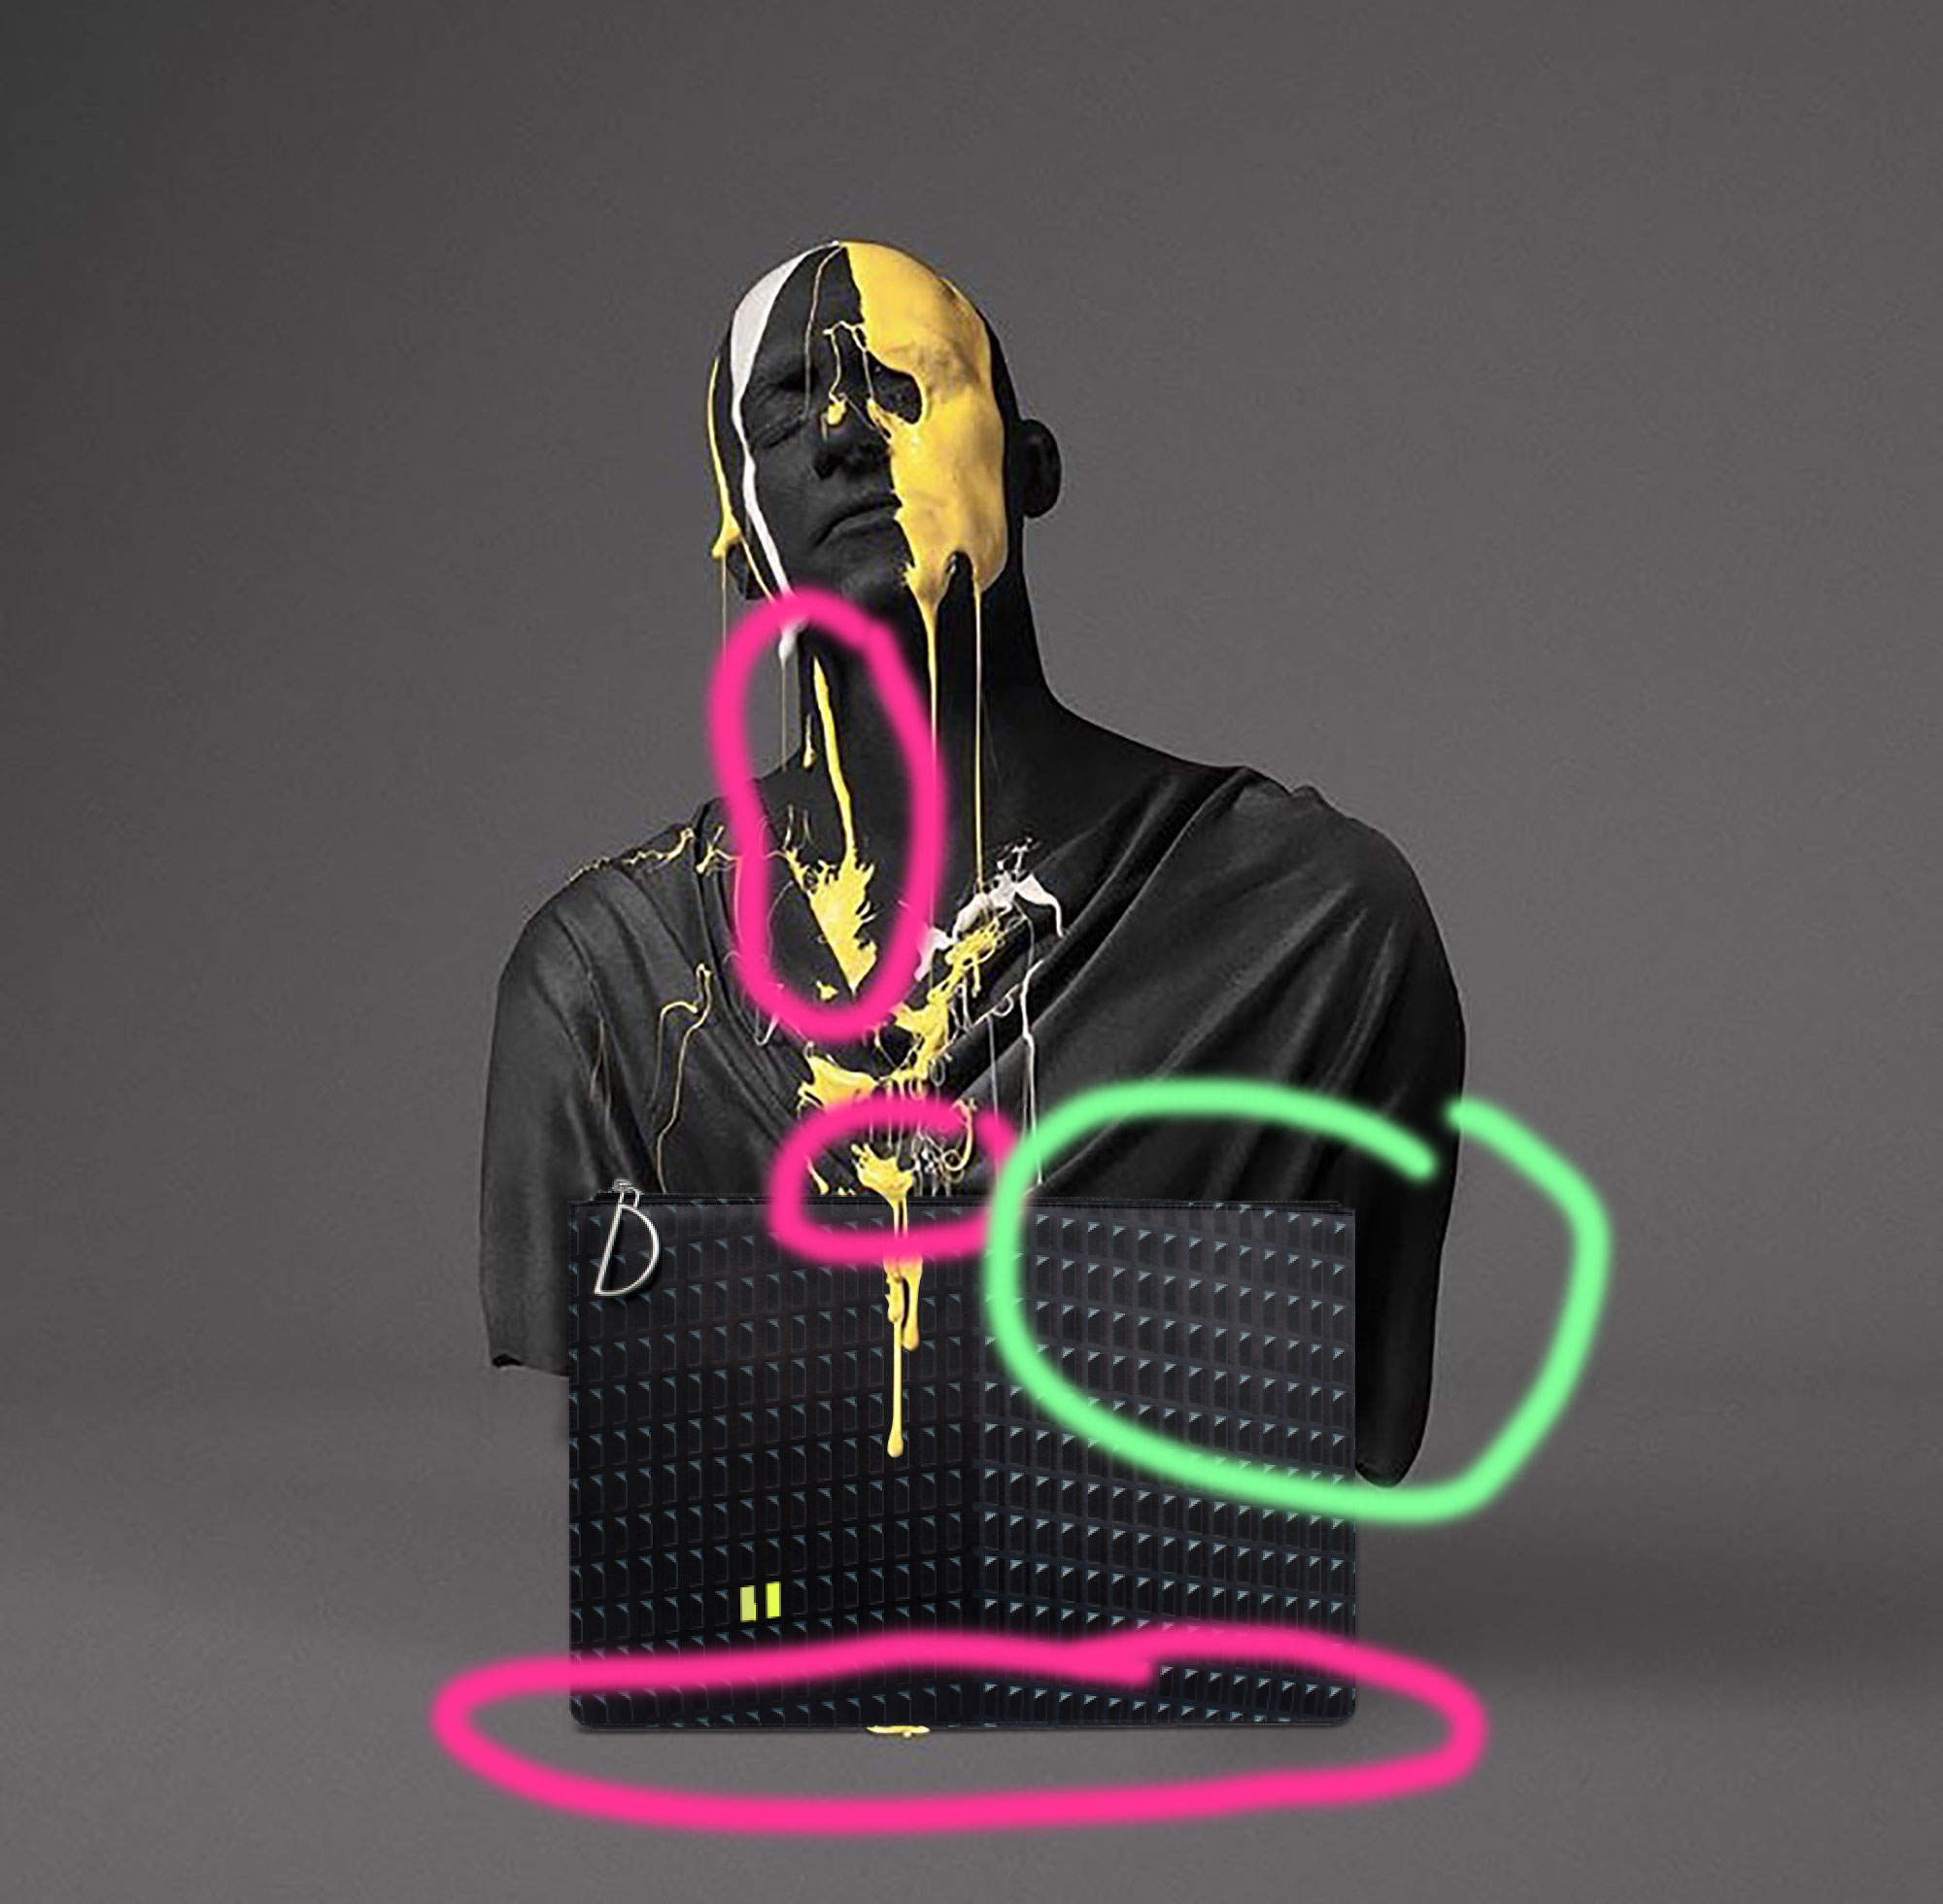
Paint Splashes: The splash circled in pink here goes the wrong direction. The taper at the top is not how the liquid would flow and the splash directions at the bottom where it meets the shirt are splashing up instead of down. There would also be no way the shirt would be clean in that area if the yellow had in fact dripped down.
As far as the bag goes, your problem is lighting angle and depth of field.
1. Your bust is lit from above
2. Your bag is lit from the front on the right side only.
3. If the bag was in front of the model the paint would drip inside the bag and not off the front unless the bag was pretty much just folded flat.
4. The shadow of the bottom of the bag does not match the model behind it.
I would take a look at adjusting those areas.
Copy link to clipboard
Copied
Thanks!
Copy link to clipboard
Copied
Hi!
Along with the great suggestions listed above, I think adding a little bit more dramatic lighting to the background of the image would make it pop. If you did a gradient of contrasting light in the background (dark grey/black around the edges and highlight behind the head then the image would have some extra dimension and take away some of the flatness of the image. Letting some of that highlight spill onto the bust to give it some separation from the bag would be good too.
If you can't reshoot the bust with the bag to give it more perspective, then separate the bag onto it's own layer and use the perspective tool to bring more of a dimensionality to it. You can also shoot just the bag again and composite that into the current image. Right now, the bag is flat against the stature and they almost look like one piece except for the statue edges on the side of the bag. If you want the bag to stand out, then bring it forward in the image and make it contrast against the stature to give it more definition.
I think the image itself is very compelling, but the background is so flat that it takes away from the statement you are trying to make. I hope the suggestions we've listed here are helpful!
Michelle
Copy link to clipboard
Copied
All of these great suggestions will help to make your image more authentic. Did you find any that worked for you? If so please let us know so that we can further troubleshoot with you if needed.
Copy link to clipboard
Copied
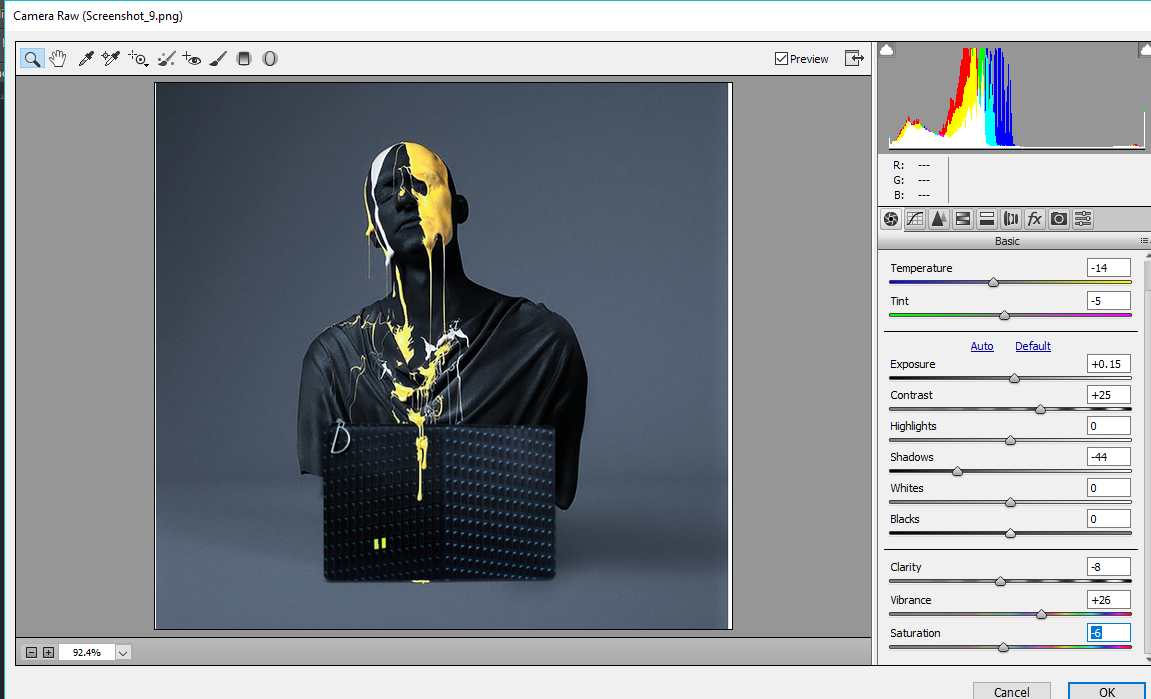
By using a Camera Raw filter in the Filter You can more effect into it to look more Authentic.
