- Home
- Photoshop ecosystem
- Discussions
- Re: Image made in Photoshop looks blurry and pixel...
- Re: Image made in Photoshop looks blurry and pixel...
Image made in Photoshop looks blurry and pixelated
Copy link to clipboard
Copied
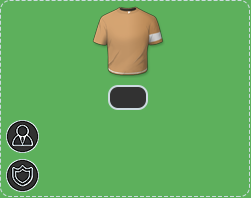
I made this in photoshop and as you can see, it looks blurry and pixelated. I have tried to sharpen edges and all sort of things, but nothing seems to work. When I make a standard edge it doesn't seem to fill the edge completely but instead fills some of the pixels 100 % and some more like 40 %. I am making designs for a webpage and using mockingbot to design before making it in photoshop. Everything i make in the mockingbot is 100 % sharp and my photoshop photo just looks terrible compared to that.
Does anyone know, what I am doing wrong? I am new to photoshop so any advice is very welcome
J
Explore related tutorials & articles
Copy link to clipboard
Copied
I made this in photoshop and as you can see, it looks blurry and pixelated.
I cannot confirm that.
Please post a screenshot of the image opened in Photoshop taken at View > 100%.
When I make a standard edge it doesn't seem to fill the edge completely but instead fills some of the pixels 100 % and some more like 40 %.
What are you talking about, how do you »make an edge« exactly – a Selection Tool, a Path Tool, …?
What are the Anti-aliasing and Feather settings, if any?
Copy link to clipboard
Copied
Are you familiar with the concept of anti-aliasing in principle?
Aliasing & anti-aliasing in Photoshop
Could you post a screenshot or output image of the original layout in the mock-up software you are referring to?
Copy link to clipboard
Copied
Thank you very much for taking the time to answer!
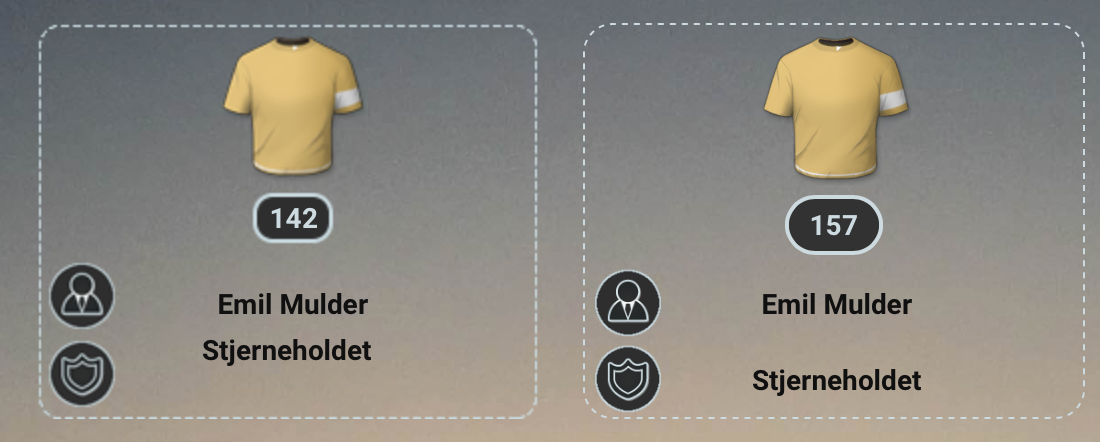
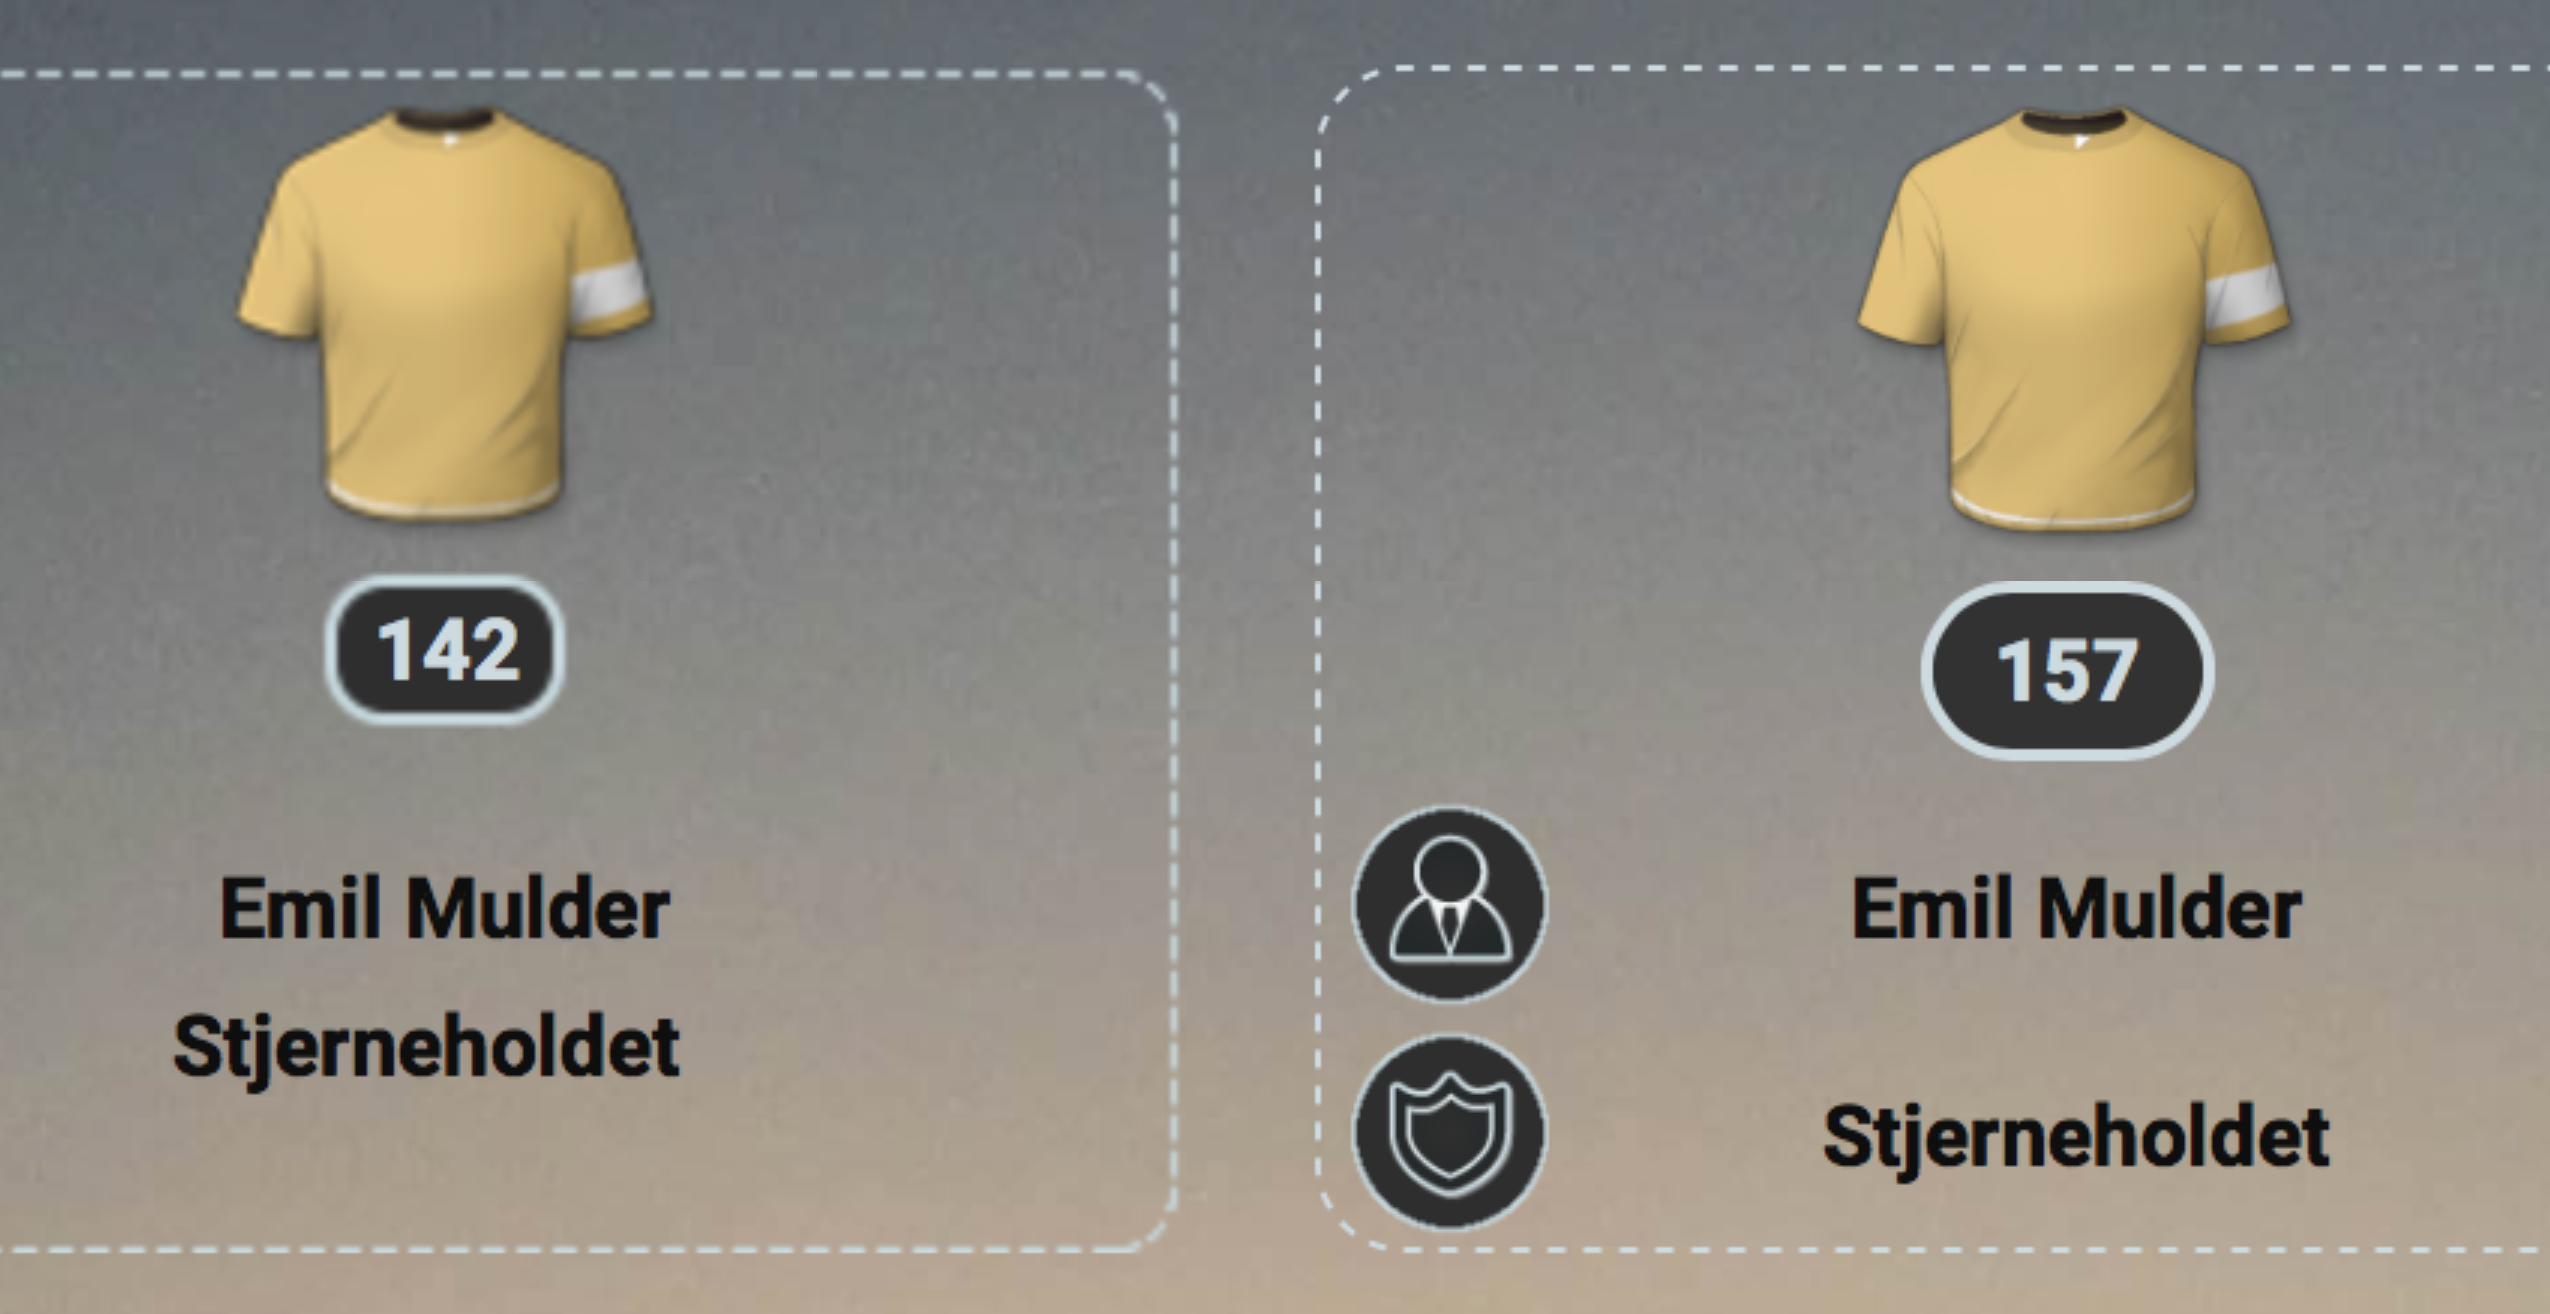
The picture I have posted before is at 100 % in photoshop. This is how it looks, when i put my photoshop design in the mockingbot. The left picture is the one I made in Photoshop, the right is the one that I made in mockingbot. The first picture is 100 % and the second is when zoomed in.
I am not very well familiar with anything ![]() I don't know the Anti-aliasing and feather settings. I have tried to search for the issue, but I only found an option to filter -> sharpen -> sharpen edges, which didn't do that much.
I don't know the Anti-aliasing and feather settings. I have tried to search for the issue, but I only found an option to filter -> sharpen -> sharpen edges, which didn't do that much.
Copy link to clipboard
Copied
In the first side by side I see the difference in particular the UI elements bottom left.
But compared to the original screenshot that is upsampled 200% and the effect does not seem unexpected.
I am not familiar with Mockingbot, but if that application should just upsample images to 200% there is precious little one can do about that.
What is the original psd file’s resolution?
Could you please post a screenshot taken at View > 100% with the pertinent Panels (Layers, Channels, Options Bar, …) visible?
Copy link to clipboard
Copied
I don't think it is the program, that is making the difference. When i open it with the standard mac image program it looks the same (this is at 100 %):
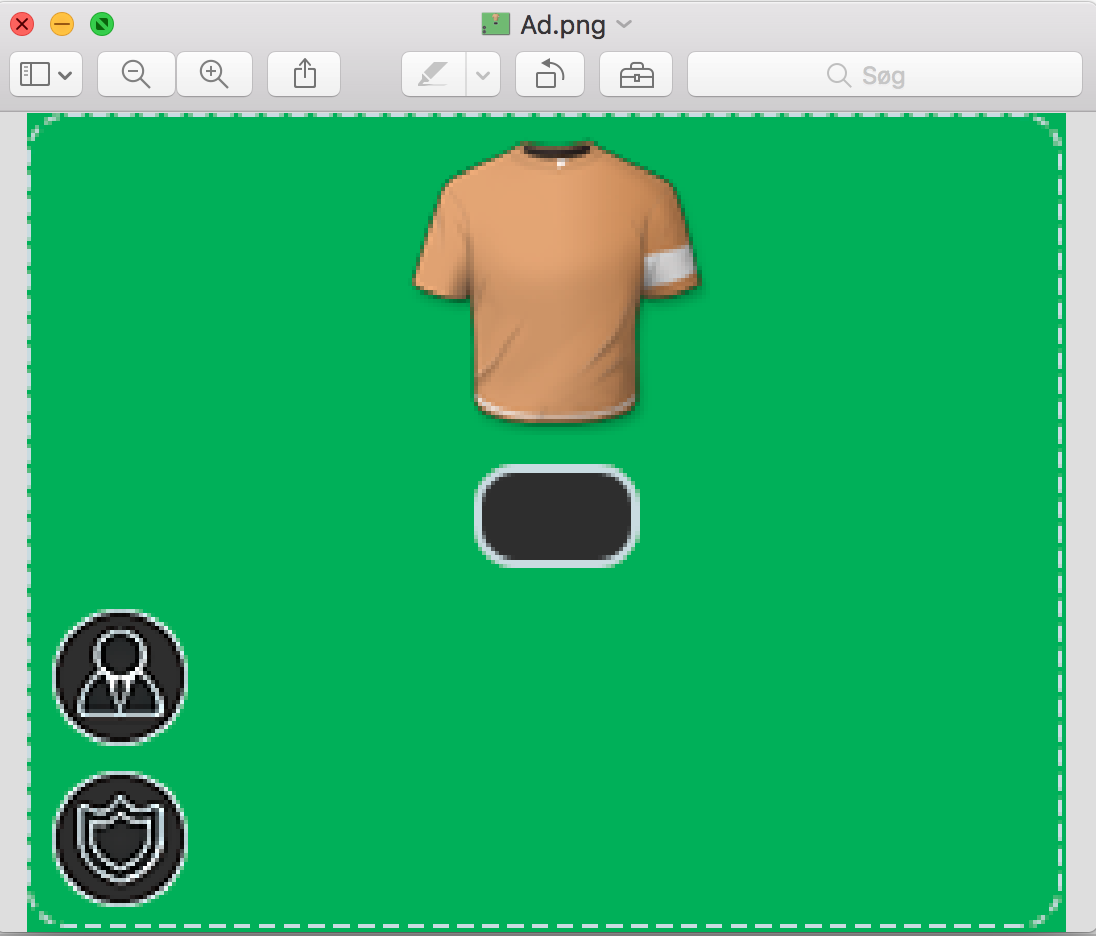
This is taken (I think) as you've asked for:
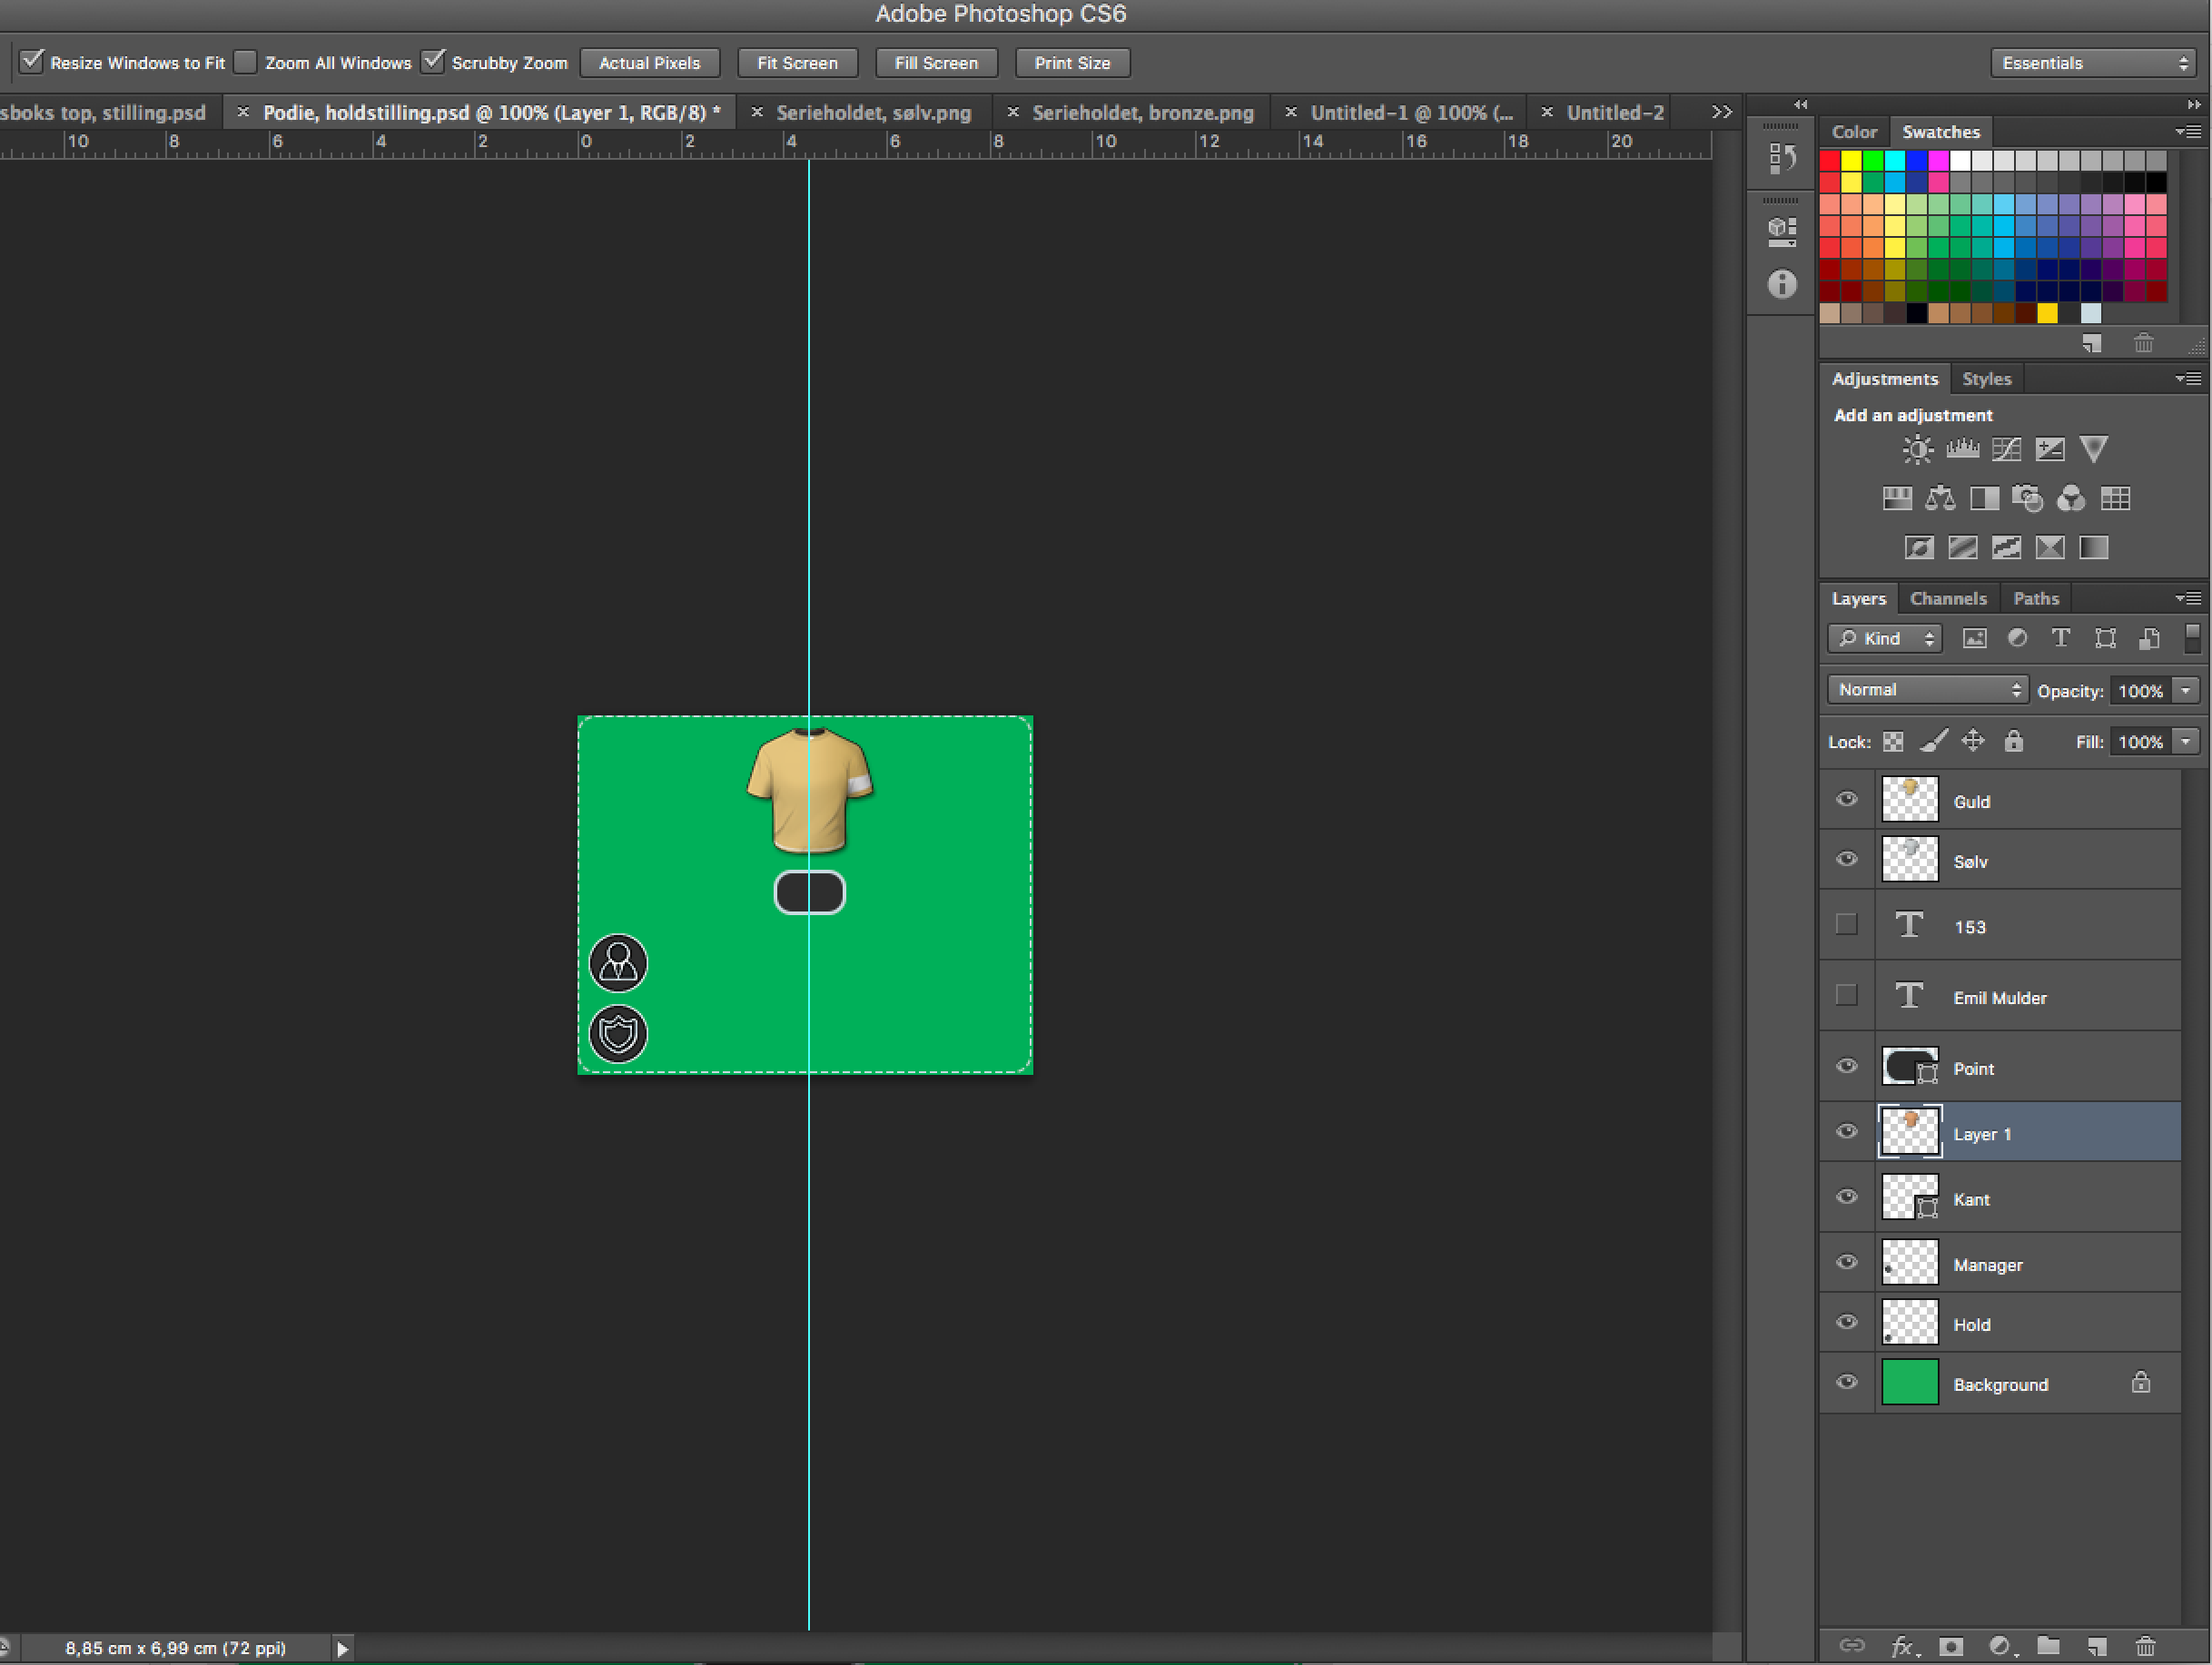
Copy link to clipboard
Copied
This is getting bizarre, where did you create the image originally and what have you done to it?
The screenshot shows that it was taken at View > 100% but what looks like the individual image pixels are actually 2px x 2px (guides, too), so it seems you have messed up the display somehow.
Where and how and at what resolution did you create the Layers »Guld«, »Sølv«, »Layer 1«, »Manager« and »Hold«’s content?
Why are they not Smart Objects?
What are the original image’s resolution and pixel dimensions?
In »Skærmbillede+2018-07-18+kl.+16.53.58.tif« the image is upsampled more than 400% compared to the original screenshot.
Whatever those other applications do to images you created in Photoshop is not Photoshop’s doing.
Copy link to clipboard
Copied
I don't think I have done anything other than opening the program at started editing. I make the background and the edges and then i copy other layers into the picture. I have made those layers by myself as well.
I have to admit that I don't know how to answer your questions, but it seems I have done something wrong from the beginning, so I might just try to make the image once again. I will try to look op anti-aliasing and smart objects and see if that is a solution.
Thank you for answering ![]()
Copy link to clipboard
Copied
Smart Object can hold an image at its original pixel dimensions even though the instance may have been scaled down.
In this case that would mean: If the shirt-illustration was larger originally and it was placed as a Smart Object and it turned out you need the image larger or at a higher resolution you could simply increase the image’s resolution and the original illustration would be used to re-calculate the content utilising its full resolution.
Copy link to clipboard
Copied
The screenshot shows that it was taken at View > 100% but what looks like the individual image pixels are actually 2px x 2px (guides, too), so it seems you have messed up the display somehow.
I seem to remember that the obsolete Photoshop CS6 could be set to 200% in the Get Info-window in the Finder– did you do that?
Get ready! An upgraded Adobe Community experience is coming in January.
Learn more