Answered
Insert watermark
Hi. I'm a complete novice and am looking for a step by step guide to inserting a watermark into my photos. Can anyone help, please?

Hi. I'm a complete novice and am looking for a step by step guide to inserting a watermark into my photos. Can anyone help, please?
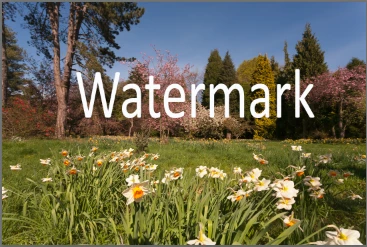
Make the Watermark with a text or shape layer (I've used white text below)
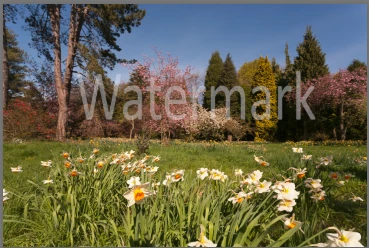
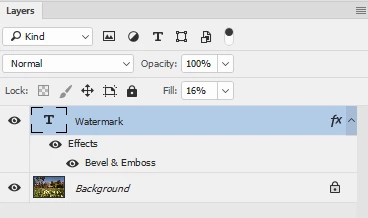
Reduce the fill value of the layer so the background shows through (I've used 16% in the example). Reducing the fill value makes the centre transparent but retains any layer styles which I will add next.
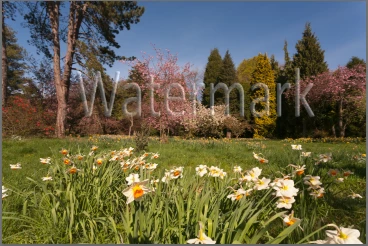
Right click on the text layer, choose Blending Options then under the Layer Styles menu tick Bevel & Emboss
Dave
Already have an account? Login
No account yet? Create an account
Enter your E-mail address. We'll send you an e-mail with instructions to reset your password.
