• Global community
    • Language:
      • Deutsch
      • English
      • Español
      • Français
      • Português
  • 日本語コミュニティ
    Dedicated community for Japanese speakers
  • 한국 커뮤니티
    Dedicated community for Korean speakers
Exit
0

Make element blend in

Explorer ,
Jun 16, 2017 Jun 16, 2017

Copy link to clipboard

Copied

I would like to make footprint to look like it is actual footprint on the pavement rather than floating above.

Capture.PNG

Is there a way to do this?

Views

240

Translate

Translate

Report

Report
Community guidelines
Be kind and respectful, give credit to the original source of content, and search for duplicates before posting. Learn more
community guidelines

correct answers 1 Correct answer

Community Expert , Jun 16, 2017 Jun 16, 2017

Put the footprint on a separate layer.

Optional, but I would suggest making it a smart object. (Right click on the footprint layer and choose Create to Smart Object.)

Edit > Transform. Try to transform the shape of the footprint so that it conforms to the perspective of the road. (If it's too difficult for you to do that, consider using Filter > Vanishing Point -- however, you can't use a smart object with that command.)

To make the footprint look more like it belongs, try some different layer blen

...

Votes

Translate

Translate
Adobe
Community Expert ,
Jun 16, 2017 Jun 16, 2017

Copy link to clipboard

Copied

Put the footprint on a separate layer.

Optional, but I would suggest making it a smart object. (Right click on the footprint layer and choose Create to Smart Object.)

Edit > Transform. Try to transform the shape of the footprint so that it conforms to the perspective of the road. (If it's too difficult for you to do that, consider using Filter > Vanishing Point -- however, you can't use a smart object with that command.)

To make the footprint look more like it belongs, try some different layer blend modes. A couple you might try are Soft Light or Pin Light.

Soft light:

Or Pin Light with a lower opacity.

Votes

Translate

Translate

Report

Report
Community guidelines
Be kind and respectful, give credit to the original source of content, and search for duplicates before posting. Learn more
community guidelines
Community Expert ,
Jun 16, 2017 Jun 16, 2017

Copy link to clipboard

Copied

LATEST

I'll add my 2 cents worth to Barbara's post.

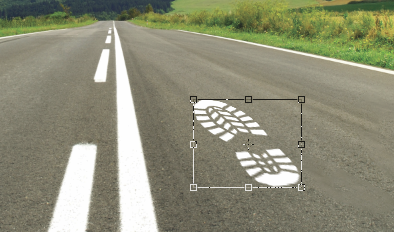
The main reason to convert the bootprint layer to a Smart Object, is the Free Transform Handles will always maintain their corner handles square to the object, rather than square to the image which is what happens if you need to edit the print more than once.

So Smart Object handles

Normal layer handles on a second transform.  It's a nightmare try to fix position and perspective with non Smart Objects.

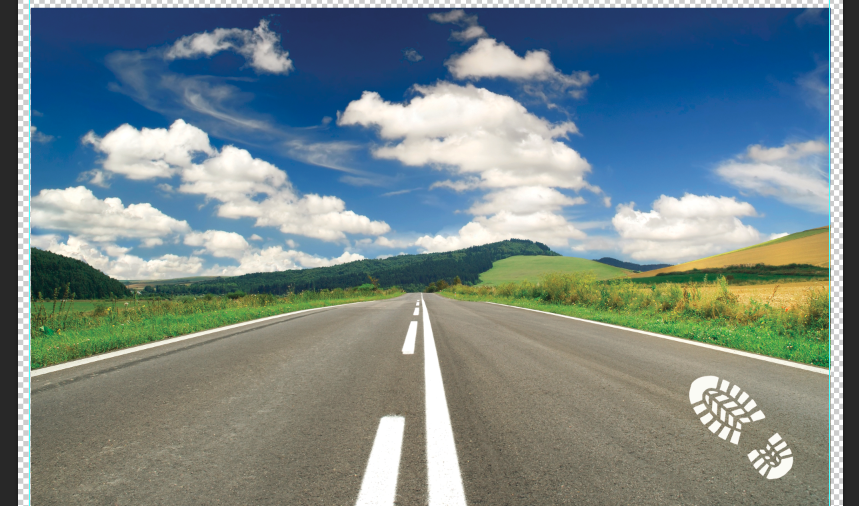
Another very useful aspect of using a Smart Object is that the always square-to-object bounding box can be aligned to the image perspective, so by laying down some perspective lines using the road as a guide, and dragging out some new guides from the 'disappearing point', you align the object bounding box  to those guides.

Taking that a step further, the disappearing point also coincides with the image's horizon, and we know that if we place people in the image, their eyelines will be exactly on the horizon regardless of how far they are from the camera's point of view — providing the ground is flat and the people are the same height and the same height as the person taking the photograph.

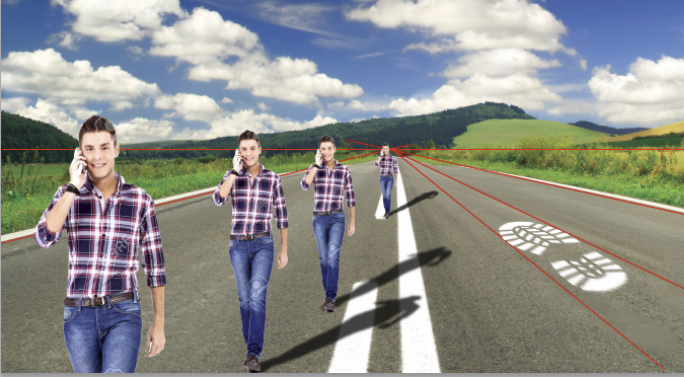
BTW  The person who stepped in the white paint before hopping into my picture, was a GIANT (true story )

Votes

Translate

Translate

Report

Report
Community guidelines
Be kind and respectful, give credit to the original source of content, and search for duplicates before posting. Learn more
community guidelines