Hi Anita,
You can use the warp function in photoshop.
1. Select what you want to warp in your case it is the logo.
2. Do one of the following:
Choose Edit > Transform > Warp.
If you chose a different transform command or the Free Transform command, click the Switch Between Free Transform And Warp Modes button in the options bar.
3. Do one or more of the following:
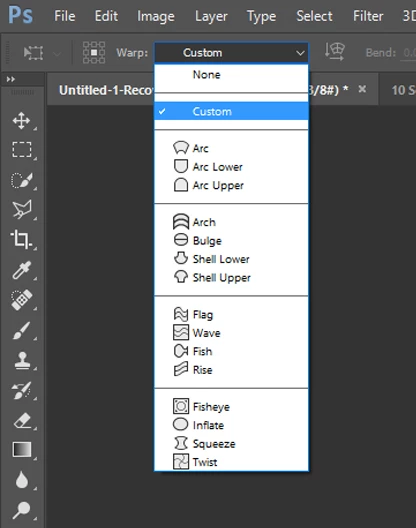
To warp using a specific shape, choose a warp style from the Warp pop‑up menu in the options bar.
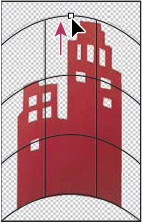
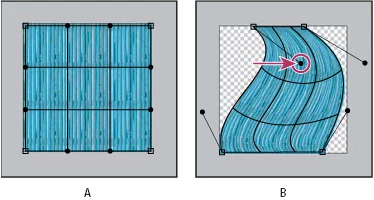
To the manipulate the shape, drag the control points, a segment of the bounding box or mesh, or an area within the mesh. When adjusting a curve, use the control point handles. This is similar to adjusting the handles in the curved segment of a vector graphic.
Note: To undo the last handle adjustment, choose Edit > Undo.
To change the orientation of a warp style that you chose from the Warp menu, click the Change The Warp Orientation button in the options bar.
To change the reference point, click a square on the Reference point locator in the options bar.
To specify the amount of warp using numeric values, enter the values in the Bend (set bend), X (set horizontal distortion), and Y (set vertical distortion) text boxes in the options bar. You can’t enter numeric values if you have chosen None or Custom from the Warp Style pop‑up menu.
4. Do one of the following:
Press Enter (Windows) or Return (Mac OS), or click the Commit button in the options bar.
Regards
Sahil