


Mask Transparent Glass in Photoshop now!
Easily mask transparent glass in Photoshop
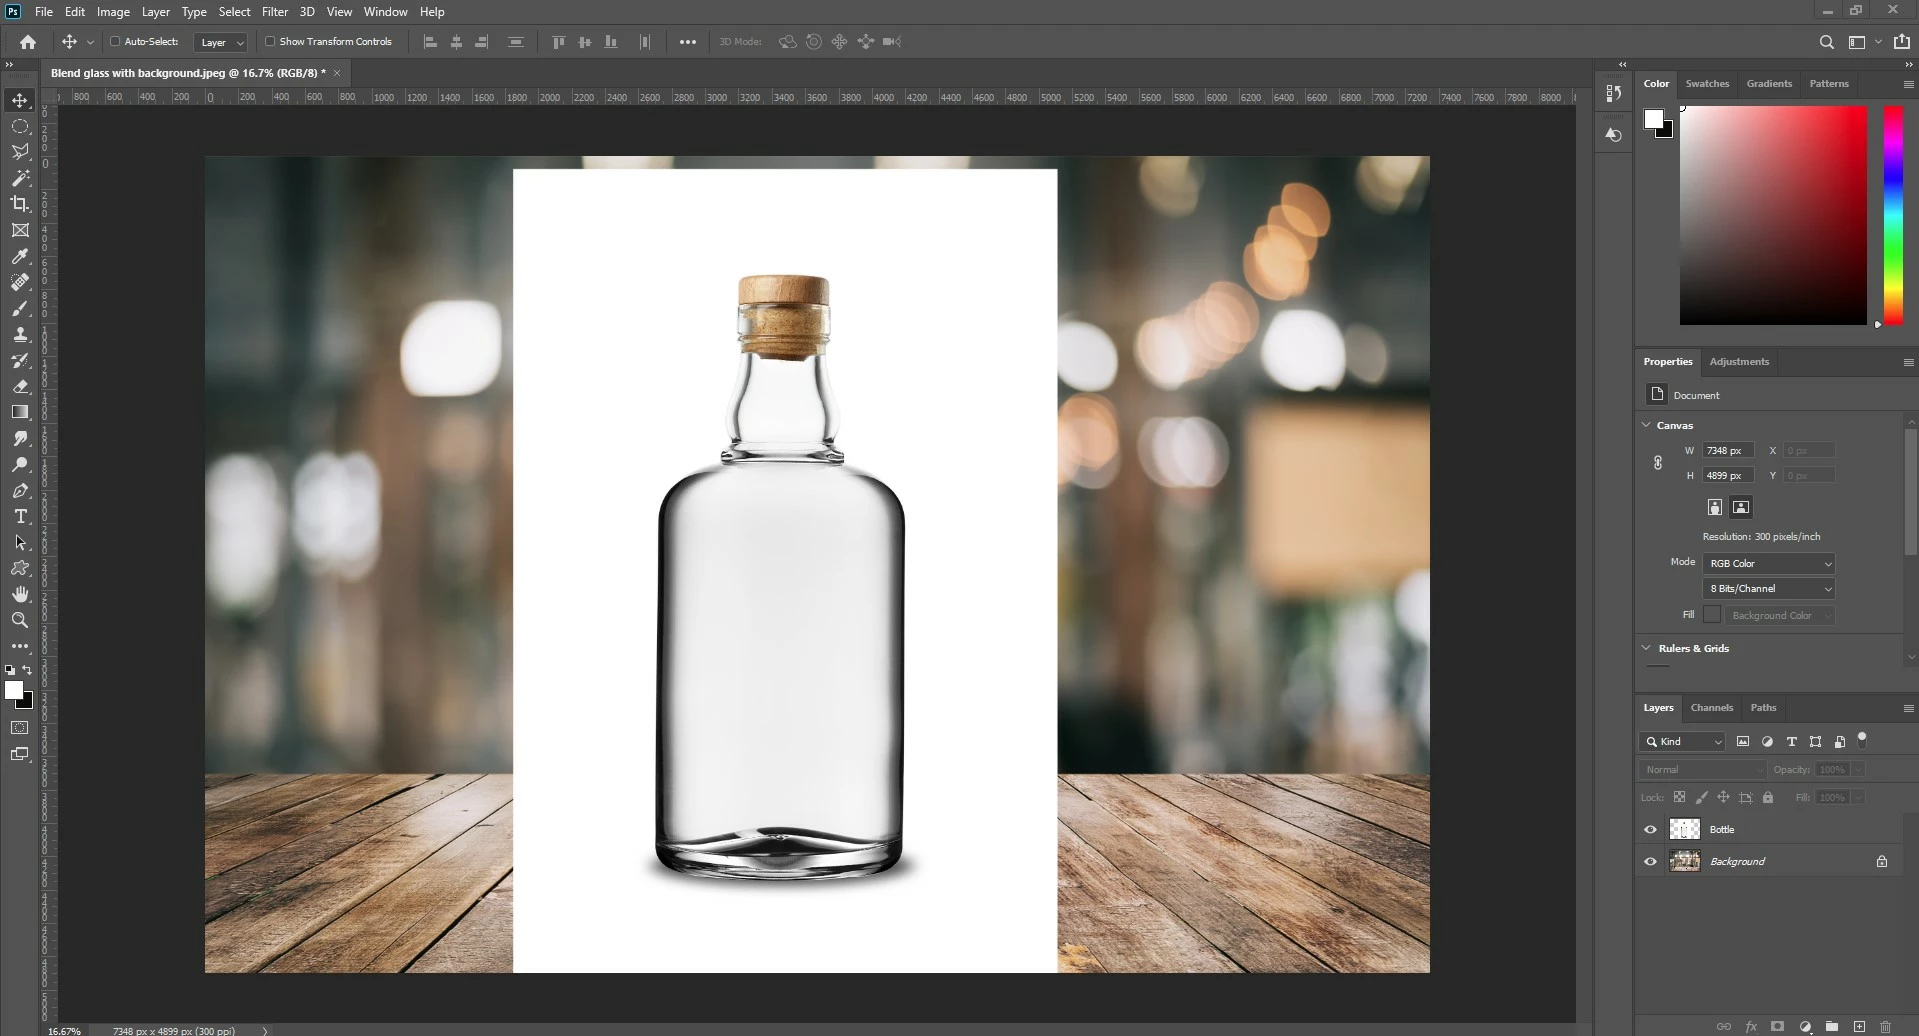
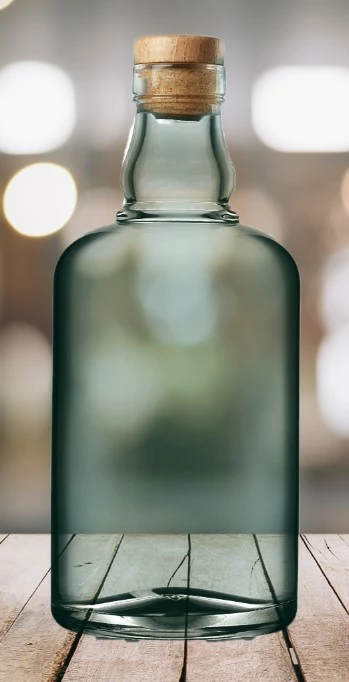
Have you ever wondered how to make something look like it's behind glass in Photoshop?
In this post, you will learn how to extract glass objects, and blend transparent glass with any background in Photoshop using blend modes. You can download this PSD (Photoshop Document) and open it in Photoshop to follow along with the tutorial.
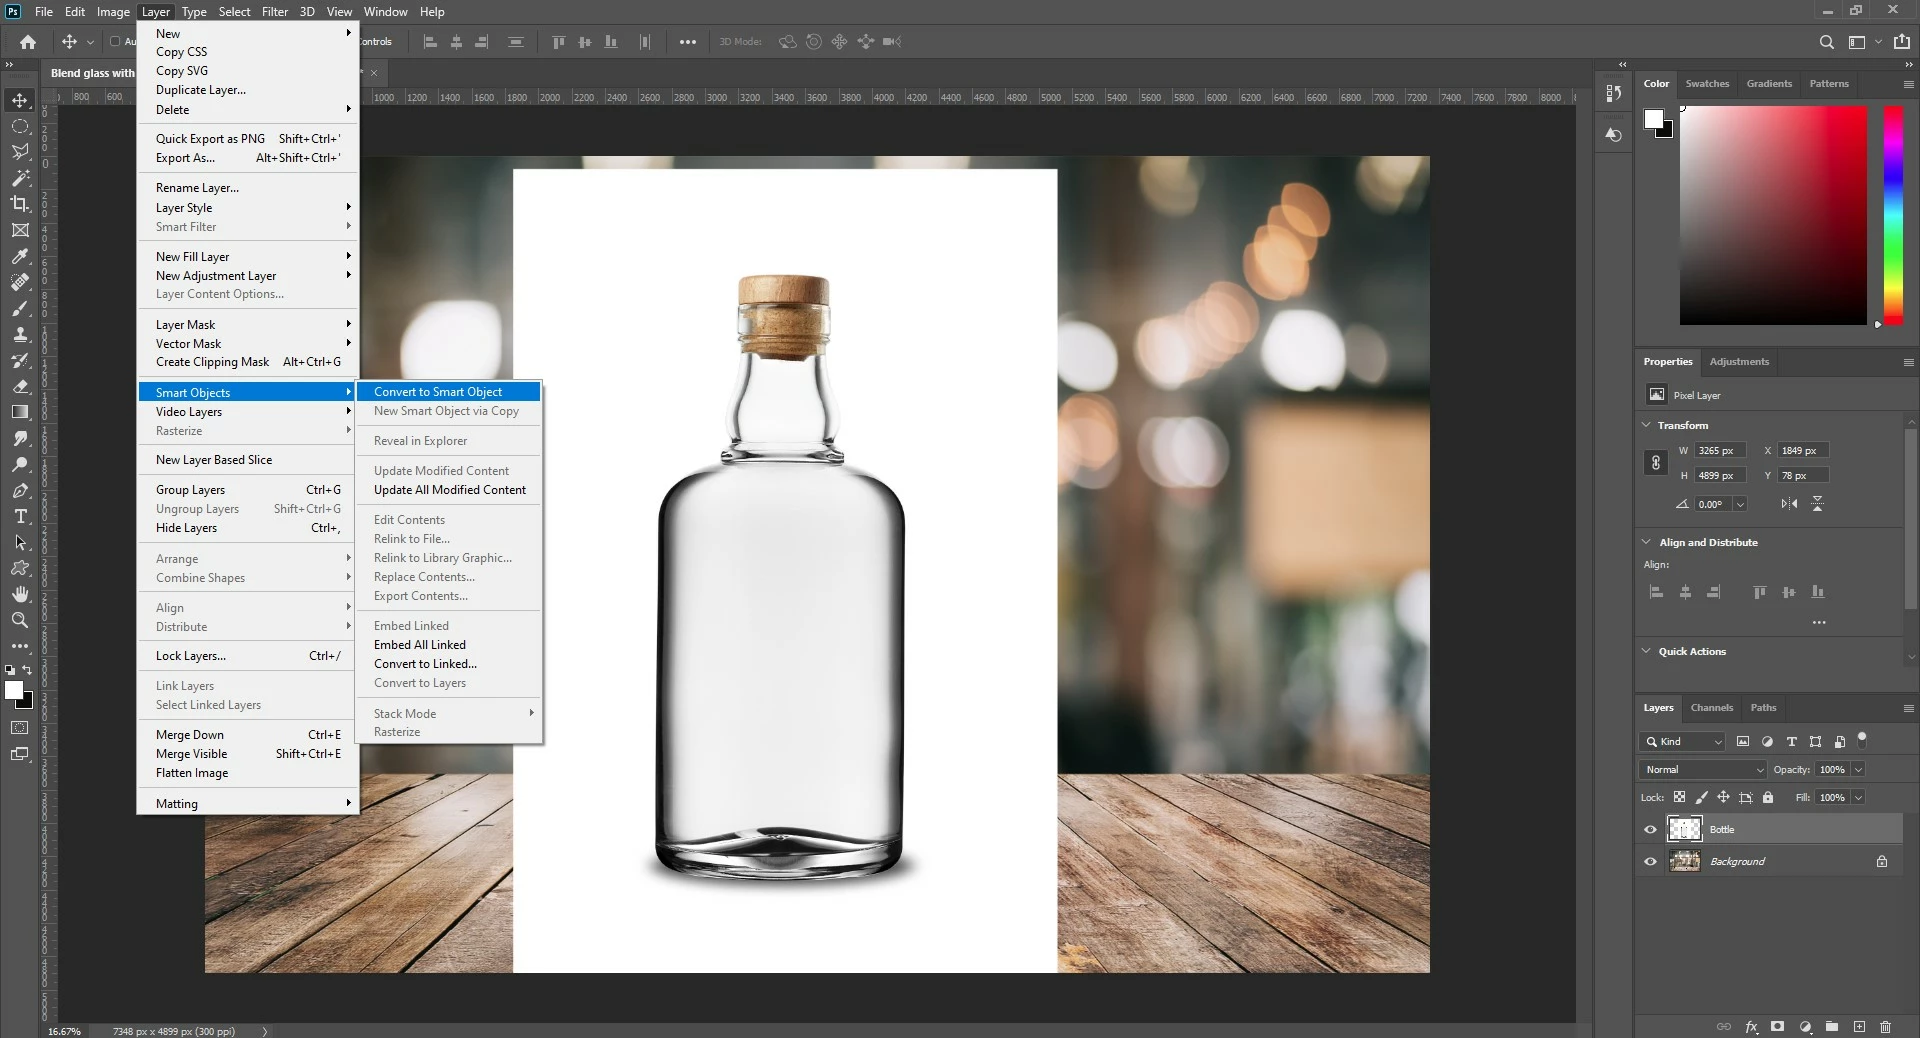
❶ Convert the bottle into a smart object
Converting the Bottle layer into a smart object allows you to work Non-Destructively, which means that you can always go back later and adjust the transformations, filters, and adjustments after you have applied them.
- Click on the Bottle layer to highlight it
- Go to Layer > Smart Objects > Convert to Smart Object
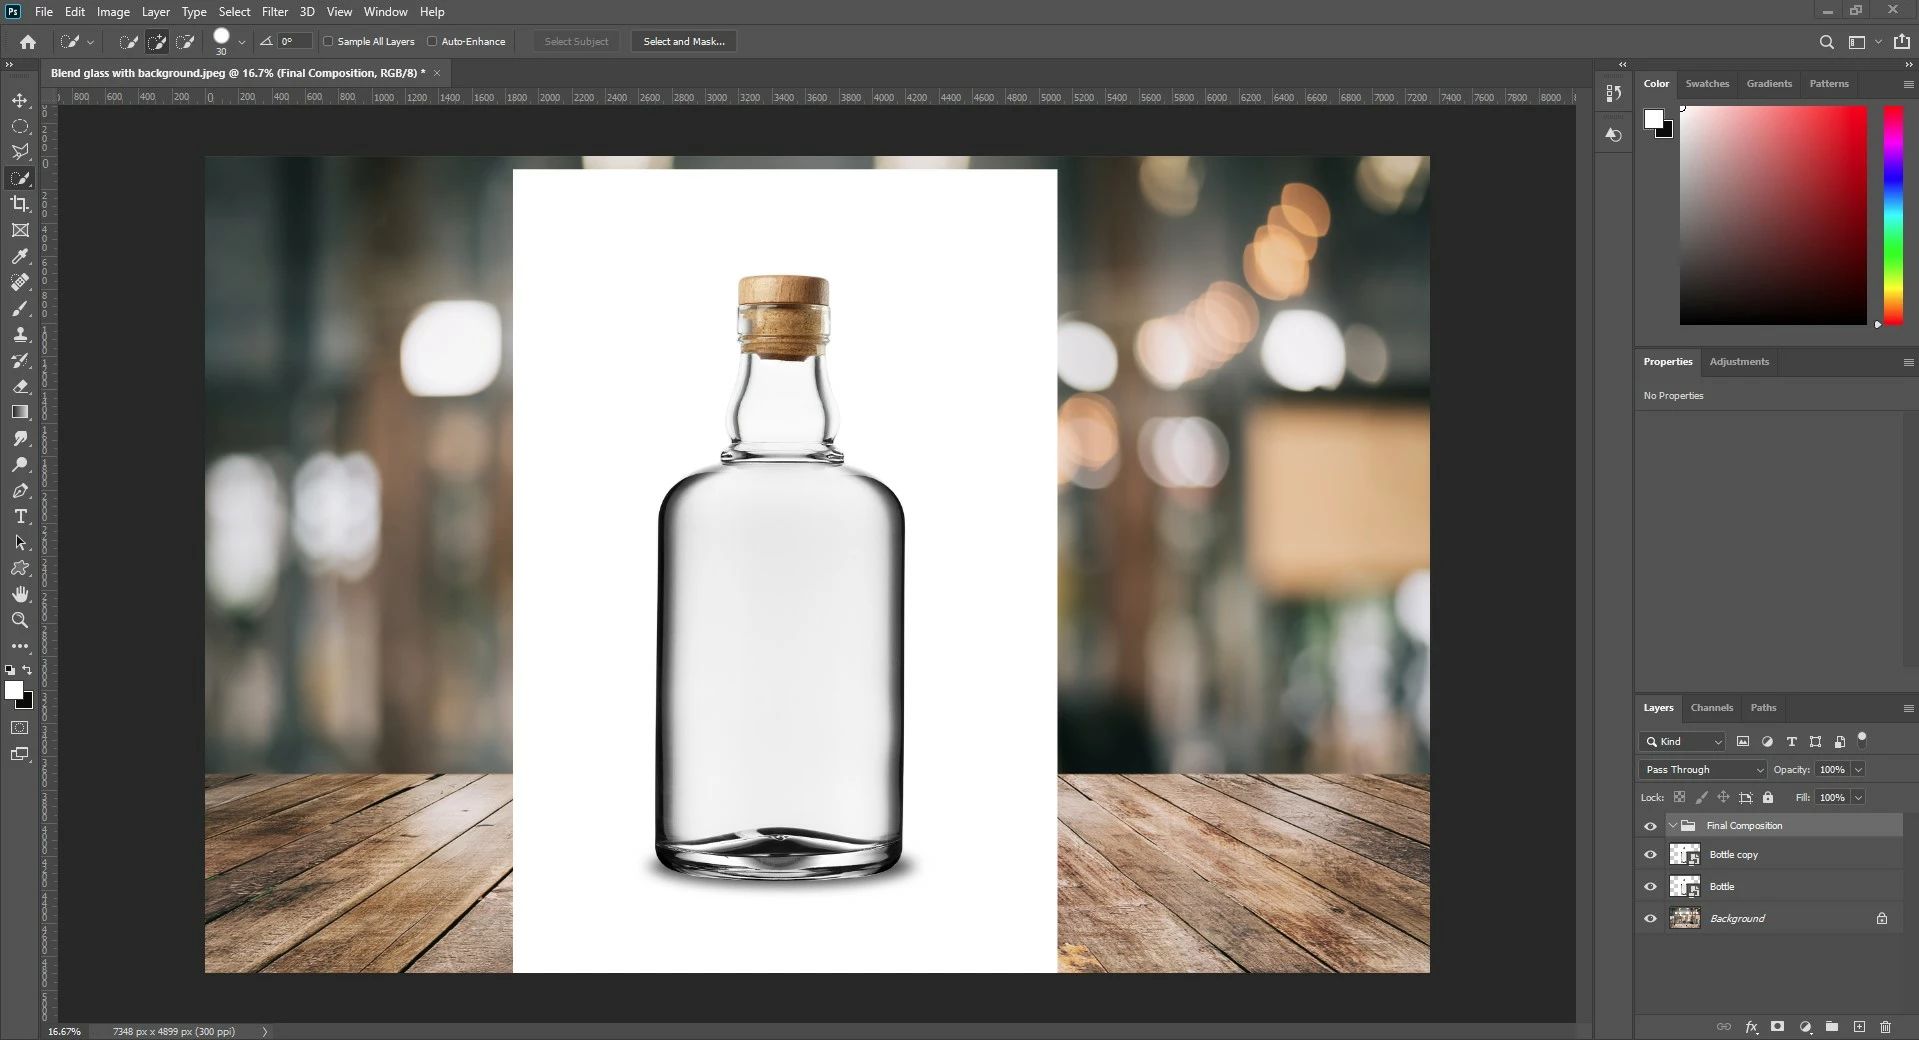
❷ Create a duplicate layer
- Ensure you have the bottle layer selected
- Press CTRL+J (Windows) or CMD+J (MAC) to make a copy of the layer
- Now you have a duplicate bottle layer named Bottle Copy to work on so that you can keep the original bottle layer intact
- Highlight the Bottle Copy layer and press CTRL+G (Windows) or CMD+G (macOS) to create a Group Layer
- Double click Group Layer’s name to rename it and type Final Composition
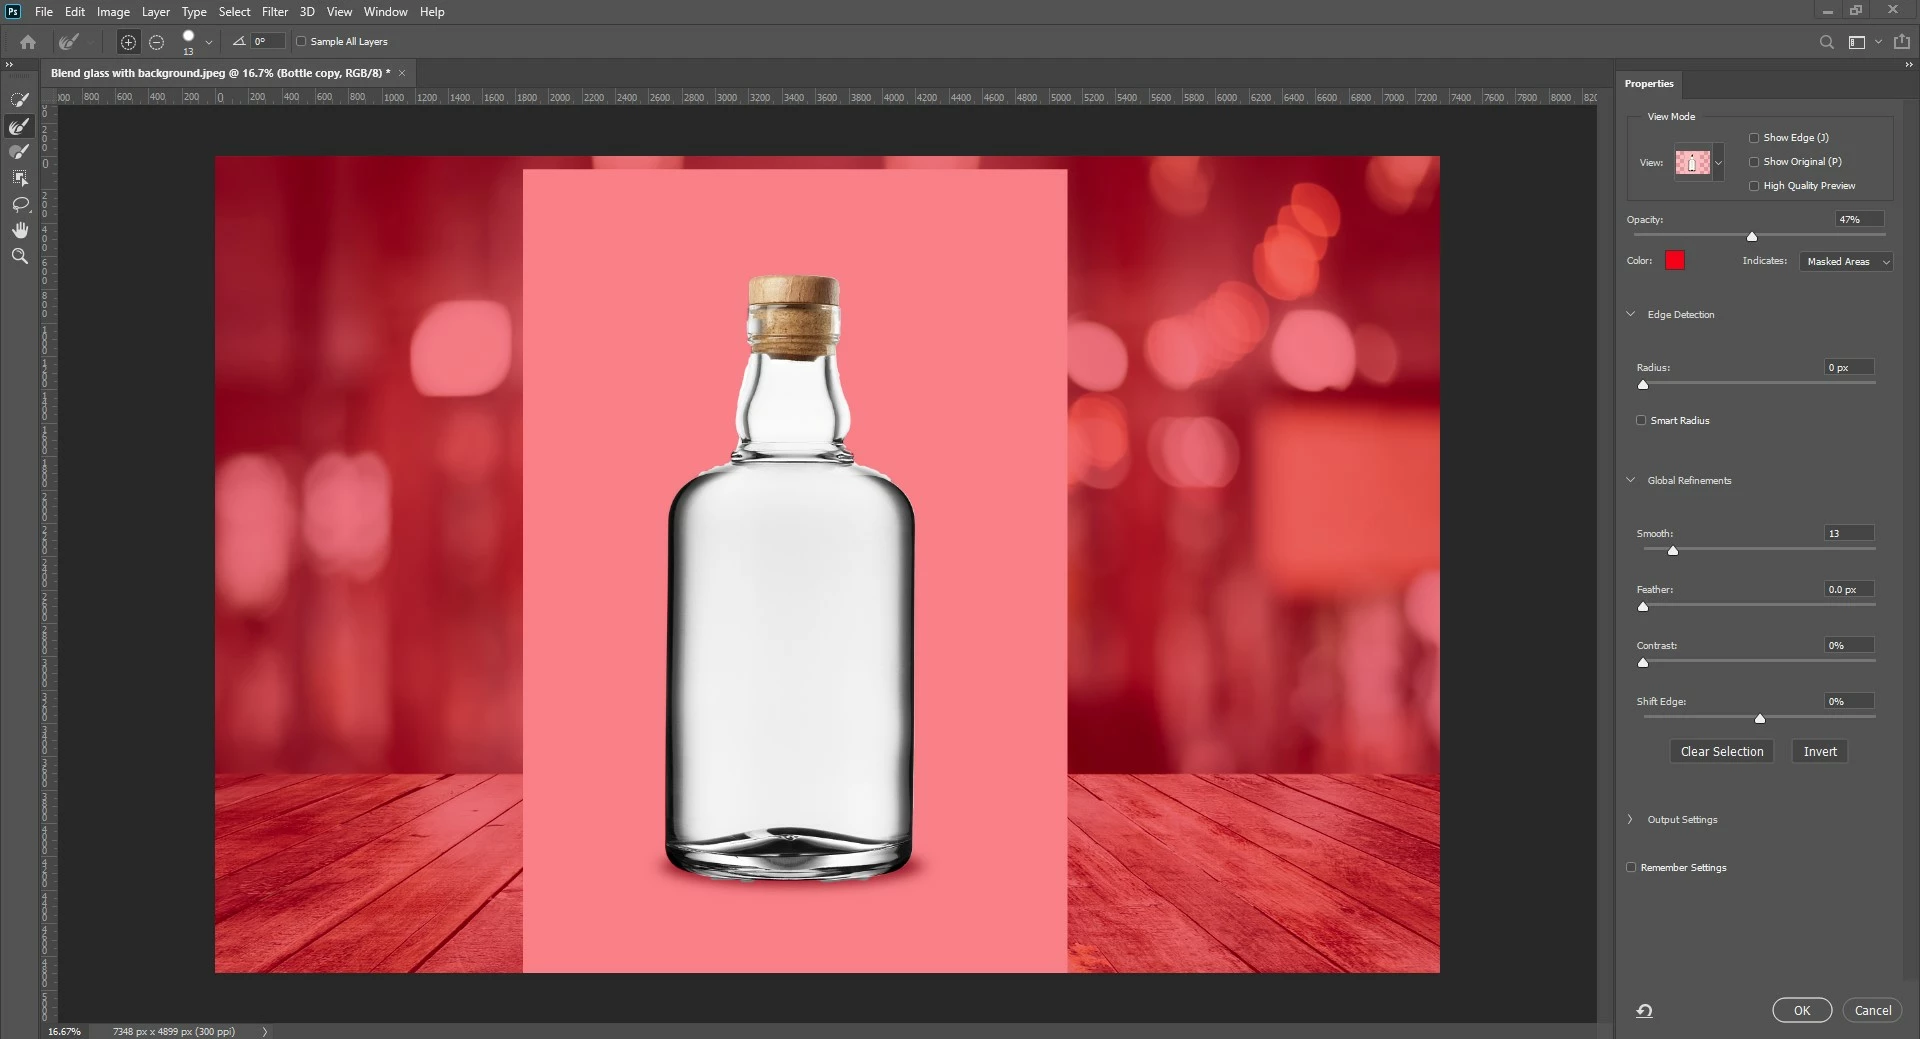
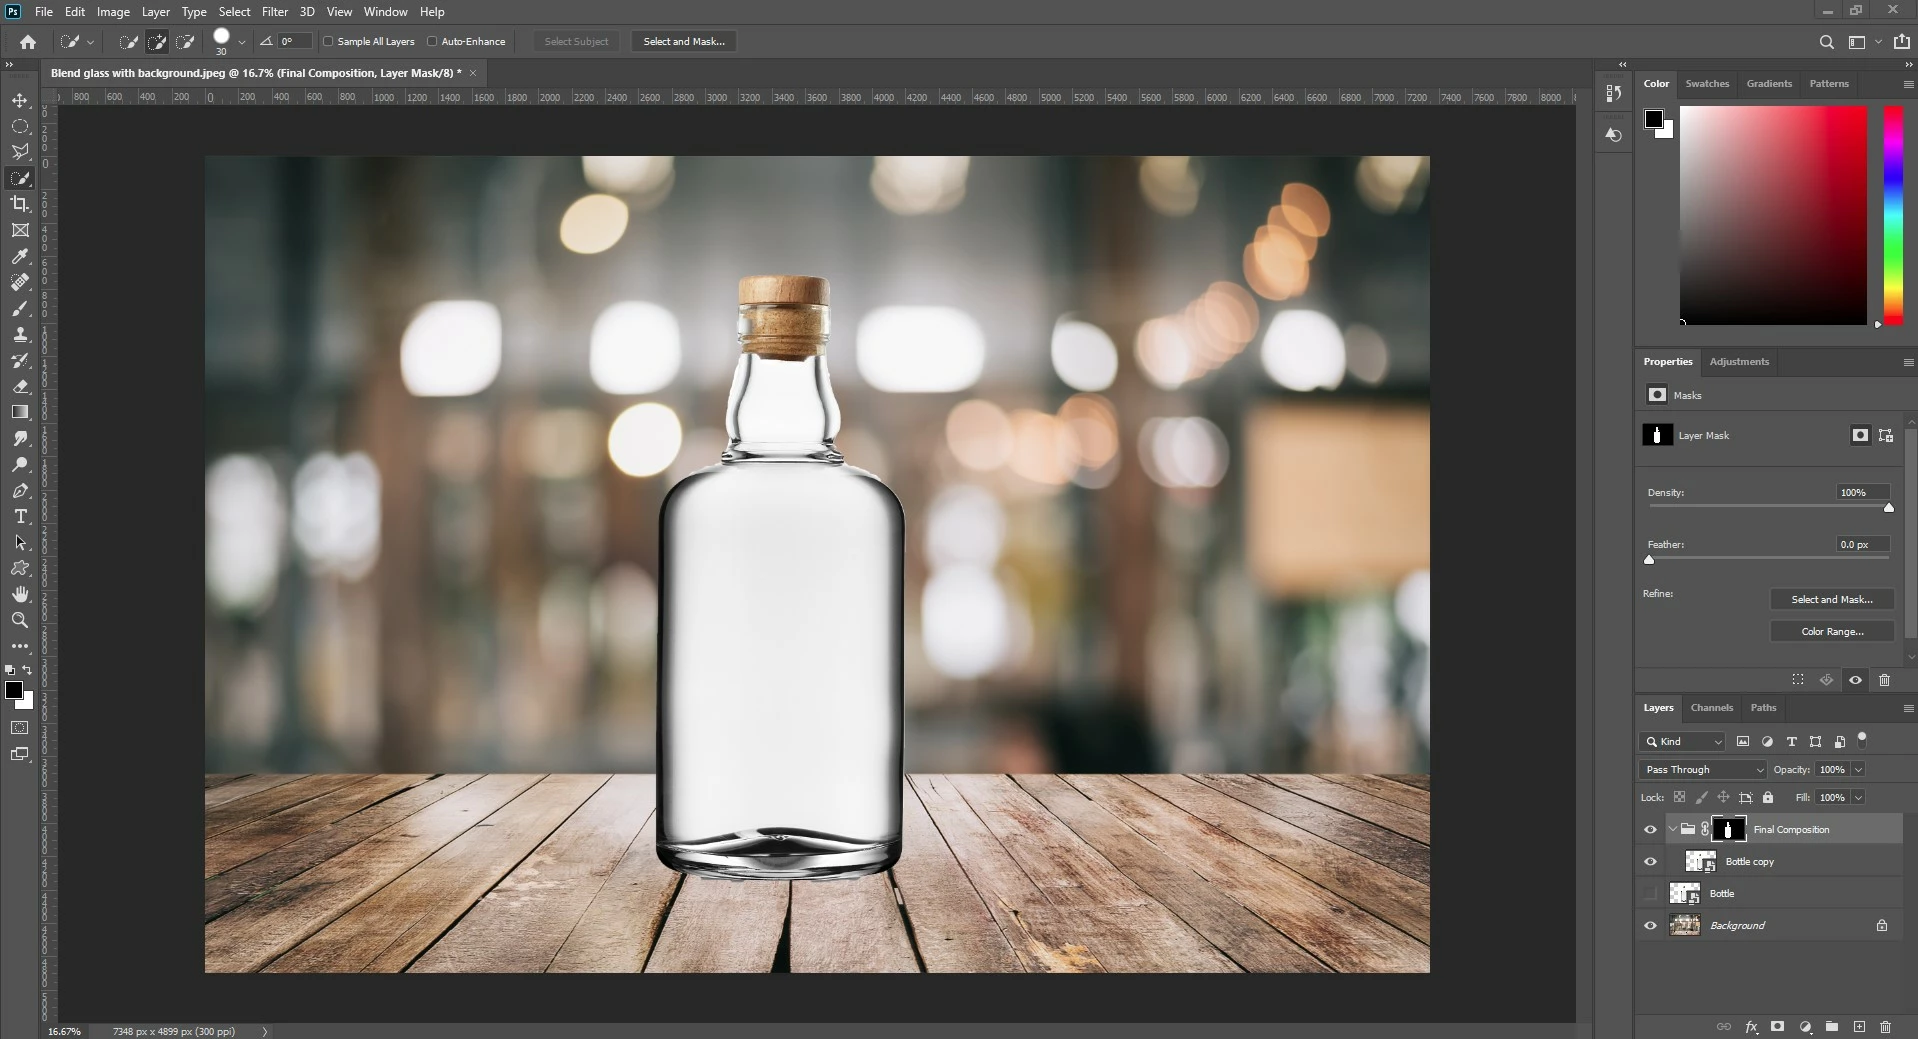
❸ Create a mask to blend the bottle with the background
- Make sure the Bottle Copy Layer is highlighted
- Choose the Quick Selection Tool
- Select the area outside of the bottle
- If the initial selection contains unwanted areas, you can remove them by pressing the Alt/Option key and clicking on the areas to subtract them from the selection
- Once your selection is complete, click on Select and Mask at the top to open the Select and Mask window
- You can refine the selection by increasing the smoothness to 10-15 and clicking OK
- Next, highlight the group layer (Final Composition)
- Click on the Layer Mask button on the bottom of the Layers panel to create a mask
- In the properties panel, set feathering somewhere between 1 and 5 to refine the selection further
❹ Make the bottle look transparent
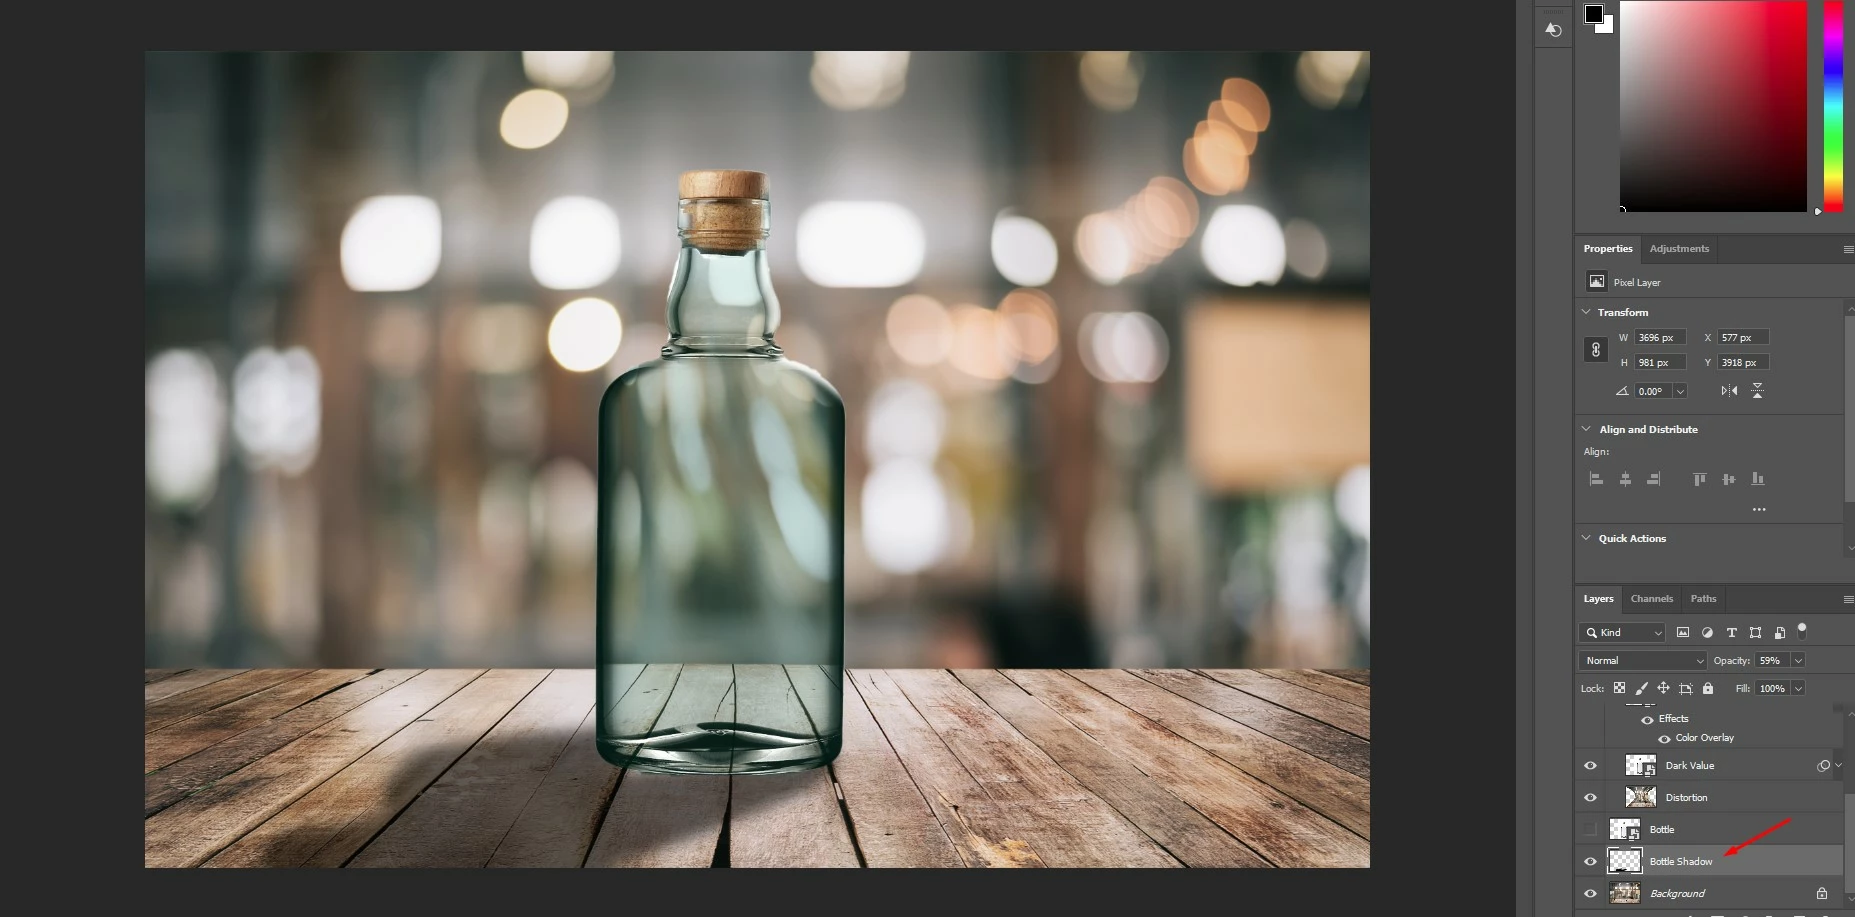
- Rename the Bottle Copy Layer to Dark Value since we will be using a layer blending mode to remove the white from the bottle
- Select the Dark Value layer
- Go to Image > Adjustments and choose Black & White
- Without touching the setting, click OK
- This will turn the bottle into black & white
- Now, change the Layer Blending mode to Multiply
- The bottle should now look transparent
❺ Make additional adjustments
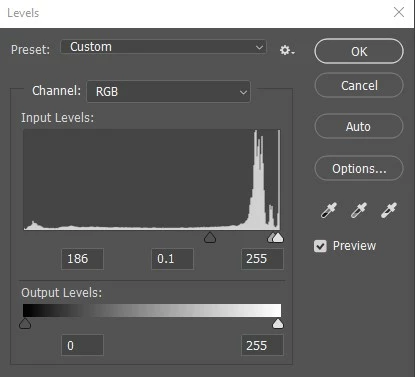
- Go to Image > Adjustments > Levels and move the middle slider slightly to the right to increase the contrast
Now we have Luminosity in the bottle, but we’re still missing Hue & Saturation. Let’s add them to the mix:
- Create a copy of the layer named Bottle
- Rename the layer Hue & Saturation
- Drag it to the Final Composition Group
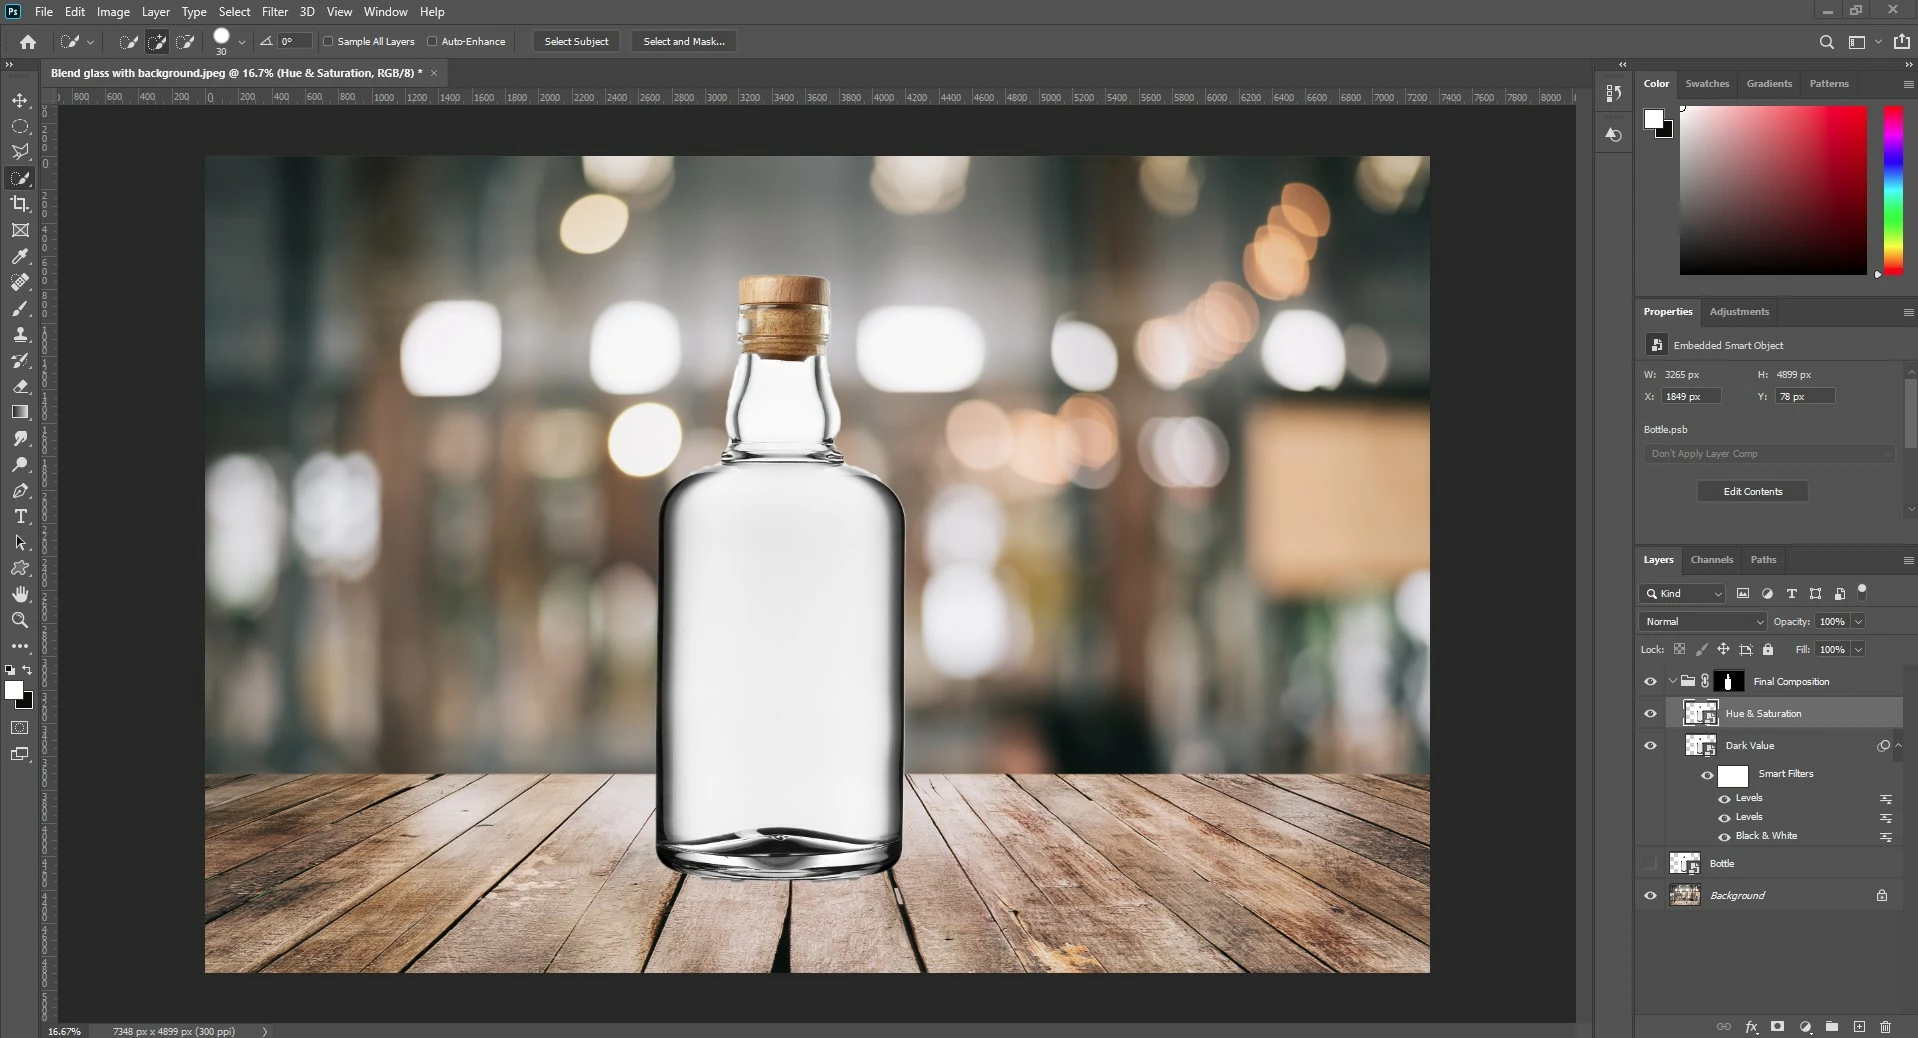
Note: Make sure to put the Hue & Saturation layer above the Dark Value layer and turn on the Hue & Saturation layer by clicking the Eye icon - Highlight the Hue & Saturation layer
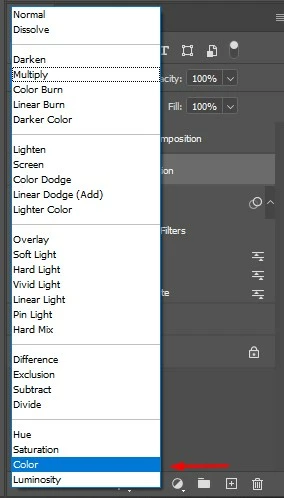
- Choose Color from the Blending Mode drop-down menu
In the last steps, we brought back some color to the bottle. Now, we will bring the specular highlights back:
- Make a copy of the Dark Value layer
- Choose Screen from the blending mode menu
- Go to Image > Adjustments and choose Levels
- Decrease the brightness by Sliding the left & middle sliders to the right side as shown below
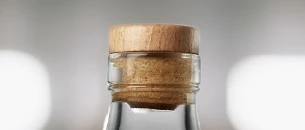
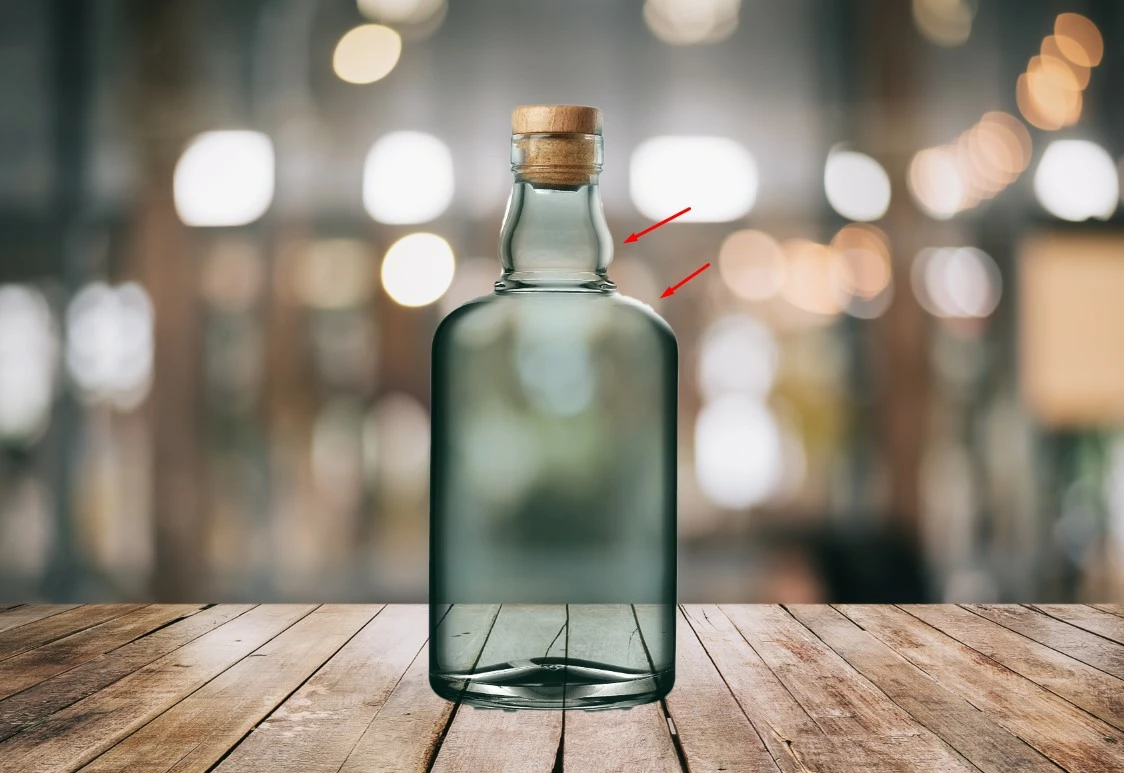
❻ Fix the cork
When we edited the bottle to blend it with the background, the cork became darker. Now we will bring back the original luminosity to the cork.
- Make a copy of the original layer named Bottle
- Rename the new layer "Cork"
- Drag the Cork layer into the Final Composition group and move it to the top of the layer stack
- Hold the Alt/Opt key and click on the Layer mask button to create a black mask on the Cork layer
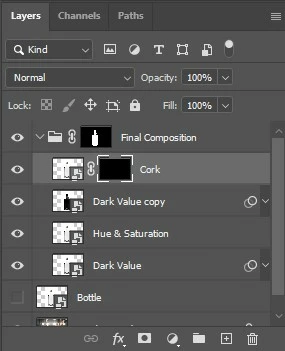
- Use the brush tool to paint over the Cork with white to reveal the original cork
- Add a tint to match the color of the bottle with the background
- Right Click or Ctrl Click the Hue & Saturation layer to open the layer menu
- Choose Blending Options
- Go to Color Overlay and click on the Color to choose a color from the Color Picker dialog
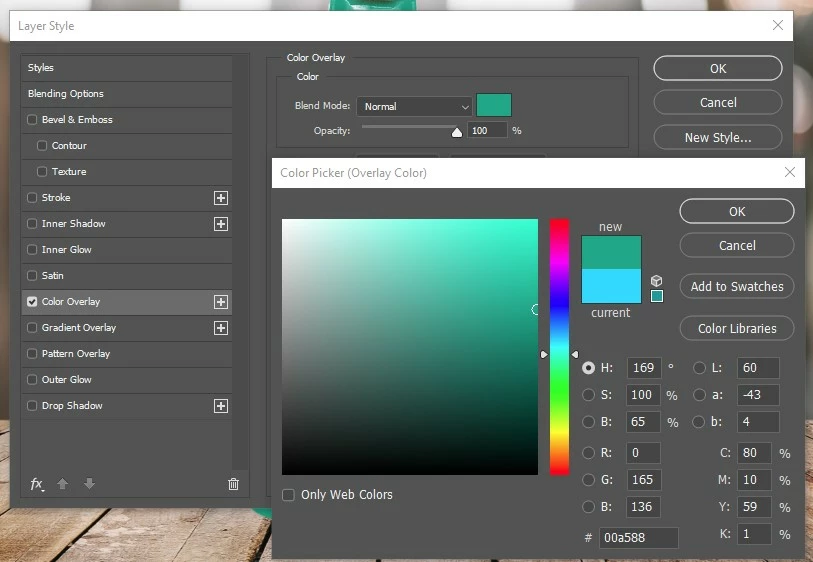
- Decrease the Opacity of the Hue & Saturation layer to blend the tint
❼ Add specular highlights to the bottle
- Create a new layer in the Final Composition Group
- Name the new layer Specular Highlights
- Use the Brush tool to add a few brush strokes to the bottle’s neck
- Click on Filter > Blur > Gaussian Blur to feather the edges of the strokes
- Select the Specular Highlights layer and change the Layer Blending mode to Color Dodge
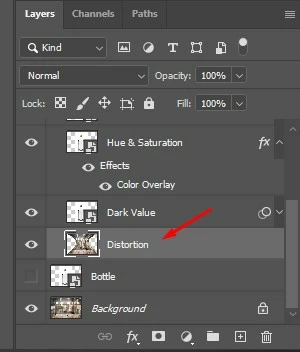
❽ Add Distortion
Since the inside of the bottle is not realistic yet, we need to add some distortion
- Create a copy of the background layer
- Name the layer Distortion
- Drag the Distortion layer into the Final Composition group and put it at the bottom of the stack
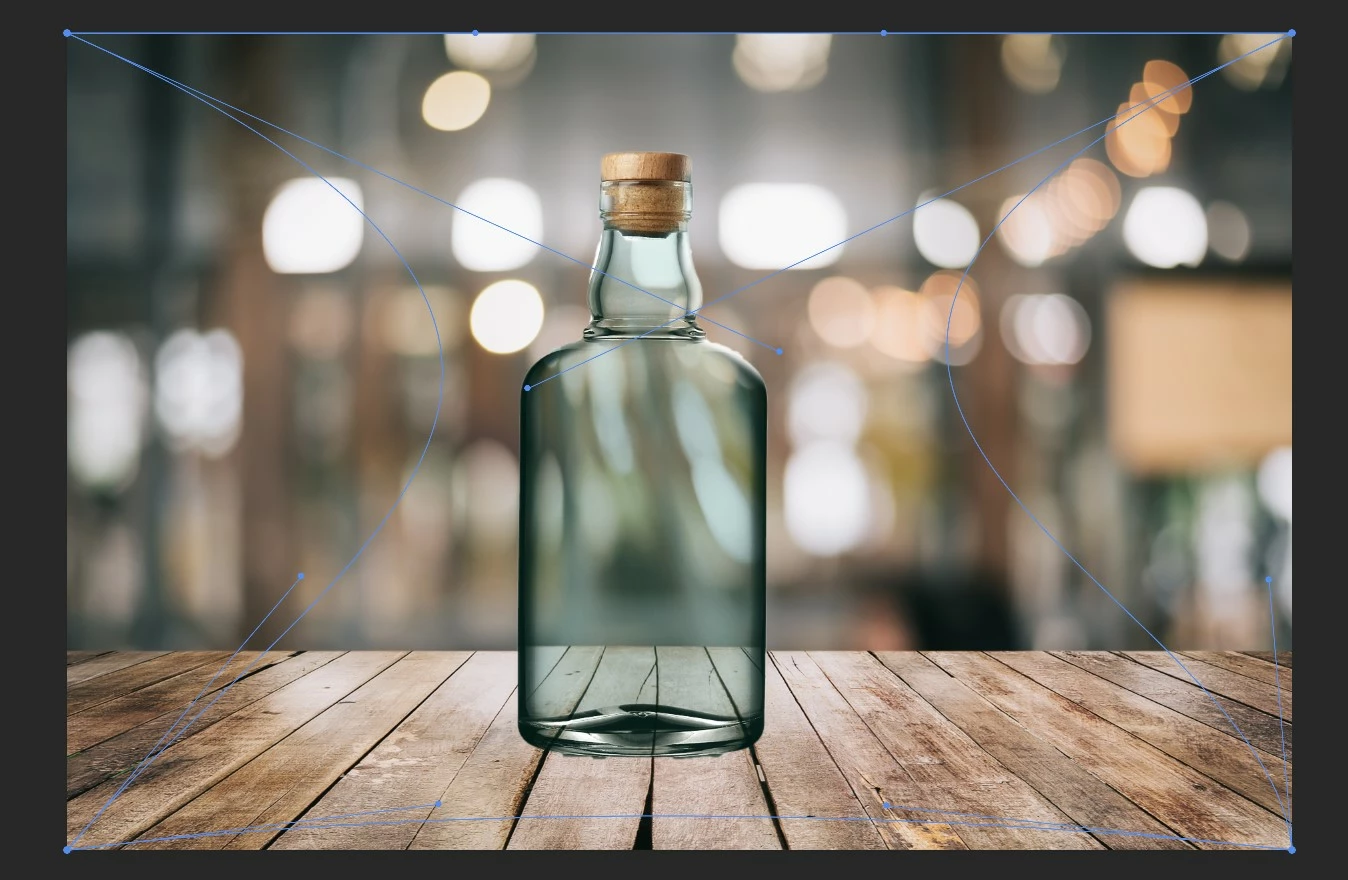
- Go to Edit > Transform and choose Warp
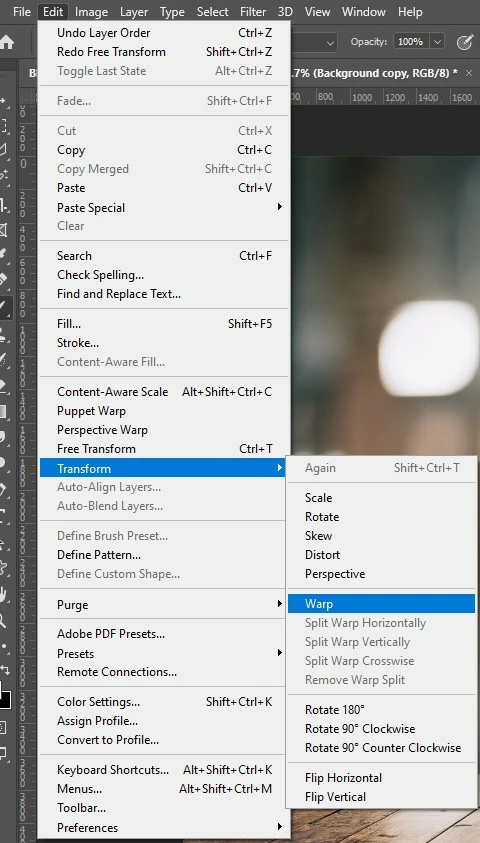
- Distort the background by holding the blue dots from each of the sides, as shown below, then hit Enter/Return to confirm the transformation
❾ Add Shadow
- Create a new layer above the original Background layer, and paint Black under the bottle using the Brush Tool
- Enhance the scene by adding a Tint to the whole image, to add a color tint click on the Adjustment Layer button on the layers panel and choose Color Lookup
- Drag the Color Lookup 1 layer outside of the Final Composition group and put it on top of the layer stack
- Open the Properties panel by going to Window > Properties
- Choose a good-looking tint from the 3DLUT File drop-down menu
- After decreasing the opacity of the Color Lookup 1 layer, the final image should blend well
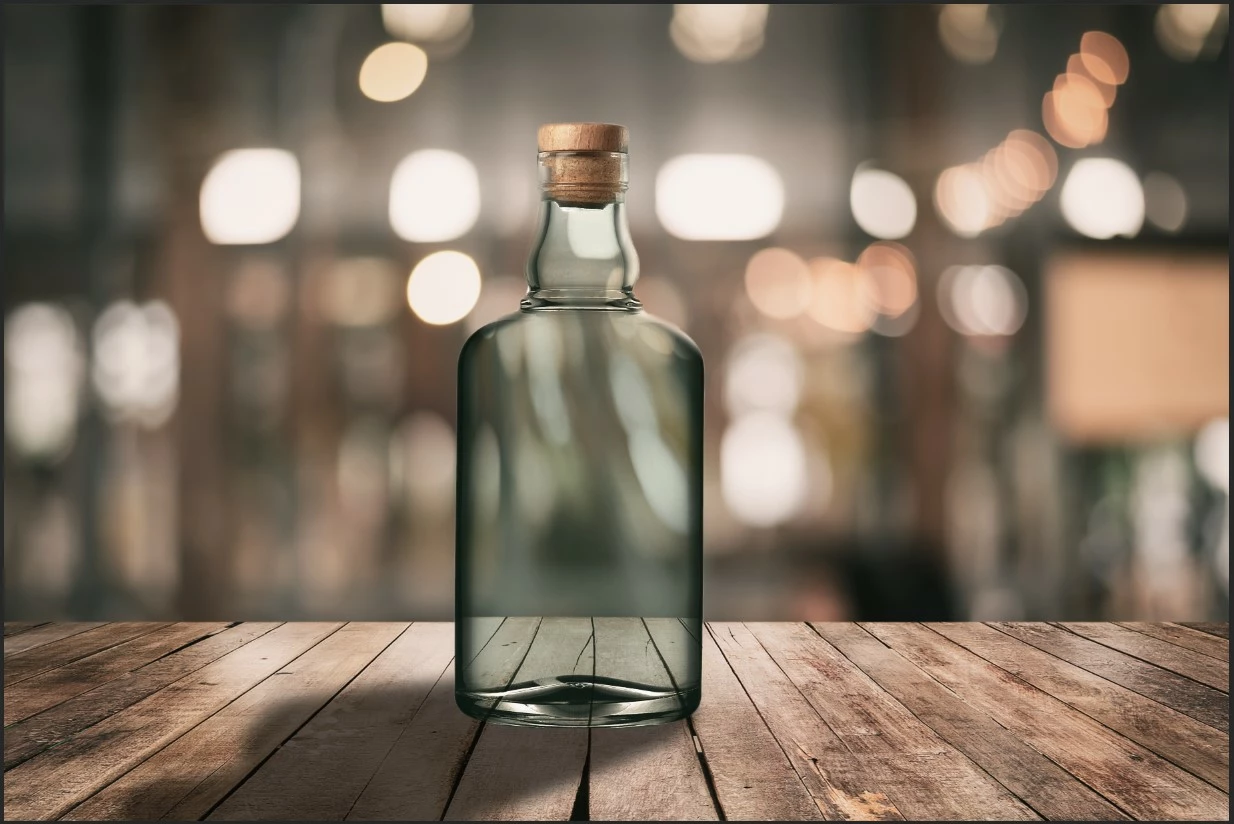
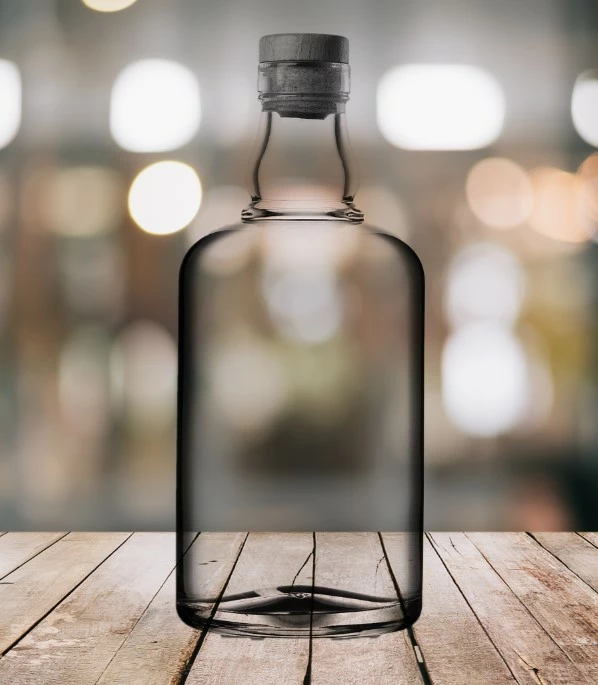
And this is how the bottle looks on a different background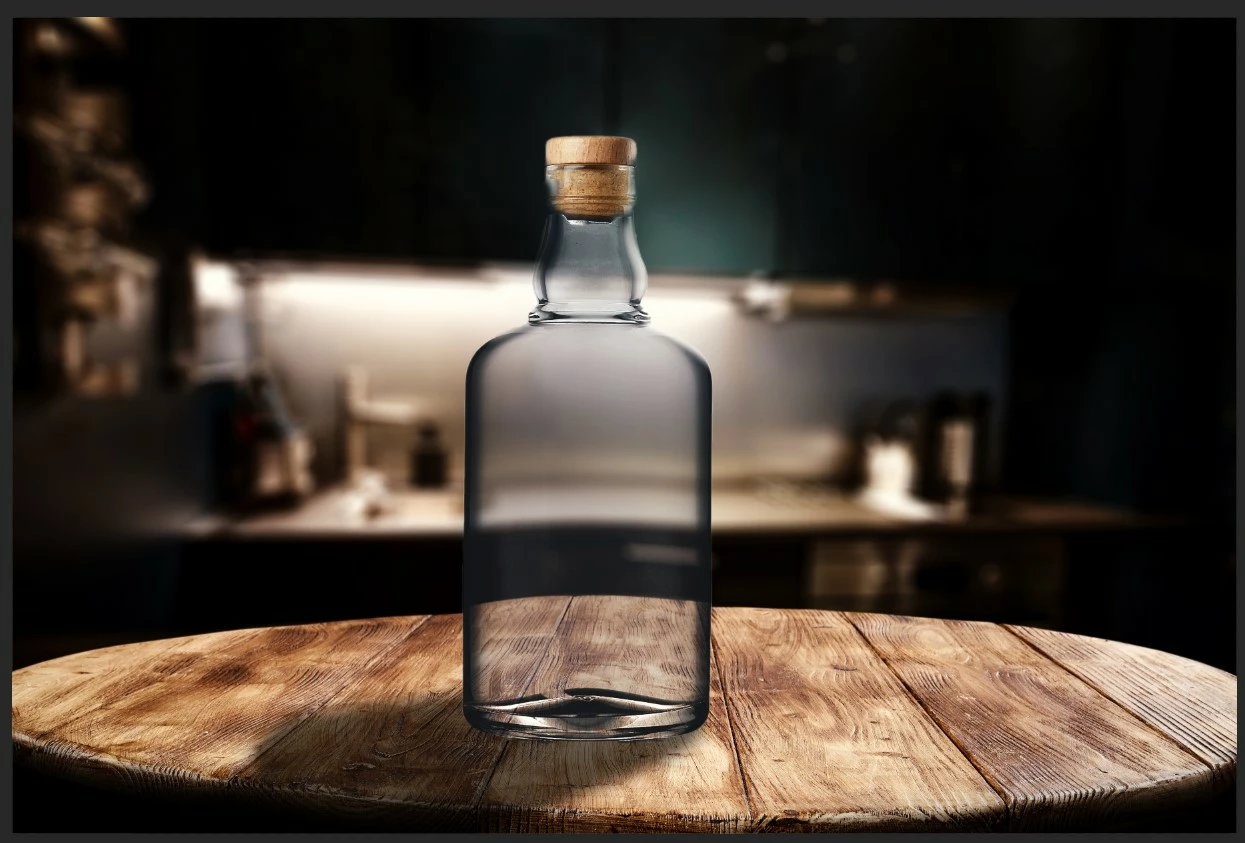
Related links:
Work with Smart Objects in Photoshop
How to use Layer Masks in Photoshop?
Adjustment Fill Layers in Photoshop
Levels Adjustments in Photoshop
Layer Blending modes in Photoshop