Norman, I am hoping you have got it the wrong way round, because if you haven't, I have.
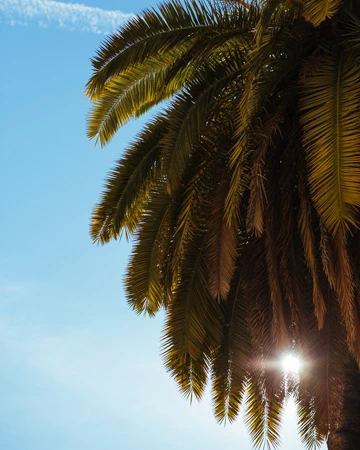
I also like to do it with numbers, because you don't need a superpower like Dag (who can identify every tone and shade of 16 bit Pro Photo RGB with his bear eyes!), so the first thing I did was lay a couple of colour sample points.
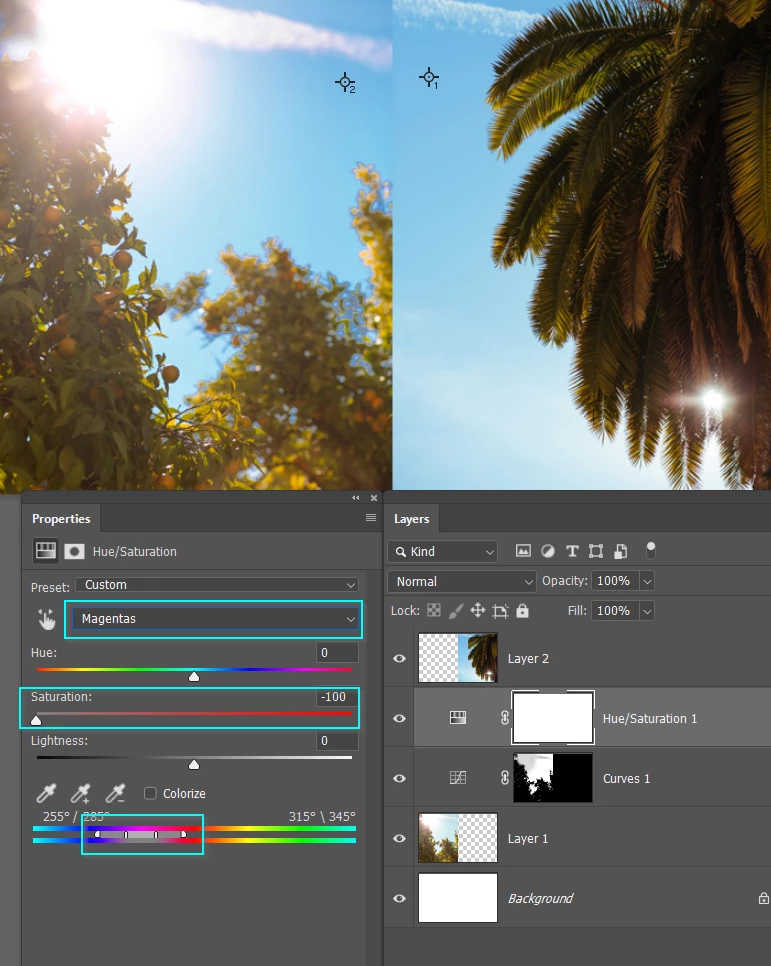
Note the source image is at the top of the stack, and unaffected by the adjustment layers beneath it.
I used Select > Colour Range to select the sky (left image only) and opened a Curves layer which automatically filled the layer mask with black for the non selected area.
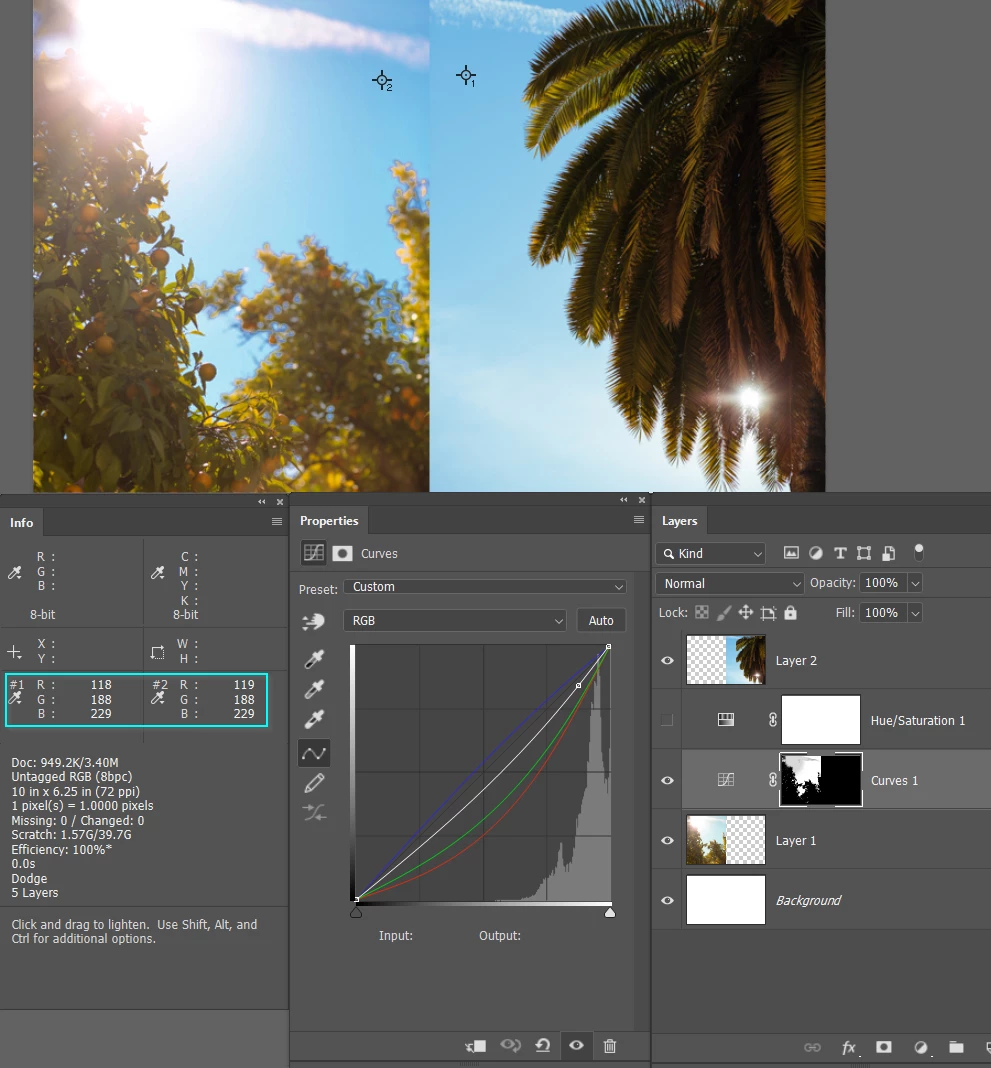
I then used the RGB drop down, and selected in turn, the Red, Green, and Blue channels.
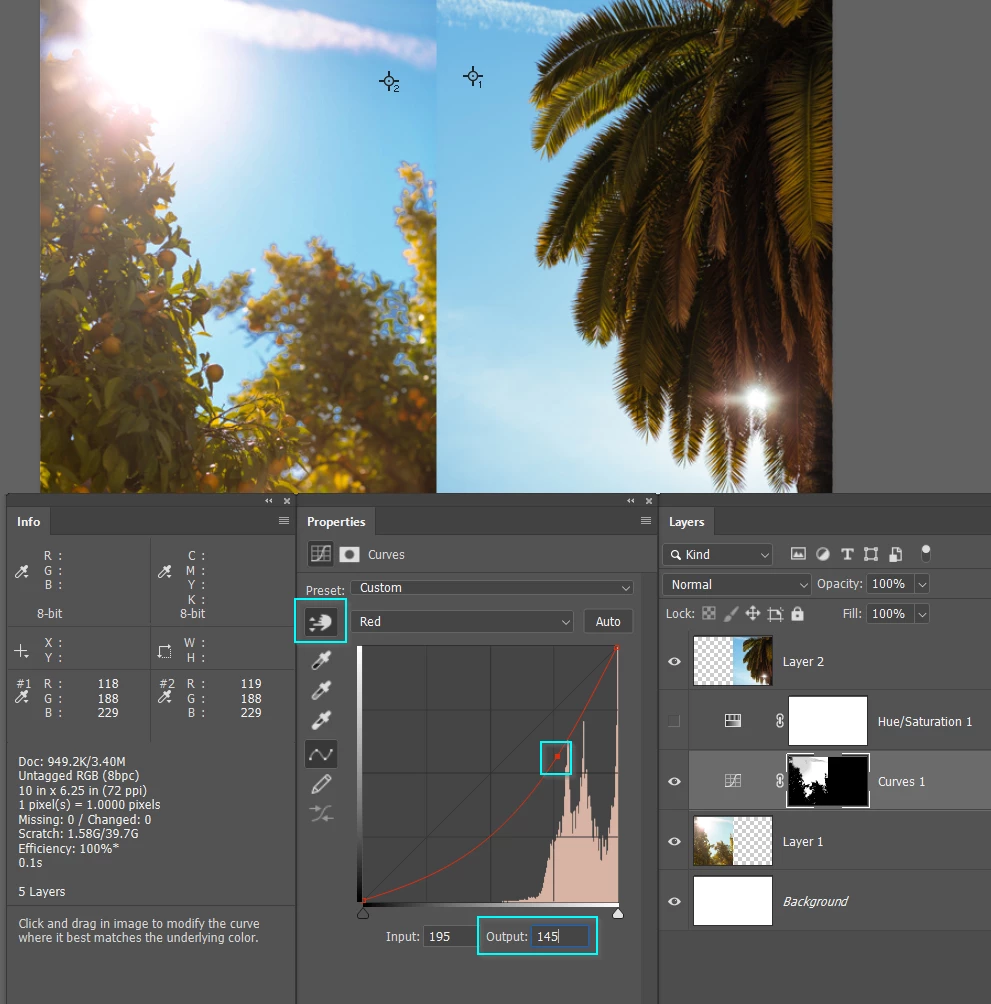
Select the little hand icon, and drag on the image (right where the colour sample point is) to place a point on the curve.
Then select the Curves output field for that point, and manually adjusted using the cursor keys.
I had to go round the three channels a couple of times to home in on a match.
This has left a magenta tinge in the clouds, so a Hue/Saturation layer was set to Magentas, and the saturation knocked out.
There is still some colour cast, which could probably be removed by fine tuning the colour sliders at the bottom of the Properties panel to expand the range of affect colour
Lastly the top right corner was too dark and standing out, so I fixed that with the Dodge tool set to Midtones. A could of strokes at 10% opacity did the trick.
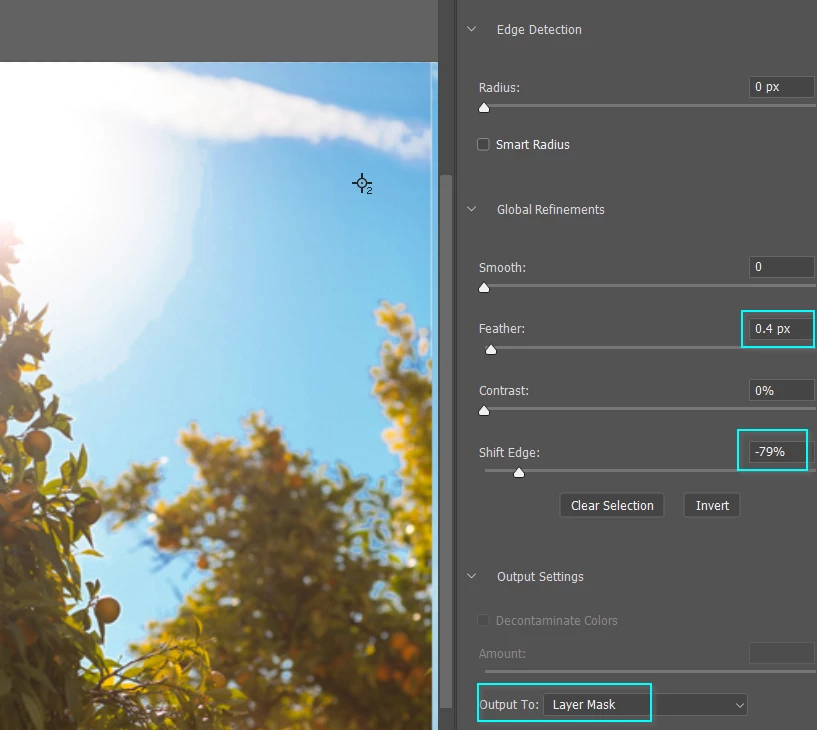
What is nice about this sort of approach, is there is less of the edge artefacts you'd find nearly impossible to avoid if you tried to drop in a new sky. But there is still some. I have reduced that with Mask Properties > Select & Mask moving shift edge well to the left, and adding the merest touch of feather. Set the Output to Layer mask, and it will update the mask accordingly
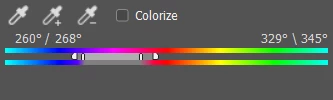
I also fine tuned the Hue/Sat colour range by moving the left sliders as far left as I dared without impacting the blues, and moving the right sliders towards the orange and reds. That completely takes out that magenta in the clouds.
Note you can't affect colour if there is none to affect. Note also that pushing an image too far is likely to cause banding. I can clearly see banding in my last screen shot. Moving the image to 16bit before starting this process might have helped. This is not my area of expertise though. I Dag finds this thread then he knows more than me, but Prof Norman knows waaaaaay more than Dag  . We'll be able to hear Dag growling when he reads that.