Copy link to clipboard
Copied
im stuck 😕
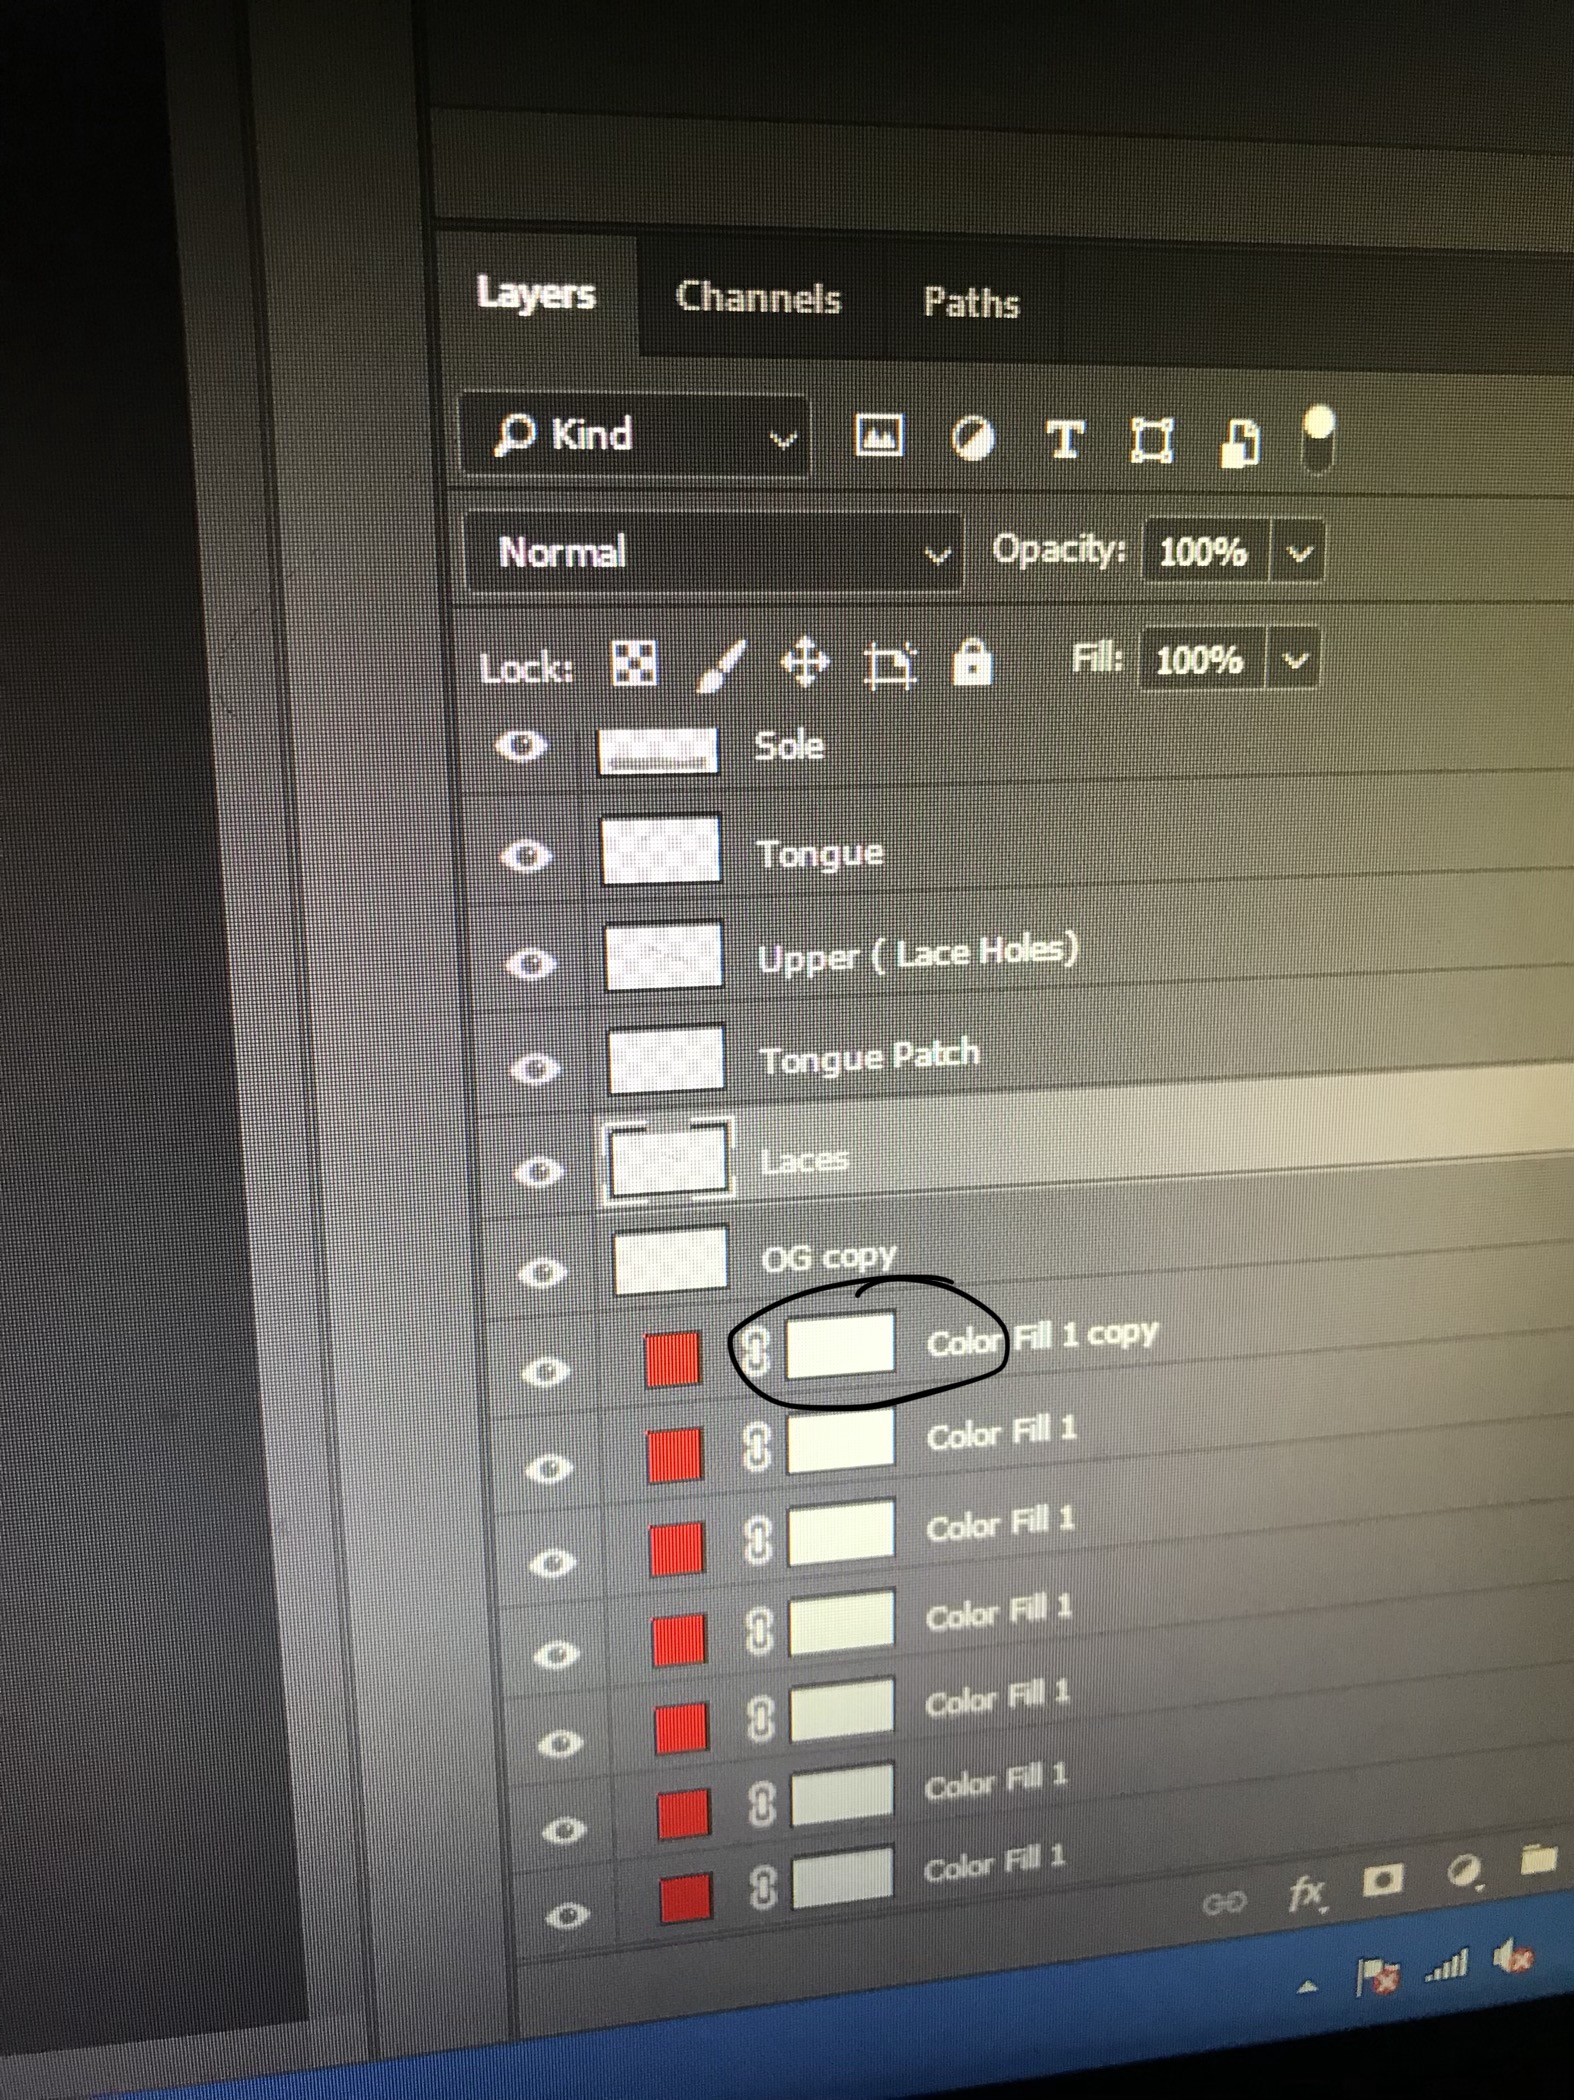
i created a color fill so now there’s two boxes one with the solid color & one thats white which im suppose to add the orginal layer too. I pressed ctrl then clicked on my original layer follows by going back to the color fill and clicking on it then pressing ctrl enter unfortunately it’s not pasting onto it 😕
im a rookie btw
 1 Correct answer
If you are trying to create just the shape of the shoe layers inside the layer masks then press Control and click on the "shoe" layer in question. Then Select > Inverse. Click on the layer mask and press delete.
If you re trying to paste the image into the mask, highlight the "shoe" layer in question, hide all other layers, switch to the Channels panel and Control Click on the top channel. Click on the mask and press Alt + V
Repeat with each layer - remember to hide others each time.

Explore related tutorials & articles
Copy link to clipboard
Copied
What are you trying to accomplish? What are you trying to paste into? How did you start? Did you open an image file, or did you create a new document? Do you know what layers are?
Copy link to clipboard
Copied
im trying to create a Nike Air Force one mock up. I created several layers that I deconstructed from the Air Force one.
after I made those layers I clicked on “create new fill” and duicated them to equate to the amount of layers from the deconstruction of the shoe.
im trying to paste into the layer mask of the color fill layer
As far as the document I started off with an image from google
yes I know what a layer is
Copy link to clipboard
Copied
Can you share a screen shot?
Copy link to clipboard
Copied

Copy link to clipboard
Copied
What are you trying to paste into the layer mask? Is it another image in a different document? The workflow you are describing doesn’t make much sense, and it’s still not clear what you are trying to do.
Copy link to clipboard
Copied
If you are trying to create just the shape of the shoe layers inside the layer masks then press Control and click on the "shoe" layer in question. Then Select > Inverse. Click on the layer mask and press delete.
If you re trying to paste the image into the mask, highlight the "shoe" layer in question, hide all other layers, switch to the Channels panel and Control Click on the top channel. Click on the mask and press Alt + V
Repeat with each layer - remember to hide others each time.

Copy link to clipboard
Copied
I'm not quite sure what you are trying to achieve. You can't give the white layer mask with the circle a color, it can only be black or white. Wherever the mask is completely white, the layer will be revealed. Wherever the mask is completely black, the layer will be concealed.
Maybe you want the parts of the shoe that you put on layers to have a specific color?
In that case you can start with making the foreground color the color you want. Then you make a selection of the part that needs to be colored. Then choose Edit > Fill.

