 Adobe Community
- Home
- Photoshop ecosystem
- Discussions
- Re: Need help with Photoshop removing sunspots/gla...
- Re: Need help with Photoshop removing sunspots/gla...
Need help with Photoshop removing sunspots/glare

Copy link to clipboard
Copied
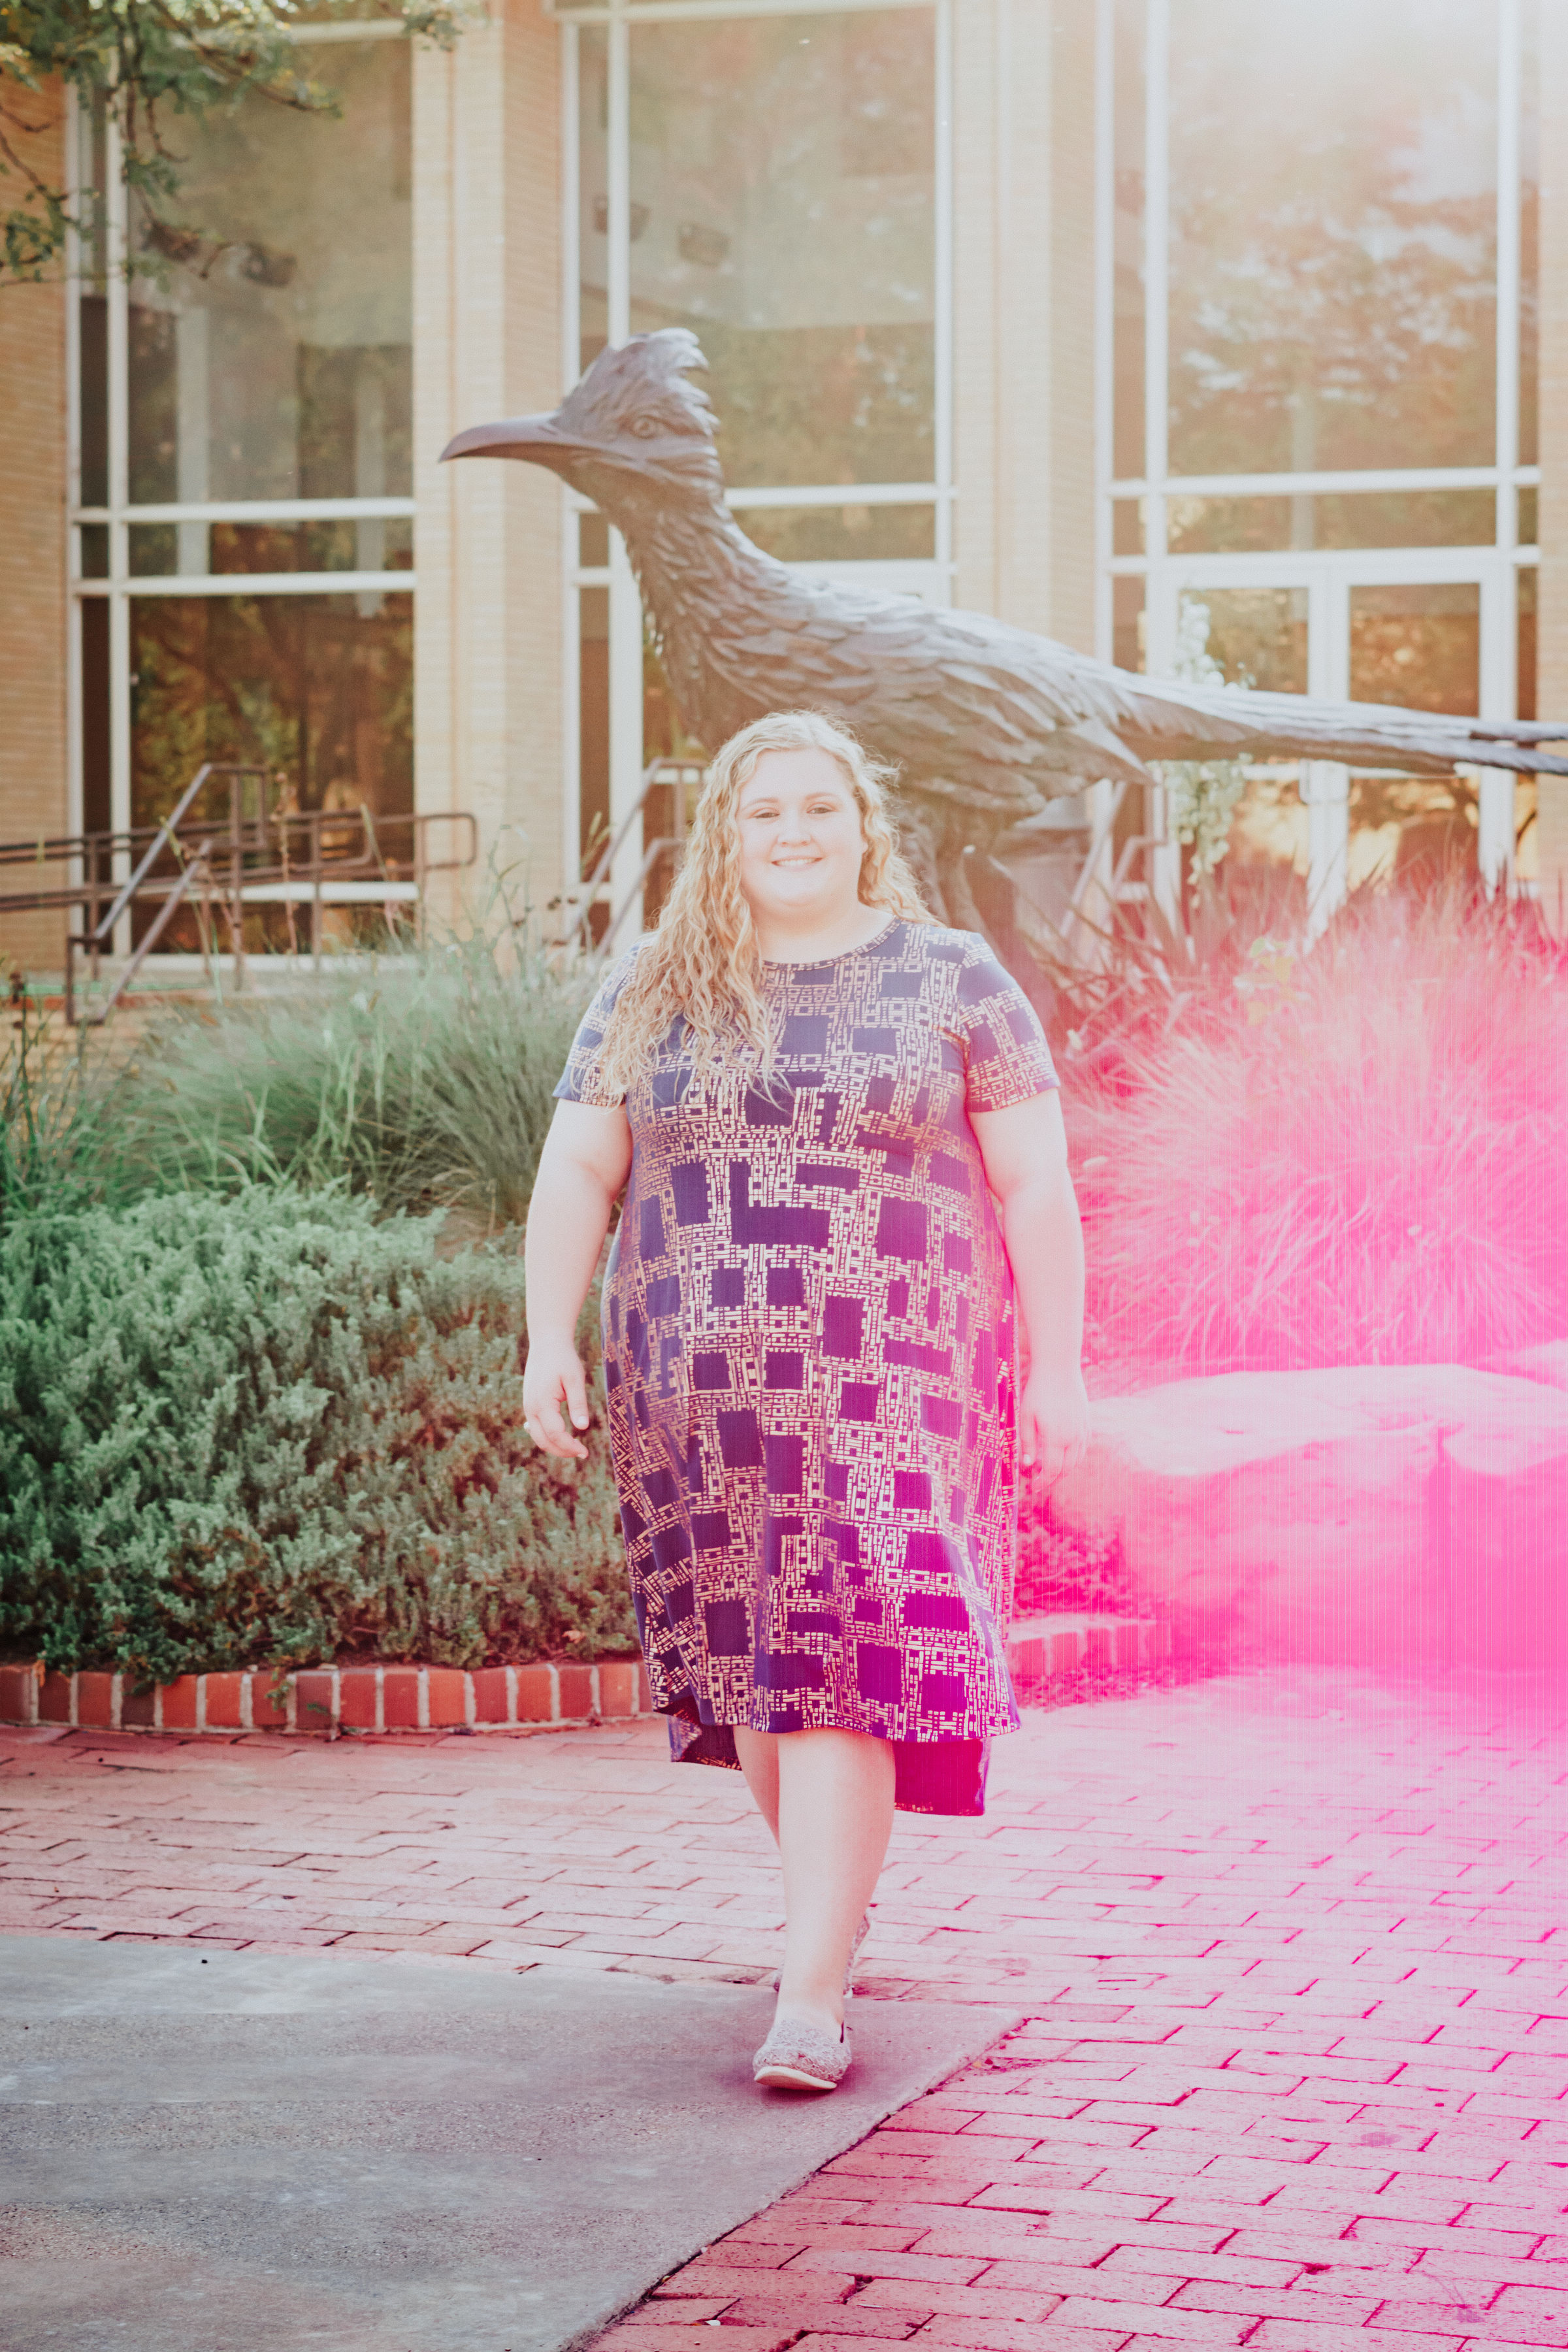
I've tried several tools/layers to remove the pink sun spot/lens flare from the picture. Does anyone have any suggestions?
Thanks,


Explore related tutorials & articles
 9
Replies
9
9
Replies
9

Copy link to clipboard
Copied
This is really difficult, because there is no color information left in the pink area. There's nothing to restore, you'll have to rebuild.
That's not to say it's impossible, nothing ever is, only that it will take time. I'd start by desaturating the affected area and rebuild the color using gradient map layers, applied locally with soft masks. You'll need a lot of layers, each masked to a local area.
I played with it a bit just to see what could be done. This is not finished, but about at the point where you could start recoloring. I'm already up to 10 or 12 layers here, each masked, so there's no point in showing that.
If it is an important image, get someone who's good at this. It can be done.
Or of course, just turn it into a black and white.
Copy link to clipboard
Copied
I was afraid of it being very involved. I am self-taught and teach basic Photoshop skills in high school. The extent of my computer training in college involved mainframes back in the early 80s. I was hoping to do this myself and I may still. I have a few friends who like to play with Photoshop for fun. I may turn it over to them.
Thank you for help. 

Copy link to clipboard
Copied
Hi, Try this Video tutorial to get rid of this pink.
Copy link to clipboard
Copied
There was no video attached.
Copy link to clipboard
Copied

Copy link to clipboard
Copied
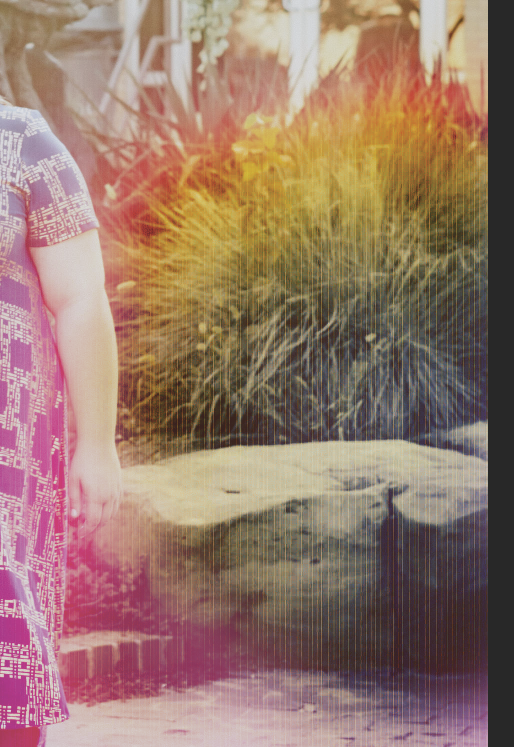
This looks to be a scanned image. Was it scanned from a slide, a negative, or from a print?
In the fogged ares, the green channel looks pretty decent, except for some loss or
fcontrast. The blue layer has much greater loss of contrast, and this extends into the woman's arm and dress, as well as further down into the brick pavers.The red channel has gotten inverted, and the problem continues even further towards the bottom than the blue channel.
I would try three separate curves adjustment layers with a radial gradient in the masks, and try to get the fogged area to look as good as possible. Then judiciously paint on the masks with a soft brush. I say three layers, since each one would need a different mask.
Copy link to clipboard
Copied
Supposedly they are from the photographer's camera. Granted this was a college student taking another college student's pictures. Out of 50 pictures, only 4 ended up this way. I call it photographer's error for not knowing where the sun was and putting it behind her subject instead of behind the photographer. There is a lot of other good photo's, my daughter really liked this one.
I will try what you suggested and see if I can make it work.
Copy link to clipboard
Copied
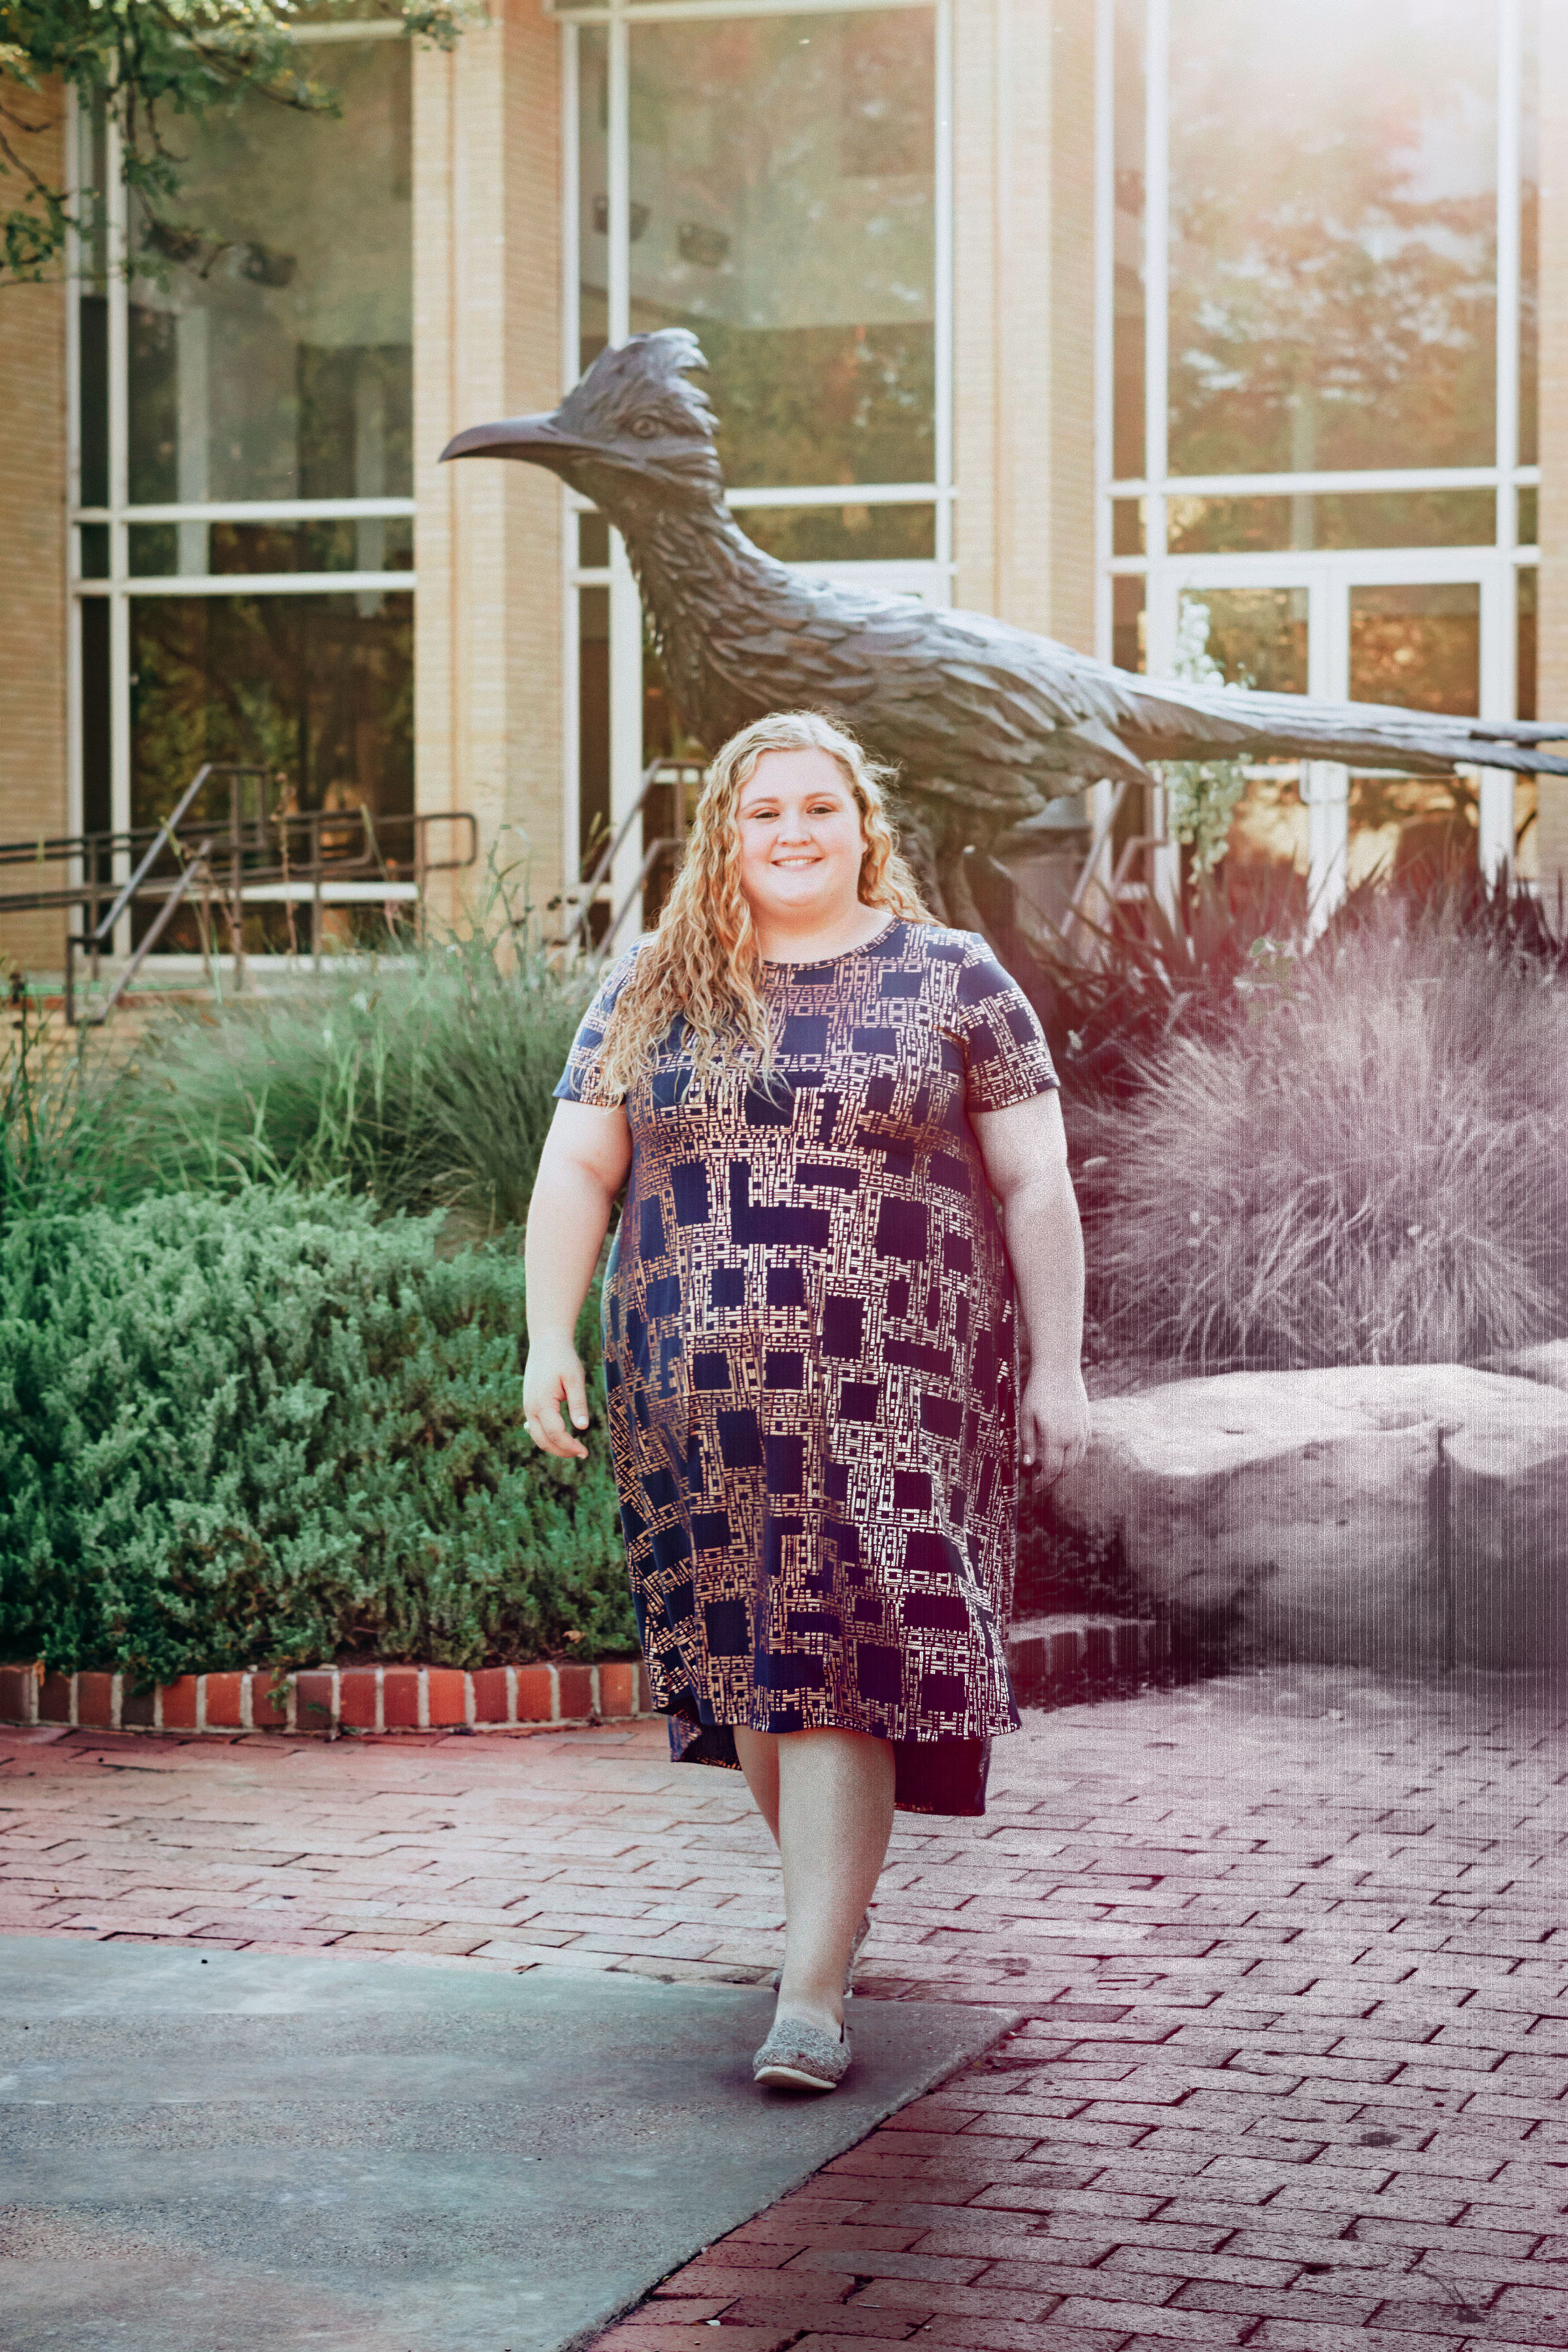
This is a quick and dirty test I did with only one adjustment layer:
You can see how the extent of the fog is different for each channel.
Here is the set of curves I used:

Note how drastic the red channel curve is.

Copy link to clipboard
Copied
This is a very tricky thing to do and its going to take a lot of work and finesse to do that. D Fosse is right on the money about how to get this right. But even then, you're going to have to do something to bring color back in the area shown in his photo.

 AdChoices