- Home
- Photoshop ecosystem
- Discussions
- Photomerge not creating blending masks
- Photomerge not creating blending masks
Copy link to clipboard
Copied
Hi everyone,
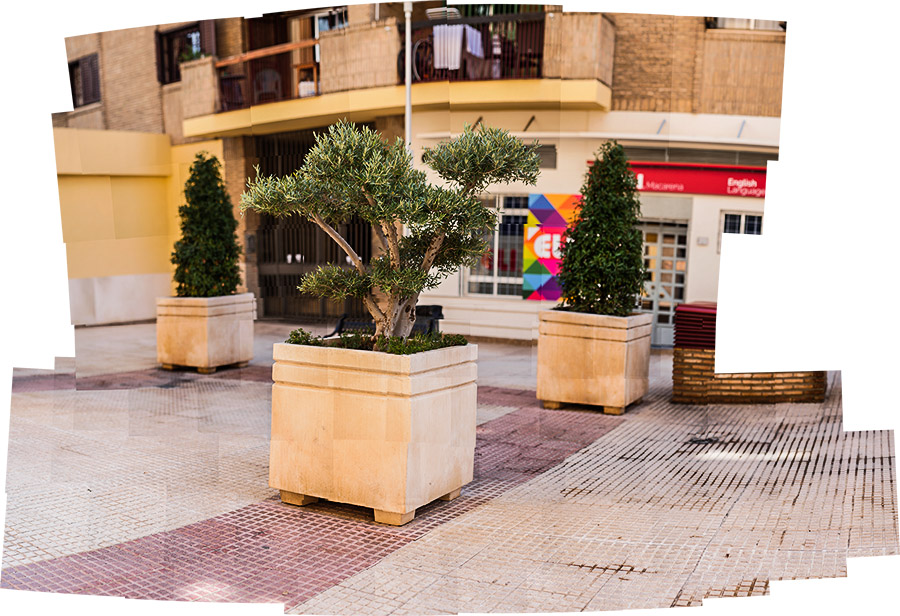
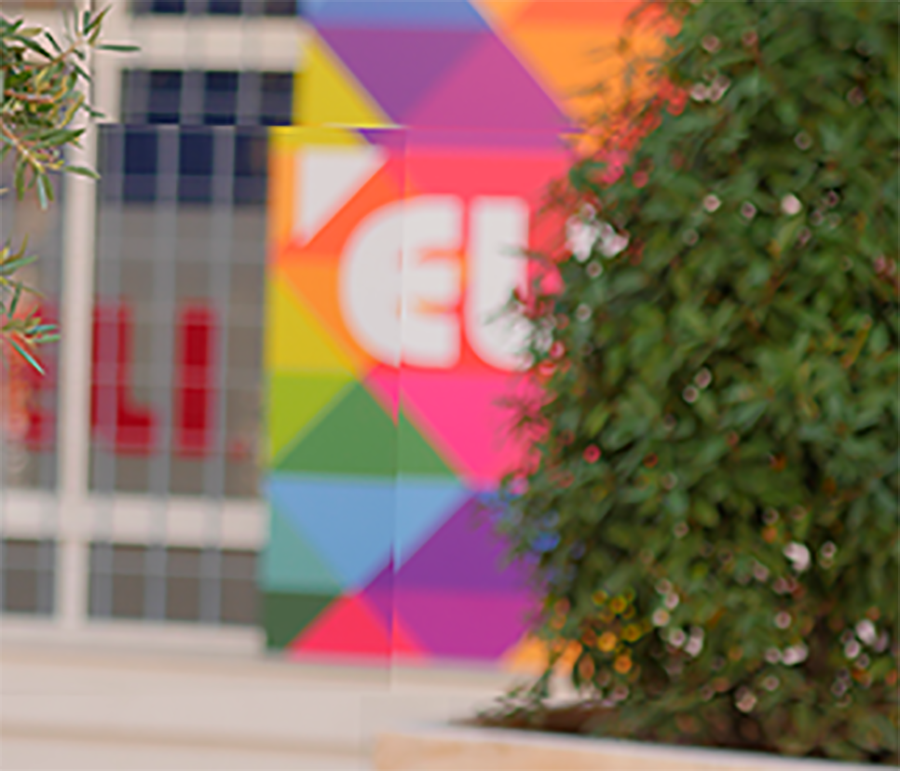
I've been taking a few panoramic photos to test out the photomerge function and I'm running up against a problem. Sometimes photomerge works wonders and sometimes it does what you see pictured here. I cranked the clarity and contrast to highlight the edges of the problematic, unblended layers.


No masks are being created, despite "Blend Images Together" being selected. Also, the alignment between the photos is off. I thought that maybe it was because it was too much processing so I contacted a render farm and they had the same problem with the files. No blending masks were created. Just an assembly, and a bad one at that. It looks like Photoshop just stops working on the merge after a given period of time for some reason.
I acknowledge that I'm stitching together a lot of images here, but that's not the problem because I've stitched more photos together successfully dozens of times. My camera is on manual, with no auto-ISO, auto-shutter, anything. Everything in-camera is the same for every shot. Now, the sunlight appears to have changed slightly between shots, but nothing so drastic as to cause problems - I know this because once I accidentally DID have auto-ISO on and photomerge corrected those files amazingly even thought the light difference was extreme. The difference in light here is much smaller than it was with that photo.
I don't know what the factor here is. I've read the manual on photomerging and I'm following it to the letter, including overlapping the images by 40%.
There's something about some of these pano projects that is defeating Photoshop. The ones that it does this on tend to take longer to process than the others. It feels like it strains a long time and then gives up.
Any thoughts?
 1 Correct answer
First of all, make sure you have lens correction turned on for your raw files, to eliminate barrel or pincushion distortion. This can throw a pano off very easily. It's also very important that you don't have too much parallax error between shots. Tripod is preferable, and it's also a huge advantage to have a pano head or focusing rail that will rotate around the optical center of the lens. This is the point where the diaphragm appears to be when you look into the lens from the front (which isn'
...Explore related tutorials & articles
Copy link to clipboard
Copied
First of all, make sure you have lens correction turned on for your raw files, to eliminate barrel or pincushion distortion. This can throw a pano off very easily. It's also very important that you don't have too much parallax error between shots. Tripod is preferable, and it's also a huge advantage to have a pano head or focusing rail that will rotate around the optical center of the lens. This is the point where the diaphragm appears to be when you look into the lens from the front (which isn't necessarily where it actually is, of course).
If shooting handheld, keep this in mind. Rotate your body around the lens.
Photomerge is just one of those rolled-into-one tools that put together several separate commands. Split it up into its components, then you have much better control. Start by stacking your images, and put the center frame at the bottom of the stack. This is the reference image that the others align to. Then run Edit > Auto-Align Layers. At this point, check each frame against the reference shot and nudge with the arrow keys if required. It very often is. Then, finally, Auto-Blend Layers.
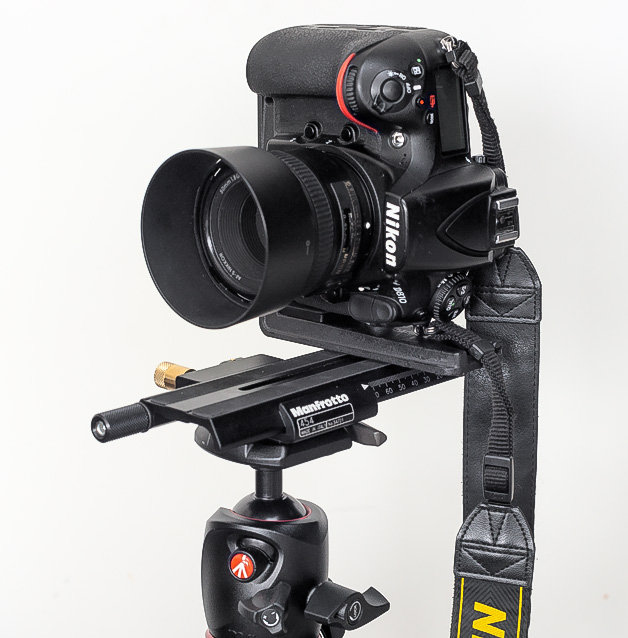
Here's a focusing rail (with L-bracket for portrait orientation). Note the camera body is pulled back relative to the axis of the ball head:

Copy link to clipboard
Copied
There's another useful trick when using a tripod, and you have a selection of lenses. First make a reference shot using your widest angle. Then do the pano itself with longer lenses. Scale your wide angle shot up to required size and use that as the base/reference image. You won't use it for the final pano, but it gives the other frames something to align to. When it has served its purpose, you just throw this away.
Copy link to clipboard
Copied
That helped so much - thank you. It makes so much sense that the alignment is dependent on the camera being rotated around the optical centre of the lens. I've built myself a system to achieve this and it's worked wonders. It also helps explain why the problem was happening with the longer lenses, while the short ones weren't as much of a problem!
I'm so glad you turned my attention to the separate steps as well. I've been going this route ever since, and it's solved a lot of problems.
Many thanks!
Copy link to clipboard
Copied
Hi!
Thank you for sharing.
Wondering if you ever found a solution to this?
I have encountered the same problem some years ago, then it worked when I reverted back to an older version of Photoshop. But now again (august 2024) I am struggling with this problem on the latest version of Ps. I can get my image stitched and positioned but after a long render process but the layers wont be blended, no masks, not event color adjusted... No matter how many times I try. Do I have too many images, to high of a res (only 40 000pix on the long side)? Is using JPEGs a problem of TIFFs?
strange and anoying
My best regards!
Copy link to clipboard
Copied
By the way I get this problem despite having been very careful with tripod, optical center and all. So the answer above doesn't help my issue.
Find more inspiration, events, and resources on the new Adobe Community
Explore Now