- Home
- Photoshop ecosystem
- Discussions
- Re: Photoshop CS Actions not working in CC
- Re: Photoshop CS Actions not working in CC
Copy link to clipboard
Copied
I have created actions to resize, and round corners, bevel edges ext. I have moved them to the new CC platform but they images will not save, or I get an error about make not available.
File: "C:\Users\Chris\Pictures\new\Huangdi_TYE.jpg"
Error: Could not save as "C:\Users\Chris\Pictures\...\" because the file could not be found. (-43)
File: "C:\Users\Chris\Pictures\new\LifeOfRiches.jpg"
Error: The command "Make" is not currently available. (-25920)
This error is from opening an image, seting sice to 100X100 and 72 dpi. then ctrl + s to save.
I recreated this action in CC and it appears to work but I have many actions saved that do quite a bit more work that are not easy to re-create.
I run these actions as batch, select the source folder and a destination folder. hopefully i wont need to revert back to cs5 to continue working with these.
Thanks
Chris

looking though the actions, I see there are paths set, and this is odd as before i could use and source / destination folder. Can this be altered?
 1 Correct answer
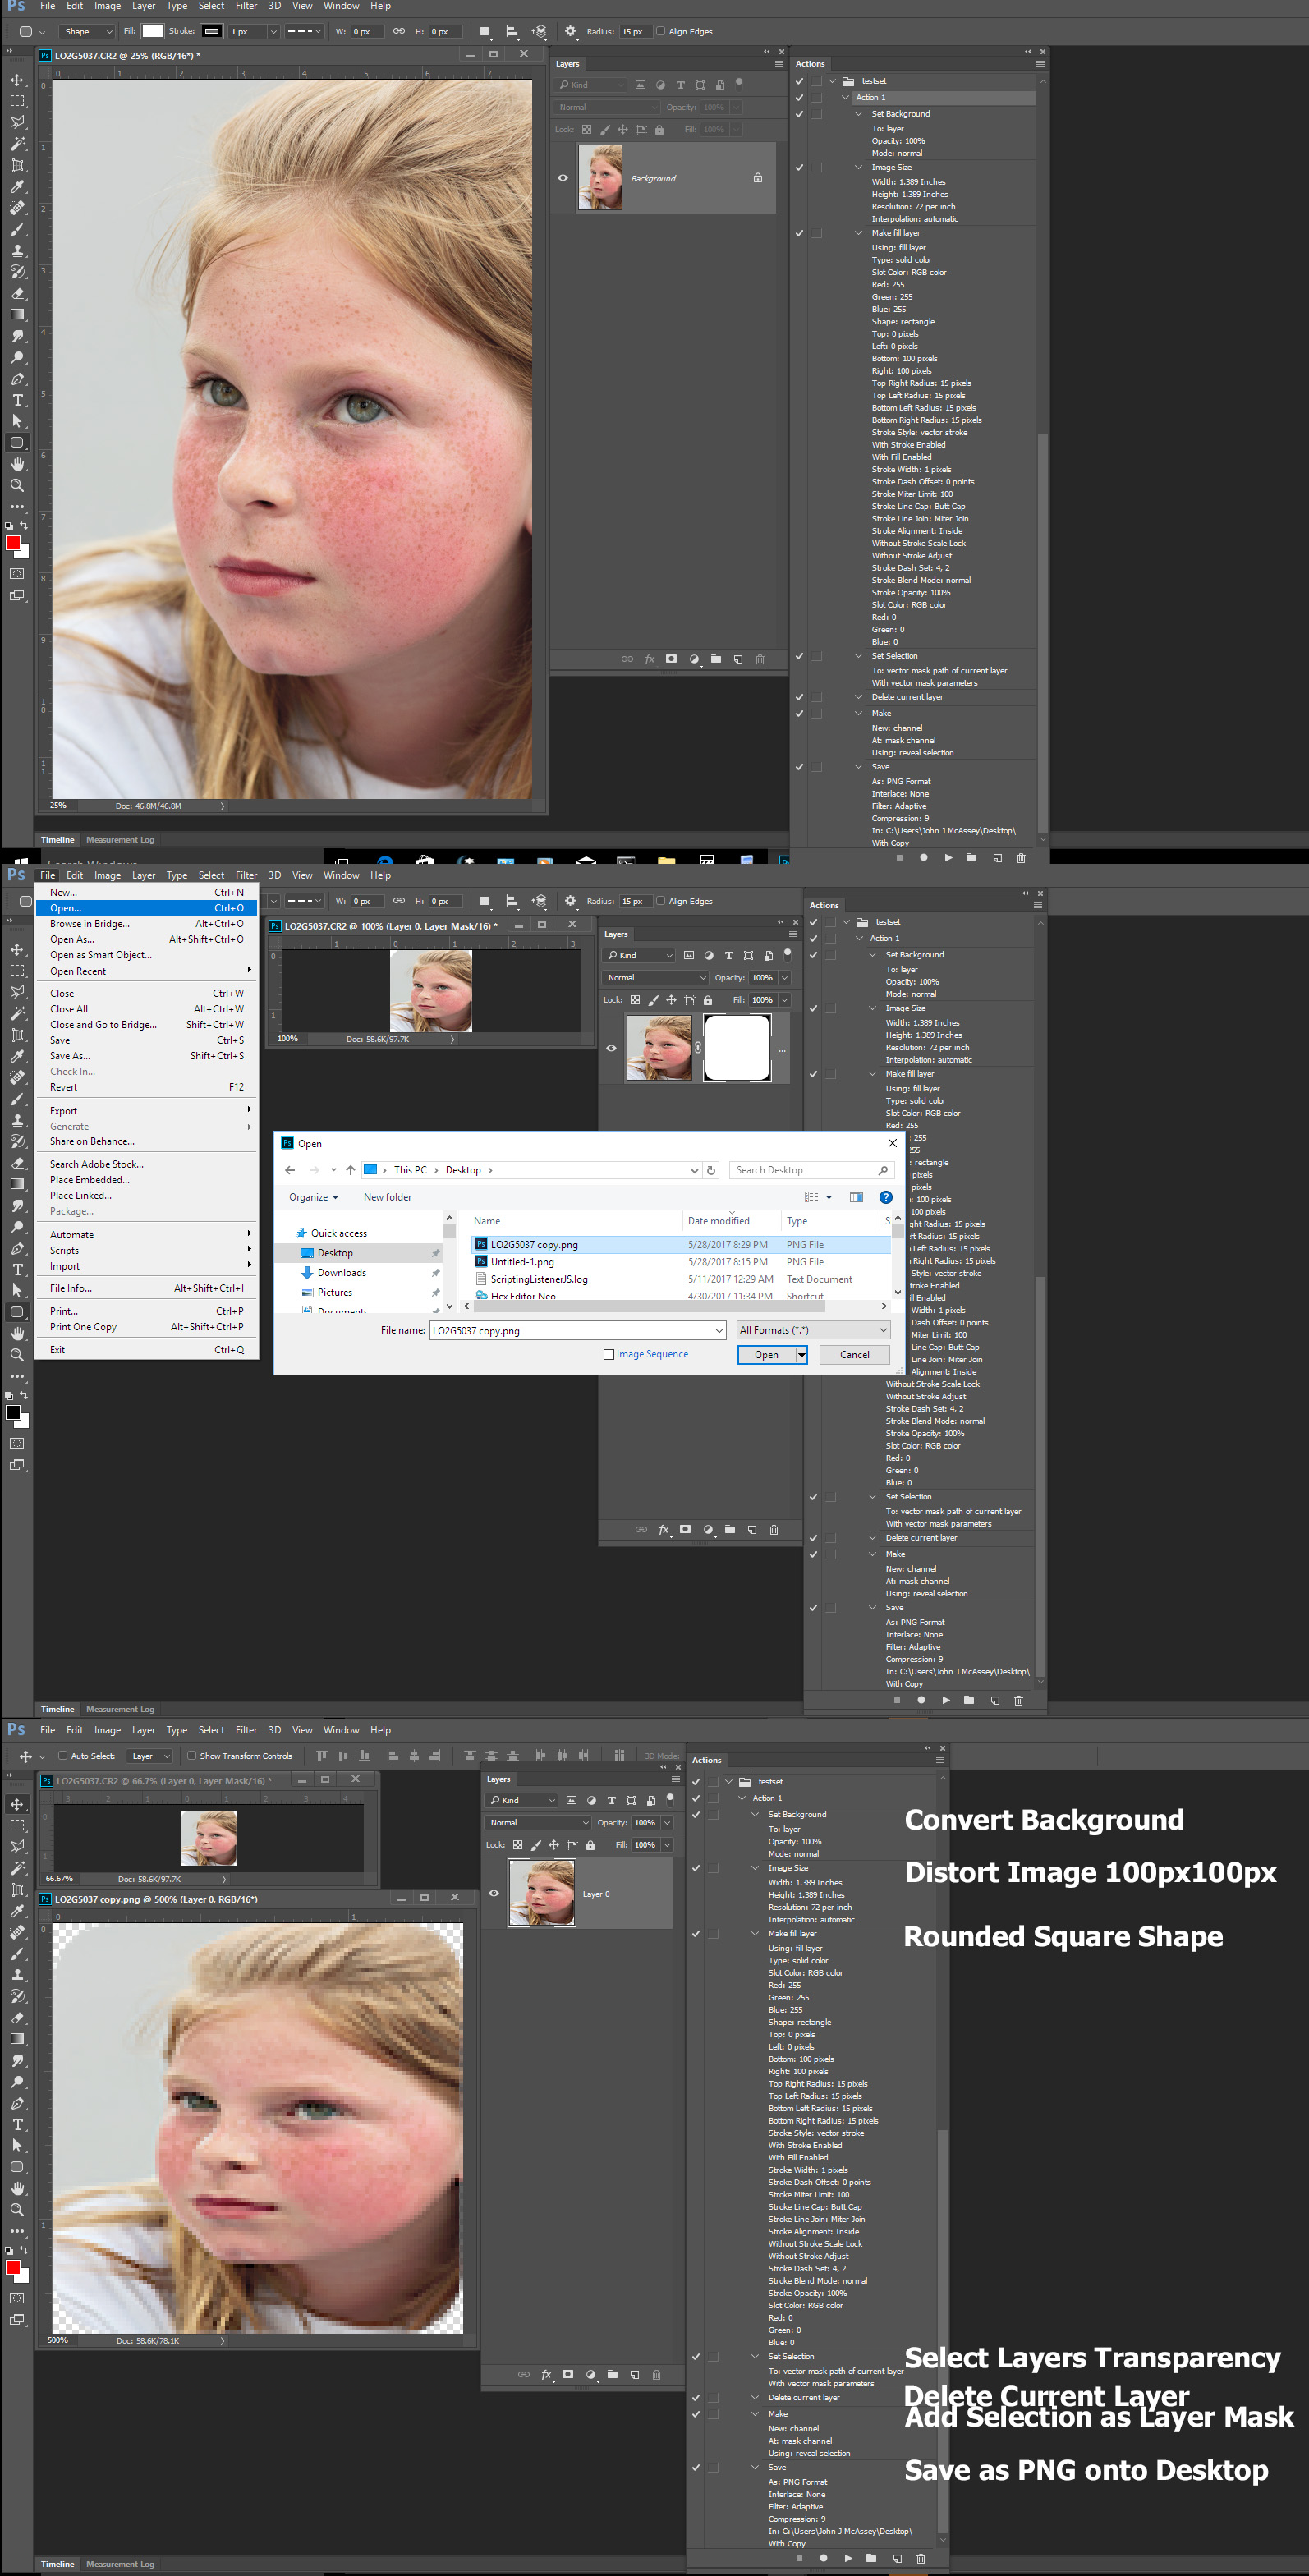
I added the Close No Save and saved the action set here is a link to it. It should save png file on your desktop. Action recorded using CC 2017.1.1 testset.atn
Note You will need to use the action Palettes fly-out menu item Record Again on the save step to change the path from my desktop to Your Desktop...... There need to be an open document when you do that.
Explore related tutorials & articles
Copy link to clipboard
Copied
I can see the action may have problems if your not careful. If the Document has a Background layer (Like a Jpeg) The Make Background layer Using current layer would fail. It would also fail if an adjustment layer was the current targeted layer. The selection step may fail if the document resolution set to high a the are not a sufficient amount pf pixels for 1.4" x 1.4:". You doing a save PNG just after making a Background Layer so there will be not Transparency. What you reason for saving in PG . The is nothing wrong recording a destination folder in a save as step. You can batch the action and override the Save as step settings using the Batch processor dialog. So you can change the destination when you batch the action. It there was no destination recorded in the action where would Photoshop save a new document?
Copy link to clipboard
Copied
Crafting Actions Package UPDATED Aug 10, 2014 Added Conditional Action steps to Action Palette Tips.
Contains
- Action Actions Palette Tips.txt
- Action Creation Guidelines.txt
- Action Dealing with Image Size.txt
- Action Enhanced via Scripted Photoshop Functions.txt
- CraftedActions.atn Sample Action set includes an example Watermarking action
- Sample Actions.txt Photoshop CraftedActions set saved as a text file.
- More then a dozen Scripts for use in actions
Copy link to clipboard
Copied
I save as PNG for the transparent effect and use on the web. I select a background layer as a template to create a rounded edge and save. This works well on my old system. All images that use this action are 100X100 before it is run.
Copy link to clipboard
Copied
Also, all images are set to 72 dpi, 100X100 and saved as a png before this action is used. The old action of doing these steps no longer works but I created a new one in CC and there is no issue, the more complicated actions I really do not want to re-create.
Copy link to clipboard
Copied
OK seems odd that the new action I made is replacing the orig images as well as saving to the destination folder. This seems so far off of how things used to work that I don't know if I even understand this anymore!
Copy link to clipboard
Copied
You can make the Save As step interactive so you can change the folder. You can can also override the recorded Save As using File>Automate>Batch.
I believe the folder always needed to be recorded into the action. All document open in Photoshop have a Name which Photoshop will default to when there is no Filename recorded in the action Save As step. However new Document have never been saved. So not all document open in Photoshop have a backing file and therefore have no path associated with the document. I do not think you would want you work winding up in the bit bucket. So I think there needs be a Path recorded in Save As steps.
Copy link to clipboard
Copied
Ill try and remake these today. The path selected in the start I may not understand but will read up on it. I always opened an image, created a new action and recorded the work. Then cntl+s to save (changed to save as .png) and saved.
Copy link to clipboard
Copied
I am not having much luck!
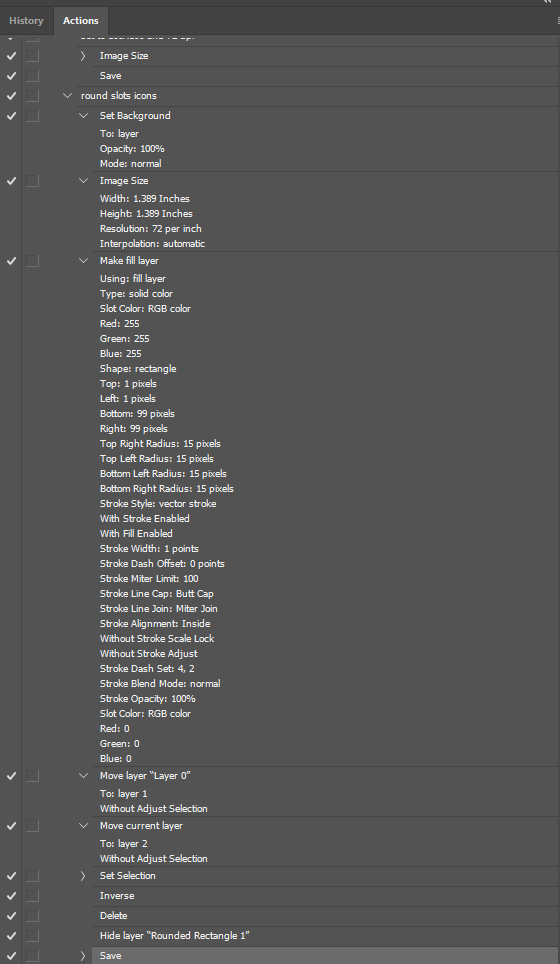
re-created one where i make a mask and inverse / delete to round the corners, then save as png, as i run though its promting me to save as a photoshop file?


Copy link to clipboard
Copied
I think i will just revert back to cs5 at this point as this is only making things go slow
Copy link to clipboard
Copied
Chris the best actions you will ever have are the one you record yourself for you know how the work and where to use them the work in you work-flow. You best actions may be a complete disaster for other users they do not know what the do, how they work on when to user them.
The Action you posted has many dependencies. It requires a Background layer you convert to a normal layer and add a layer the you take the default name and later use the layer name to select it. With a simple action like the if all you have to begin with is the background layer you convert. I would expect this action would always work for you. If you had other layers Photoshop default name could change. I do not like to record action where layers are selected by name for layer names need not be unique. You select step was not expanded but I know what it would be. The save step I think you do right but the way you capture in two left me wondering.
So I recorded the action with different steps so the layers would be selected relativity by the way Photoshop works. I ran the and Photoshop saved the PNG to my desktop like I recorder the step. The action should have a final step added so it can be batch. It need a Close no save added to close the work document after the png is saved.
when tot add the rectangle shape layer it becomes the current target so I selected the current layer transparency. After that the layer is no longer needed so I deleted the current layer. The will leave the layer that was below it the current target. So I add the selection to the layer as a layer mask and saved the png to the desktop. A close no save should be added

Copy link to clipboard
Copied
I will follow your steps and try again, starting with set to background will remove the dependencies you spoke of correct?.
Maybee I do not understand how to select a layer without PS naming it. I simply click on the layer section while recording the action and PS takes it by name.
Copy link to clipboard
Copied
I posted my Creating Action package in this thread. I do not write well but the package has many tip and guide lines for creating well crafted actions. Including how to target layers relatively. Also included in the package are a dozen utility script I wrote to be used in actions so actions can do things not possible without a little logic.
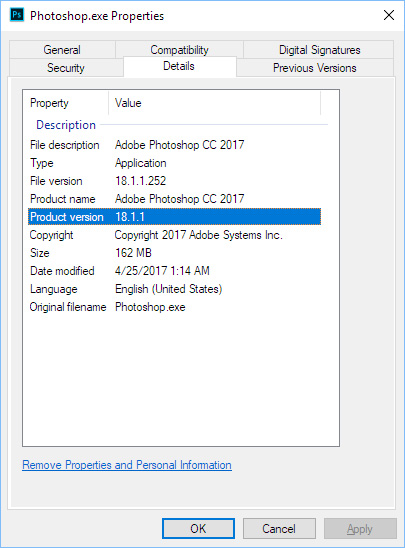
It take knowledge and practice to create action that work well on just about any document. I tried to package what I learned over the years in a few nutshell. You do not have to read my gibberish most likely it full of bad grammar an typos. However I do know Photoshop quit well. I used it from Photoshop version 3. CC 2017.1.1 is Photoshop version 18.1.1 and I do know how how to target layers without naming it. And what Photoshop command change the current target when used.

Copy link to clipboard
Copied
I added the Close No Save and saved the action set here is a link to it. It should save png file on your desktop. Action recorded using CC 2017.1.1 testset.atn
Note You will need to use the action Palettes fly-out menu item Record Again on the save step to change the path from my desktop to Your Desktop...... There need to be an open document when you do that.
Copy link to clipboard
Copied
I just double clicked the save as section and selected a local folder, overwrote the save as and ran, it works great. Thanks for you help on this, as this was the largest issue I had I think I will be good from here.
Thanks again JJMAck
Find more inspiration, events, and resources on the new Adobe Community
Explore Now