

photoshop is hard

Copy link to clipboard
Copied
Hi, I need some help with photoshop. I scanned a item on a piece of paper and it is croocked on the page. I cant find how to straighten it and be able to erase parts of the item? Please help me , thanks Wendy


Explore related tutorials & articles
 9
Replies
9
9
Replies
9

Copy link to clipboard
Copied
Please post (a lores version of) the image in question.

Copy link to clipboard
Copied
在编辑>>自由变换
快捷键是:Ctrl+T
Copy link to clipboard
Copied
Hi Wendy,
most scanners have an option in their software to straighten crooked documents which makes life easy, but it's straightforward with Photoshop as well
1) Take your scanned document

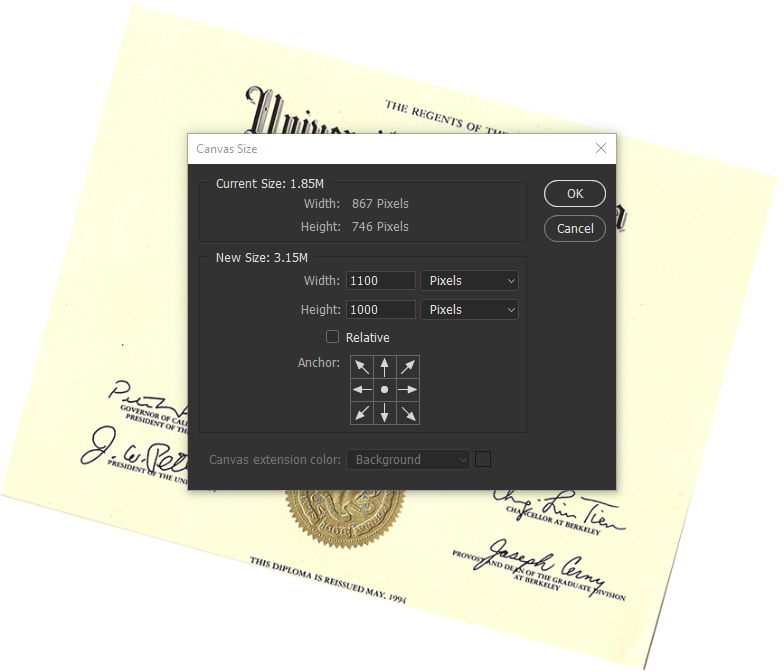
2) Go to the image menu and select 'Canvas size'
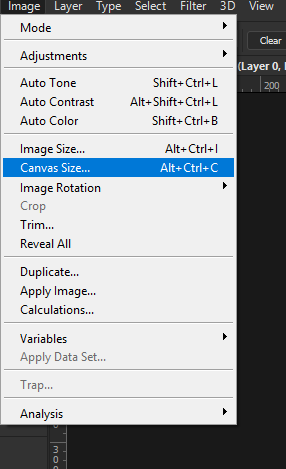
3) Increase the width and height of the canvas by a few hundred pixels. You may not even need this step if there is white space around the document, but if there is not straightening will cut off the corners otherwise.
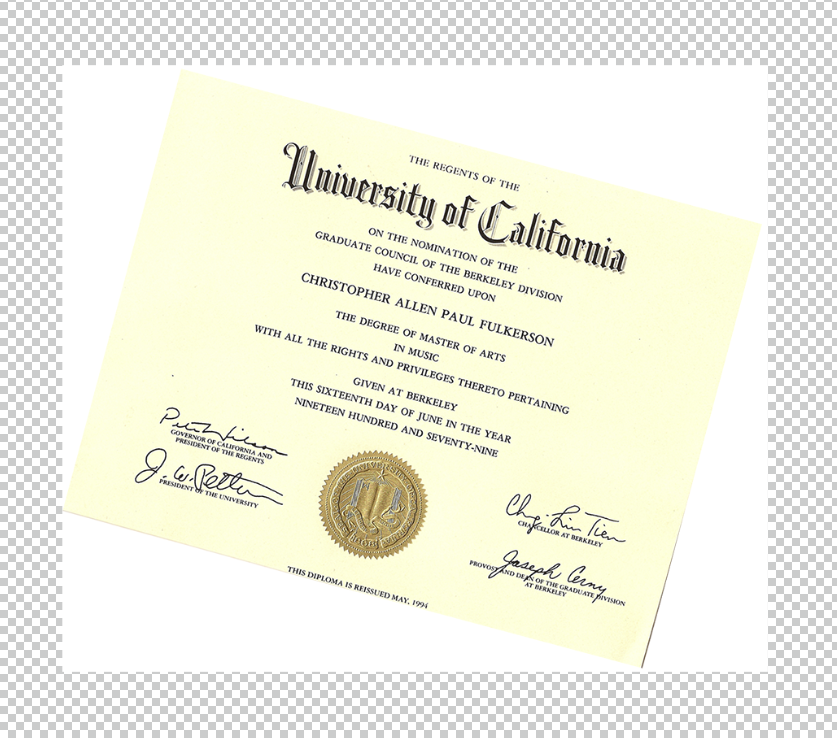
4) It will look like this. If you want add a new layer in 'white' to remove the checkerboard pattern.
5) Press 'C' on the keyboard to select the crop tool and click 'straighten' in the options bar.

6) Draw along the top edge of the crooked document and release the mouse button
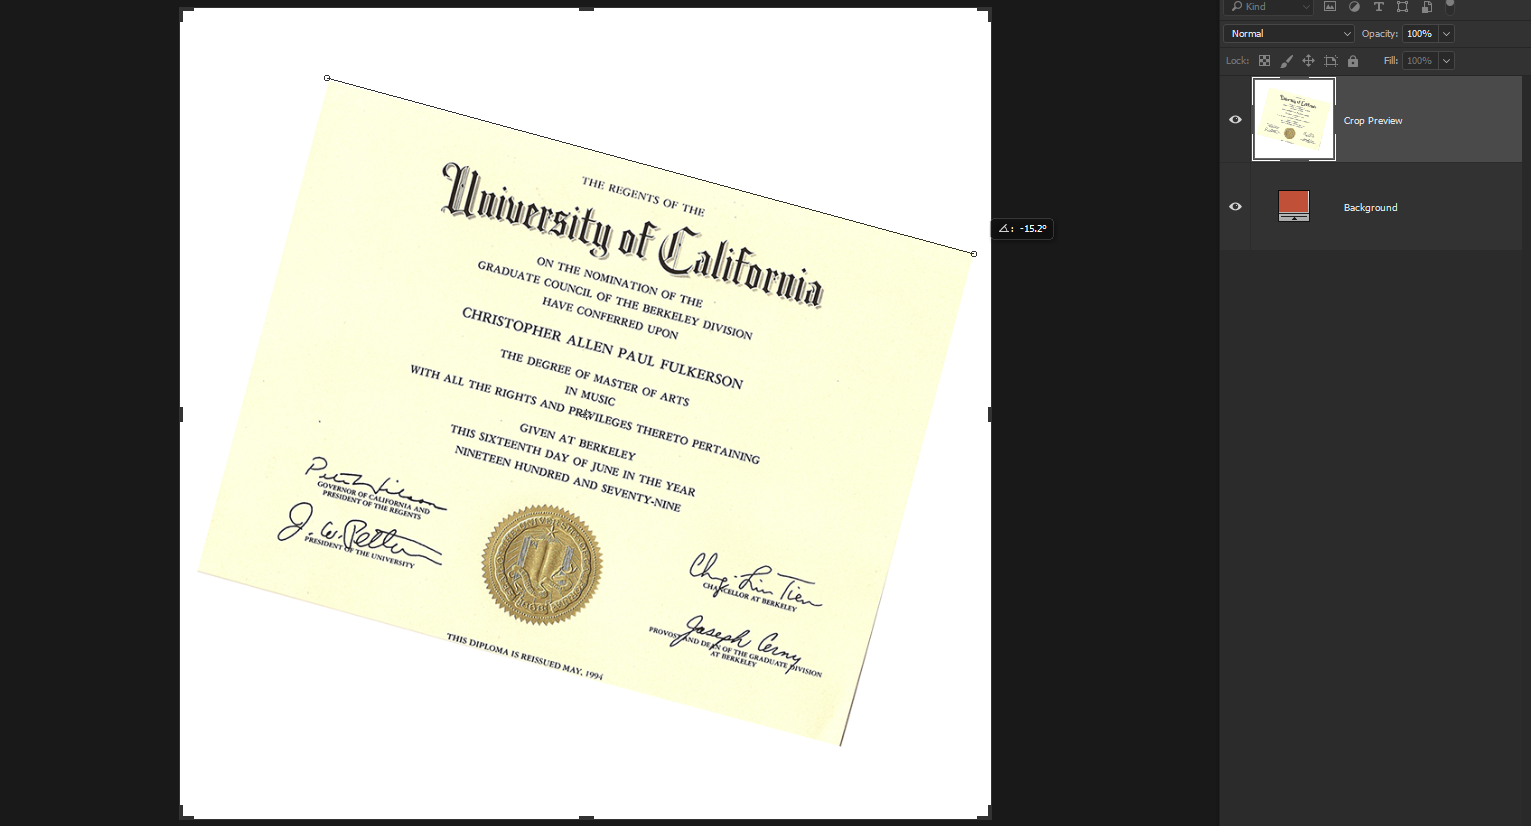
7) The document will straighten. Apply the crop
8) There will probably be white space above and below the document so you use the crop tool again.
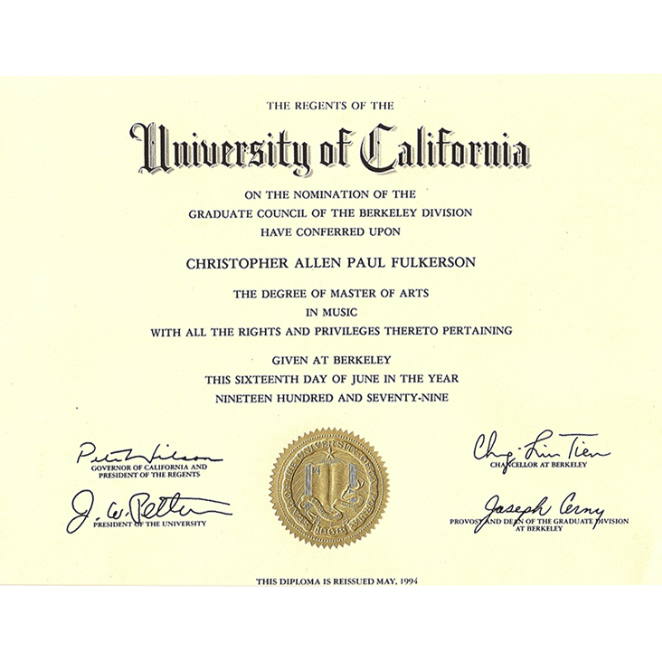
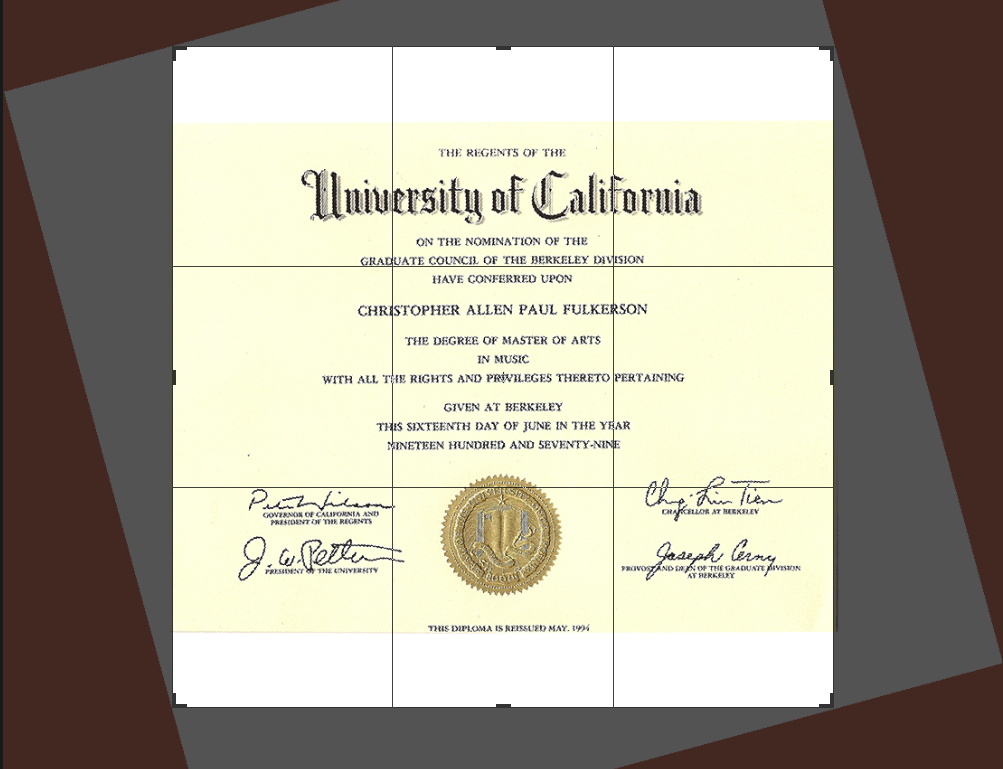
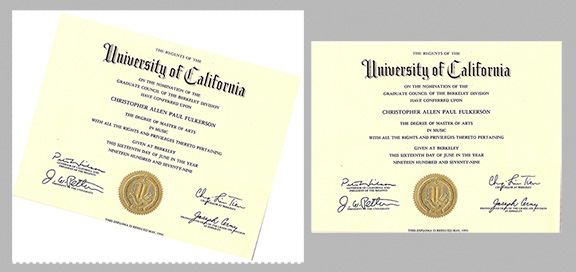
9) The final result should look like this. I have greatly exaggerated the original angle of the document here to demonstrate, but in the real world the degree of crookedness should be quite small otherwise the clarity of the text will be effected by the straightening. Hope that helps.


Copy link to clipboard
Copied
File > Automate > Crop & Straighten Photos. (This works with a singular image, as well)
Copy link to clipboard
Copied
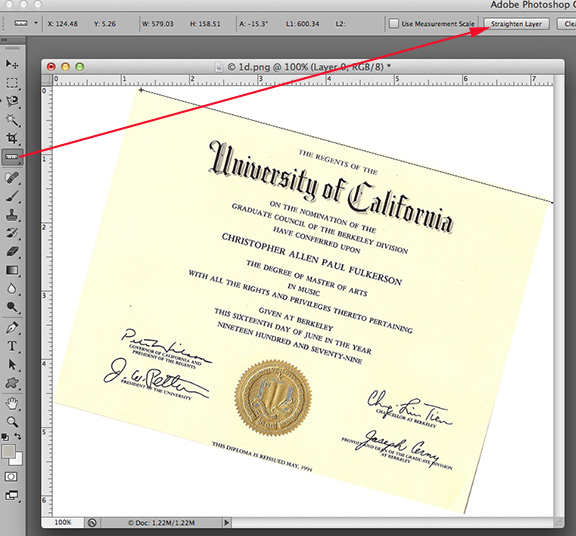
There is more than one way to do most things in Photoshop. This is another option. Choose the Ruler tool (it is nested with the Eyedropper tool) and extend a line as shown below, Then, in the Options bar, click on Straighten Layer. Done.
Copy link to clipboard
Copied
You have not lost your touch Professor, welcome back the forum needs you.
Terri

Copy link to clipboard
Copied
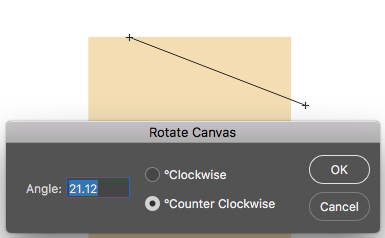
The Ruler Tool was always my go to after scanning a page in. There you can fine tune it by drawing another line with the Ruler Tool. The Crop Tool's Ruler only allows one try for some reason and you have to call it up again if things don't go right.
But here is the old legacy way of how the Ruler Tool worked before Adobe added the Straighten Layer button:
You would drag out the line, and go to Image > Image Rotation > Arbitrary
The angle and direction (Counter Clockwise) needed to straighten it would already be entered in and OK would complete it.
Any difference from the button? Yes. The Straighten Layer button would change your Background Layer into a floating Layer 0 in the process.
The Arbitrary option will keep the Background layer intact.

Copy link to clipboard
Copied
After Scanning your image go to File > Automate > Crop and Straighten Image. This will do what you want automatically.
(apologies, wrote this before seeing the other persons post who also suggested this) 🙂
hope this helps,
Angie Taylor | http://www.creativecabin.co.uk
Copy link to clipboard
Copied
Hi Wendy,
If after straightening the photo you still want to remove parts of the image you can:
-double click on the background layer,
-click OK to make it a normal layer
-select the area's you want to delete.
-delete them with the backspace or delete key.

 AdChoices