Copy link to clipboard
Copied
Hello my dear fellow designers,
I'm currently facing a problem: I'm receiving a lot of images, that I need to size down to max. 800 px height or 800 px width depending on wether it's landscape or portrait.
In each one I need to place the logo in the same position: 36px from the bottom and 36 px from the right boarder.
The issue is, that my clients are sending me images of varying aspect ratios. So while each image will in maximum be either 800px high or wide, it can vary in the respective other side. (for example one might be 800 px x 450 px another 800 px x 600 px - you name it)
There are quite a few so I need to run them through batch processing.
But no matter what I do the 'place logo' can never hit the -36px/-36px from the bottom right corner cause Photoshop will look at where I placed the logo instead: x: 564 y: 764 but since the image size varies, if an image isn't wide enough I might find, that the logo has been cut off from the image, cause it's not as wide as the image I recorded the action in...
I assume there might be a solution over some kind of script: if I can get photoshop to shove the image in the furthest right corner of each image, and then subtract the -36 /-36 px from its position.
But I don't know if that's possible or how...
I'd be grateful for any kind of help, cause doing this manually is a nightmare.
Here's my take, to be used as a droplet or batch process.
Place your logo in a folder your action will call on.
Create the action "Place Logo"/record
1- File>Place Embedded (Navigate to logo, place and update)
2- Select all (this will make a selection of the canvas)
3- Select>Transform Selection (with the offset icon set to top-left, change from 0.0 to -36 px in both W, H)
4- select the move tool. With "Layer" selected, align right
5- now align bottom
You can stop the recorning here or add a save as ste
...Copy link to clipboard
Copied
My approach would be to align the layer to say the absolute upper left or right or wherever you need to establish the "base" position:
https://gist.github.com/MarshySwamp/df372e342ac87854ffe08e79cbdbcbb5
Then translate/move the image a required amount of pixels:
https://gist.github.com/MarshySwamp/1ef7448b6bb22865ed7b7e1b8a4f521f
Copy link to clipboard
Copied
Apologies, I thought this was a scripting question, I didn't even look at your attachment until after posting.
With an action, you can perform a select all, then use the move tool to align to the upper right, then move the layer down and left using the arrow keys/shift arrow keys or using free transform.
Copy link to clipboard
Copied
Open the image where you want to place the logo and make a note of the position where you want the logo to appear.
Create a new layer in the image by clicking on the "Create a New Layer" icon in the Layers panel.
Place the logo on the new layer by going to "File" > "Place Embedded" and selecting the logo file.
Resize the logo to fit the desired size by dragging the corners of the bounding box while holding down the Shift key to maintain the aspect ratio.
Move the logo to the desired position by dragging it with the Move tool.
Once you have the logo positioned and sized correctly, save the image with a new name so you don't overwrite the original.
Now, go to "File" > "Automate" > "Batch" to open the Batch dialog box.
In the Batch dialog box, choose the folder where your images are located.
Select the action that you just created, which should be named something like "Add Logo".
Choose the destination folder where you want the processed images to be saved.
Click "OK" to start the batch processing.
Photoshop will now process all of the images in the selected folder, adding the logo in the same position and size that you specified in the action. Since the logo is on a separate layer, it will be added without altering the original image.
Copy link to clipboard
Copied
Here's my take, to be used as a droplet or batch process.
Place your logo in a folder your action will call on.
Create the action "Place Logo"/record
1- File>Place Embedded (Navigate to logo, place and update)
2- Select all (this will make a selection of the canvas)
3- Select>Transform Selection (with the offset icon set to top-left, change from 0.0 to -36 px in both W, H)
4- select the move tool. With "Layer" selected, align right
5- now align bottom
You can stop the recorning here or add a save as step.
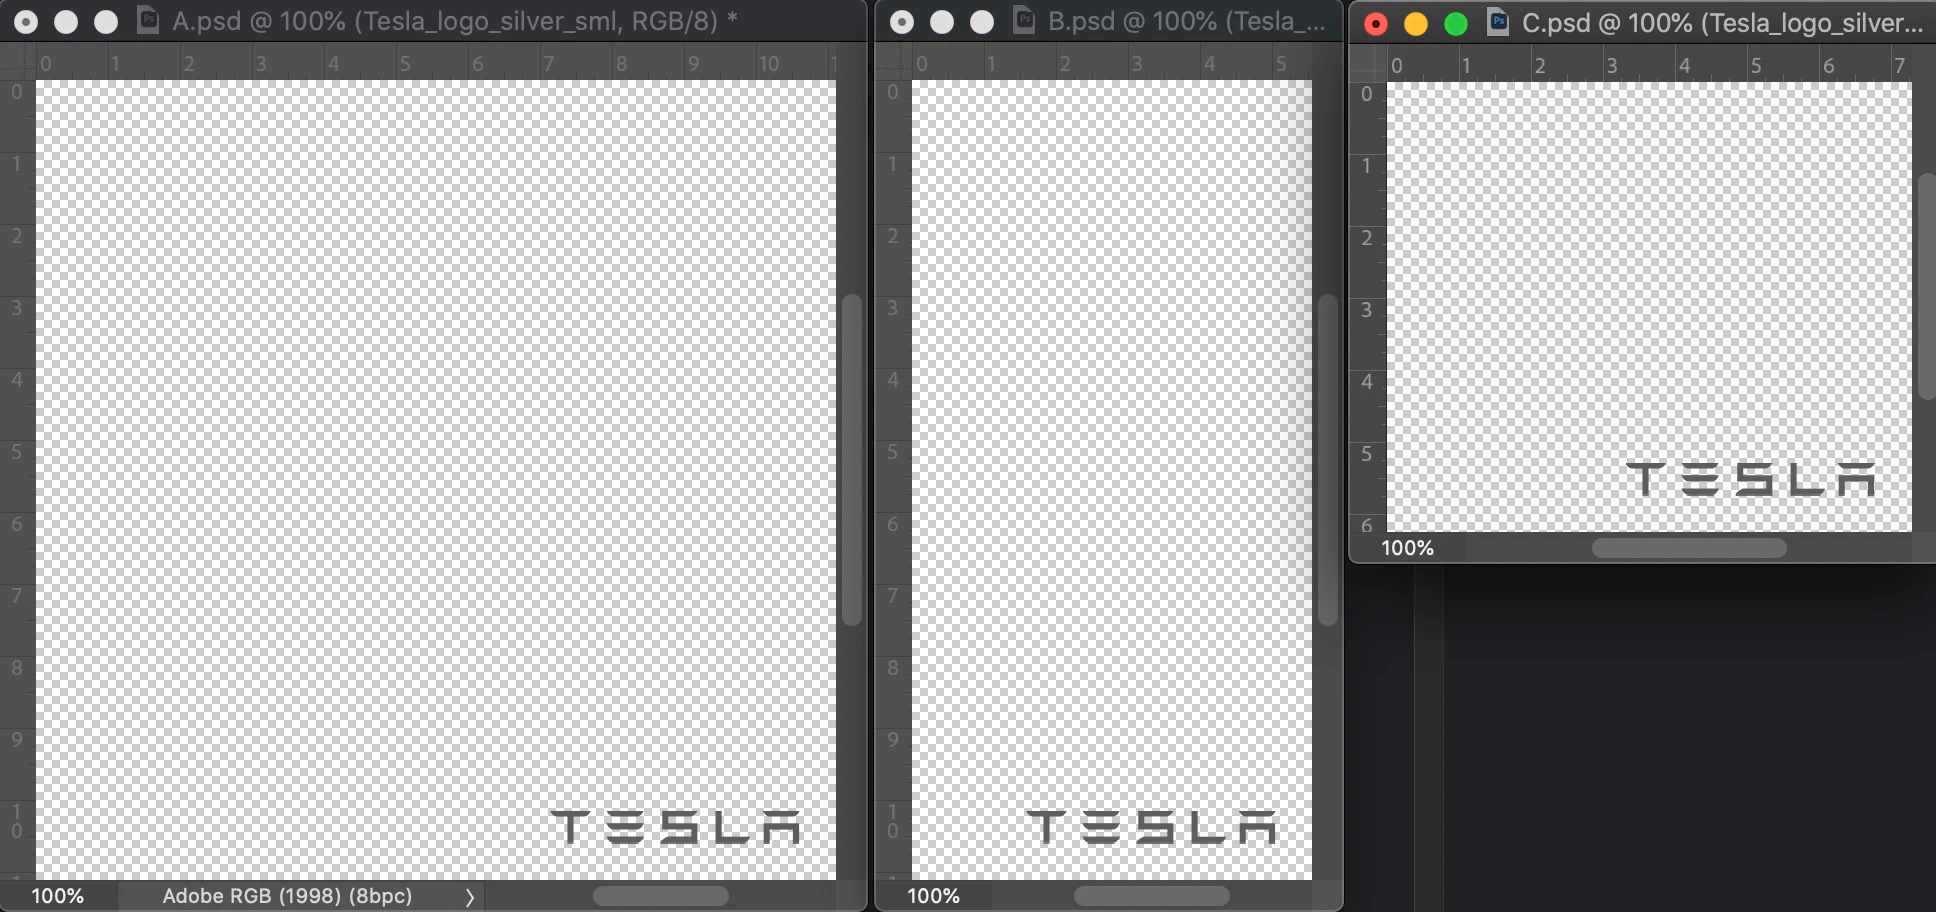
Use that action to batch or create a droplet. Here's what mine look like via batch. No association with Tesla.
Copy link to clipboard
Copied
Thank you so much!
Your solution worked great!
Copy link to clipboard
Copied
So glad I could help
Copy link to clipboard
Copied
How it goes with @Stephen_A_Marsh suggestion to record action? Do you have any problems? Ensure that View > Rulers are set to Pixels when moving logo after aligning it to bottom right corner then performing -36px move.
Copy link to clipboard
Copied
There are assumptions being made, I'll admit. Marika gave pixel dimentions so I made adjustments based on that. Defining the move and adding px after the number should bypass how the rulers are set. In the examples I didn't adjust rulers to reflect pixels. I think it should work.