- Home
- Photoshop ecosystem
- Discussions
- Re: Printing so paper is the white area - Photosho...
- Re: Printing so paper is the white area - Photosho...
Printing so paper is the white area - Photoshop
Copy link to clipboard
Copied
I'm pretty new to Photoshop in the modern world and struggling to get to grips with some basics.
I have a set of nautical pencil drawings that are about 50 years old that I need to prepare to print. I have the images in RAW format.
The paper has become discoloured over the years and I believe I should be able to select the area of off-white, so this does not get printed on and the printer paper is the white for this area. My attempts to adjust the colour to a suitable white have resulted in greys and creams that I need to lose.
Could anyone point me in the write direction. It's a steep learning curve.
Message was edited by: Sahil Chawla
Explore related tutorials & articles
Copy link to clipboard
Copied
Did you use the Camera RAW or Camera RAW filter?
Can you provide a screenshot for your pic?!
Copy link to clipboard
Copied
It is always good to post an example of an image like you want to process. It does not need to be Camera RAW file of the your pencil drawing. I do not think starting with a RAW capture will be any better then starting with a JPEG from you camera. Jpeg are easy to post here. You may be able to clean up the drawing image using a Photoshop filter or some Photoshop features but how you do it will depends on you image's content. We need to see what you have to work from.
Copy link to clipboard
Copied
Hi
This is an image of one of the pieces. I'm not sure how best to share it to
the site.
Copy link to clipboard
Copied
Drag it on this space (in your post), it must be a JPG or PNG.
Copy link to clipboard
Copied
^
|
|

Copy link to clipboard
Copied
Hi Craig,
I believe first you have to restore the old images. Could you please share a screenshot here? So that we have a better understanding?
Could you please check this video and let us know if it helps?
How to Repair and Colorize Old Photos (Adobe Photoshop CC Tutorial) - YouTube
Regards,
Sahil
Copy link to clipboard
Copied
Bear in mind, with some vintage images, keeping some of the aged background lends verisimilitude to the image.
Copy link to clipboard
Copied
https://forums.adobe.com/people/Derek+Cross wrote
Bear in mind, with some vintage images, keeping some of the aged background lends verisimilitude to the image.
I agree with you, and I just learnt a new word Derek ![]()
Dave
Copy link to clipboard
Copied
I love that word, I sprinkle it into any sentence when I get the chance!
Copy link to clipboard
Copied
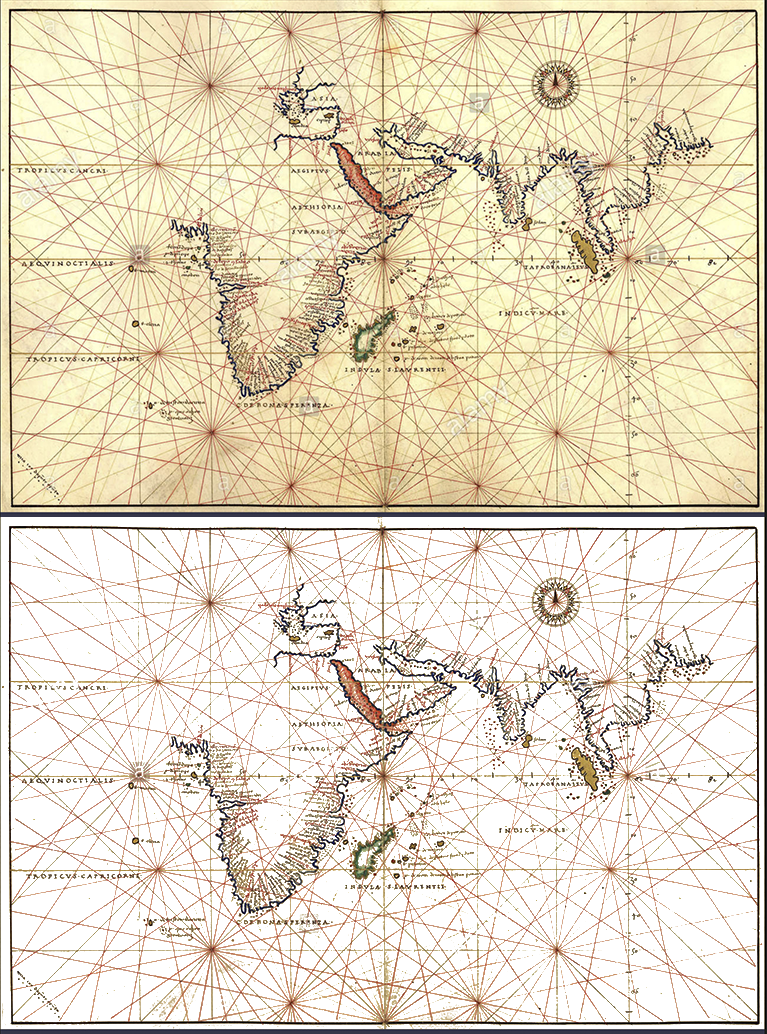
Please post the image. Short of that...
Much depends upon the difference in tone valued between the paper and the lightest meaningful tone in the map.
If it is slight, consider Blend If command.
Open the image;
If there is a lock on the background layer holding the image, trash the lock by clicking on it or dragging it to the Trash
Place a transparent layer below the image layer and Edit > Fill it with white
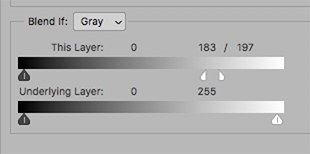
Double click on the image layer to bring up Layer Style
In the Blend If section, gently move the top right slider to the left until the paper color disappears.
If the difference in tone between the paper and the lightest meaningful tone of the map is very slight, you may split the slider for greater accuracy. . Hold down the Option key and click and drag the left side of the slider to the left. Consider it a slow fine tuning of the adjustment.
Save as psd file and then choose Layers > Merge Down and save as jpg of desired.
Copy link to clipboard
Copied
Thanks for the info.
I think maybe the white is too gray on my image. If I try this fix it removes other parts of the image.
Copy link to clipboard
Copied
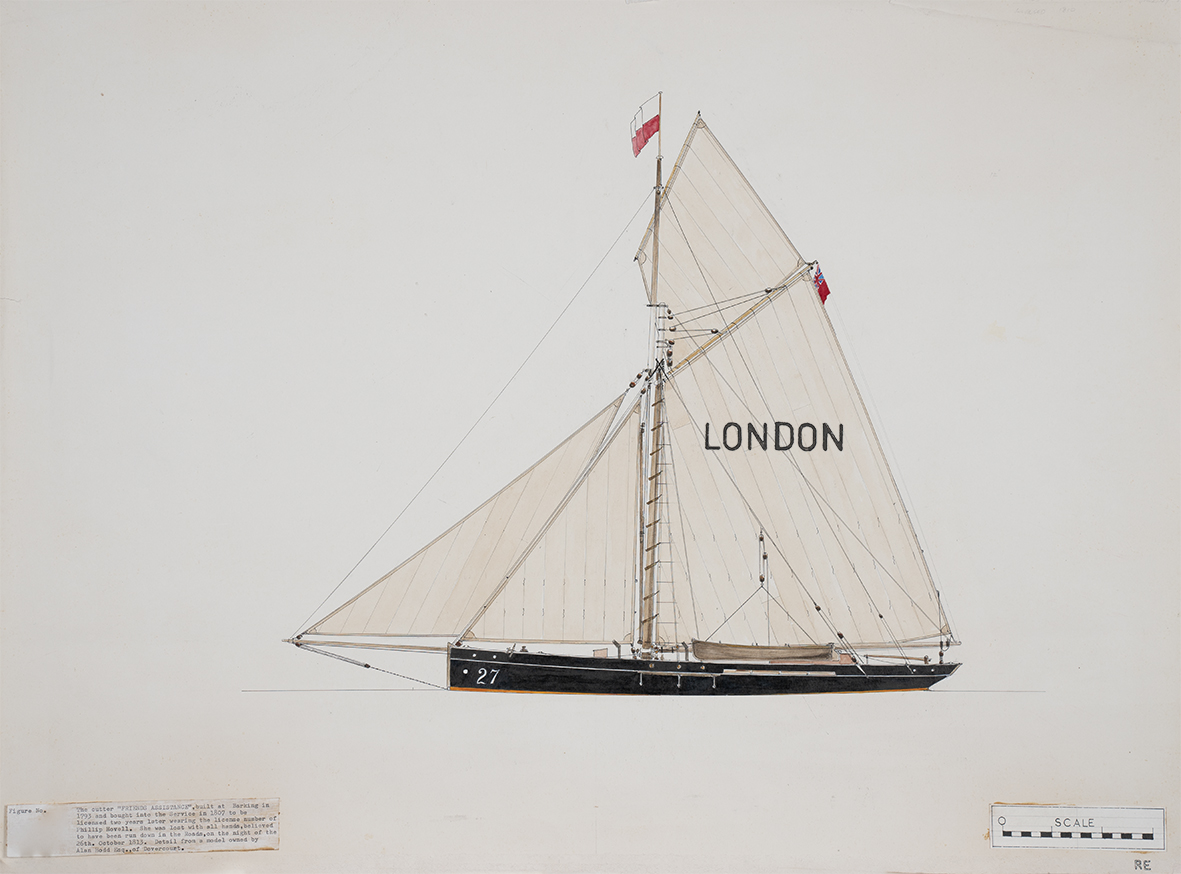
Sorry for the delay.
This is one of the images. I've reduced the size to get it tip here.
Copy link to clipboard
Copied
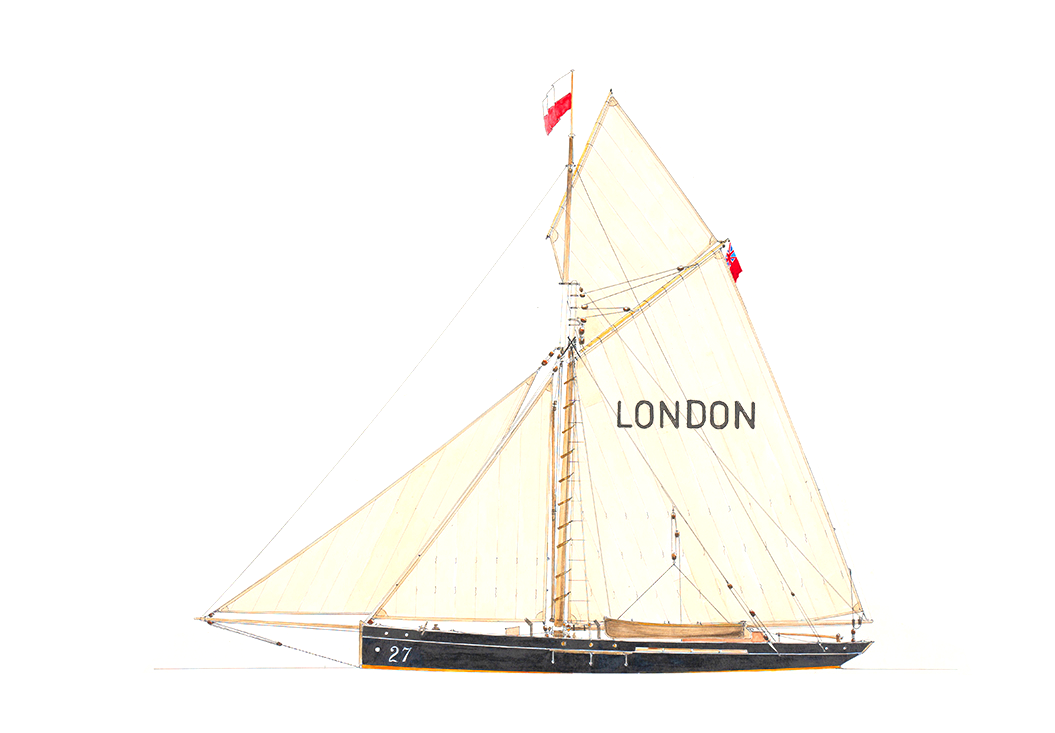
It would be better if you had not reduces the size of the image. It would have been if you posted a small 100% image crop of the image would give us an example of the actual pixel image quality you have. Resampling an image creates a new image its not the image you will be working on. Its a completely a different image every pixel in the image was interpolate from the images you have and a lot of details have been lost during this downsizing. It looks like you have a high quality image using some of Photoshop adjustment tool will restore much of the image apeaencs and it should be easy to clean up its white background. Its easy to kill white.
Copy link to clipboard
Copied
That is an amazing transformation. Just what I am trying to achieve.
Is this just done by Adjustment , replace colour? When you print this, does the printer now recognise that the white area does not need any colour. Thanks for you advice!
Copy link to clipboard
Copied
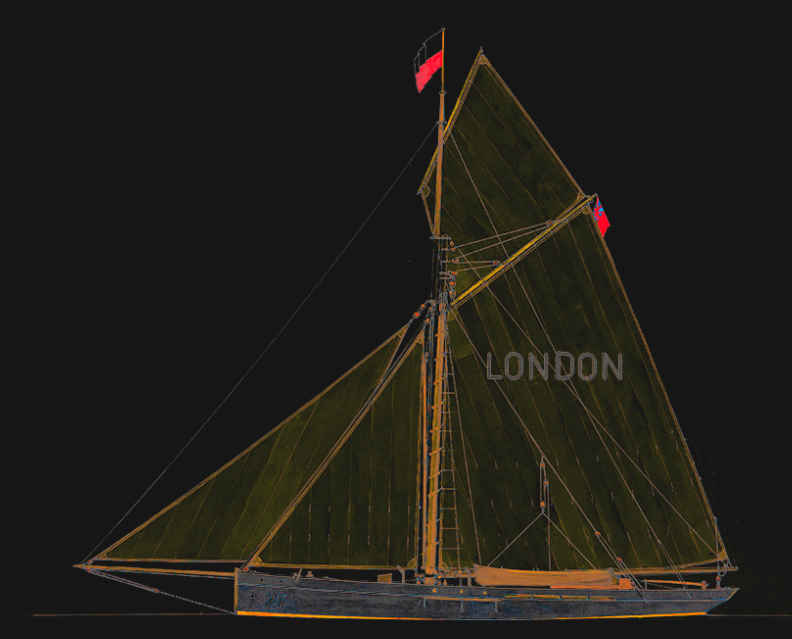
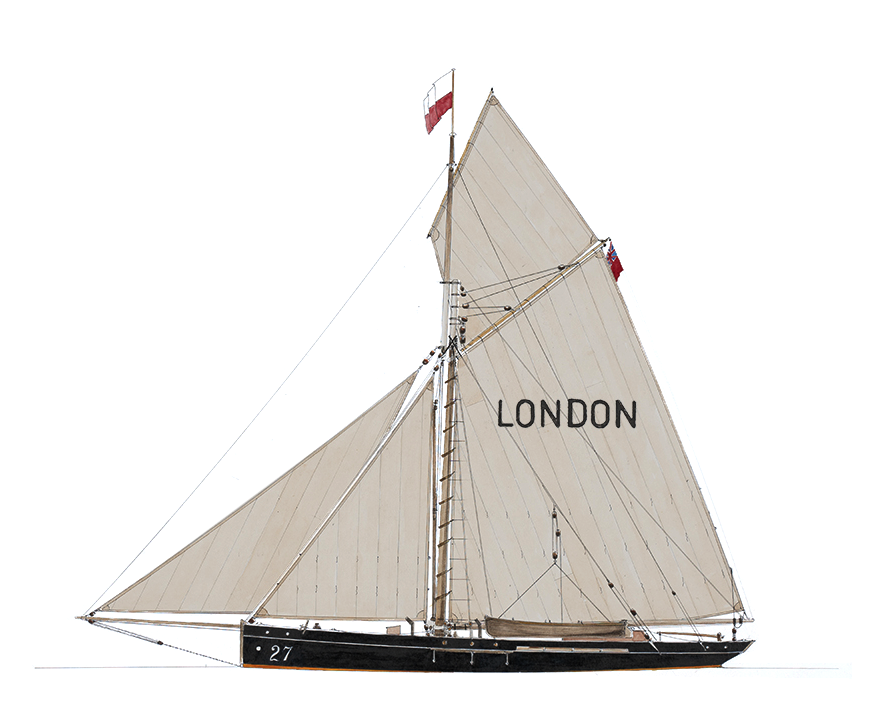
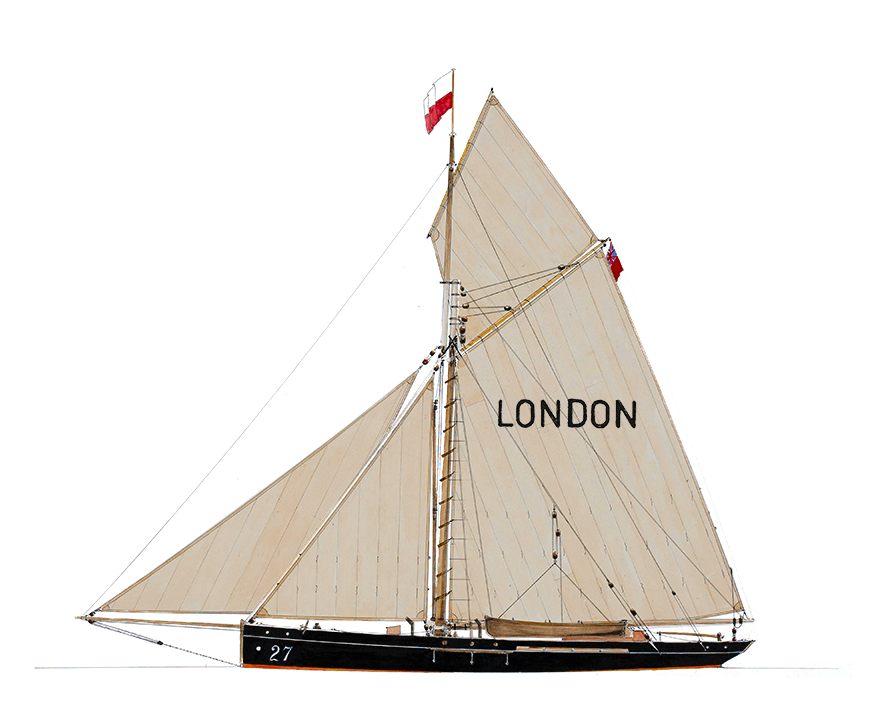
That Png I created would print awful. I think the Image you have is most likely very good for the aging drawing and could be made more vivid with some Photoshop adjustment layers like Vibrancy, Hue saturation, levels etc. The image white background can be isolated and cleaned up and made as white as you want. The Png I posted has no background and the sails are mostly transparent. Any white you see is not in the png. If you right click on the png images I posted and click open link in new tab your browser may display it over a black page
Copy link to clipboard
Copied
Thanks for that.
The original image is very large and high quality.
Because there seem to be a multitude of ways to achieve things in
photoshop, I'm just trying to get some pointers, rather than floundering
around for hours and hours as I have been doing. I realised that your image
was just an example of what could be done and had already opened it on a
black background. Very impressed though!
I'm sorry to bother you. But could you just tell me your method briefly to
achieve what you have and am I right in assuming that the areas that you
have converted to white (or are they transparent?) would receive no ink
from the printer (SC P9000 - Epson).
I really appreciate your advice. I have recently set up a business, so this
is quite important to me.
Craig
Copy link to clipboard
Copied
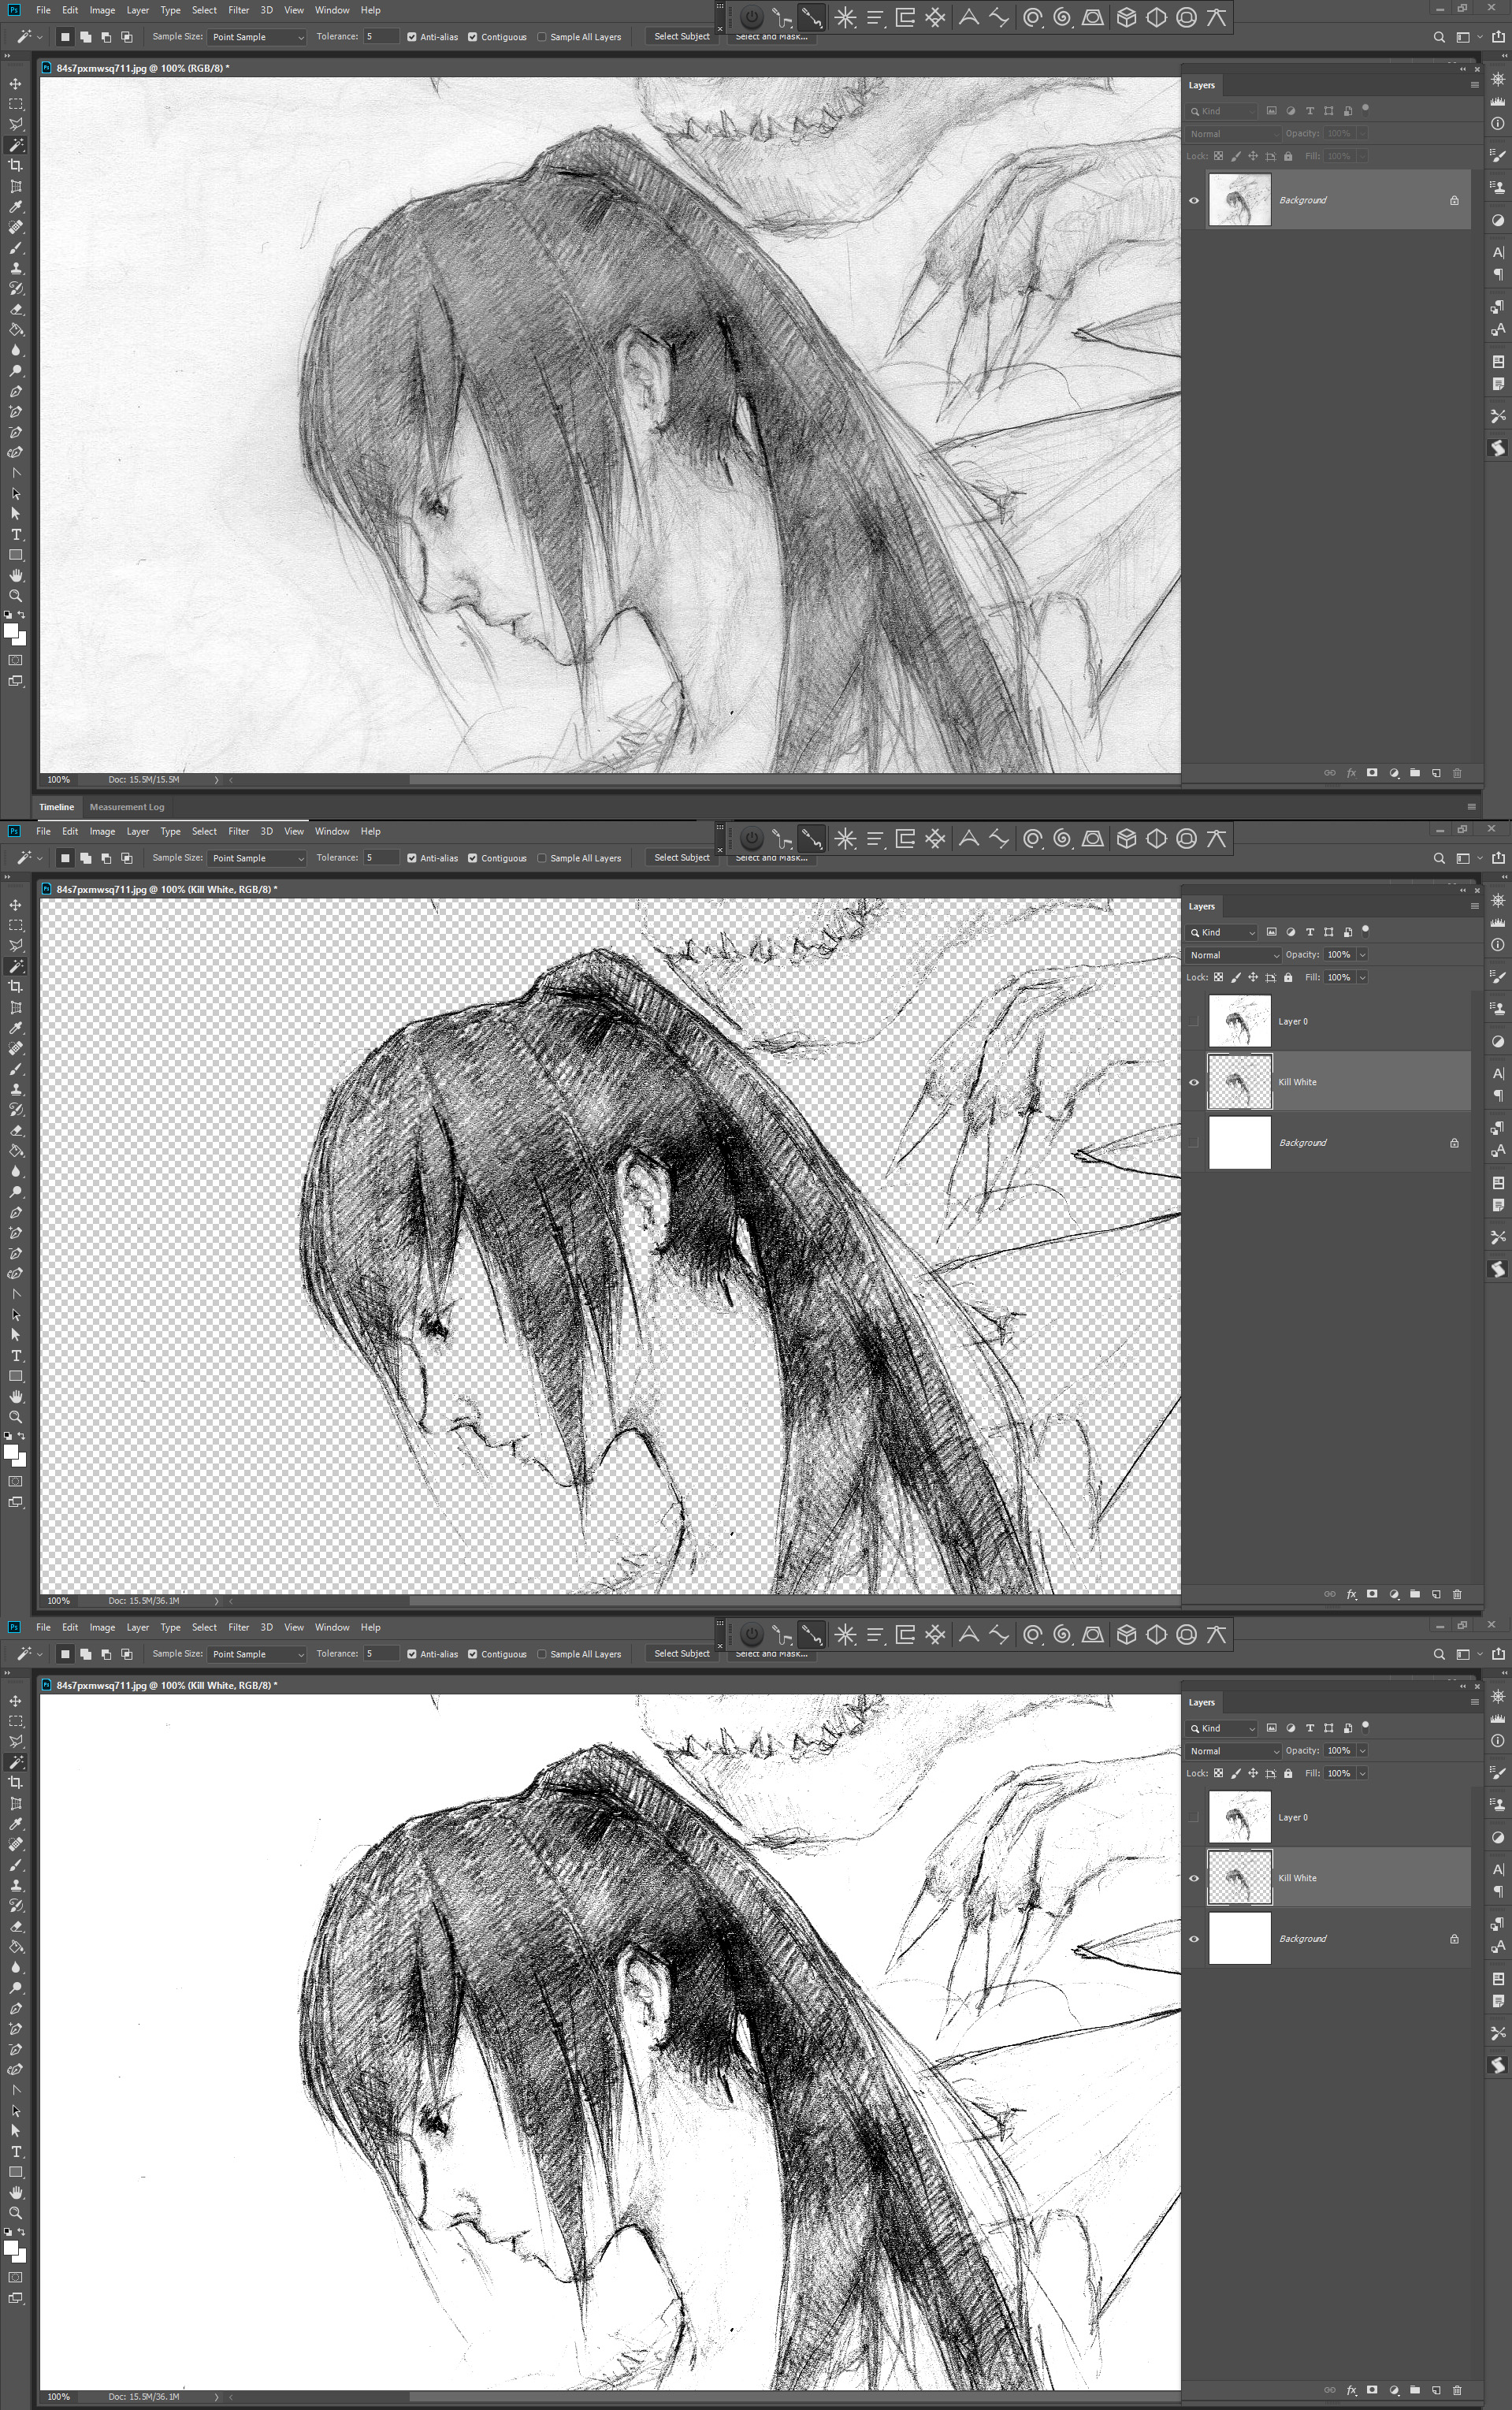
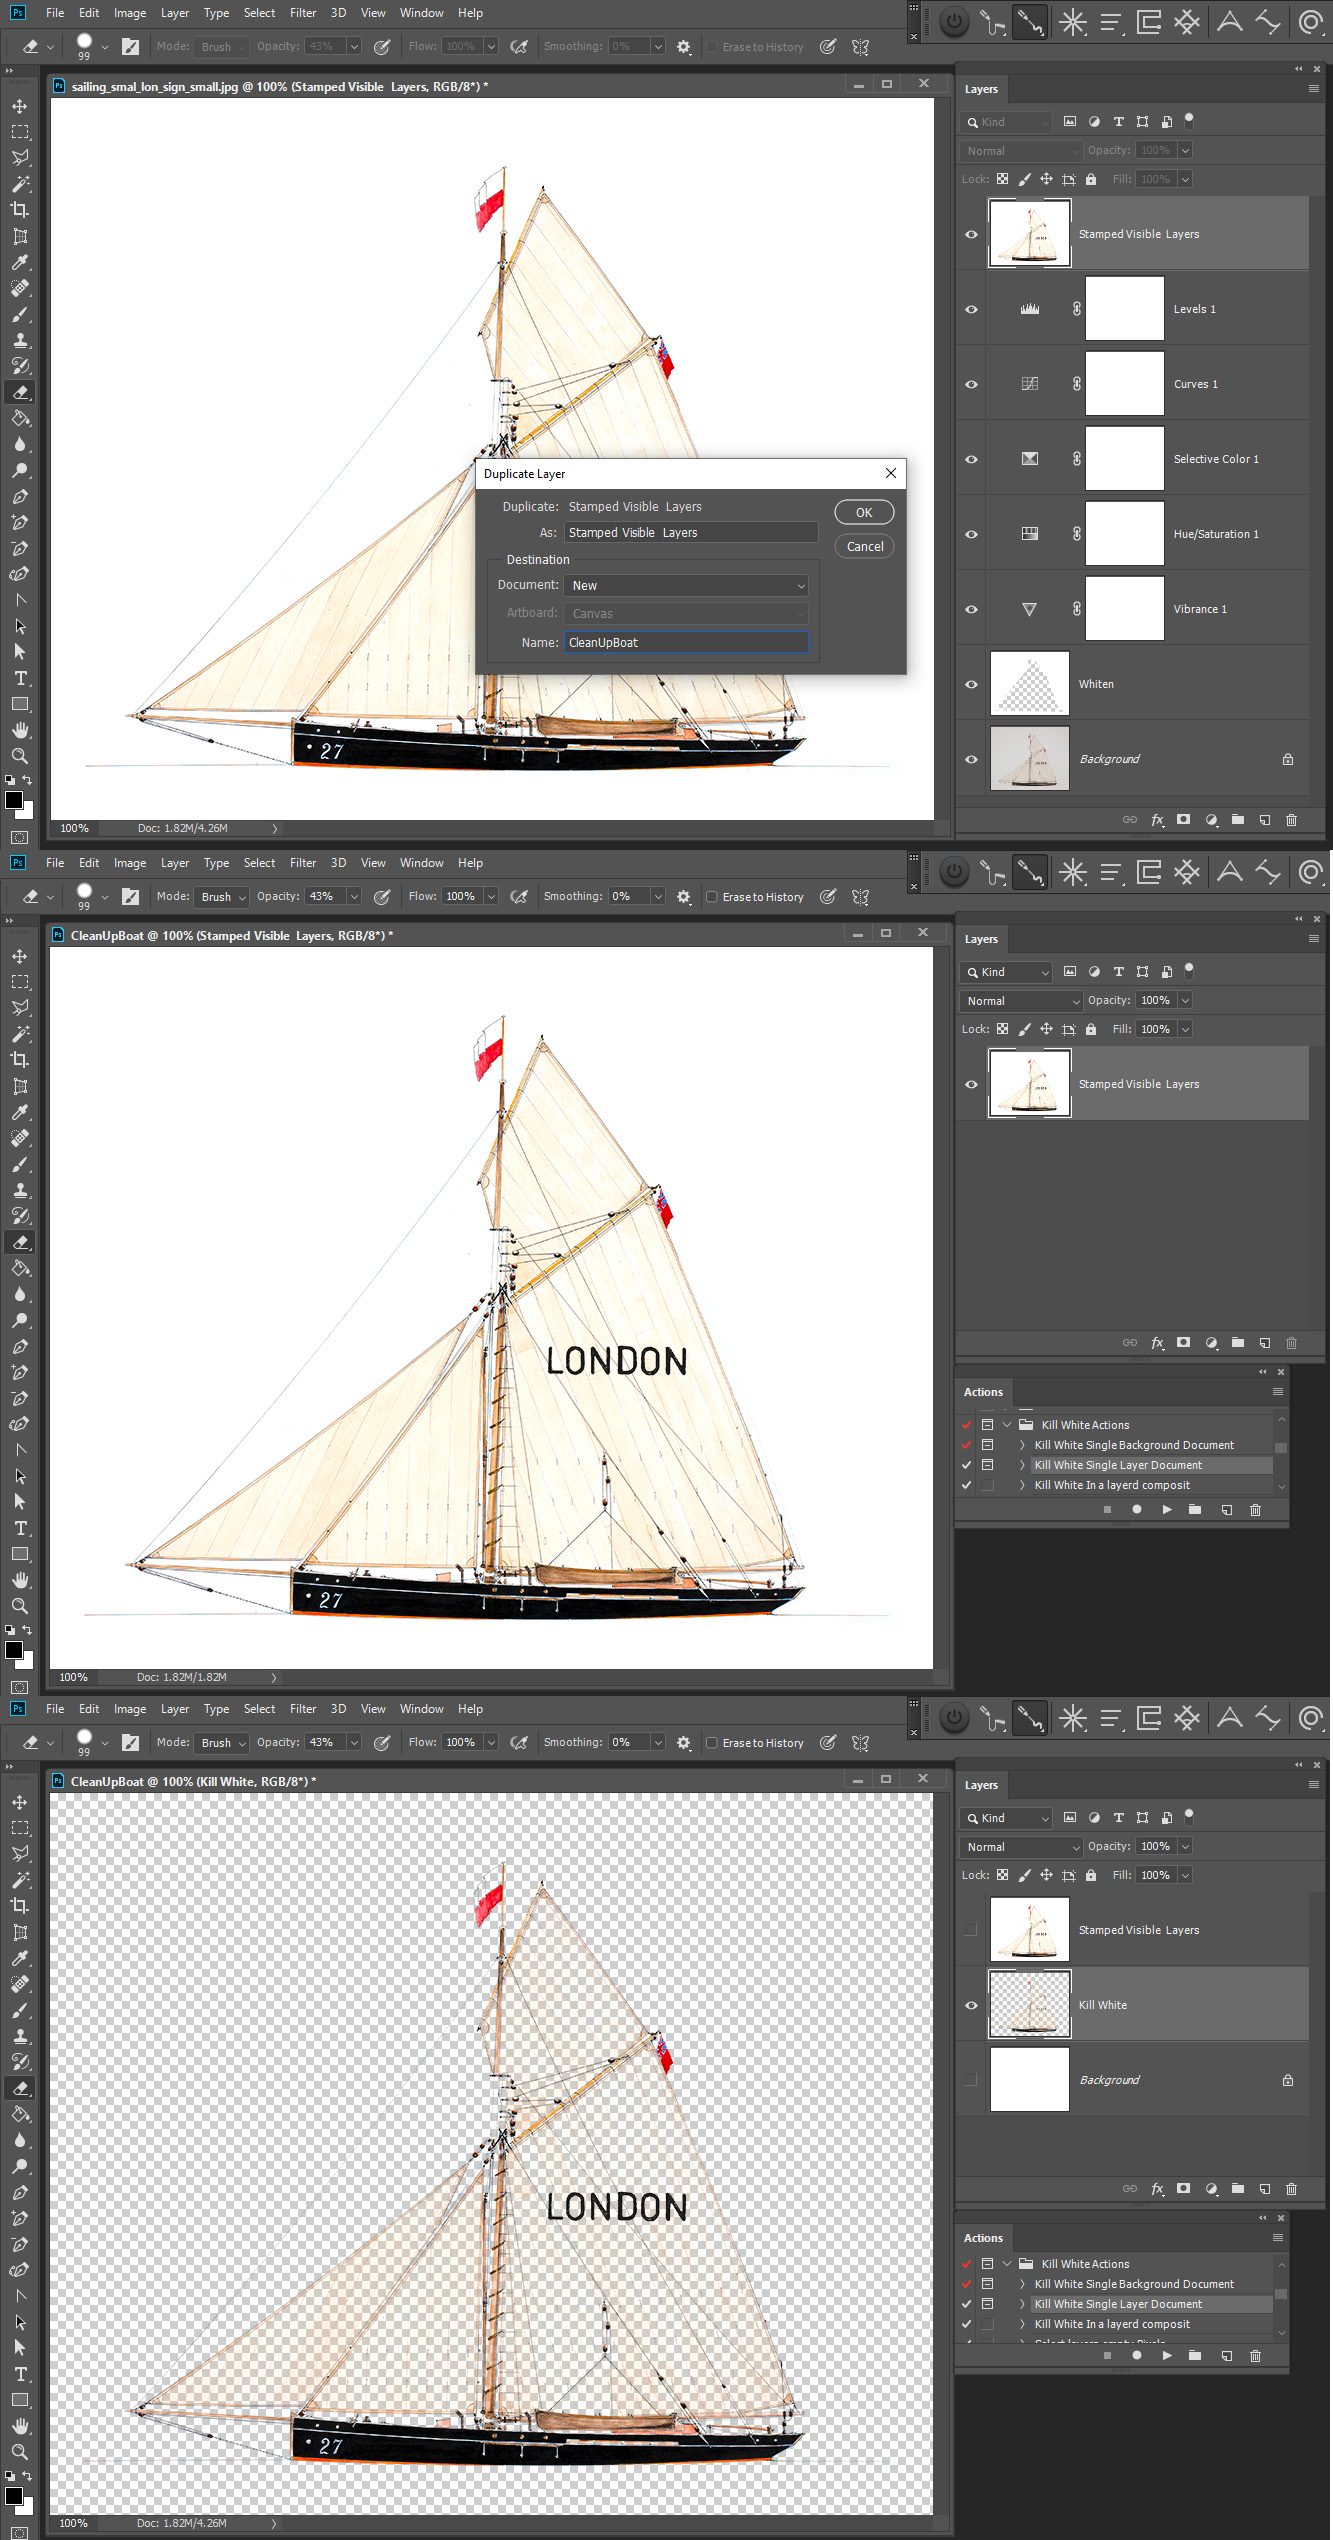
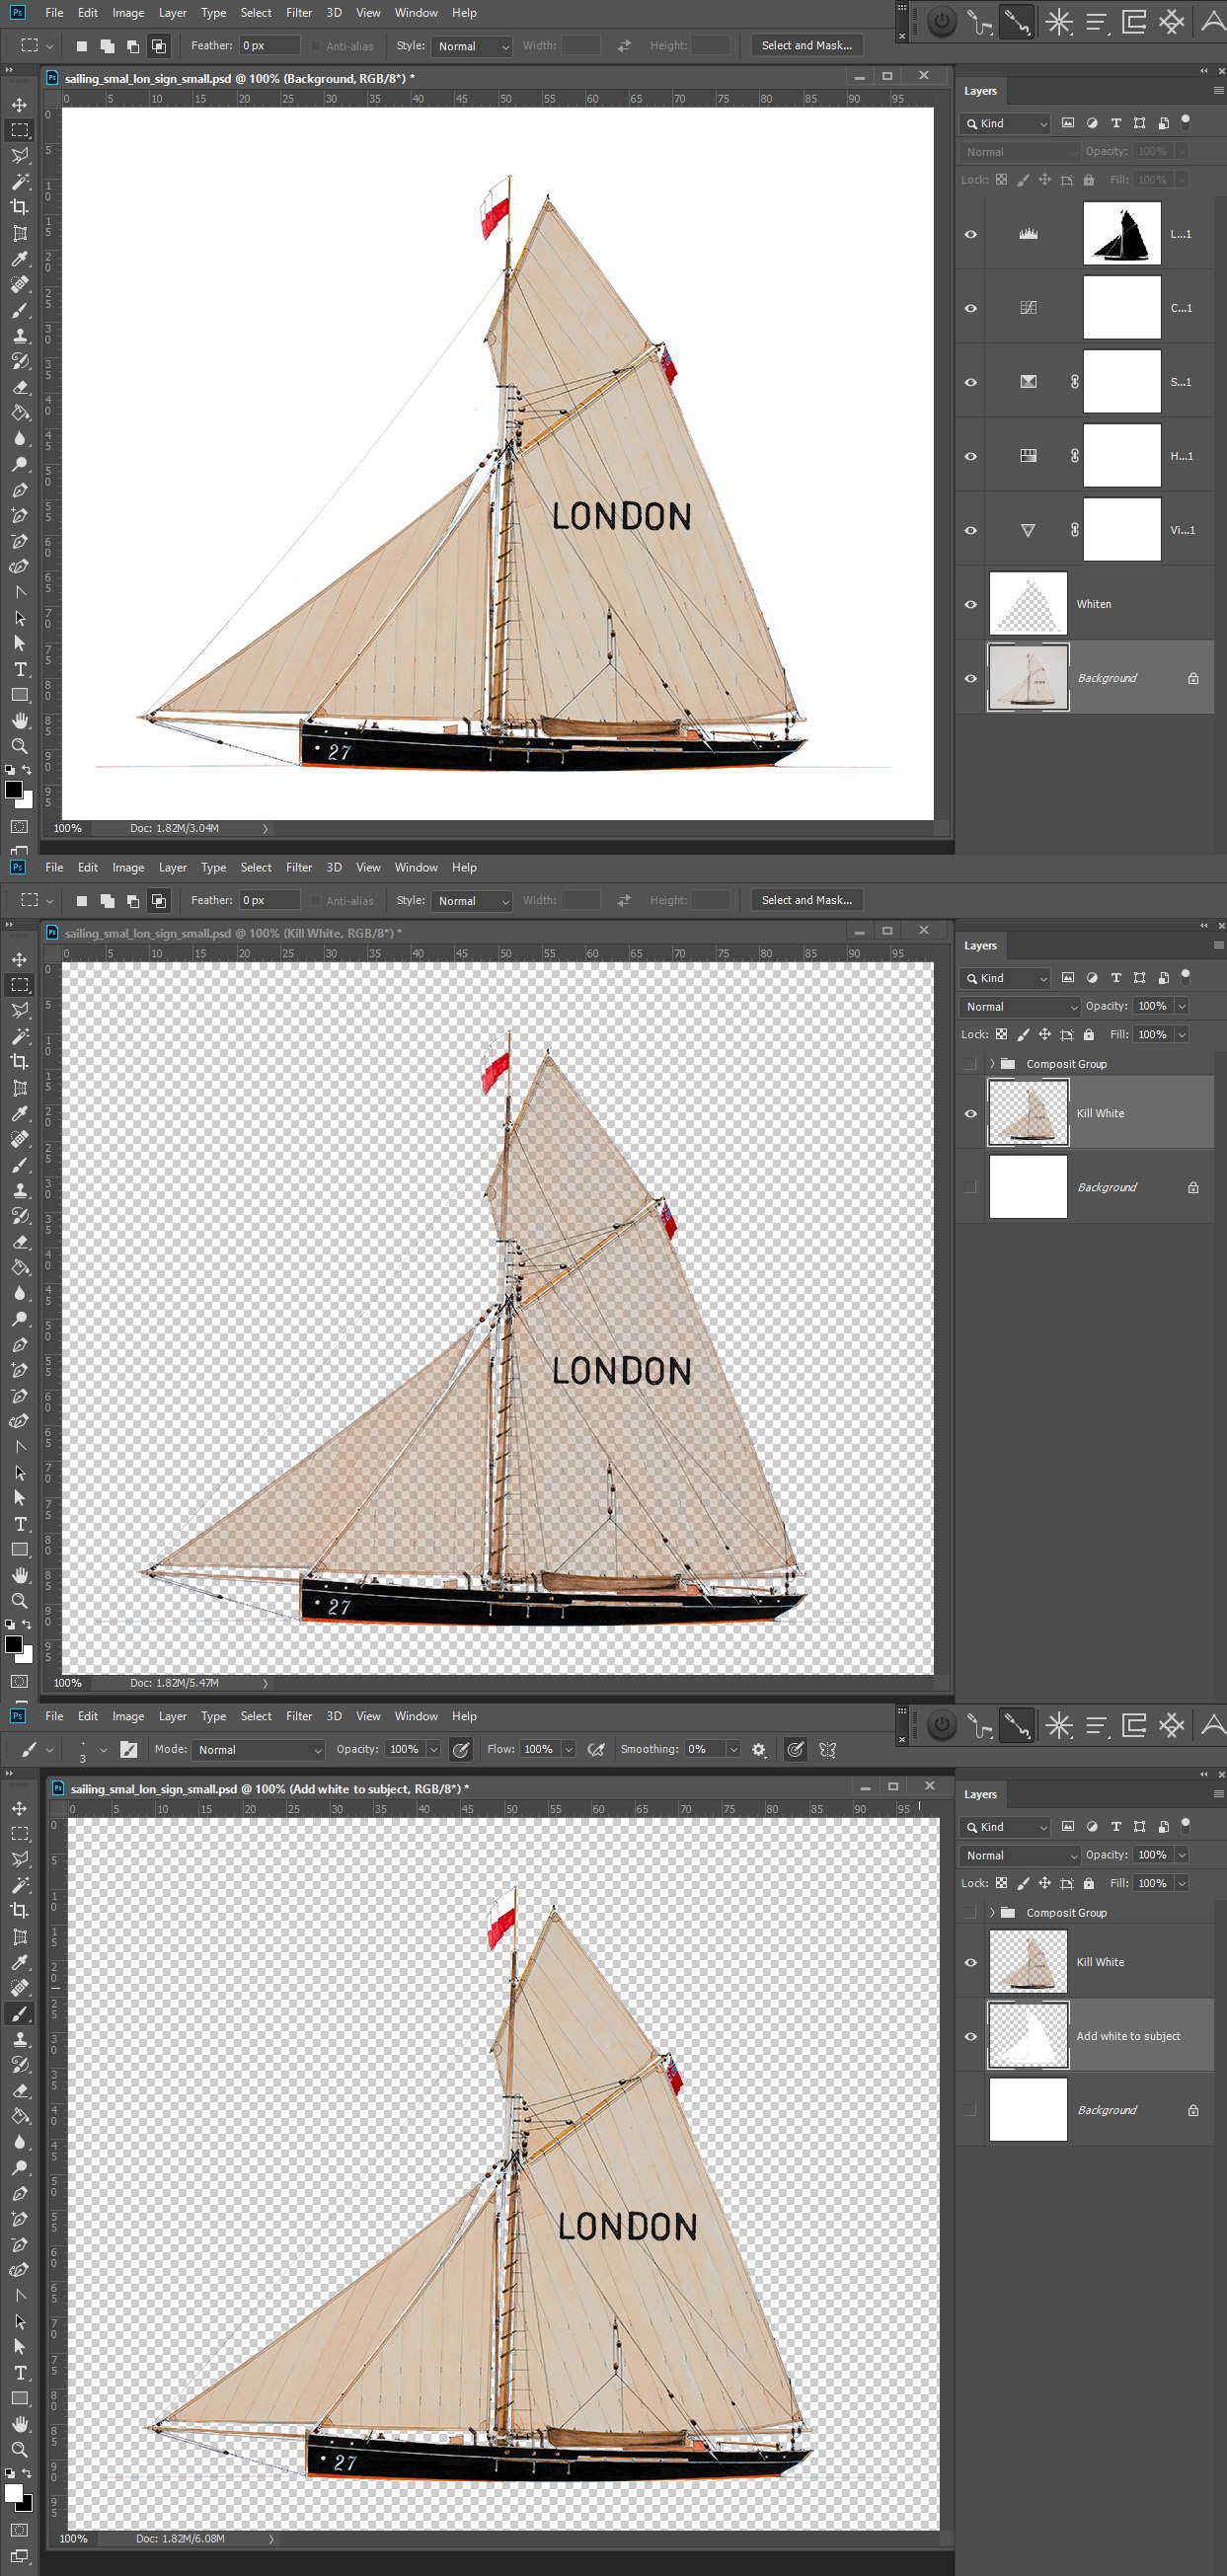
Photoshop has many image adjusrment and filters. It is not hard force the images background to be pure white. If you use Adjustment layers to do that that you can paint black on the adjustments layers layer mask to remove any unwanted adjusstment to the subject. Once you have it cleaned up you can use stamp visible layer to create a composite layer. This layer can be duped to a new document. where you can easily remove all white.
Perfectly removing a white background
This question is Assumed Answered.
sparklellama Feb 1, 2014 12:59 AM
This might help someone else. I am also writing this so I remember it. This procedure makes a flat photoshop document with all white removed as if the document were a layer with blend type "Multiply". You can then paint white behind it to make non-translucent sections for overlaying with other things (in other programs or web stuff), but the edges will be perfect with no loss of detail.
- Open the doc (RGB mode only)
- Make a new layer, fill it with full red. Invert it (Cmd-i).It'll go cyan.
- Make a layer, fill it with green. Invert it, so it goes magenta.
- Make another layer, fill with blue, invert to make yellow.
- Turn off the new layers so you can only see your original.
- Go to the channels palette.
- Create three new blank channels. They'll be black.
- Command-click the Red channel. This will make a selection. Change to your first new channel, and fill that selection with white.
- Do the same thing for the green channel, into your second new custom channel.
- Do the same for the blue channel, into the third custom one.
- Control click your first custom channel (with the selection from the red layer). Invert the selection (command-shift-i). Go to your new red layer (which is now cyan), and apply the selection as a mask (by clicking the mask button).
- Do again using custom channel 2, onto the new Green (changed to Magenta) layer.
- And again, from channel 3, into the Blue (now Yellow) layer.
- Set all 3 of your layers to blend type "Multiply"
- Turn off any other layers.
Done. If you need to, make a new layer under, and paint white to make any sections you want opaque.
Re: Perfectly removing a white background
John McAssey Feb 2, 2014 9:45 PM (in response to sparklellama)
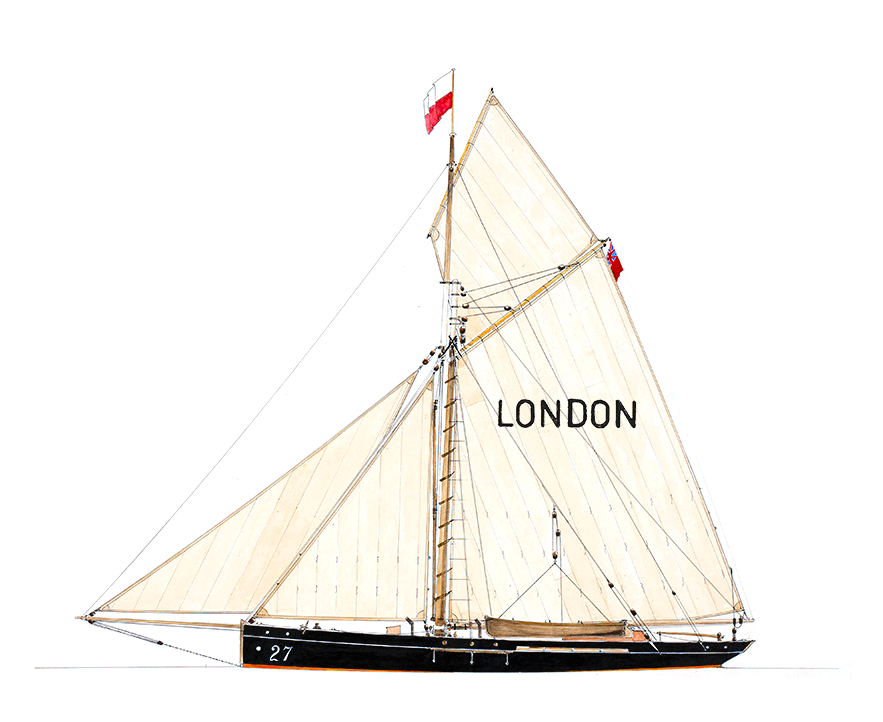
If you want the actions I created you can download then here. I use a script in a couple so I included it in the zip file. I failed to post the link yesterday there was a problem on my web host service,
http://www.mouseprints.net/old/dpr/KillWhiteActions.zip
Copy link to clipboard
Copied
Sorry to bother you.
Thanks for your detailed advise.
I have worked through it and although there is no doubt it has protected
all the detail of the origional, there is a loss of vibrance in the
remaining colours. When I produce the new layers, I produce a normal
transparent layer and then fill it with a red etc. Is there a specific red
I should choose? Or am I doing this wrong.
Thanks again.
Craig
Copy link to clipboard
Copied
If you create a good cleaned up composite image you should print that image. If you continue on and kill white to remove the white Background you also kill the white in you subject. You would need to add white back into the subject for printing or saving as a good png with a transparent background. If you look at the png you will see I dis a quick jog the is still specs one the background but colou is back in the sails. The remaining junk might not even be visible in a print.
Copy link to clipboard
Copied
f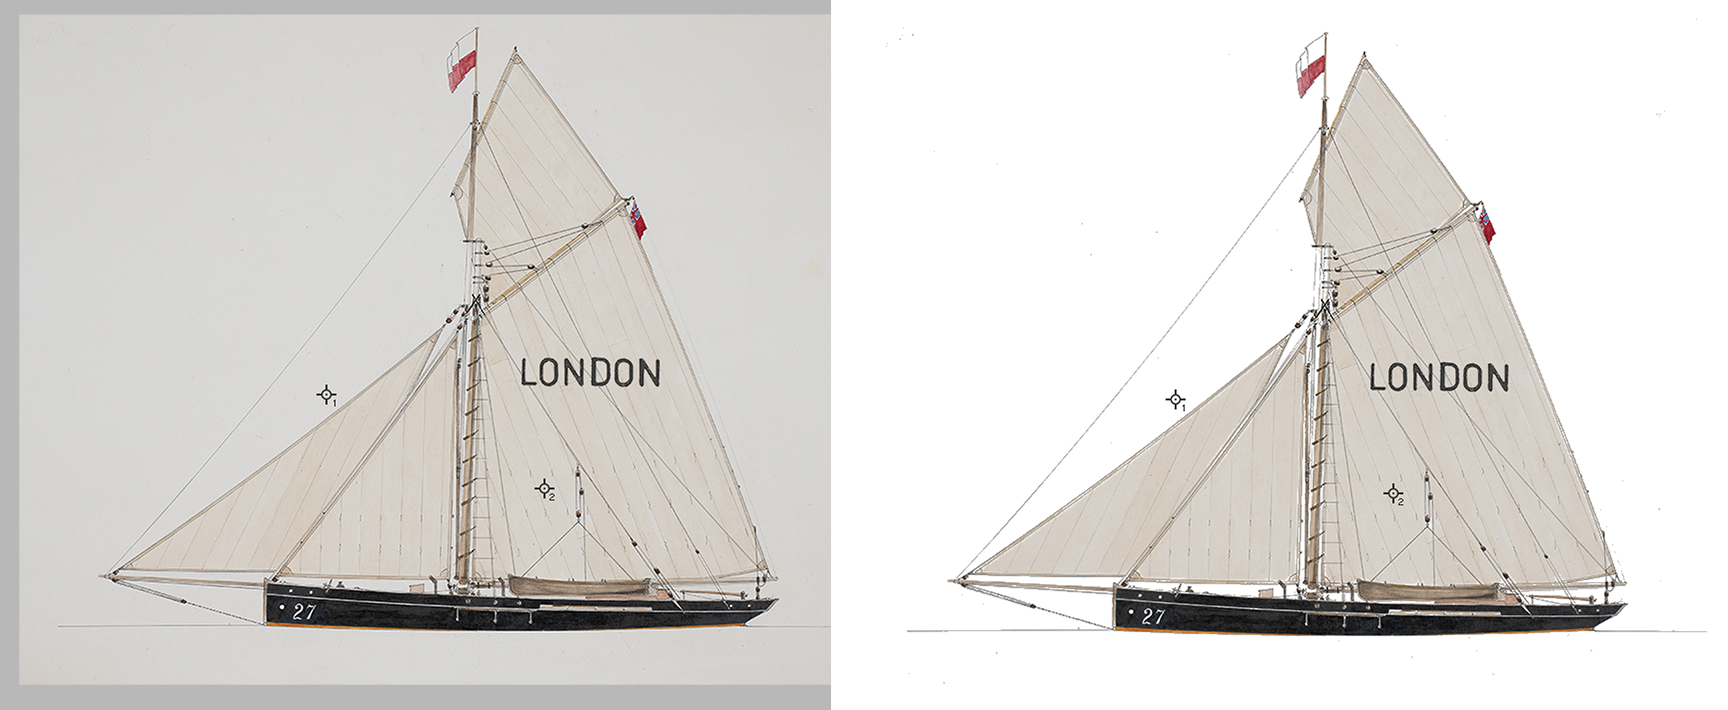
Hard as it may be to believe, the sails are the same color in both versions. (Click on image for larger view) As shown, two values were marked on an additional image layer and then Curves was used to create a large difference in tones. It looked like this:
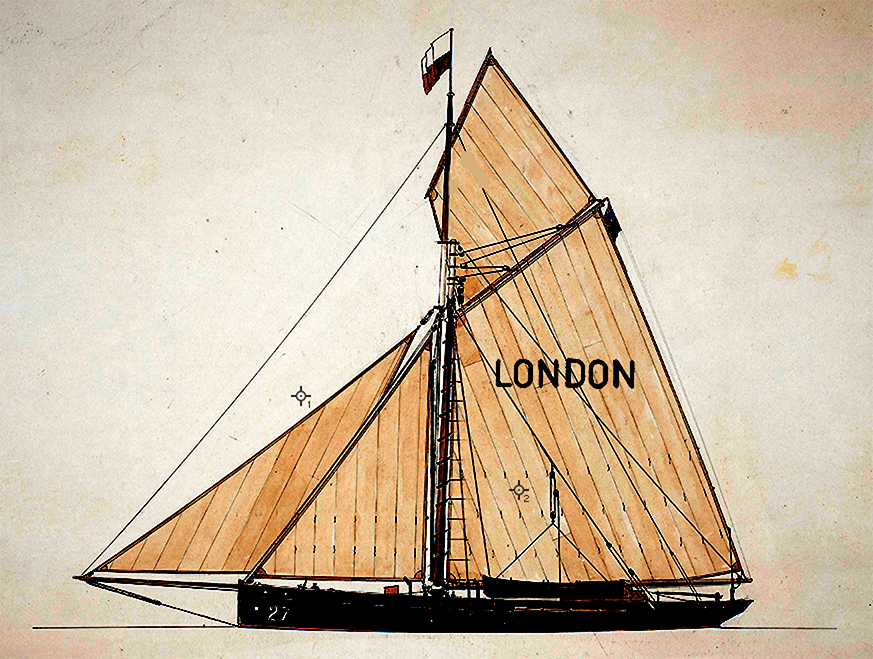
That made the making a selection of the sails easier. The selection was applied to the unaltered image layer and the sails were placed as a layer above the boat layer as Layer 1.
Then the method I described earlier (Post 10) was used without risking the sail value.
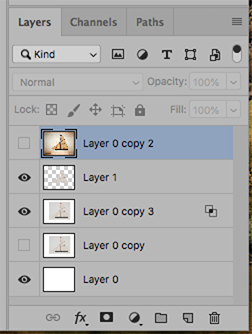
(Layer 0 copy was used only for reference when the job was done.)
Copy link to clipboard
Copied
One last consideration regarding my last post. Watercolor. If you were to assume the original drawing employed (transparent) watercolor on colored paper or the discoloration affected the sail colors, by switching to Lab Color and eliminating the paper value from the sails, this would be the result. I thought that would interest you.
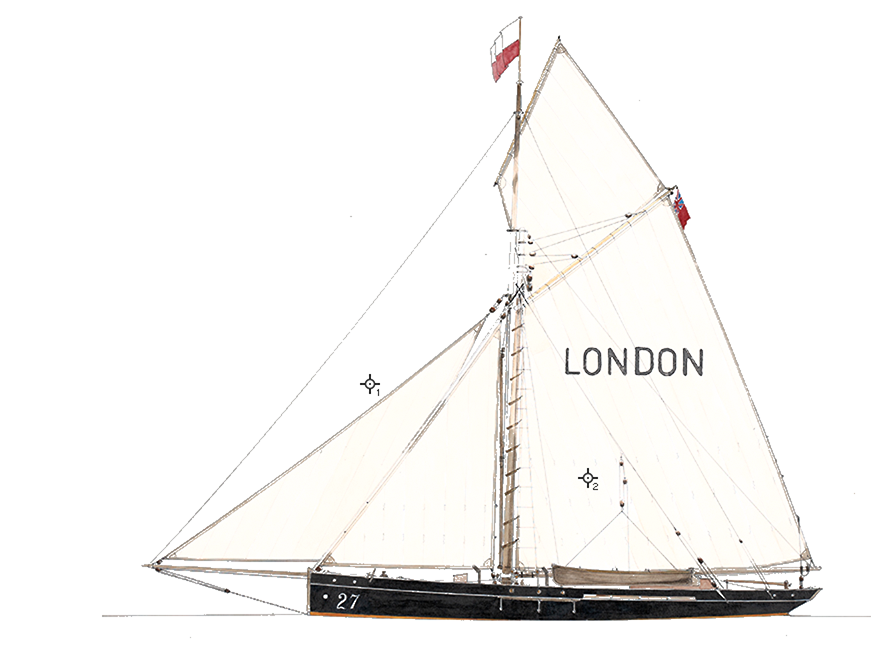
Find more inspiration, events, and resources on the new Adobe Community
Explore Now


