- Home
- Photoshop ecosystem
- Discussions
- Re: PS CC : Layer Mask and Fading issues
- Re: PS CC : Layer Mask and Fading issues
PS CC : Layer Mask and Fading issues
Copy link to clipboard
Copied
I went from CS6 to the newest Photoshop CC and some things are very different. I am getting frustrated in trying to do things now because they don't work like they used to. I just closed out Photoshop and gave up on the wallpaper I was trying to make, something that would have been relatively easy in CS6 is not anymore with the newest CC.
Layer Mask doesn't work like it used to because Refine Edge is completely different now. I am really having issues fading images with layer mask and then gradient tool. That is how I always used to did it, but now it is very frustrating and I cannot get the results I once did. I make a lot of wallpapers for myself and also edit my photography, but getting areas to fade like I want, without lines showing up as well, is really ruining my experience with the new PS.
A) I need a GRADUAL fade, very nice and even, not abrupt. No lines to show up (because Feather makes lines show up in the image too often). I need the edge of the image to not show up as well, because even with the gradient and such the edge can sometimes still be seen and I end up having to use eraser tool and sometimes then I can see the eraser circle areas.
B) I often have an image and need both left and right side of the image faded because the wallpaper is much bigger than the image on left and right. Say the background layer is black and I need the left and right faded so it blends into the black of the background layer. I end up having to make two layers of the image and do gradient with select and refine (as it is called now) for both layers, then do one layer left, one layer right, and remove half the image on one side and half on the other so it looks like one image with left and right side faded. It would be nice to be able to do this with one layer but I have never found an option in PS to do this with good results.
Does anyone have any pointers on doing this with the new PS?
Explore related tutorials & articles
Copy link to clipboard
Copied
First of all: Please don’t write and write about your Photoshop image editing problems without actually showing at least a meaningful screenshot including the pertinent Panels.
Apart from that:
I end up having to use eraser tool
• Why the Eraser Tool? Aren’t you working with Layer Masks?
I end up having to make two layers of the image and do gradient with select and refine (as it is called now) for both layers
• Why don’t you use two instances of one Smart Object?
• And are you by any chance using »gradient« to signify »selection« or what do you mean by »do gradient with select and refine« exactly?
Copy link to clipboard
Copied
It would take me forever to show screenshots.
I do Layer Mask, then Gradient Tool. I select with Gradient Tool from the edge of the image and then inward on the image to the point where I do NOT want it to fade. Meaning near the subject of the image (person, etc). This way the edge slowly fades to full the closer it gets to the subject. However, I have to (in the past it was Refine Edge and now is Select and Mask) Select and Mask to adjust the fade (Feather, Shift Edge, etc) so it doesn't look abrupt and also fade enough so the edge does not show. This is the issue I am now having in the new PS CC, it;s not working like PS CS6 did. I can't get the results I once did in the old PS.
I have to use eraser to make the image fade properly so the edge does not show, even after adjustments with Select and Mask.
I do not know anything about Smart Objects. Never used it.
Copy link to clipboard
Copied
It would take me forever to show screenshots.
Please read this:
FAQ: How do I capture and post a screen shot or video?
Please post screenshots including the pertinent Panels.
I do Layer Mask, then Gradient Tool. I select with Gradient Tool from the edge of the image and then inward on the image to the point where I do NOT want it to fade.
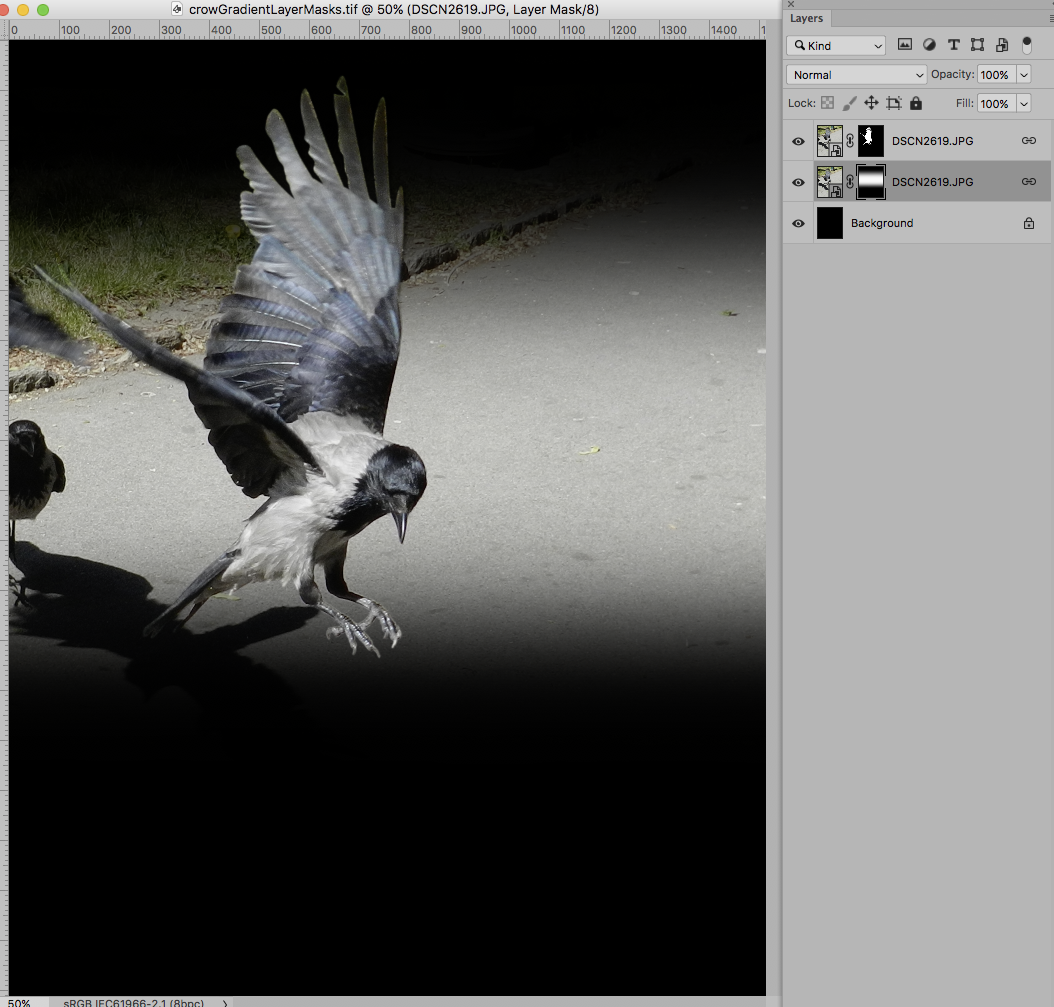
Are you creating a Layer Mask for an object and then damaging it by superimposing a gradient instead of placing the Layer in a Group and applying a Layer Mask (with a gradient) to that?
Screenshots might have made such requests for clarification unnecessary.
I have to use eraser to make the image fade properly so the edge does not show, even after adjustments with Select and Mask.
Are you using the Eraser on the Layer or the Layer Mask?
I do not know anything about Smart Objects. Never used it.
Smart Object enable one to place one object multiple times in an image (and transform and filter the instances individually) and updating all the instances simultaneously when the Smart Object is edited and saved.
Copy link to clipboard
Copied
Ok, I made a video. Here is what I am talking about. The edge still showing. I want the fade to be more gradual and even. I also need to be able to do the other side of the image.
Copy link to clipboard
Copied
Hi
No need to select and mask and shifting edges. Use a black to white gradient (yours is set grey to white so the mask is not making the image transparent at the edge and you are still seeing the edge of the photo).
Then to repeat at each side do what I showed in my previous post above and set the gradient tool to multiply.
Dave
Copy link to clipboard
Copied
Ok, I will give that a try. Thank you all.
I also found out that my settings are 8 bit and not 16, I changed that in my Wallpaper template I have. This is a fresh install of Photoshop CC on a brand new Windows 10, so settings clearly weren't all set correctly. I have never used Win 10, I came from Win 7 and Photoshop CS6. I went to Win 10 because Win 7 will be done with in 2020 and I wanted to be able to use the latest software for my work.
Copy link to clipboard
Copied
In a case like this I would recommend considering using two instances of the image and masking them separately to ensure that the object is not faded (if not intended).

Copy link to clipboard
Copied
I said I already do that in my OP.
After doing each side, I remove part of the image on both sides with the Rectangle Marque Tool, part on one layer and part on the other, then it looks like one image and both sides faded.
Copy link to clipboard
Copied
I said I already do that in my OP.
I was not asking about the issue described in the OP I was asking about the issue you just described in response to davescm ’s advice (about setting the Gradient Tool to Multiply).
But as you seem again unwilling to post the requested screenshots I will now stop following this thread.
Good luck!
Copy link to clipboard
Copied
The only person requesting a screenshot was you, so I posted a video. I guess that was not good enough. Sorry.
Copy link to clipboard
Copied
The gradient tool can do bi-directional gradients (as well as any number of other varieties). No need for two layers.
If banding is what you're complaining about ("lines showing up") - that's in your display system, not Photoshop, as long as you're working with 16 bit data. An 8 bit file will always be susceptible to banding.
Copy link to clipboard
Copied
as long as you're working with 16 bit data
Another thing one could have seen on a meaningful screenshot.
Copy link to clipboard
Copied
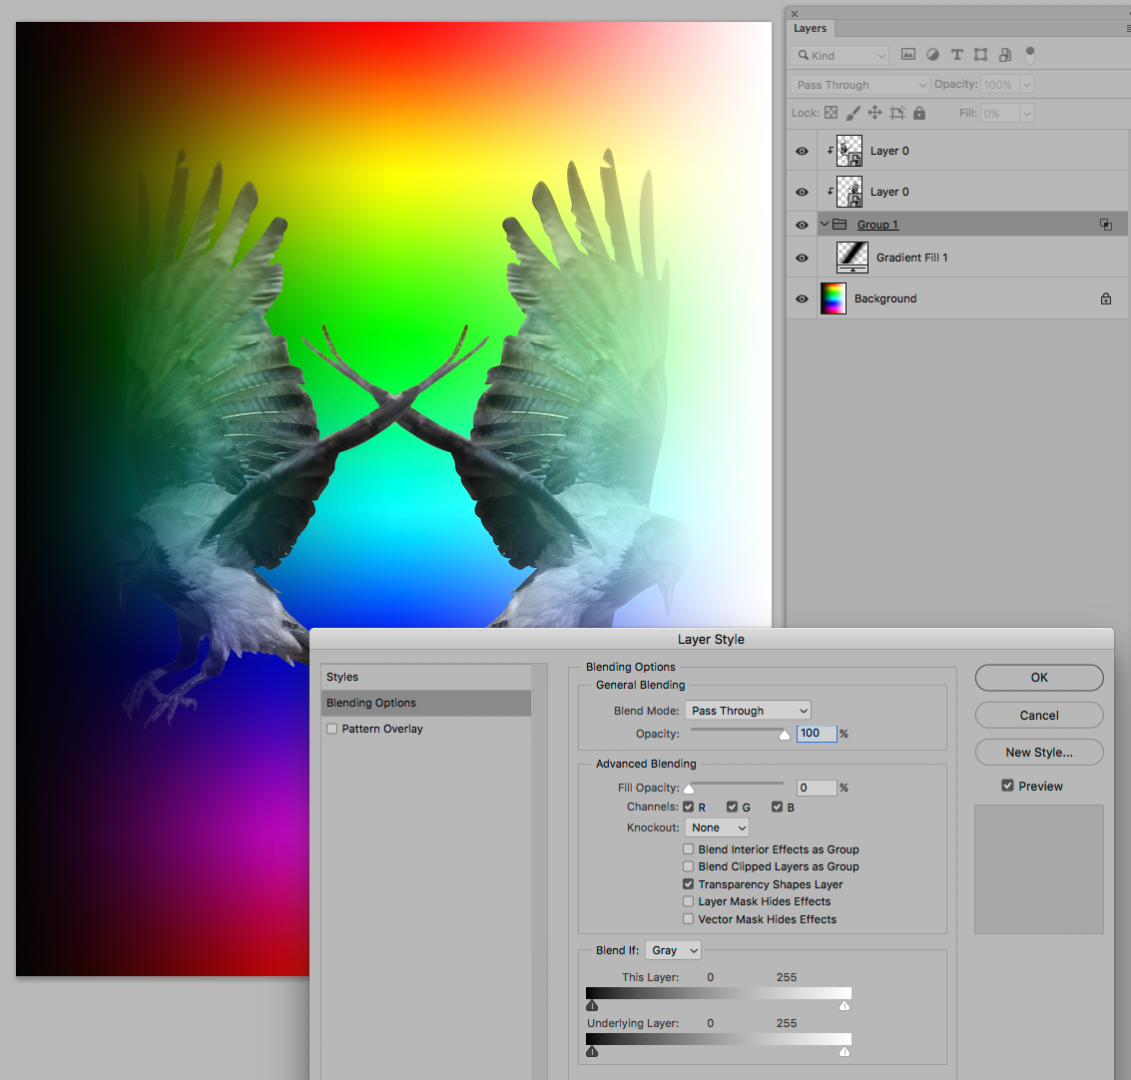
One can maintain edibility for the Gradient by using a Gradient Layer as the basis of a Clipping Group.

Copy link to clipboard
Copied
Hi
For smooth gradients use 16 bits/channel in your images
To make a reflected gradient - use this option in the options bar

To apply a black and white gradient to two sides of the mask separately change the blend mode of the gradient to multiply. That way each side does not overwrite the last.


The Select and Mask workspace has replaced the old refine edge for making selections - but the old method is still available. With the initial selection made, got to the Select menu and hold down Shift while you click on "Select and Mask" in the menu. That will open the old refine edge dialogue.
You seem to be misunderstanding. If working with masks you don't need to use the eraser at all. You can paint directly on a mask with a brush (white shows the layer and black hides it).
Dave
Copy link to clipboard
Copied
I can't figure out how you got that Multiply Gradient to work. It only does one side, even with Multiply picked and Black to White gradient.
I see you have a Color Fill Layer, but my image disappears if I do a Solid Color Layer.
I am also not getting the old Refine Edge to show up as you said to do "Select menu and hold down Shift while you click on "Select and Mask" doesn't work.
Copy link to clipboard
Copied
I can't figure out how you got that Multiply Gradient to work. It only does one side, even with Multiply picked and Black to White gradient.
Please post screenshots including the Options Bar, the Layers Panel and the Channels Panel.
Just to make sure: You are applying the Gradient in opposite directions?
Copy link to clipboard
Copied
I figured it out. I did not know you could do two gradients on one image. I did one for each direction. I was also able to get the old Refine Edge to come up.
However, I STILL cannot get the edge to stop being visible and the fade to be more gradual and not so abrupt. This is why I used to use the eraser tool on the edge set to about 20%. I am not very familiar with painting and the brush for the Mask Layer to get things to look better, I have always done it in Refine Mask.

