[Question] How to select and extract lightning?
Hey all - I took a lot of lightning photos the other evening as a thunderstorm passed by, and I decided I want to take one wide angle photo of the landscape in front of me and take just the lightning bolts from the other shots and composite them into the broader view. Where I'm struggling is how to select just the lightning bolts... they are very skinny, so there's not a lot to work with as far as using a quick selection tool or magnetic lasso tool. And they change color and brightness between the clouds and the ground, so you can't use a color selection, etc.
I learned how to make luminosity masks but I don't see where you can pick the threshold of pixels to select (it uses 50% automatically). I've tried Threshold Adjustment Layers, but that doesn't work well on lightning. I've tried simple masking with a brush but it's very (very) tedious, and I'm sure there has to be a better way. Isn't there a way to select just the pixels with brightness between X and Y values? And I need to remove as much sky as possible, because the color of the sky changed dramatically as the storm passed through, and also as I played with different shutter speeds.
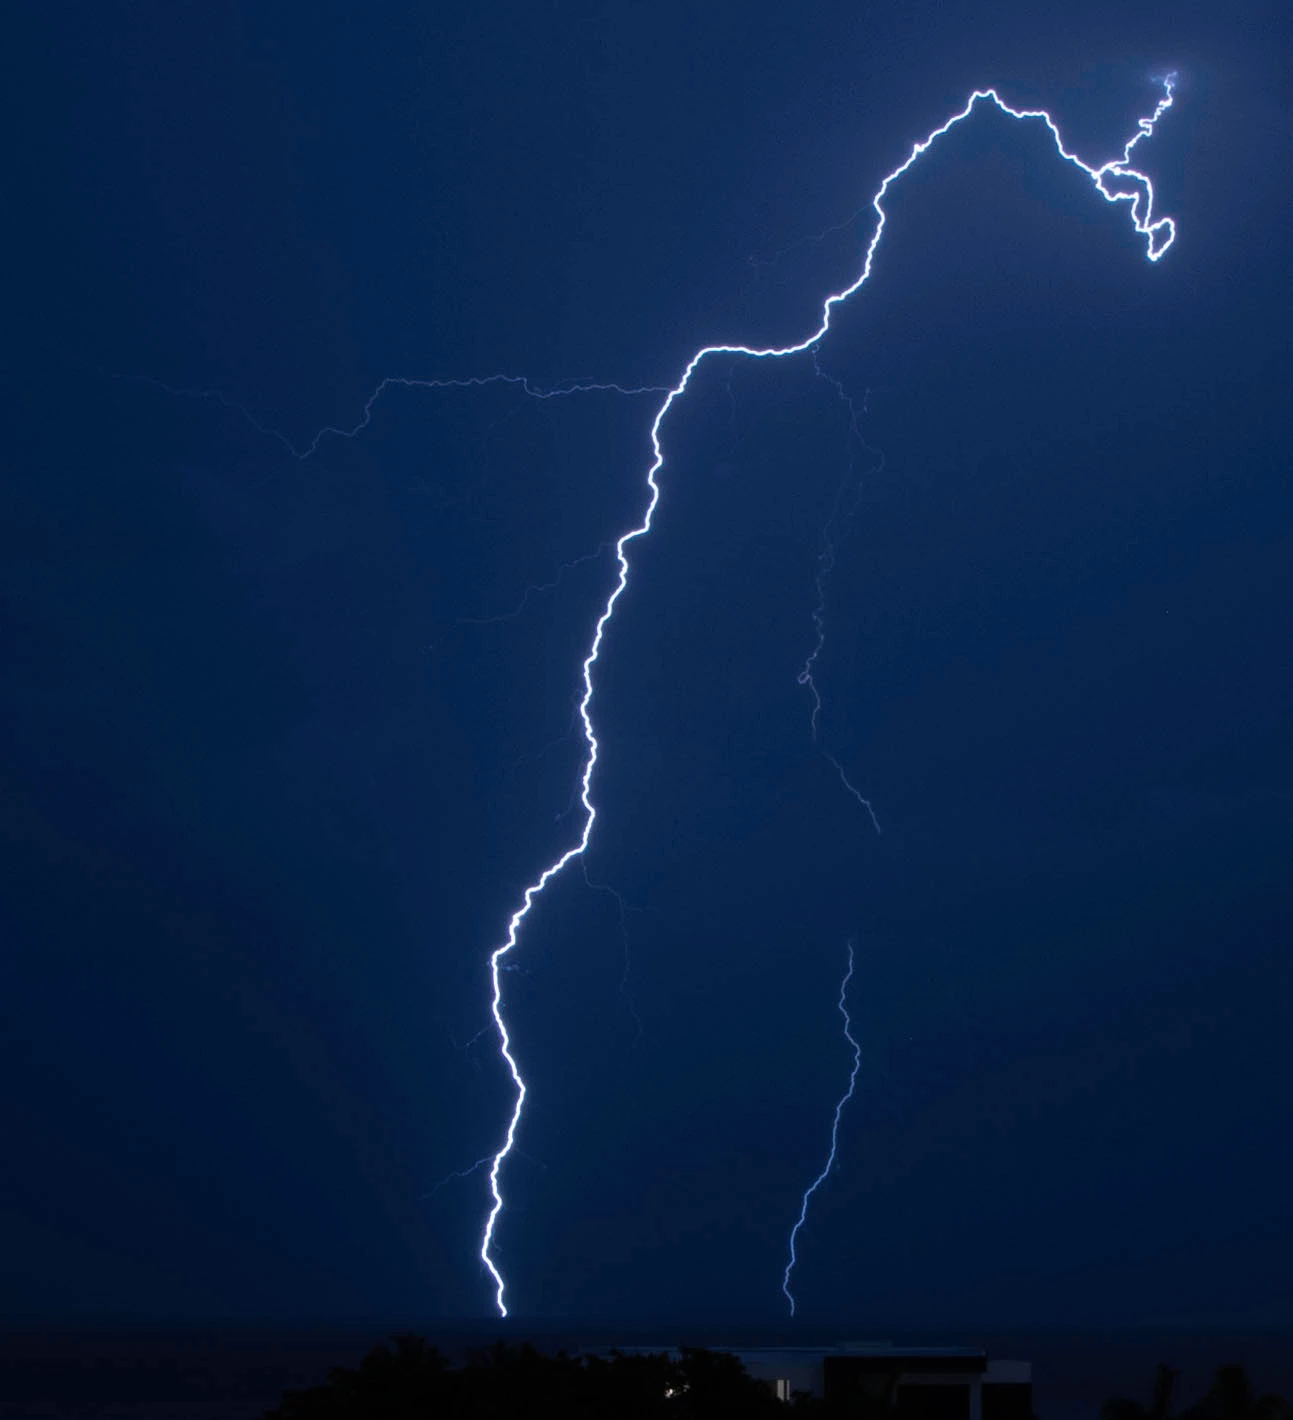
Willing to try anything, I have a couple dozen of these to extract and composite. Posting one of the lightning shots below in case anyone feels like demonstrating instead... Google has failed me, as almost every hit involves how to add lightning in Photoshop, not how to select it. 
Thanks for any advice!
Mike