


Copy link to clipboard
Copied
If I do a crop and I'm not perfectly happy with it so I want to un-do it is there any way to get my original crop box back? Un-do Crop doesn't seem to do it.
Specifically, say I'm cropping something and I spend a lot of time tweaking my crop box to get it exactly where I want it and then I do the crop. (maybe I save the results from this first crop). But then I want to go back and do the crop again, at a slightly different spot, or maybe I want to tweak it a bit and re-do the crop. So I don't want to start from scratch, positioning and tweaking a new crop box. I just want to get back to my original crop box just before I committed the crop. How do I do this?
Clicking Undo Crop (ctrl-Z) after the crop is done gives me the old uncropped image but the crop tool is gone. Is there any way to retain/save it or do I have to start from scratch with a new crop and manually size and position it all over again?
Thanks in advance.


 1 Correct answer

Look in the Settings menu in the options for the Crop tool, and make sure the Show Cropped Area box is checked. When I tried un-checking it, I got the same behavior you described.

Explore related tutorials & articles
 13
Replies
13
13
Replies
13
Copy link to clipboard
Copied
There are several ways to do this:
You can save a Crop tool preset. As with the Crop tool itself, you can constrain the tool preset to a specific aspect ratio (such as 3:2), or specific pixel dimensions (such as 300 x 200 pixels). When you drag the Crop tool using a preset, it’s locked to however you preset it; you just have to position it.
If you want the next crop to be in exactly the same position in another document, you can draw it as a rectangular selection instead, and then save the selection (Select > Save Selection). It’s saved as a new channel. In the next image, you load the selection (Select > Load Selection) and choose Image > Crop. A major limitation of this method is that it works only if the next image has exactly the same pixel dimensions as the document in which you saved the selection.
If you want to save a crop rectangle of specific pixel dimensions and you want it to work on images of any pixel dimensions, draw it as a vector path (e.g. with the Rectangle tool set to Path mode, not Shape mode). Copy and paste the path into another document, choose Layer > Vector Mask > Current Path, and then choose Image > Trim and select the Transparent Pixels option.
Copy link to clipboard
Copied
When you drag the Crop tool using a preset, it’s locked to however you preset it; you just have to position it.
The positioing of it is what I want to retain. I'm doing an art/video project where I'm making hundreds of crops in the same image, each one translated (moved horizontally or vertically) by a few pixels from the previous one.
So I want to do the crop, save the the result, UN-do the crop so I get my crop-box back, move it a little, and repeat over and over again.
If I do what you suggest using the crop tool Preset, is there a way to position it precisely? I have my rulers set to pixels but that's not precise enough on images that are thousands of pixels high and wide. Is there any way to get Photoshop to tell you the exact current location of the crop box while you're moving it?

Copy link to clipboard
Copied
Use Guides. View->Guides->New Guide/New Guide Layout. You can specify exact pixel positioning and you can snap your crop tool to a guide. And the Info panel will display crop tool coordinates while you move along.
Copy link to clipboard
Copied
I'm not trying to get it to snap to a position - I just want to SEE where it is. With the Marquee Tool when you move it around there's a little popup in the upper-left corner that says "x: nnn px / y: nnn px", telling you where it is as it's moving around. With the Crop Tool you get arrows like ⇥ or ⇤ just showing you deltas, not the absolute location.
Ideally I'd like to save and re-use my Crop Tool to be a specific SIZE (not ratio) and be able to move it around and see a display of where it is (like on the Marquee Tool). I prefer the Crop Tool to the Marquee tool because the Crop Tool has a selection of Overlays and some of them make it easier to see where the dead center is. (Does the Marquee Tool support any targeting overlays?)
Copy link to clipboard
Copied
The info panel shows your coordinates in real time. And either you need the numbers or you don't. If you do, you can use guides. If not then I don't understand the problem.
Copy link to clipboard
Copied
specific pixel dimensions (such as 300 x 200 pixels).
This part is incorrect. You cannot constrain the Crop tool to a specific pixel dimension. If you use W x H x Resolution it computes the ratio of the W and H and gives you a crop tool with that ratio. But the actual pizel dimension on your current un-cropped image are not reflected in W and H. The pixel values used in W and H are what the image will be resized to AFTER the crop. See https://community.adobe.com/t5/photoshop-ecosystem-discussions/how-do-i-crop-to-a-specific-pixel-siz...
Copy link to clipboard
Copied
specific pixel dimensions (such as 300 x 200 pixels).
This part is incorrect. You cannot constrain the Crop tool to a specific pixel dimension. If you use W x H x Resolution it computes the ratio of the W and H and gives you a crop tool with that ratio. But the actual pizel dimension on your current un-cropped image are not reflected in W and H. The pixel values used in W and H are what the image will be resized to AFTER the crop.
By @peternelson
You are totally correct there…this is not the first time I’ve gotten that mixed up! I was thinking of the Fixed Size mode of the Rectangular Marquee tool, which does not resample.
Building on that mode, if you wanted a way to repeat both size and position consistently across documents, consider using Photoshop automation such as actions or scripting. The demo below shows how to build an action that gives you the same selection every time, in one click (after initial setup).
These are the steps shown:
1. Three documents are open.
2. In the Actions panel (Window > Actions), set up a new action. Mine is called “Position selection” in an actions group called Test.
3. Click the Record button at the bottom of the Actions panel to start recording steps.
4. Select the Rectangular Marquee tool, and set it to Fixed Size. Set the Fixed Size dimensions.
5. Drag the selection to the exact location you want. However, what I did in the demo is different; I positioned it by choosing Select > Transform Selection so I could enter precise X and Y values in the options bar, just so you know that’s an option. (The demo for that menu command shows a keyboard shortcut but it doesn’t have one by default; I added one because I use this command all the time.) I pressed Enter to exit Transform Selection and apply the change.
If this is all you need, you can stop here and not even make an action. But if you want to repeat the position too, finish these steps…
6. Choose Image > Crop, then Select > Deselect.
7. In the Actions panel, click the Stop Recording button.
8. Now, when the action is selected, you can play it on any open document. If you wanted to crop a bunch of documents the same way, like a whole folder, choose File > Automate > Batch and set that up.

By the way, another reason to use Transform Selection is that you can see the reference point, which defaults to center and is displayed with the transform controls. But a selection does not offer overlays like the Crop tool does.
Copy link to clipboard
Copied
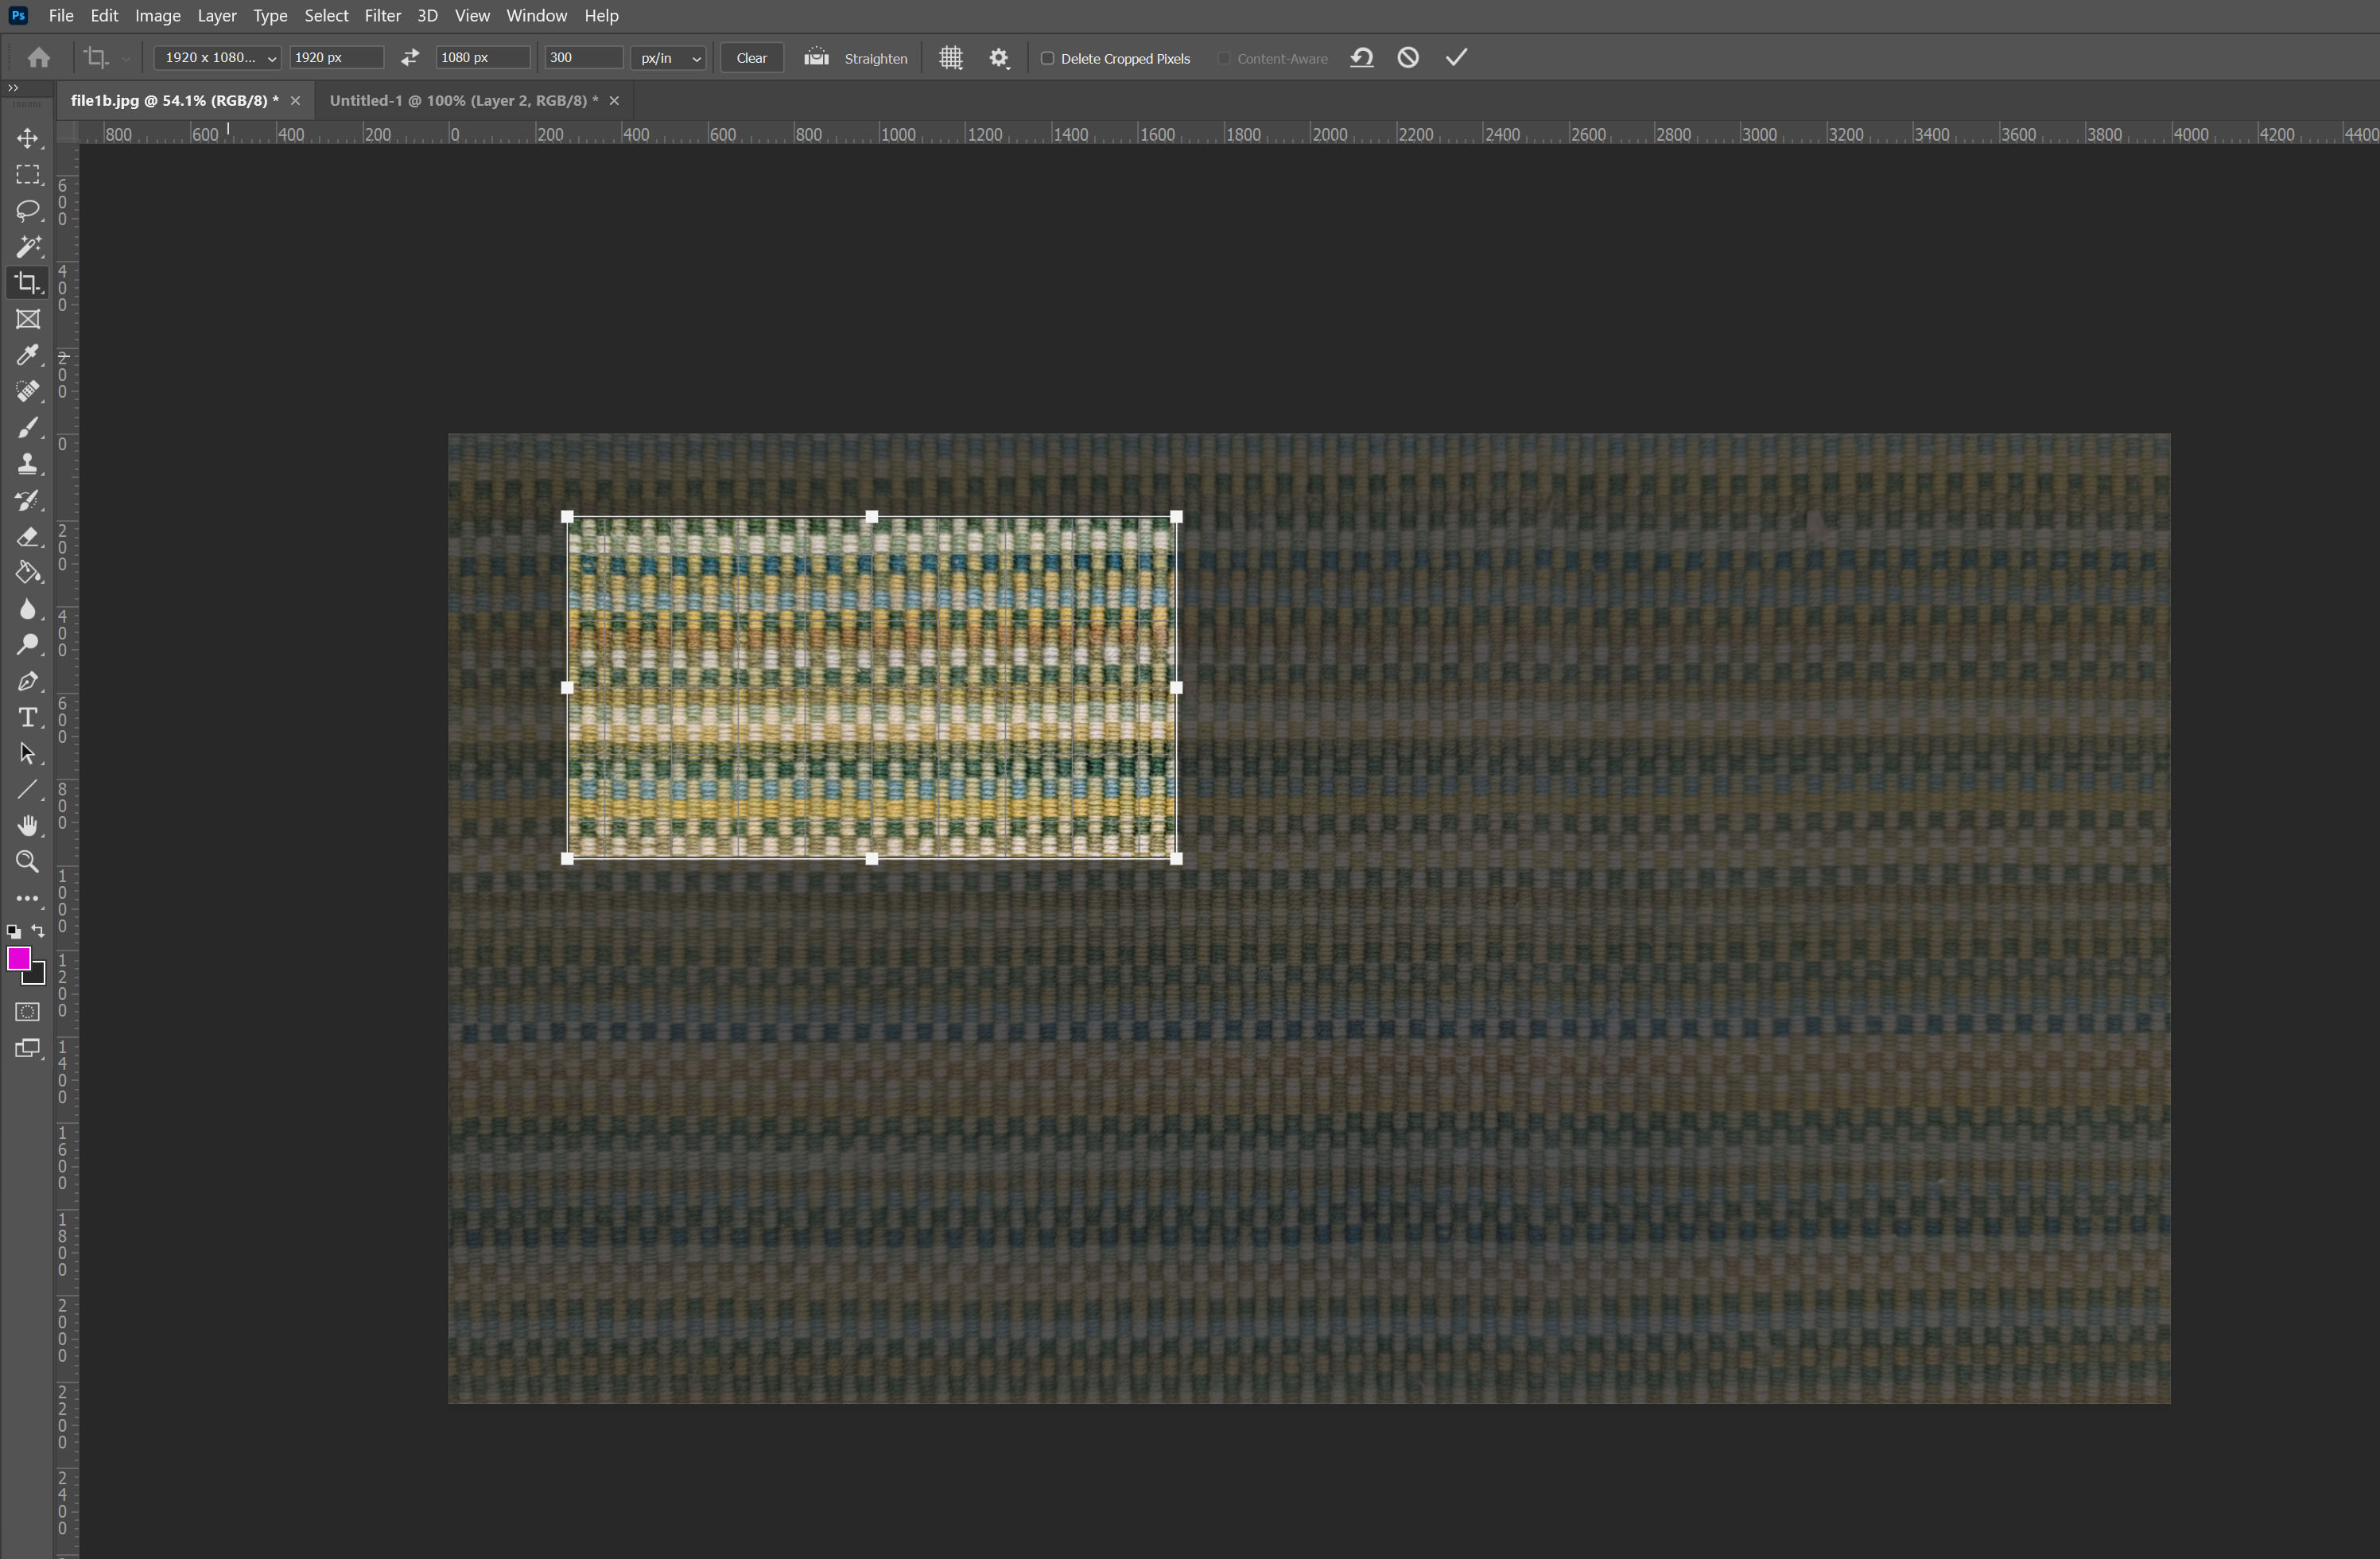
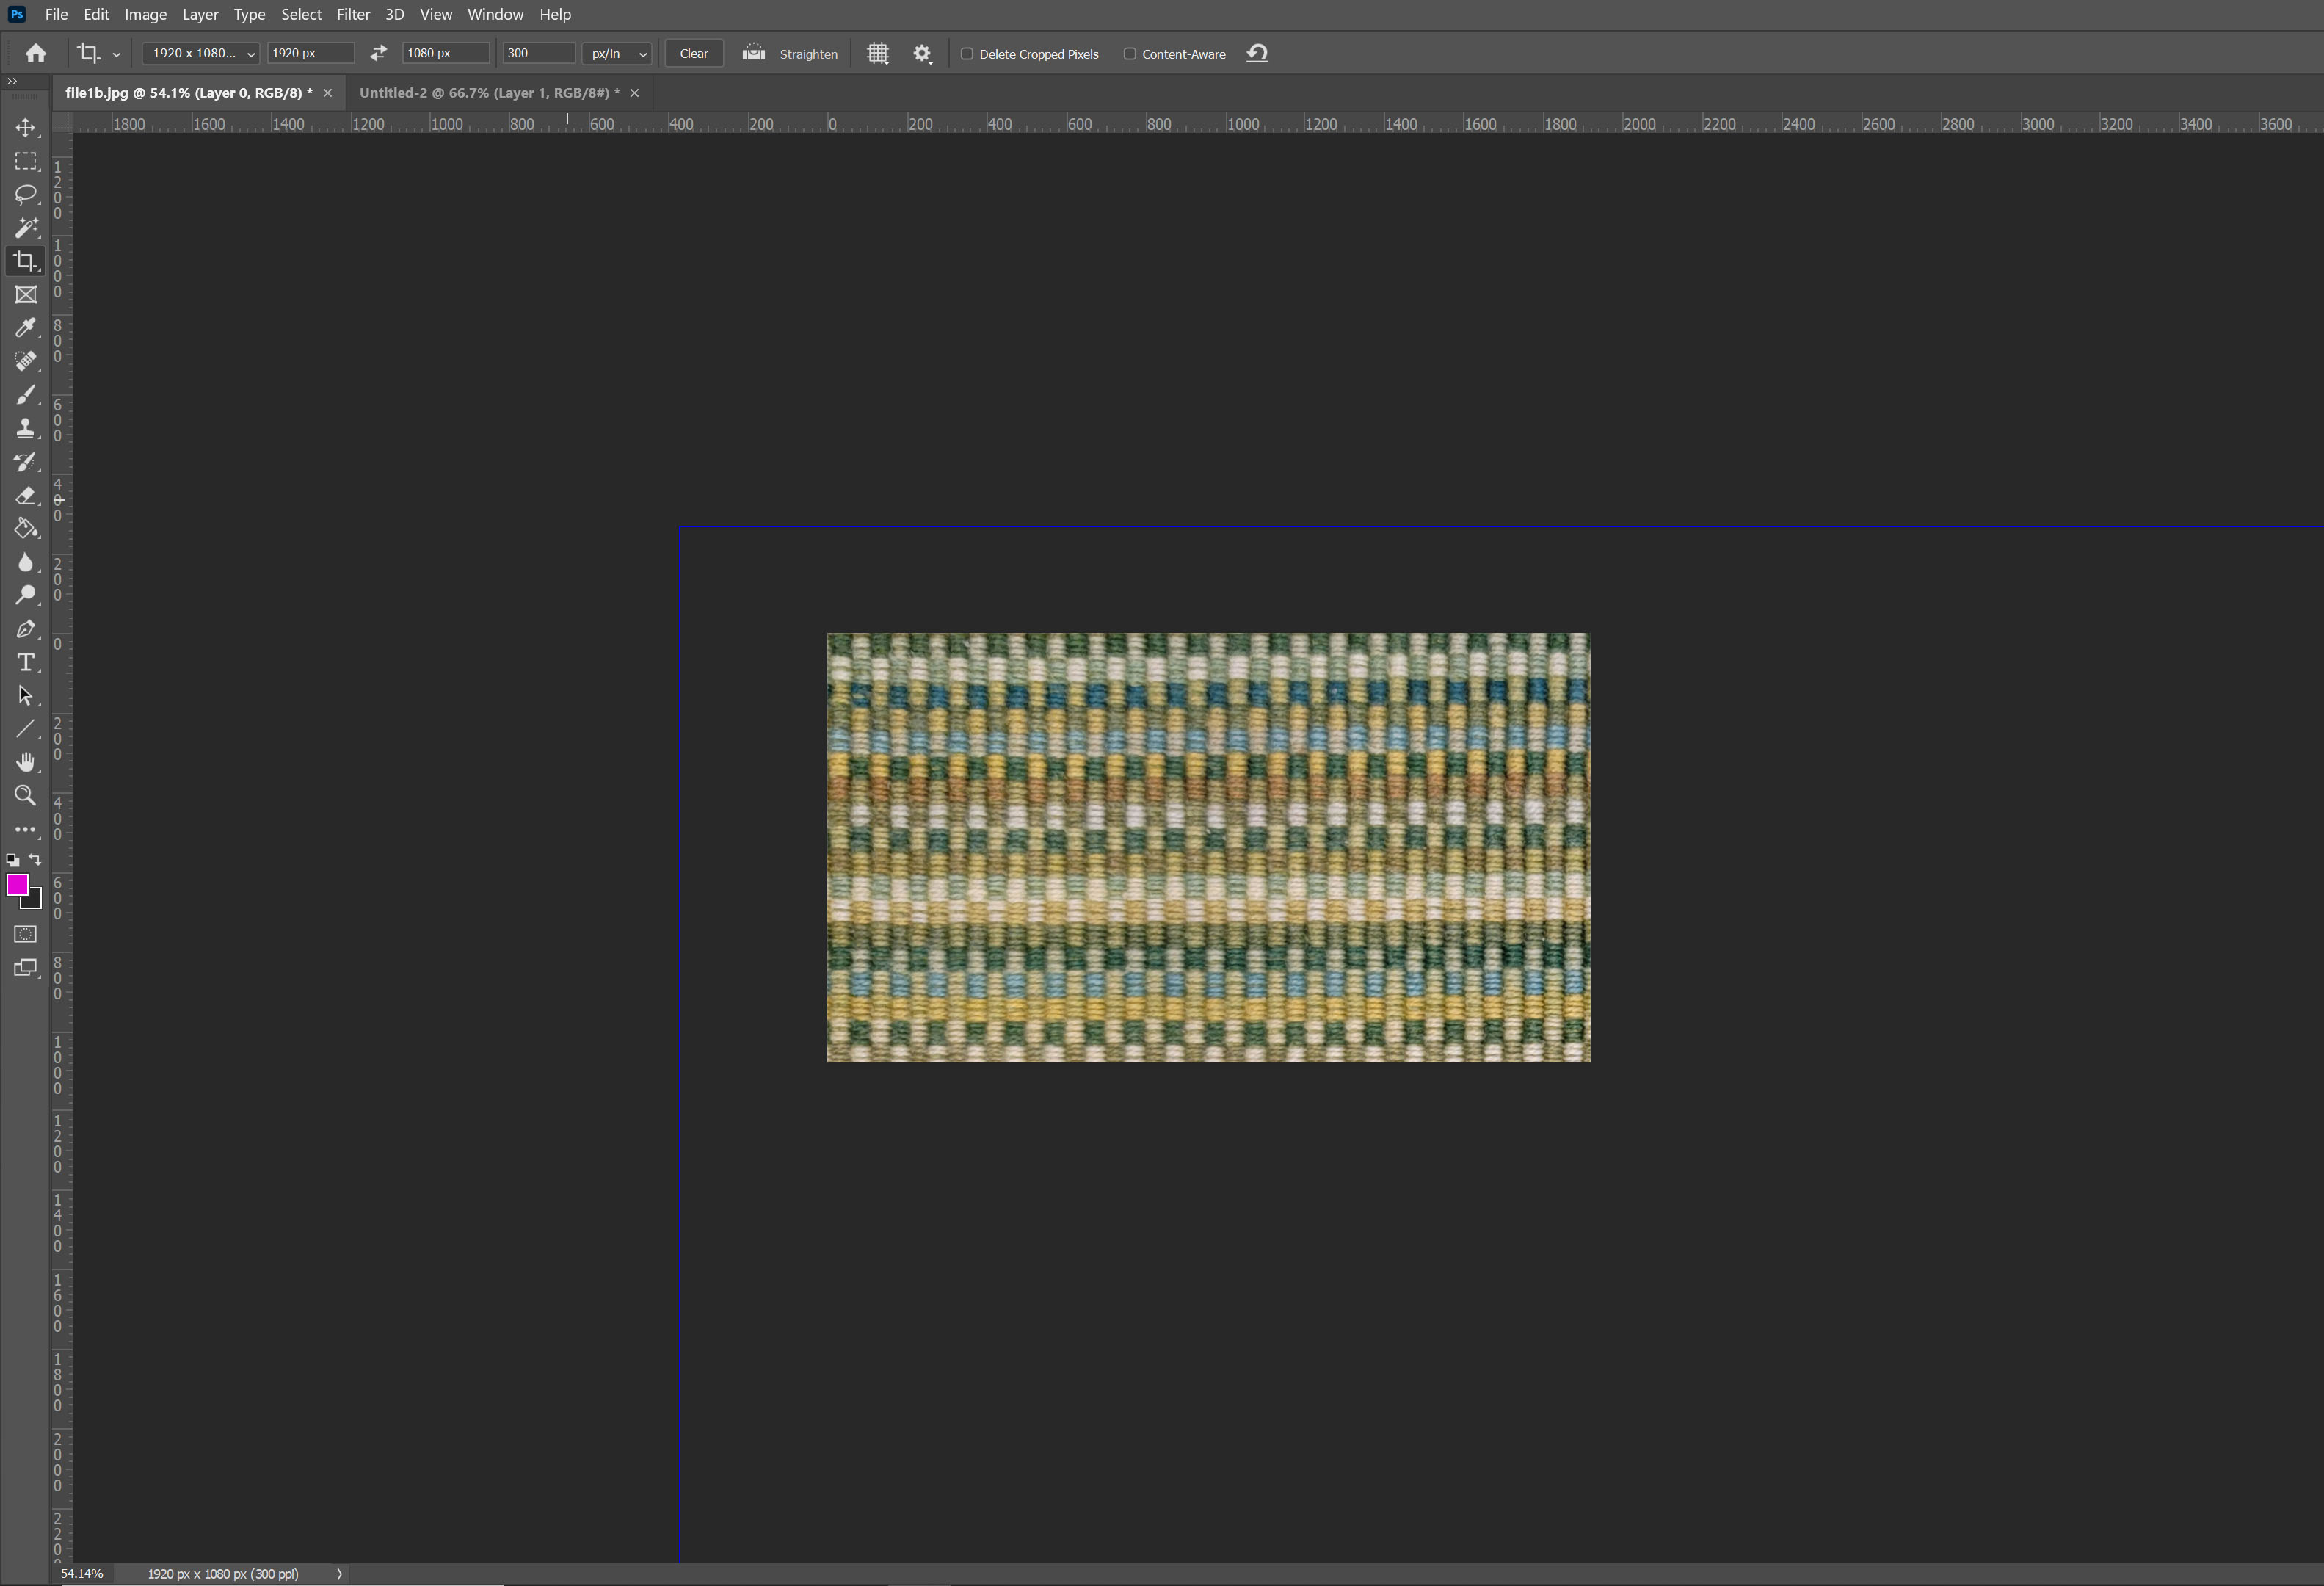
In the Options for the Crop tool, make sure Delete Cropped Pixels is not checked, and that View > Show > Layer Edges is checked. After the crop is performed, you see the cropped image and its relative position to the whole image.
Clicking with the Crop tool will now show the whole image, with the crop in the same position. You can now re-adjust it.
Copy link to clipboard
Copied
In the Options for the Crop tool, make sure Delete Cropped Pixels is not checked, and that View > Show > Layer Edges is checked.
OK, did that.
After the crop is performed, you see the cropped image and its relative position to the whole image.
Yes, that's exactly what I got. So far so good.
Clicking with the Crop tool will now show the whole image, with the crop in the same position. You can now re-adjust it.
Nope. Nothing like that happens. But I am not sure I understand what you mean by "Clicking with the Crop tool". I interpreted that to mean "clicking the crop tool". Could you please clarify this because it sounds very promising if it works.
Copy link to clipboard
Copied
Click on the image with the Crop tool.
Copy link to clipboard
Copied
Copy link to clipboard
Copied
Look in the Settings menu in the options for the Crop tool, and make sure the Show Cropped Area box is checked. When I tried un-checking it, I got the same behavior you described.
Copy link to clipboard
Copied
Bingo! This is such a complex tool with so many interdependencies that if two people don't get the same result it's hard to figure out where the relevant difference is. Thanks for making the extra effort! I'm marking yours as the correct answer.

Find more inspiration, events, and resources on the new Adobe Community
Explore Now
 AdChoices