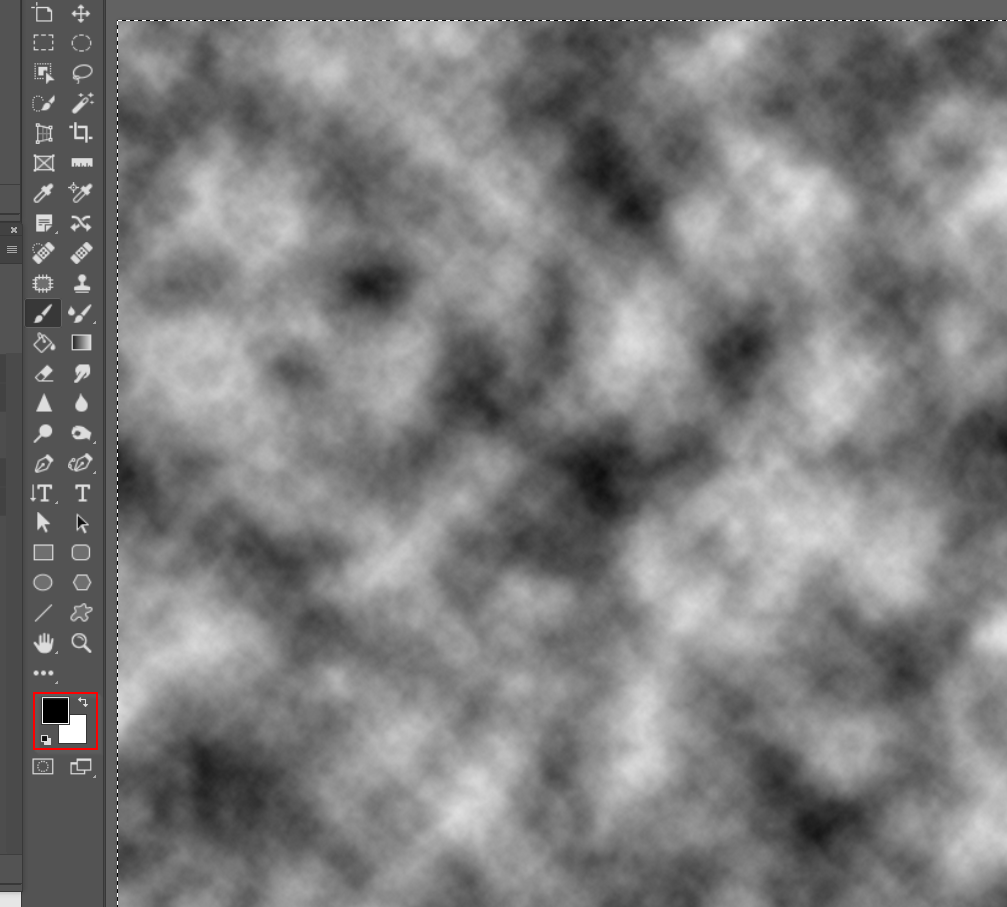
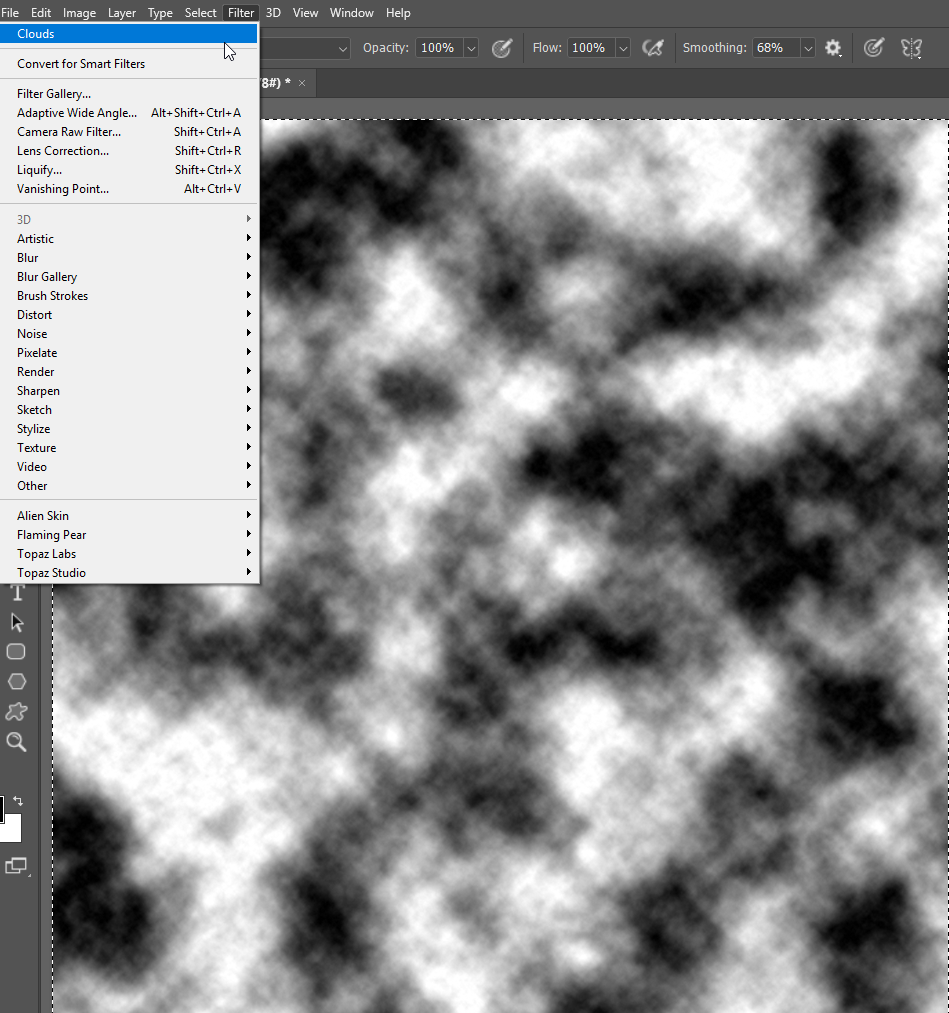
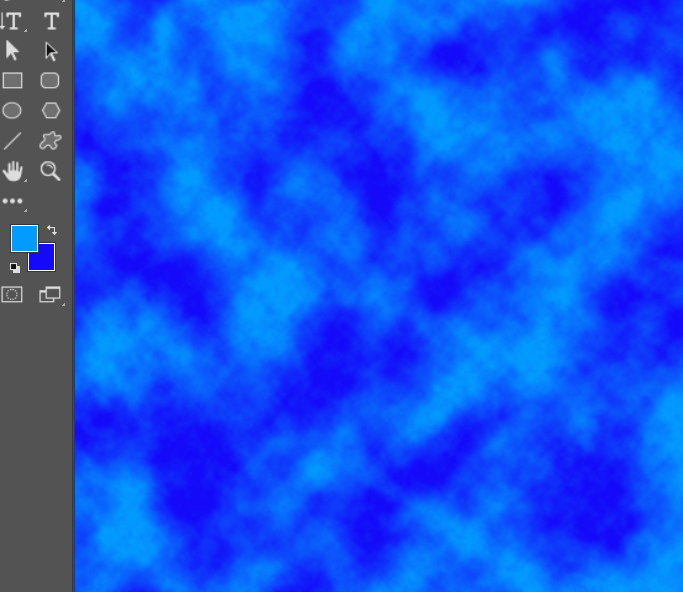
I'd want to get a bit of texture going on as a background wash, so with the foreground and background colours shown, go Filter > Render Clouds
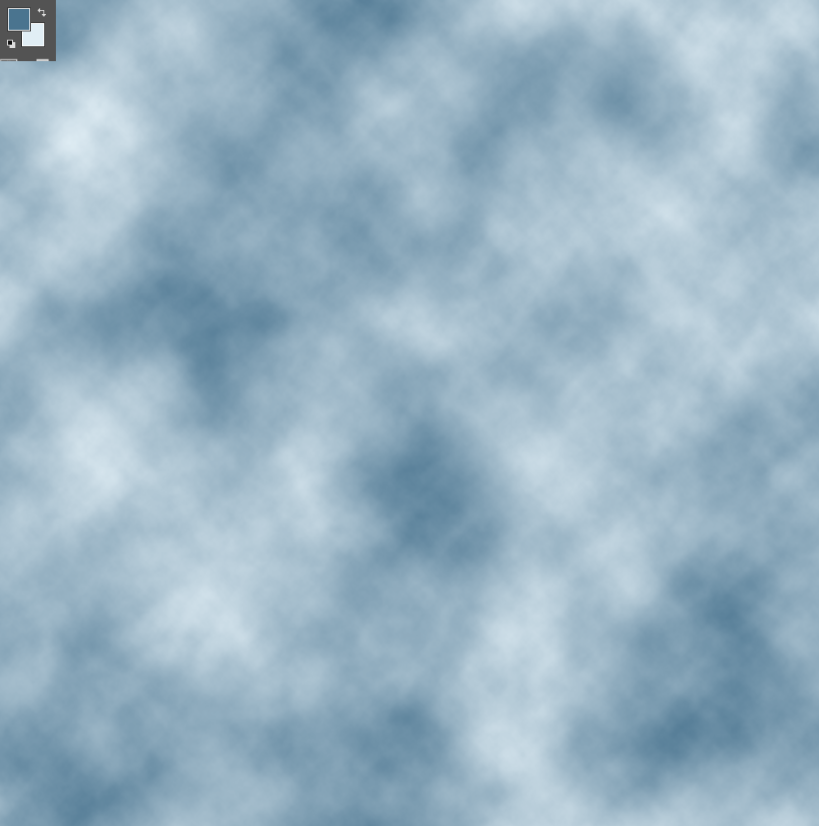
Now give it some depth and lighting with Filter > Sketch > Bass Relief
I've maxed out detail, and minimized smoothness below.

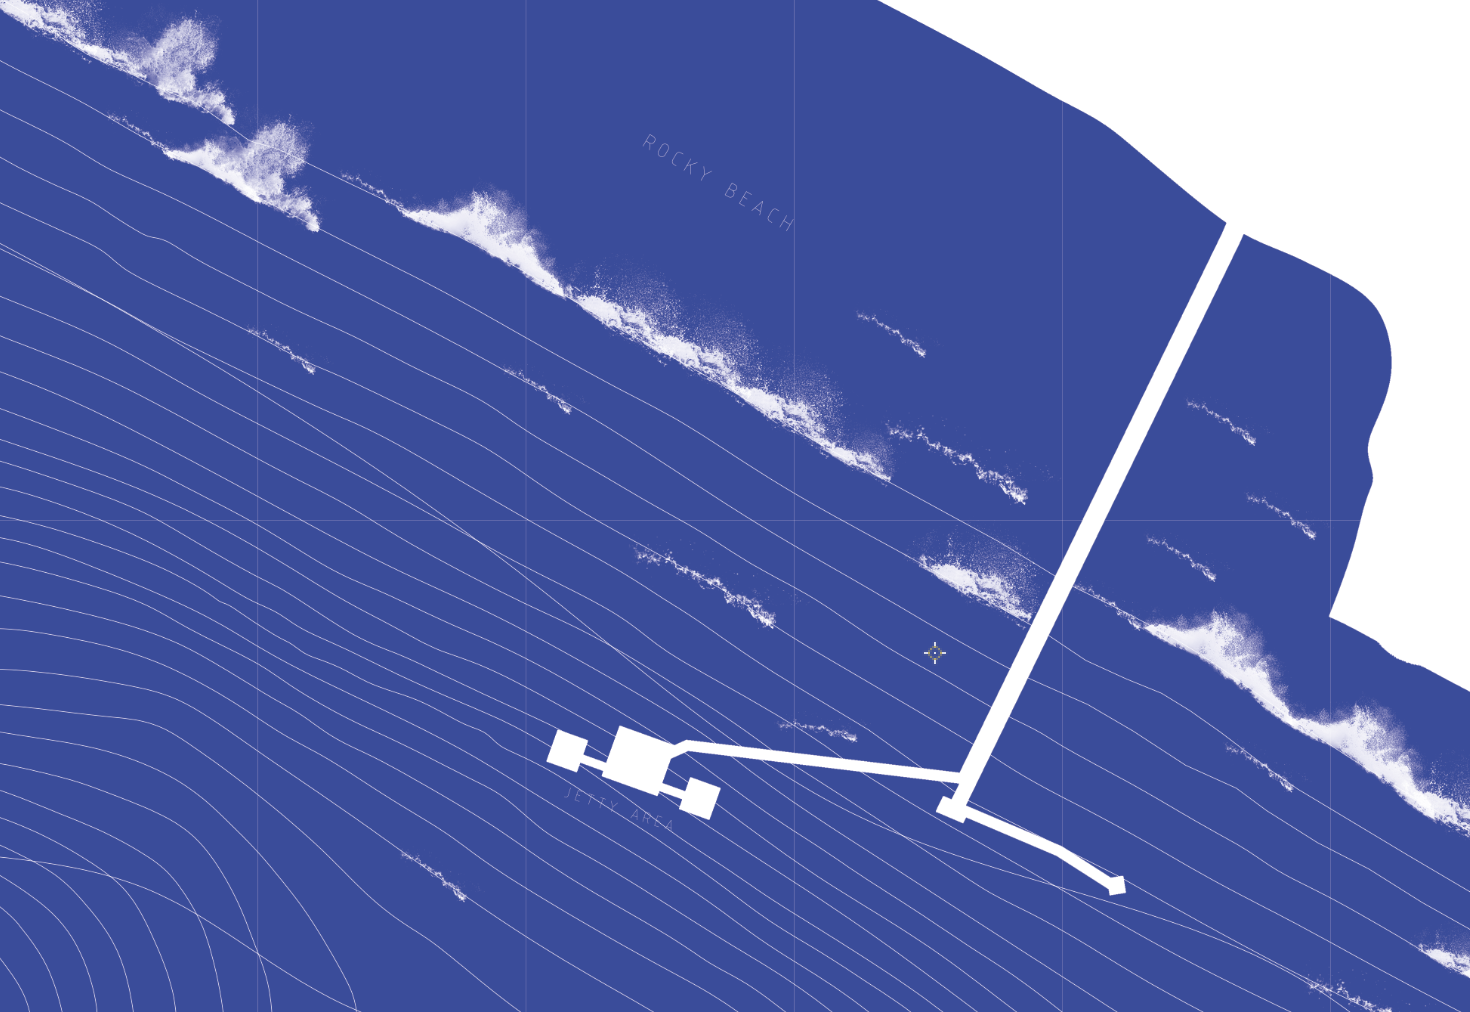
The next stage depends on your scene, but I'd make the layer a Smart Object, and free transform to match the perspective you are going for. If not sure about this, find an existing image that suites, and use that as a template.
Make a new layer, and set its blend mode to Dissolve
The brushes below are standard and in the Legacy set. They all work.
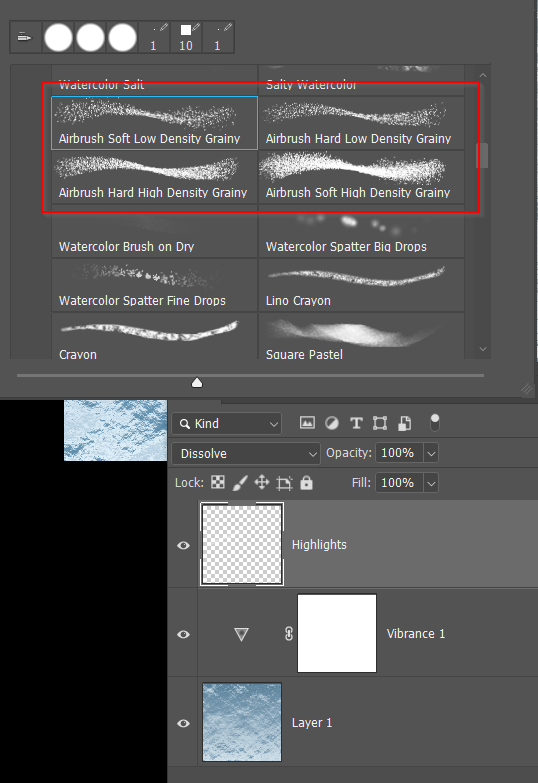
It took me a moment to work out what was going on. Those presets have no size jitter control, but the clue is in the previews. i.e. the strokes are fatter on the outside, and thinner in the centre, so the harder you press, (assuming a tablet) the finer the line. So pain in the wave crests with pressure, and build up with multiple strokes using light pressure to fill in the back of the waves.
Don't forget the background waves will be smaller than the nearer waves. You know that already I'm sure.

Is that enough to get you started? Use adjustment layers to increase saturation and contrast, and just have fun. I worked this out on the fly using a reasonable knowledge of Photoshop's processes, but I usually start by looking at pictures of the real thing.


 3
Replies
3
Replies


 AdChoices