Reduce sky Gradient
Copy link to clipboard
Copied
Hello,
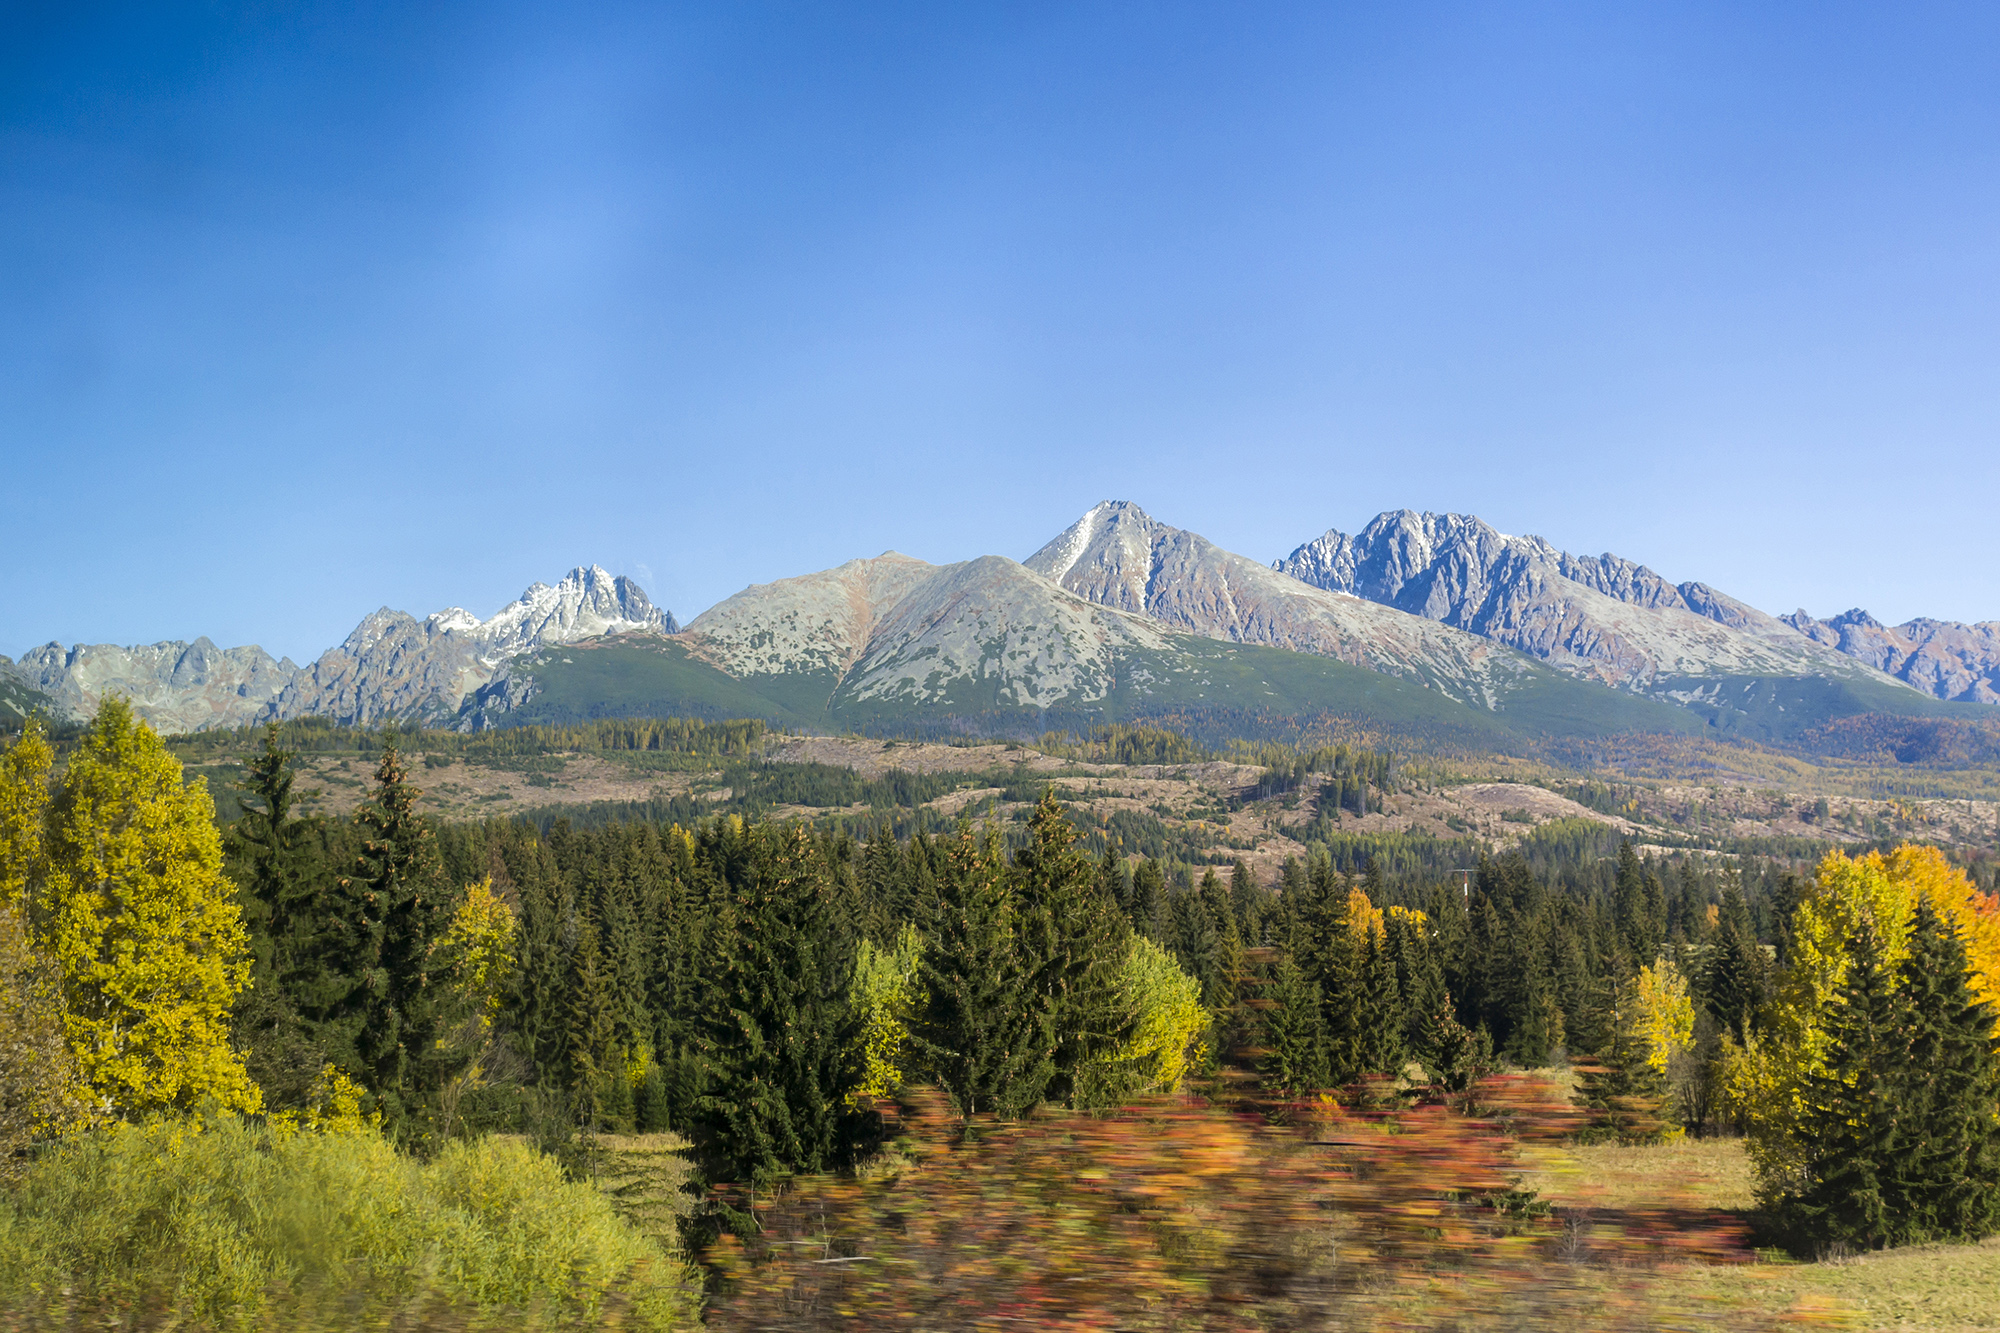
I would like ask, what is the best way for reduce sky gradient.
I had try - vector mask with duplicate desaturate layer and gradient tool. Visible spots.
- selection of sky, levels settings- same, like change lightnes and saturation af blue, don't reduce gradient.
- selection if sky, then selective color, replace blue. Similar, visible spots.
- smudge tool - visible spots
I have lot of photos with horizontal, vertical or both ways. So I cant use horizontal or vertical gradient tool easy. Have I use plugin? Thanks
Explore related tutorials & articles
Copy link to clipboard
Copied
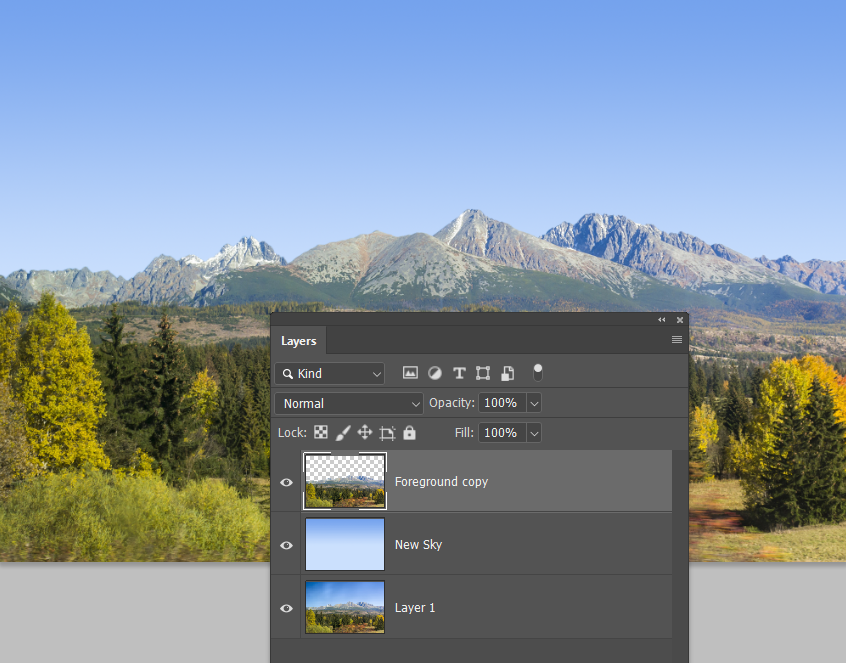
It is nearly always best to copy the foreground to a new layer, in cases like this, and do your new sky on a layer beneath the copied foreground. This avoids any artefacts caused by bad selection, and anti aliasing problems, if you try to do it on the same layer. Always use layers when you can, and overlap.
Copy link to clipboard
Copied
Thanks,
And New sky did you create from original sky with default gradient presets - foreground to backround?
Copy link to clipboard
Copied
A single swipe across the sky with the Quick Select tool makes an almost perfect selection. I did have to remove a couple of tiny bits of the mountain peaks with a smaller cursor, hold down the Alt (Opt) key.
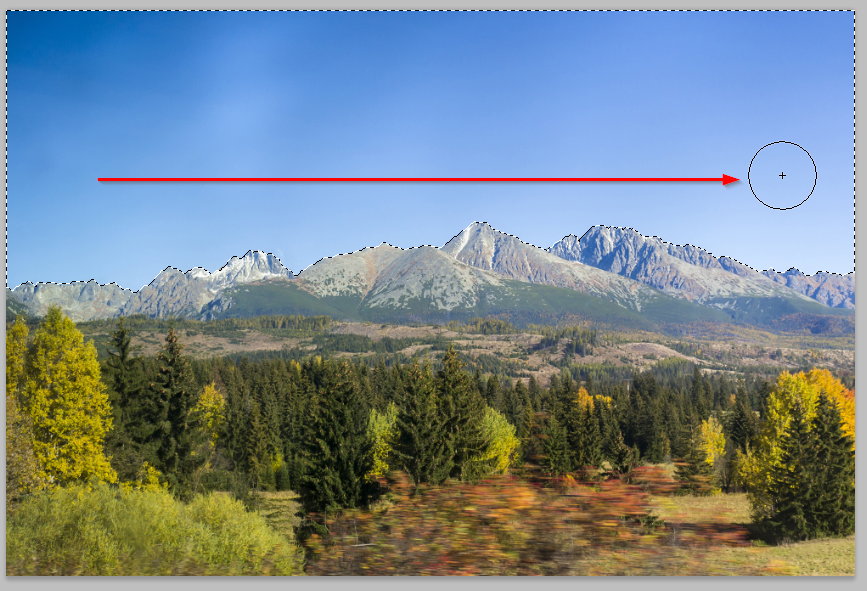
Invert the selection (Shift Ctrl I) and copy to a new layer.
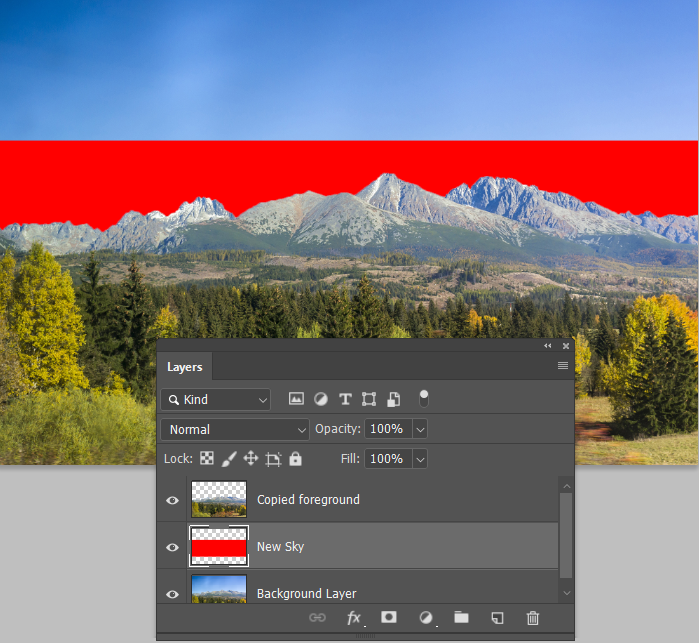
Make a new layer for the sky between background and the copied mountain peaks.
I've put some red behind the mountains to demonstrate how well this works.
My preferred method of selecting the new foreground and background colours, is to select the Brush tool, and Alt click the colours I need. You'll need to hit the X key to toggle foreground and background colours to sample the second colour. You could click on the foreground colour to open the colour panel, but that takes more clicks. We hate wasting our clicks. ![]()
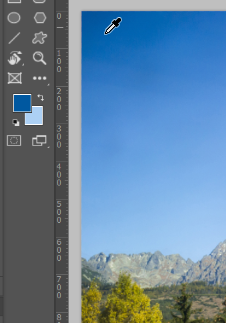
OK you are good to go. Select the Gradient tool, and make sure you have the first option selected, which is Foreground to Background.

Holding down the Shift key while you drag, will force it to be perfectly vertical. When you release the mouse will control where the gradient falls. Note it will fill the layer behind the copied mountains layer.
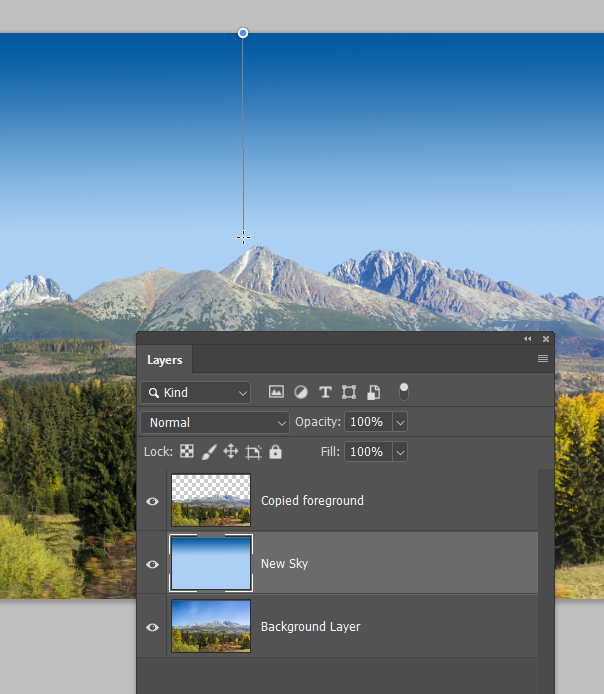
Learning the Gradient editor is a very useful skill, so never miss an opportunity to practice
Click on the gradient in the Options bar to open it. Then click just beneath the gradient to bring up some new sliders.

The way it works is that the Active colour point has a Black triangle above it (the one with the cyan box around it). Other, non active, colour points will have grey triangles above them.

With a colour point active, select a colour either from the image or the Colour Swatches, and drag to fine tune. It's actually a lot of fun.

Copy link to clipboard
Copied
It occurs to me that you might find the interface between the mountains and new sky too sharp, and unreal.
There are several ways of fixing that.
Ctrl click the Copied foreground layer to load as a selection, and go Select > Modify > Contract
We don't want the contraction to take place on the sides and bottom of the canvas, so keep Apply effect at canvas bounds unchecked
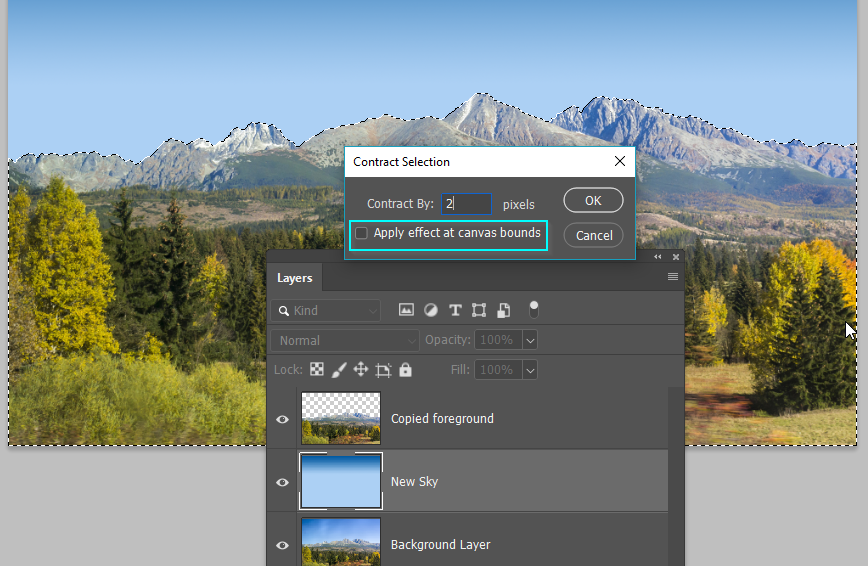
OK that. The selection is just slightly in from the edges. You decide what vale to use.

Make sure the Copied foreground layer is selected, and give it a Layer mask.
Feather the mask in Mask Properties, but you shouldn't go beyond the 2 pixels you contracted the selection, or you'll have the new sky showing through the top of the mountains.

Another way, but I am not sure how well this will work because of the ragged edge.
Select the uppermost layer, and add a Copy Merged layer (Shift Ctrl Alt E)
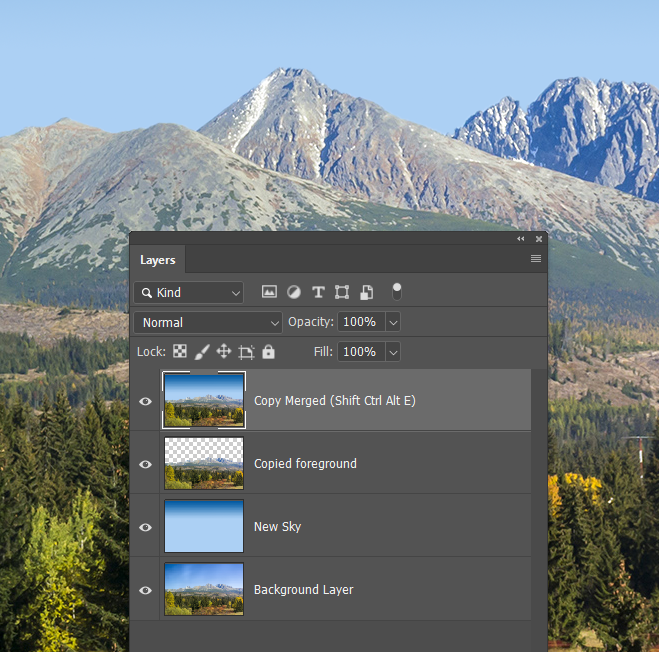
Ctrl click the Copied foreground layer to load as a selection
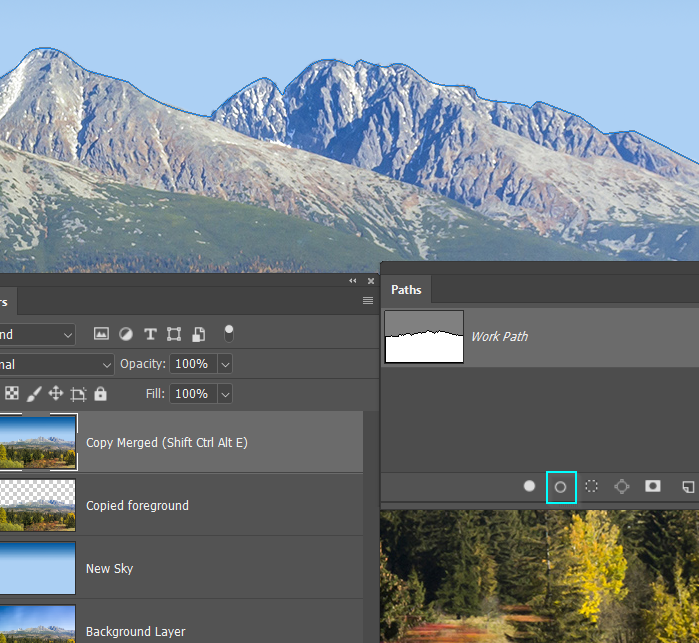
Go to the Paths panel, and click on the Make workpath from selection icon (cyan highlight)
As suspected, it has not done a flash job, and I can see sky peaking from under the resulting workpath.
We'll give it a go though

Now for the magic. Select the Blur tool, and give it a radius that work for you, and a strength. You can repeat this, so don't over do the strength. Note I unselected the workpath so we can see what we are doing.
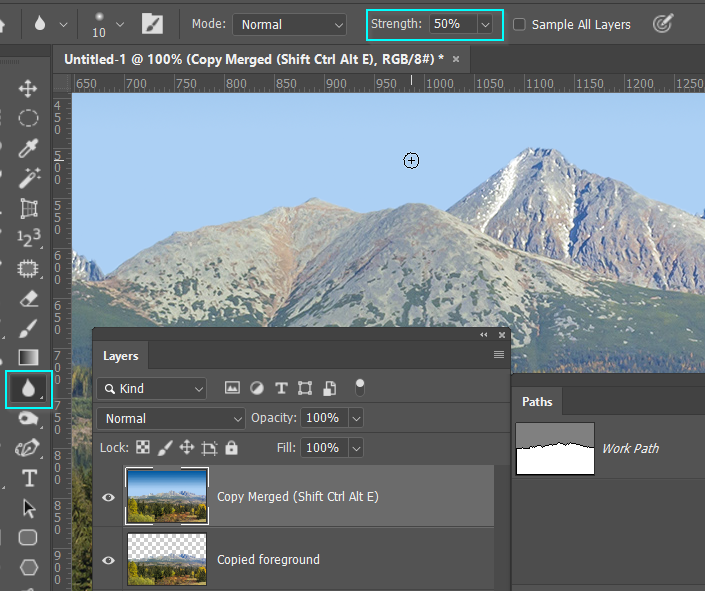
Right click the workpath, and use the drop-down and select Blur
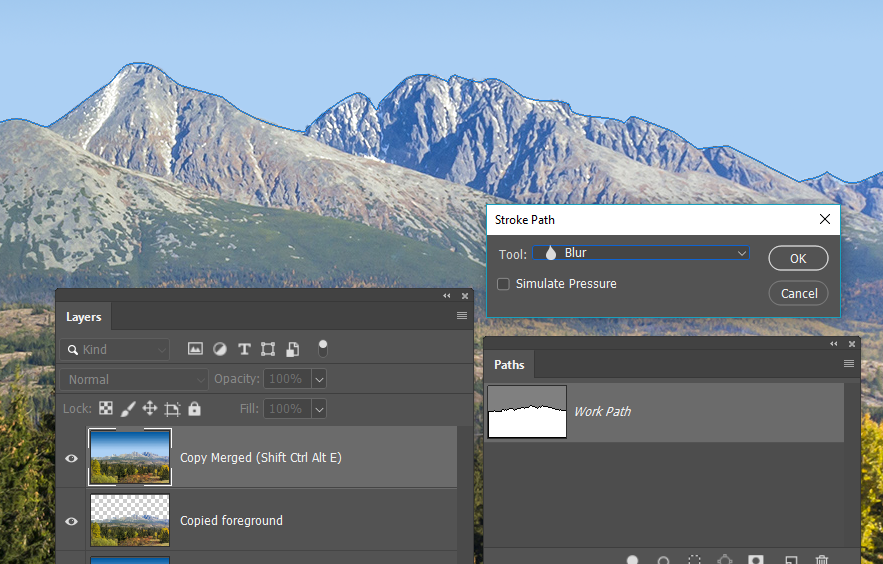
You can repeat the blur with the stroke icon (Cyan highlight)
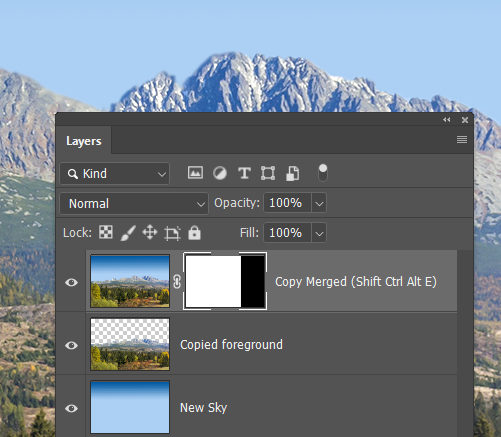
This is two applications at 50% at 100% zoom ratio. I've masked out the right side so you can see the original. I'd say this is a touch too much, so fine tune by lowering the layer opacity to reveal the sharp layers beneath.
Blimey, you'll be as clever as me after reading this ![]()
