- Home
- Photoshop ecosystem
- Discussions
- Re: Remove all Shadows and Highlights ?
- Re: Remove all Shadows and Highlights ?
Copy link to clipboard
Copied
How can I remove even the smallest of highlights and shadows in an image ? I have an image which I suspect has some highlights and I want to remove all of the highlights in the image, including shadows.
 1 Correct answer
If you removed all shadows and highlights then you would end up with a 50% greycard, so it may be better to explain what you are after by using an example image.
That said for use in 3D applications there are tools to de- light an image so that all lighting effects are removed and the basic surface colour information can be extracted to use in the Base Color of a 3D material. I am not aware of tools to do that in Photoshop but Adobe Substance Designer and Adobe Substance Alchemist can both do
...Explore related tutorials & articles
Copy link to clipboard
Copied
If you do that, you'll ruin the image. All images contain highlights, shadows and midtones. Otherwise, there would be nothing to visualize.
Can you show us the image?
Maybe we can offer some ideas on what settings to use in an adjustment layer.
Copy link to clipboard
Copied
If you removed all shadows and highlights then you would end up with a 50% greycard, so it may be better to explain what you are after by using an example image.
That said for use in 3D applications there are tools to de- light an image so that all lighting effects are removed and the basic surface colour information can be extracted to use in the Base Color of a 3D material. I am not aware of tools to do that in Photoshop but Adobe Substance Designer and Adobe Substance Alchemist can both do it.
Dave
Copy link to clipboard
Copied
You can't do this in Photoshop, oh well.
Copy link to clipboard
Copied
There are methods to which you can remove all the highlights and shadows without a 50% grey card. That is what I'm asking.
Copy link to clipboard
Copied
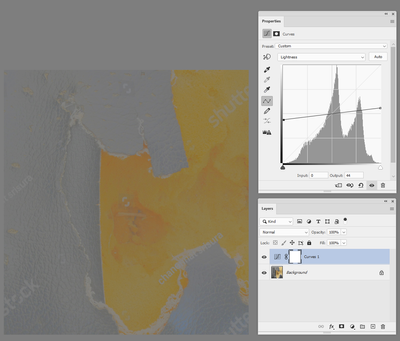
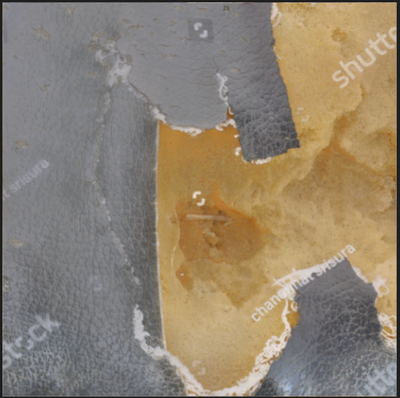
When I read the inquiry I thought the OP was inquiring about creating a Ghost (also called Phantom) image that is often used as a background design element…usually as a duotone as shown above or with a flat color over a ghost. In it the highlights are toned down a bit and the shadow end of the scale is lightened considerably. In the film days, we were provided with a normal-range photograph and the designer’s instruction to the lithographer was “Ghost to 70%” or “Ghost to 50%" to specify the maximum shadow value of the final image. Today it is a simple Curve adjustment.
Copy link to clipboard
Copied
Here's a possibility: slightly blur the image, and run the Custom filter. Specify a convolution kernel that would emphasize lighter pixels surrounded by darker ones.
I've played around with this filter to do something else; I found it tends to leave artifacts. In your situation, it might not matter. You can often see the type of artifacts in generated normal maps.
Copy link to clipboard
Copied
Acctually, mostly everyone was wrong, including davescm.
What I wanted is not to use another program, instead; within Photoshop take a image and completely remove any and all highlights and shadows from an image, that means make the image completely flat looking.
I was informed this can be done with done with a luminsity mask and equalization to get the foundation ? Basically color grading textures if that is the correct term ?
Copy link to clipboard
Copied
As requested previously, please show an example image showing what you are starting with and what you are trying to do.
Dave
Copy link to clipboard
Copied
You can't really blame people for not following you on this. On the face of it, it doesn't make much sense - unless you mean something other than what you're actually saying.
Show us an example.
A "flat" image can mean many things. A compressed tonal range is easily achieved with the output sliders in Levels. Or you can clip the high and low extremes, using "blend if" on any number of asjustments. And so on.
Copy link to clipboard
Copied
Copy link to clipboard
Copied
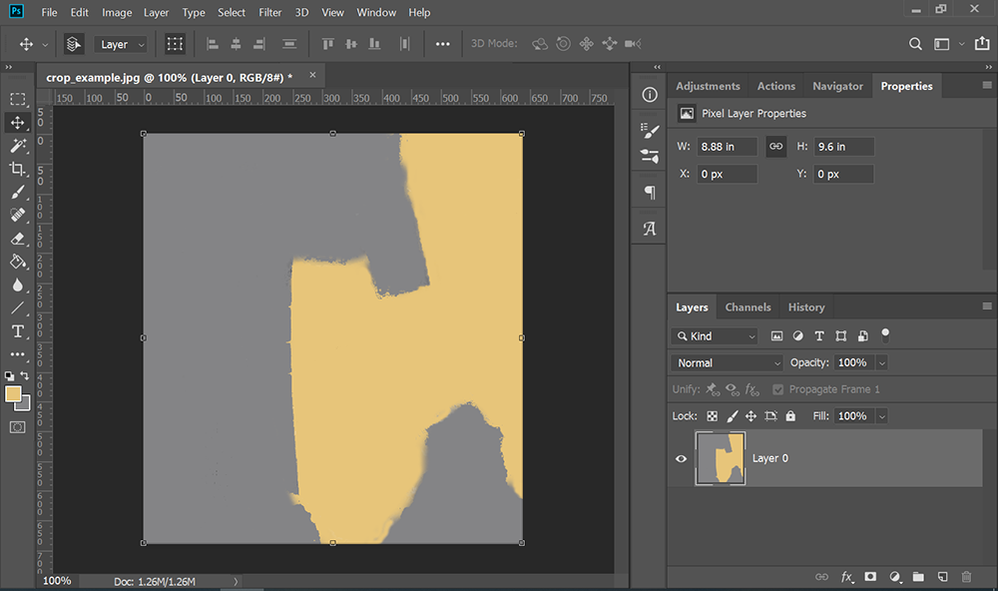
Removing all shadows and highlights necessarily removes all details resulting in two blobs of color like this.
I did this with a quick mask and paint brush.
Copy link to clipboard
Copied
You doing it in extreme. You want to keep the info of the image but if there are highlights or shadows from when the image was taken, you want those removed.
Copy link to clipboard
Copied
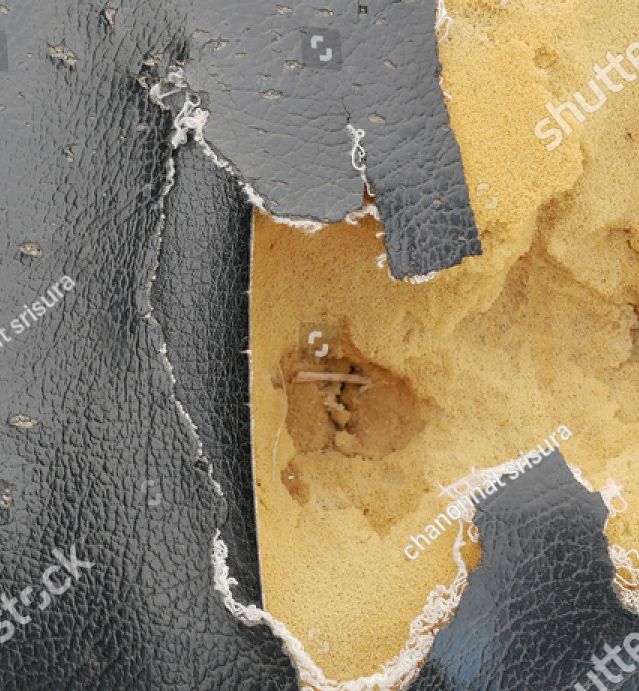
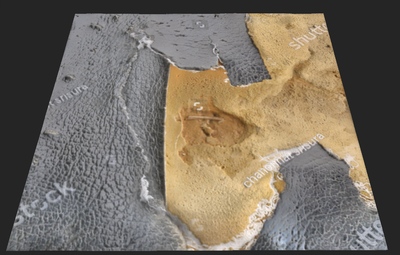
If you removed all of the shadows and highlights, then the Watermarks from Shutterstock that show it is copyrighted would disappear. Do you have a purchased copy of the image?
~ Jane
Copy link to clipboard
Copied
Why I mentioned Luminosity map and and equalization.
Copy link to clipboard
Copied
You doing it in extreme. You want to keep the info of the image but if there are highlights or shadows from when the image was taken, you want those removed.
Without shadows and highlights, there are NO details. Maybe what you're really asking is how to remove camera artifacts and lighting imperfections in post. That's a totally different question. And solutions to those problems vary greatly depending on many factors. Unfortunately, there are no one-size-fits-all-answers. We must see the actual image. Sometimes an image can be salvaged in post, sometimes it can't.
BTW, we see a lot of these types of questions in Adobe Stock Contributors forum. Check it out. Even if you're not a Stock photographer, you might pick up a few tips on how to work with your own photos.
Copy link to clipboard
Copied
Your relating it as though it's a Stock specific question, which it's not.
Copy link to clipboard
Copied
Your relating it as though it's a Stock specific question, which it's not.
=============
No, I never said it was Stock specific. I feel like we're spinning our wheels here. Maybe we have a language barrier. Or perhaps it's because you just aren't familiar enough with the terminology and concepts yet. I don't know. What you're asking for still makes no sense. I said it at the top and I'm saying it again. Until you show us an actual image, I have nothing more to say.
Copy link to clipboard
Copied
if there are highlights or shadows from when the image was taken, you want those removed.
I'm beginning to think this is really about bad lighting.
In that case it has to be approached on a case by case basis, it's not possible to give a general answer.
Copy link to clipboard
Copied
@StrongBeaver wrote:
I was informed this can be done with done with a luminsity mask and equalization to get the foundation ? Basically color grading textures if that is the correct term ?
Who informed you of this, and did they provide the steps? What is your source for this information?
The equalize command is covered here:
https://helpx.adobe.com/photoshop/using/making-quick-tonal-adjustments.html
Try one of these for Luminosity Mask
https://www.fotographee.com/luminosity-masks-gradient/
https://fstoppers.com/fashion/photoshop-how-make-quick-luminosity-masks-gradient-maps-330450
If you think this is the best method, then by all means, please try it.
~ Jane
Copy link to clipboard
Copied
Perhaps the confusion is caused by the terminology involved. From the start, you used the verb “remove” which I, for one, assumed meant “modify” -- make a part of the tone range lighter or darker by some specific amount. (See my previous post.)
If by “remove” we should assume “take out” that can be done. The highlight area and the shadow area could each be identified, selected and removed by using Threshold as an adjustment layer for identification and isolation, followed by some other familiar tools to accomplish the extraction.
Once removed, the question then becomes: what would you like to replace the vacant areas with? If you can specify that, we would have a more clearly defined objective and perhaps an acceptable solution.
Copy link to clipboard
Copied
I assume clone those areas that are removed. Although what about using a Luminosity mask to do the task ?
Copy link to clipboard
Copied
I would like to suggest this video on luminosity masks, I know the resource comes from YouTube, but just to add some more
good take on color grading here
but I see nowhere that you erase shadows and highlights. Right now I wonder if it is not High Dynamic Range you are asking for.
Copy link to clipboard
Copied
"You want to keep the info of the image but if there are highlights or shadows from when the image was taken, you want those removed."
I'm sorry but that still does not make sense to me. If you remove the highlights and shadows then you are removing the detail. You showed us a "before" image but I don't understand your explanation of what you want the "after" image to look like. Just repeating the same thing is not helping our understanding so that we can help you. Just removing the range of luminosity to leave the colour does this, which I am sure is not what you want :
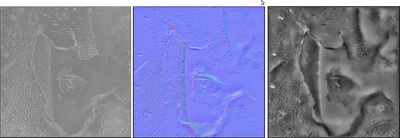
I mentioned 3D software early - such as Substance Designer and Alchemist, which you told me was the wrong answer, but in way of an explanation this is what Adobe Alchemist does to your image with it's conversion to a Base Color map :
It also uses the information in the original to build roughness, normal and height maps :
so that the material can be reconstructed in 3D
It would be helpful if you can show us with a simpler example a before and after of what you want to achieve so that we can apply that example to the image you posted earlier
Dave
Copy link to clipboard
Copied
I found my solution using content aware and the clone stamp to acheive what I want.
-
- 1
- 2
Find more inspiration, events, and resources on the new Adobe Community
Explore Now


