• Global community
    • Language:
      • Deutsch
      • English
      • Español
      • Français
      • Português
  • 日本語コミュニティ
    Dedicated community for Japanese speakers
  • 한국 커뮤니티
    Dedicated community for Korean speakers
Exit
0

Replacing red in a photo with pink?

Engaged ,
Jul 26, 2017 Jul 26, 2017

Copy link to clipboard

Copied

I want to change a some dark red area in a photo to soft pink. I tried doing this with both a hue/saturation adjustment layer as well as a color balance adjustment layer. Playing with the sliders I was able to get a dark pink, but not the soft pink that I wanted. How do you sample a swatch of a desired color to use or use some other tools to do this? i just tried the Color Replacement brush and that works also, though since the original color is so dark, my selected soft pink painted over it becomes dark also...

Thanks.

Views

7.8K

Translate

Translate

Report

Report
Community guidelines
Be kind and respectful, give credit to the original source of content, and search for duplicates before posting. Learn more
community guidelines
Adobe
Community Expert ,
Jul 26, 2017 Jul 26, 2017

Copy link to clipboard

Copied

That seem strange did you check the colorize check box in the properties panel for the hue and saturation adjustment?

JJMack

Votes

Translate

Translate

Report

Report
Community guidelines
Be kind and respectful, give credit to the original source of content, and search for duplicates before posting. Learn more
community guidelines
Community Expert ,
Jul 26, 2017 Jul 26, 2017

Copy link to clipboard

Copied

Hard to tell without seeing the image you want to change. There are lots of ways to do this. Making a color lighter does have some issues, in that the shadows are a little difficult to bring up to the lightness level one would want with a lighter shade, but there are ways to do this, such as moving the end points of curves, using screen mode, using L*A*B* color space make the corrections, etc.

Votes

Translate

Translate

Report

Report
Community guidelines
Be kind and respectful, give credit to the original source of content, and search for duplicates before posting. Learn more
community guidelines
Engaged ,
Jul 26, 2017 Jul 26, 2017

Copy link to clipboard

Copied

Here is a cropped version of the photo. I want the dark red area in the seat to turn into a soft pink similar to the baby's dress sitting in the chair, or possibly a soft purple. How would you accomplish this using a hue/saturation adjustment layer, a color balance adjustment layer, or the color replacement brush?

Thanks!

red.jpg

Votes

Translate

Translate

Report

Report
Community guidelines
Be kind and respectful, give credit to the original source of content, and search for duplicates before posting. Learn more
community guidelines
Community Expert ,
Jul 27, 2017 Jul 27, 2017

Copy link to clipboard

Copied

I personally would not use these “obvious” tools.

I used some channel blending/layer modes to lighten, apply image to retain texture and a rough mask to tidy up.

pink.jpg

Votes

Translate

Translate

Report

Report
Community guidelines
Be kind and respectful, give credit to the original source of content, and search for duplicates before posting. Learn more
community guidelines
Community Expert ,
Jul 27, 2017 Jul 27, 2017

Copy link to clipboard

Copied

There always seems to be more then one way to fo things in Photoshop and some ways work better the others.  You retained textures and shadows well with the way you did it.

JJMack

Votes

Translate

Translate

Report

Report
Community guidelines
Be kind and respectful, give credit to the original source of content, and search for duplicates before posting. Learn more
community guidelines
Community Expert ,
Jul 27, 2017 Jul 27, 2017

Copy link to clipboard

Copied

LATEST

I was uploading a quick screencast to flesh out my brief post, however can’t edit my original post anymore… So here is the link to the .swf movie:

dark-pink-to-lighter-pink

Votes

Translate

Translate

Report

Report
Community guidelines
Be kind and respectful, give credit to the original source of content, and search for duplicates before posting. Learn more
community guidelines
Community Expert ,
Jul 26, 2017 Jul 26, 2017

Copy link to clipboard

Copied

Yes dark color to light color is hard particularly when there are heavy dark color shadows and tones. The lighter you make it with hue and saturation the more shadow details you will loose and start to glow.

Capture.jpg

JJMack

Votes

Translate

Translate

Report

Report
Community guidelines
Be kind and respectful, give credit to the original source of content, and search for duplicates before posting. Learn more
community guidelines
LEGEND ,
Jul 27, 2017 Jul 27, 2017

Copy link to clipboard

Copied

Another way to do that would be via a 'gradient map' All you need do is select the area to have it's color changed with the quick selection tool. and then create a gradient map adjustment layer. You then design a very rough gradient like below-it doesn't need to be accurate color wise as that will be taken care of later with a curve. Set the blend mode of the Gradient Map layer to 'color' and that will preserve textures.

40.png

Now it's just a matter of making adjustments and that is done with a curves layer and the same mask as was used with the Gradient Map.

41.png

42.png

The image has a bluish color cast and that should be corrected at the very beginning but I am guessing you already know how to deal with that and so have not corrected it here-however the clash of color temperatures below clearly shows that needs to be done.

pink baby_fin.png

Votes

Translate

Translate

Report

Report
Community guidelines
Be kind and respectful, give credit to the original source of content, and search for duplicates before posting. Learn more
community guidelines
Community Expert ,
Jul 27, 2017 Jul 27, 2017

Copy link to clipboard

Copied

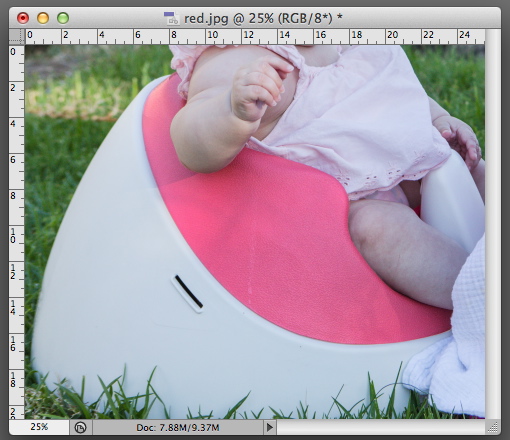
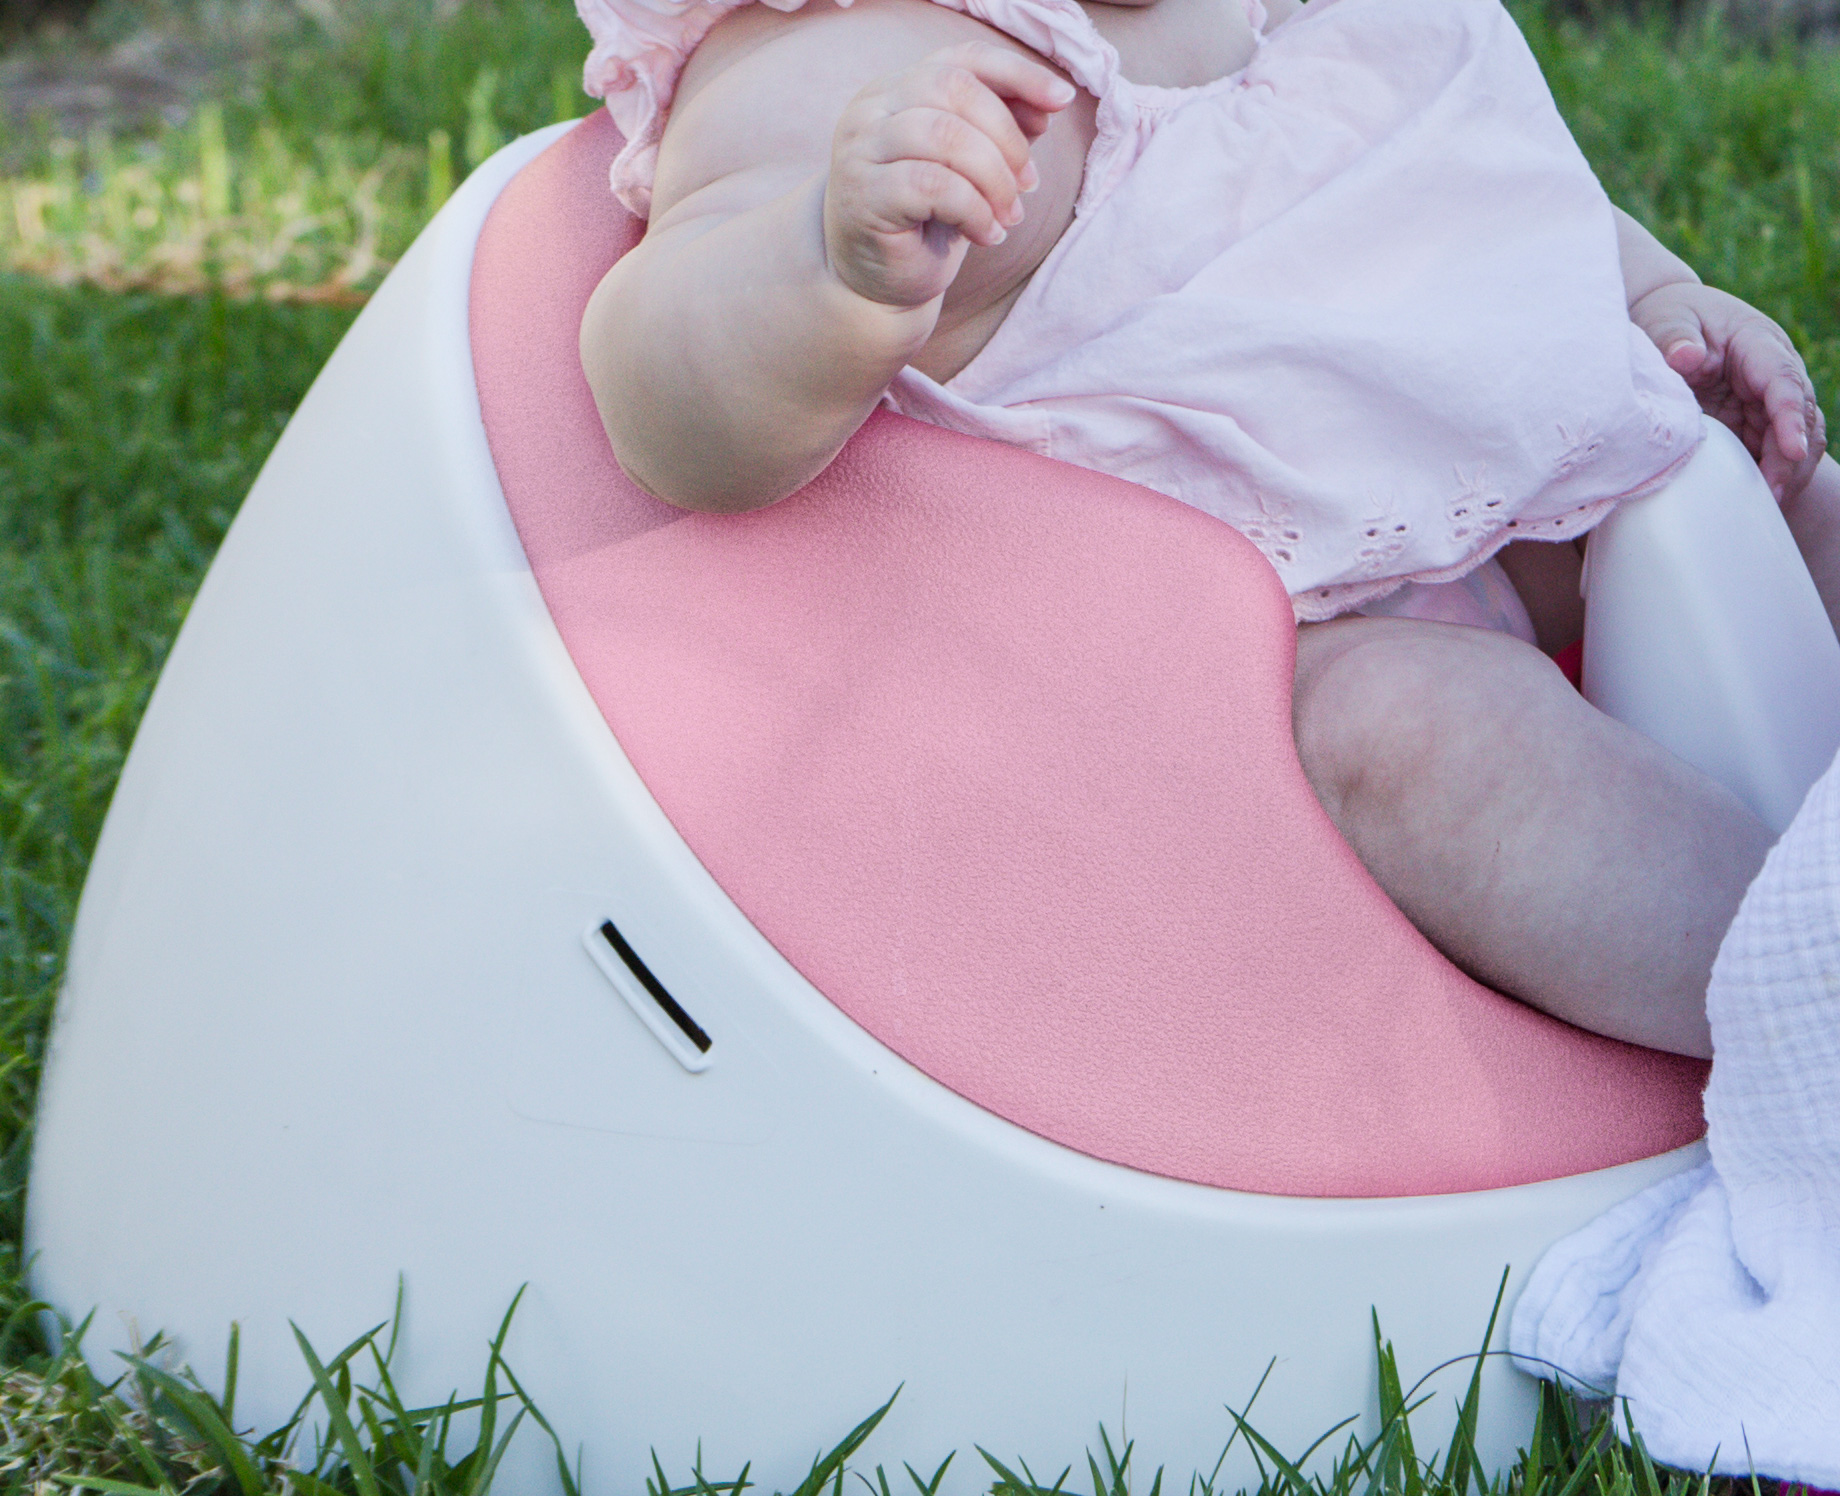
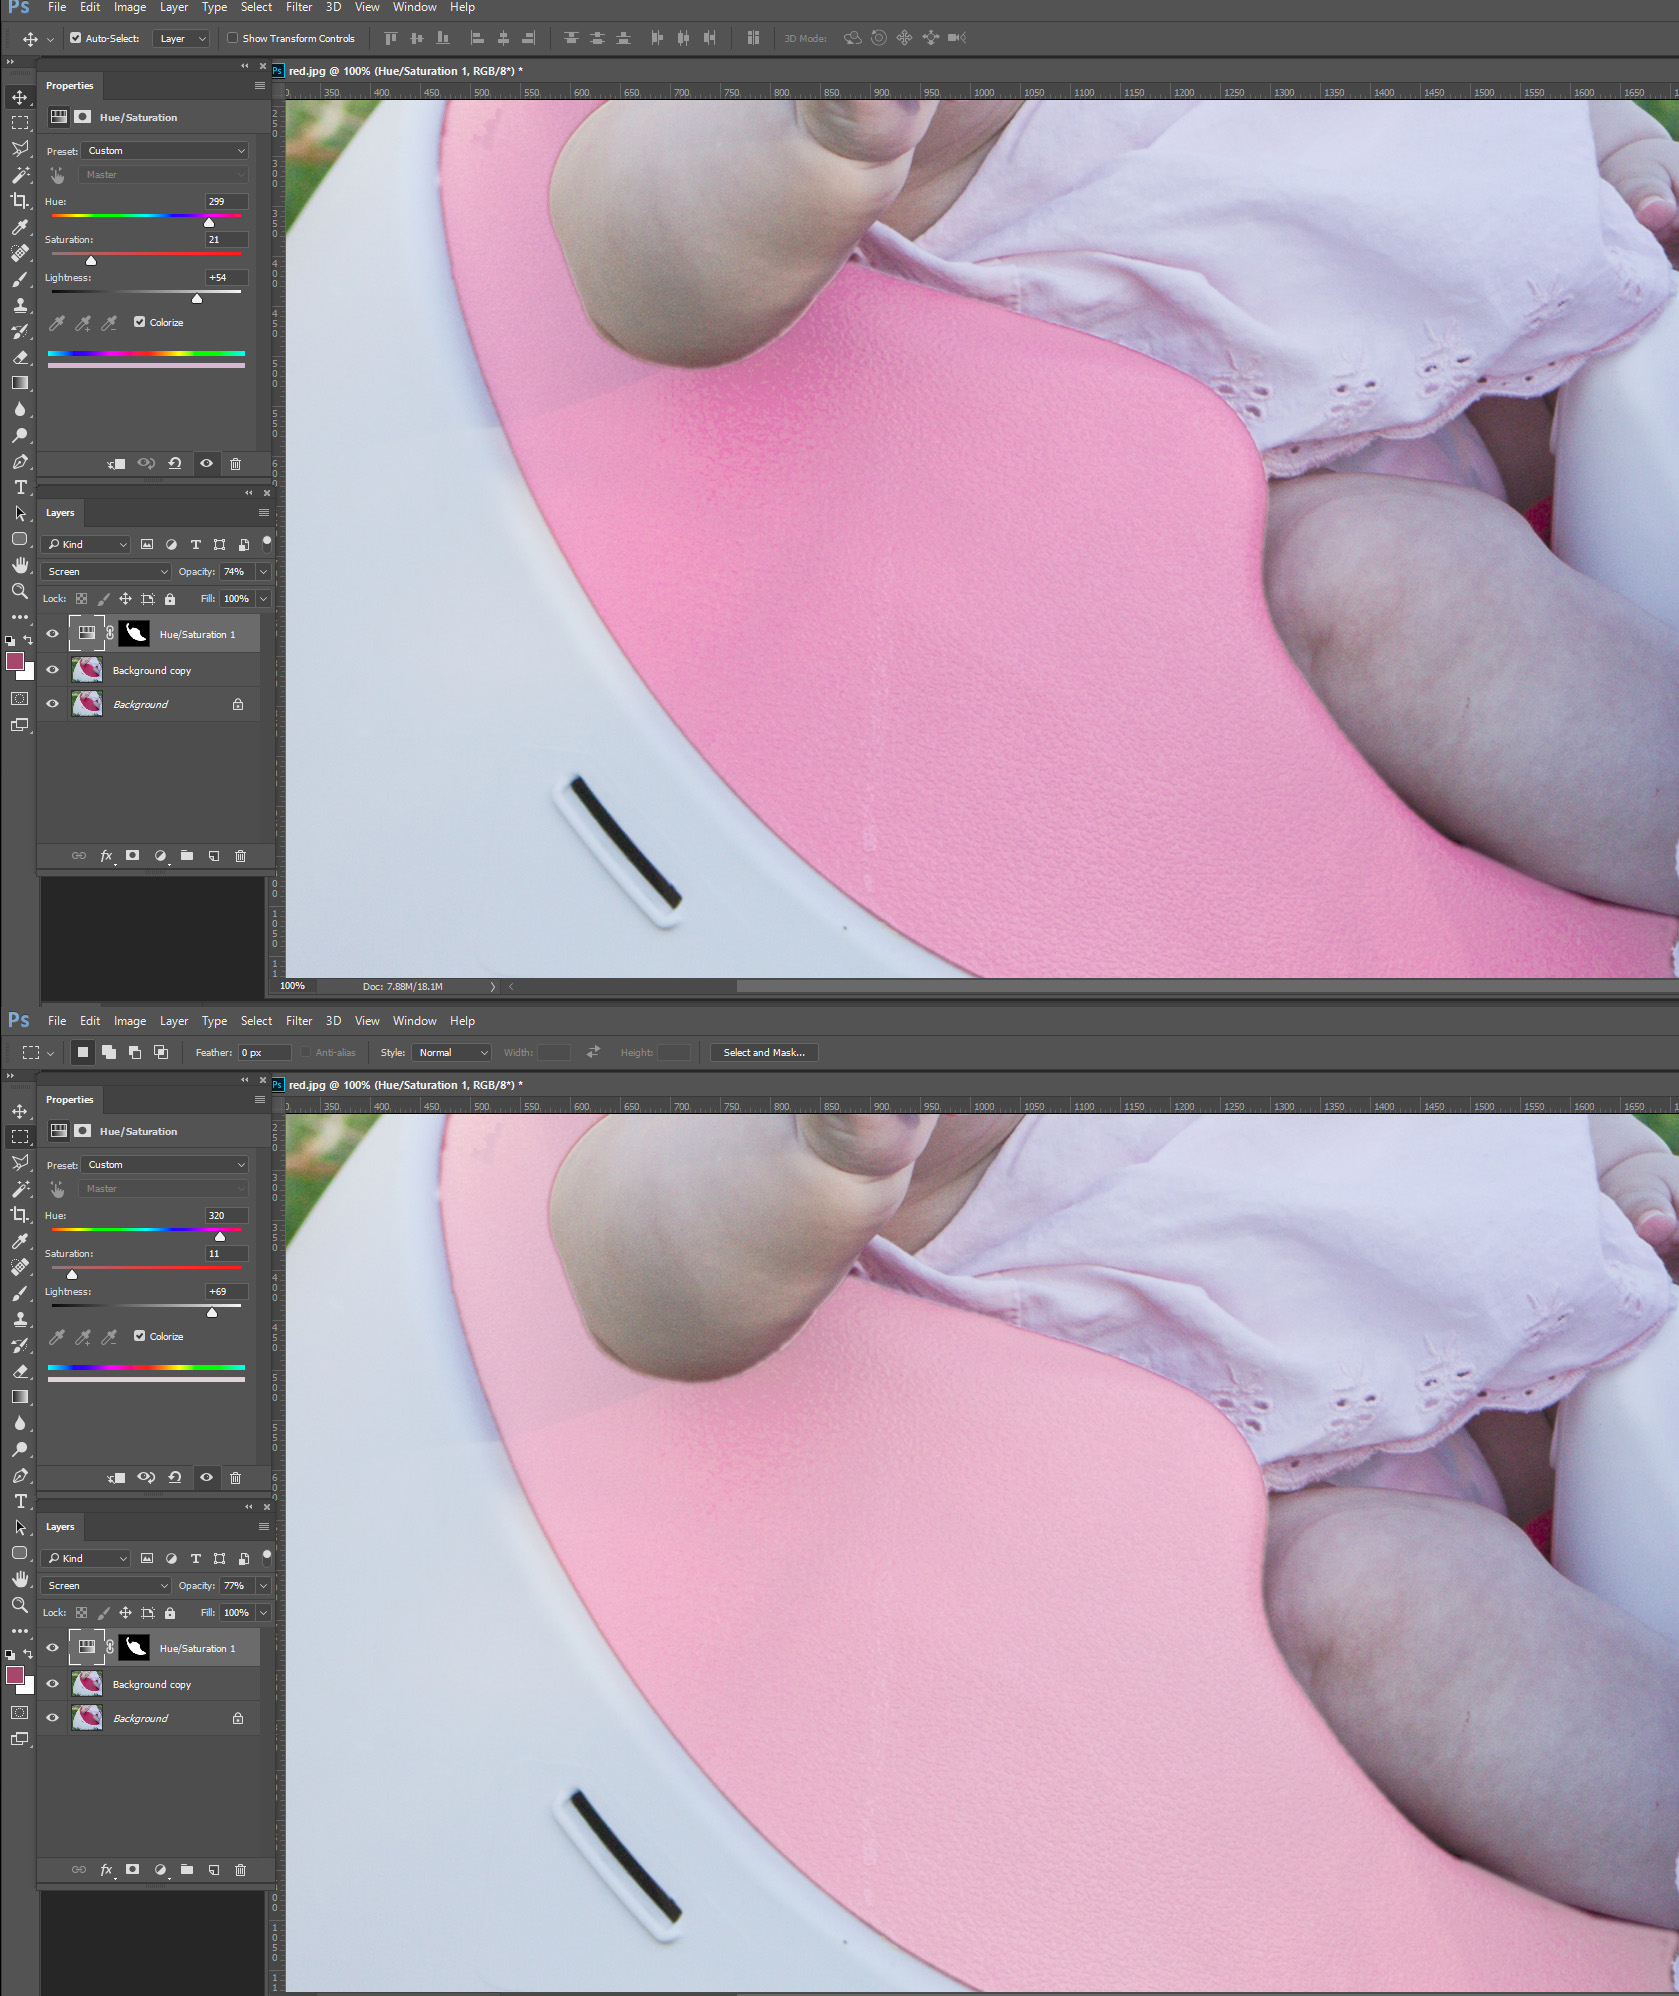
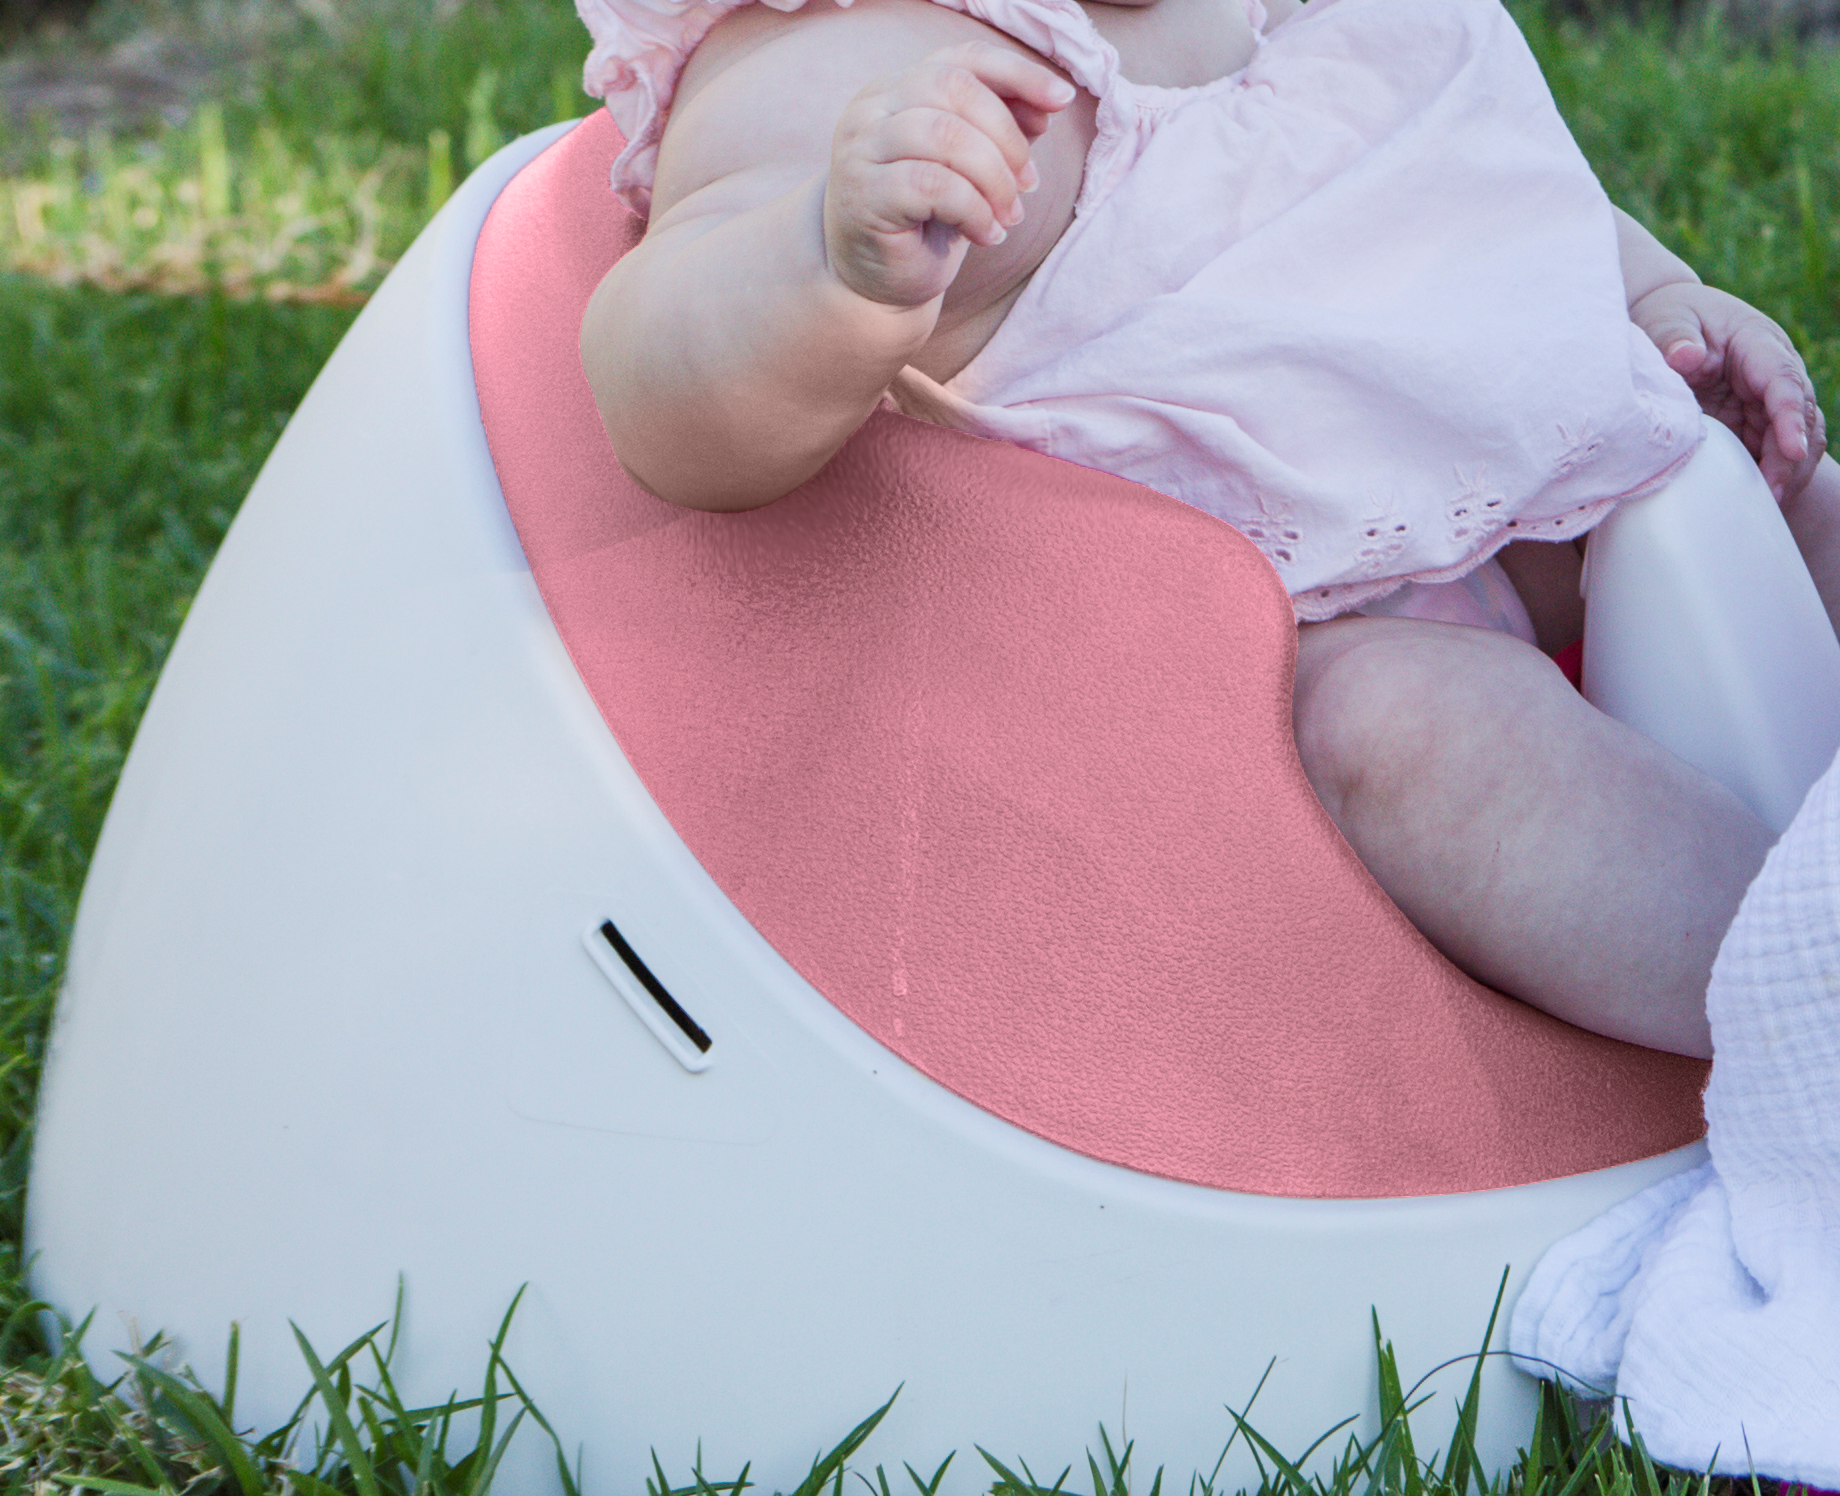
Another approach: Since pink is simply a lighter version of red, then only lightness needs to be adjusted.

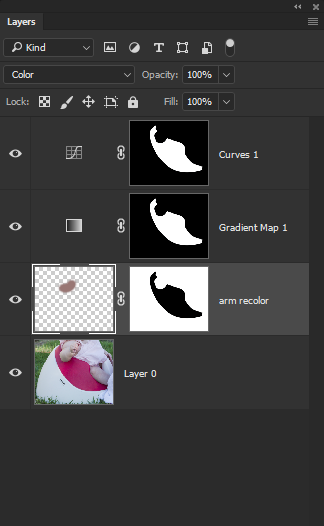
Use an Alpha channel of the Red Channel to create a mask of the red element.

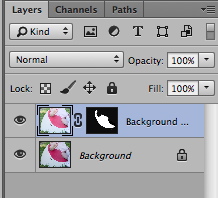
Then return to the Layers panel. Dupe the Layer and apply the mask.

Change the Mode to Lab Color

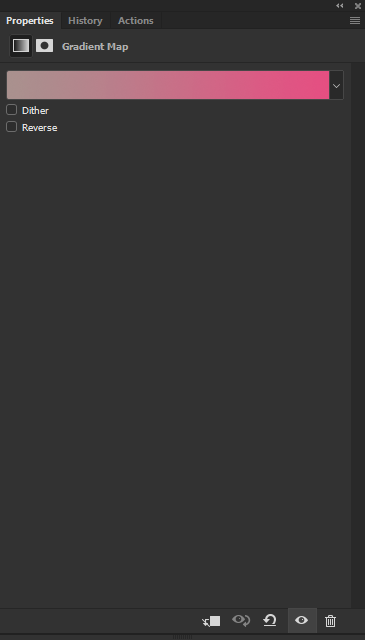
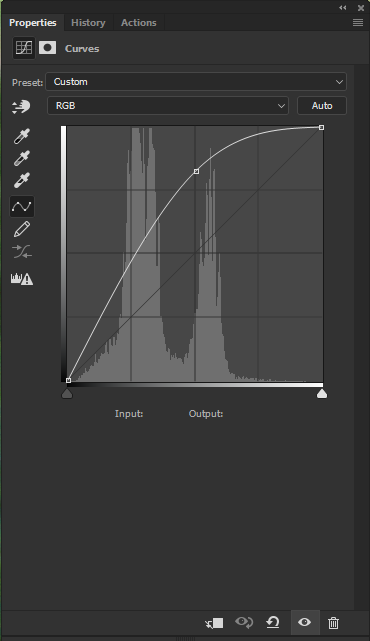
Choose Curves and use the curve shape as shown only on the Lightness channel.

(If you prefer, you may choose Curves via an Adjustment Layer.)
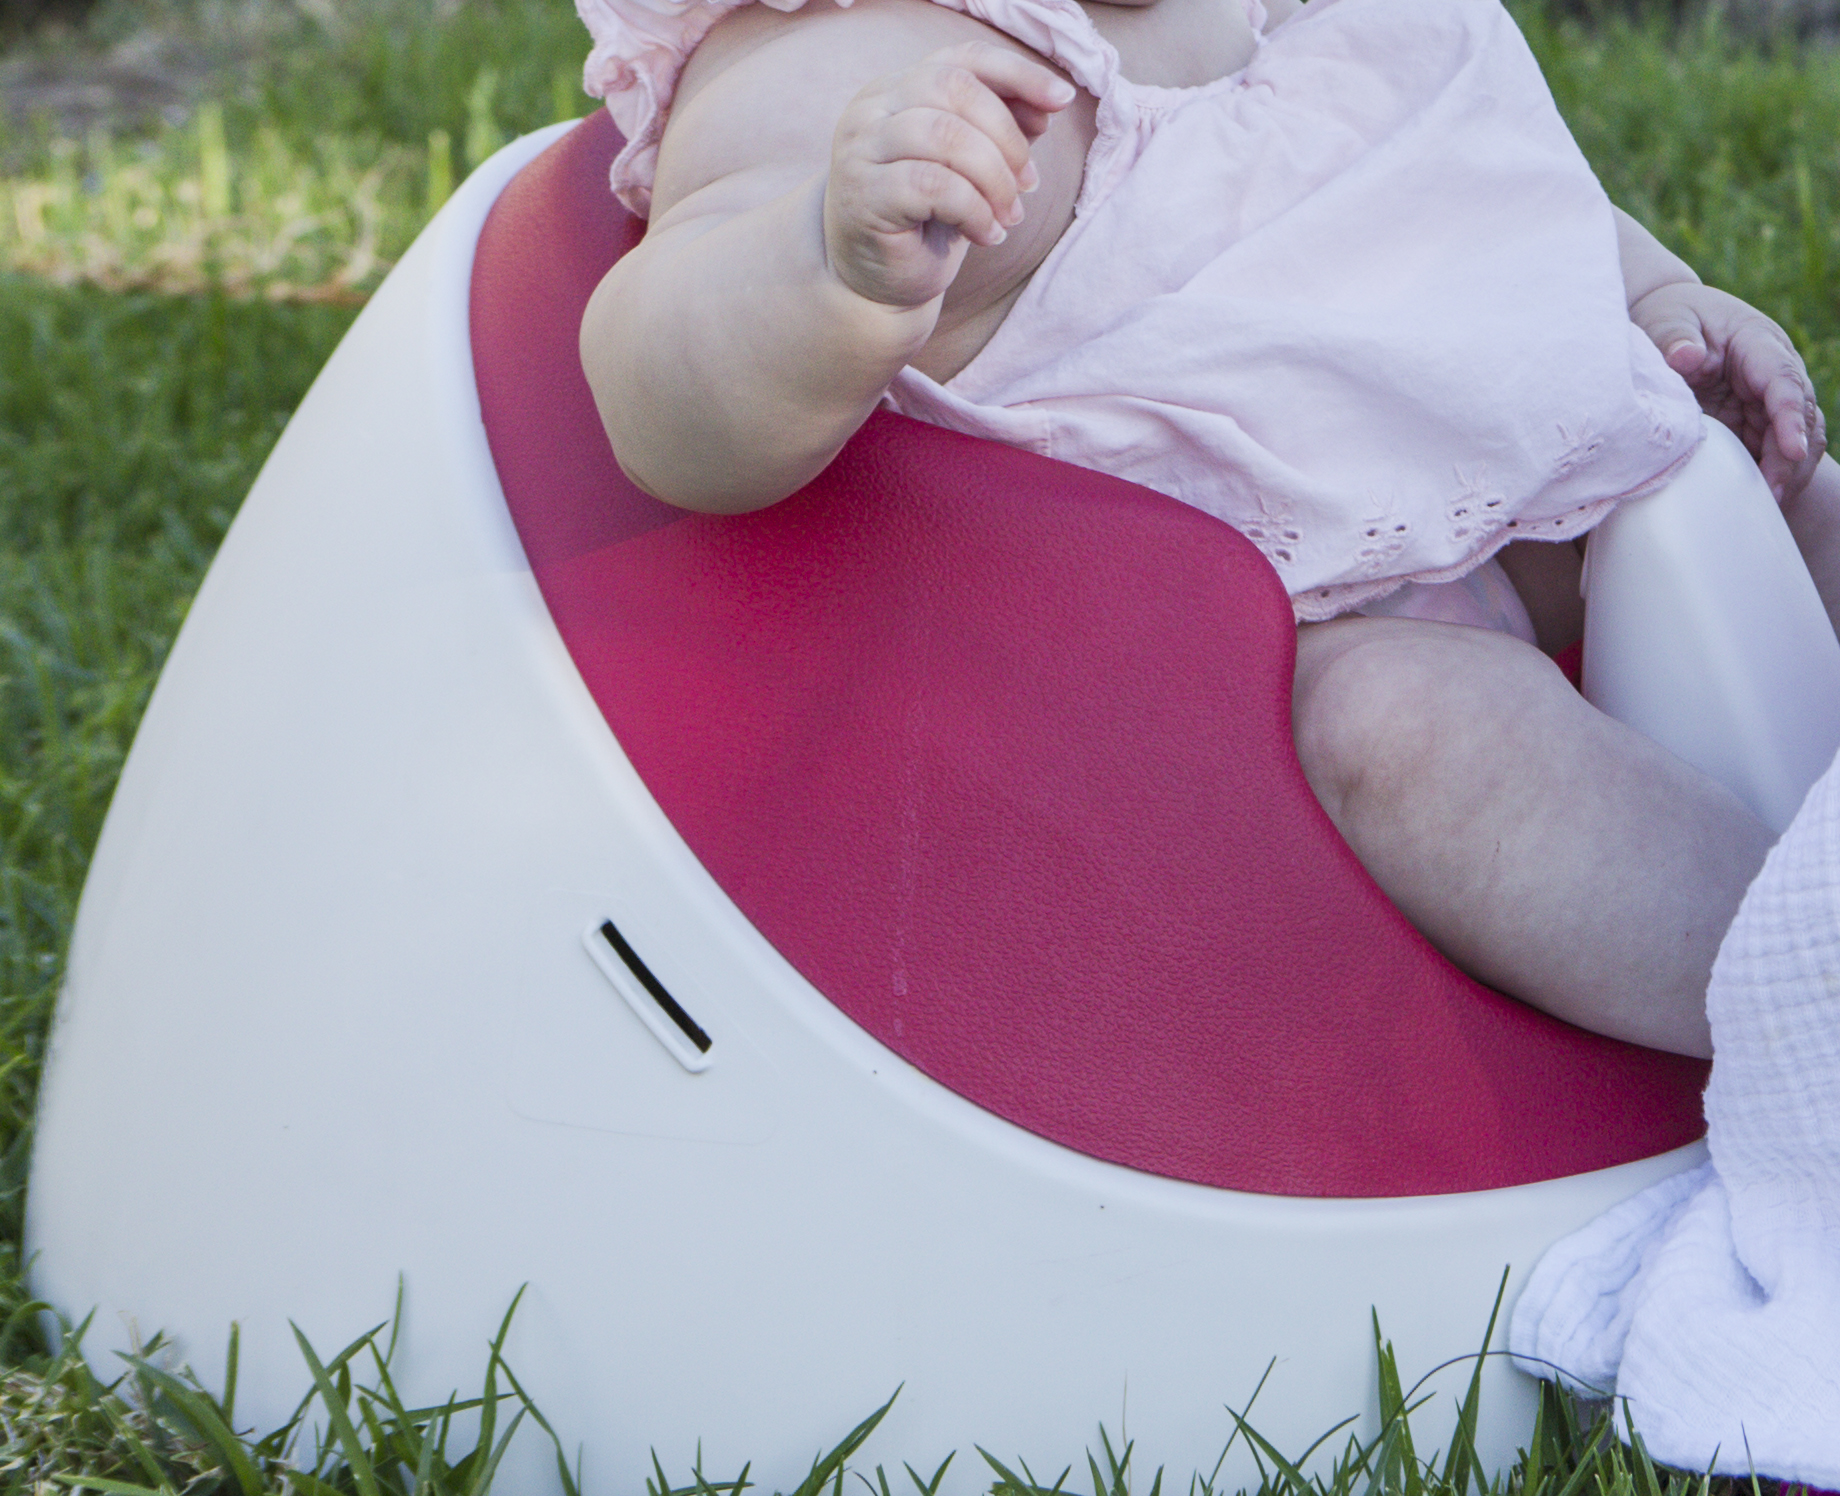
Return to Mode: RGB

pic.jpglayers.jpg curve.jpg

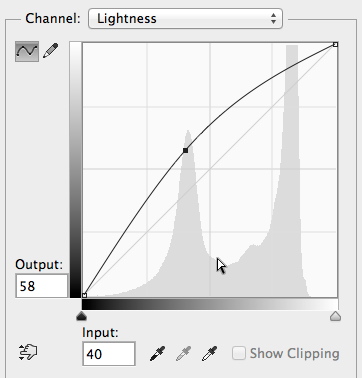
EDIT: I neglected to mention you may also adjust surface texture and the intensity of the shadow cast by the arm by adding another Curve point.

Votes

Translate

Translate

Report

Report
Community guidelines
Be kind and respectful, give credit to the original source of content, and search for duplicates before posting. Learn more
community guidelines