
Question
Rotate patterns in Photoshop
Using Rotatable Patterns in Photoshop
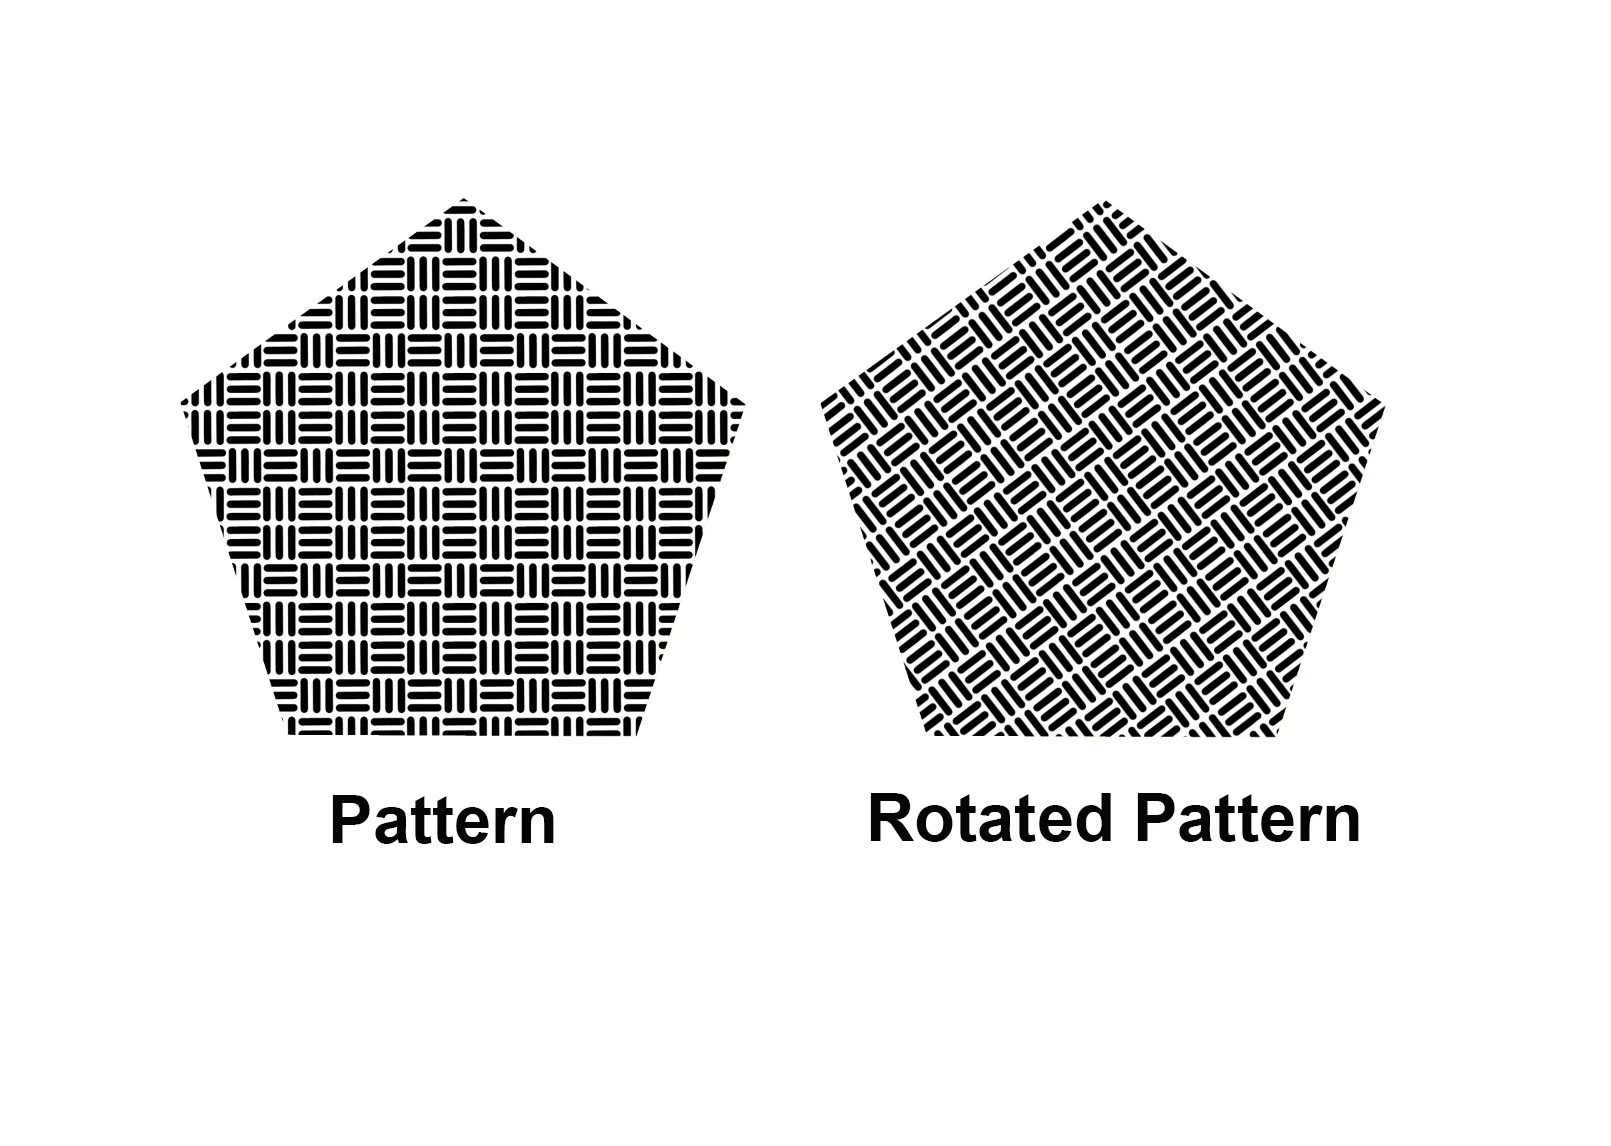
One of the cool new features found in the June 2020 release of Photoshop is rotatable patterns. This feature allows you to rotate patterns (non-destructively) to change the angle of the pattern. You can change the orientation of any pattern in Pattern Overlays, Pattern Strokes, and Pattern Fill Layers. For this tutorial, I will rotate a pattern fill layer.
❶ Create a pattern (or use an existing one)
- Open the image you want to make a pattern from
- If you prefer, you can choose a pattern from the Window>Pattern panel
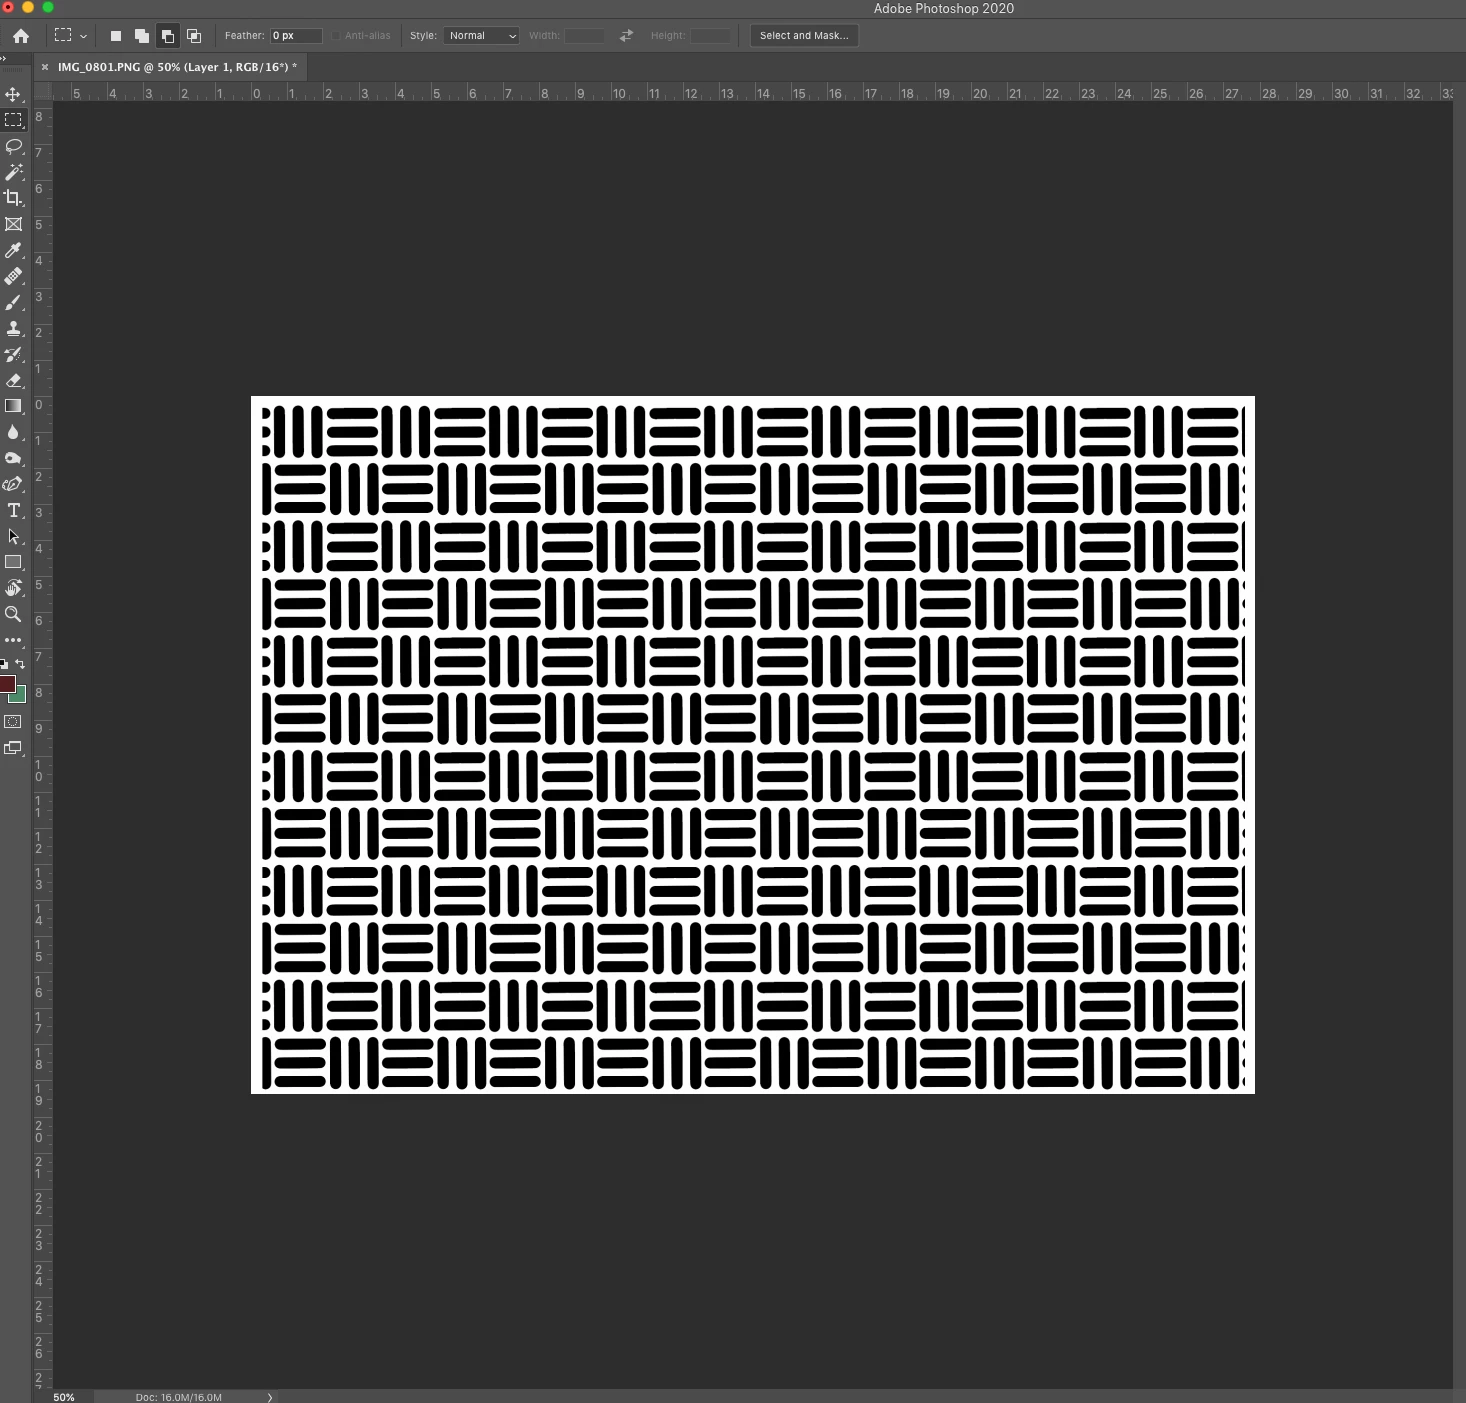
- Select the Rectangular Marquee tool

- Select an area to use as a pattern. (Ensure feather is set to 0 pixels)
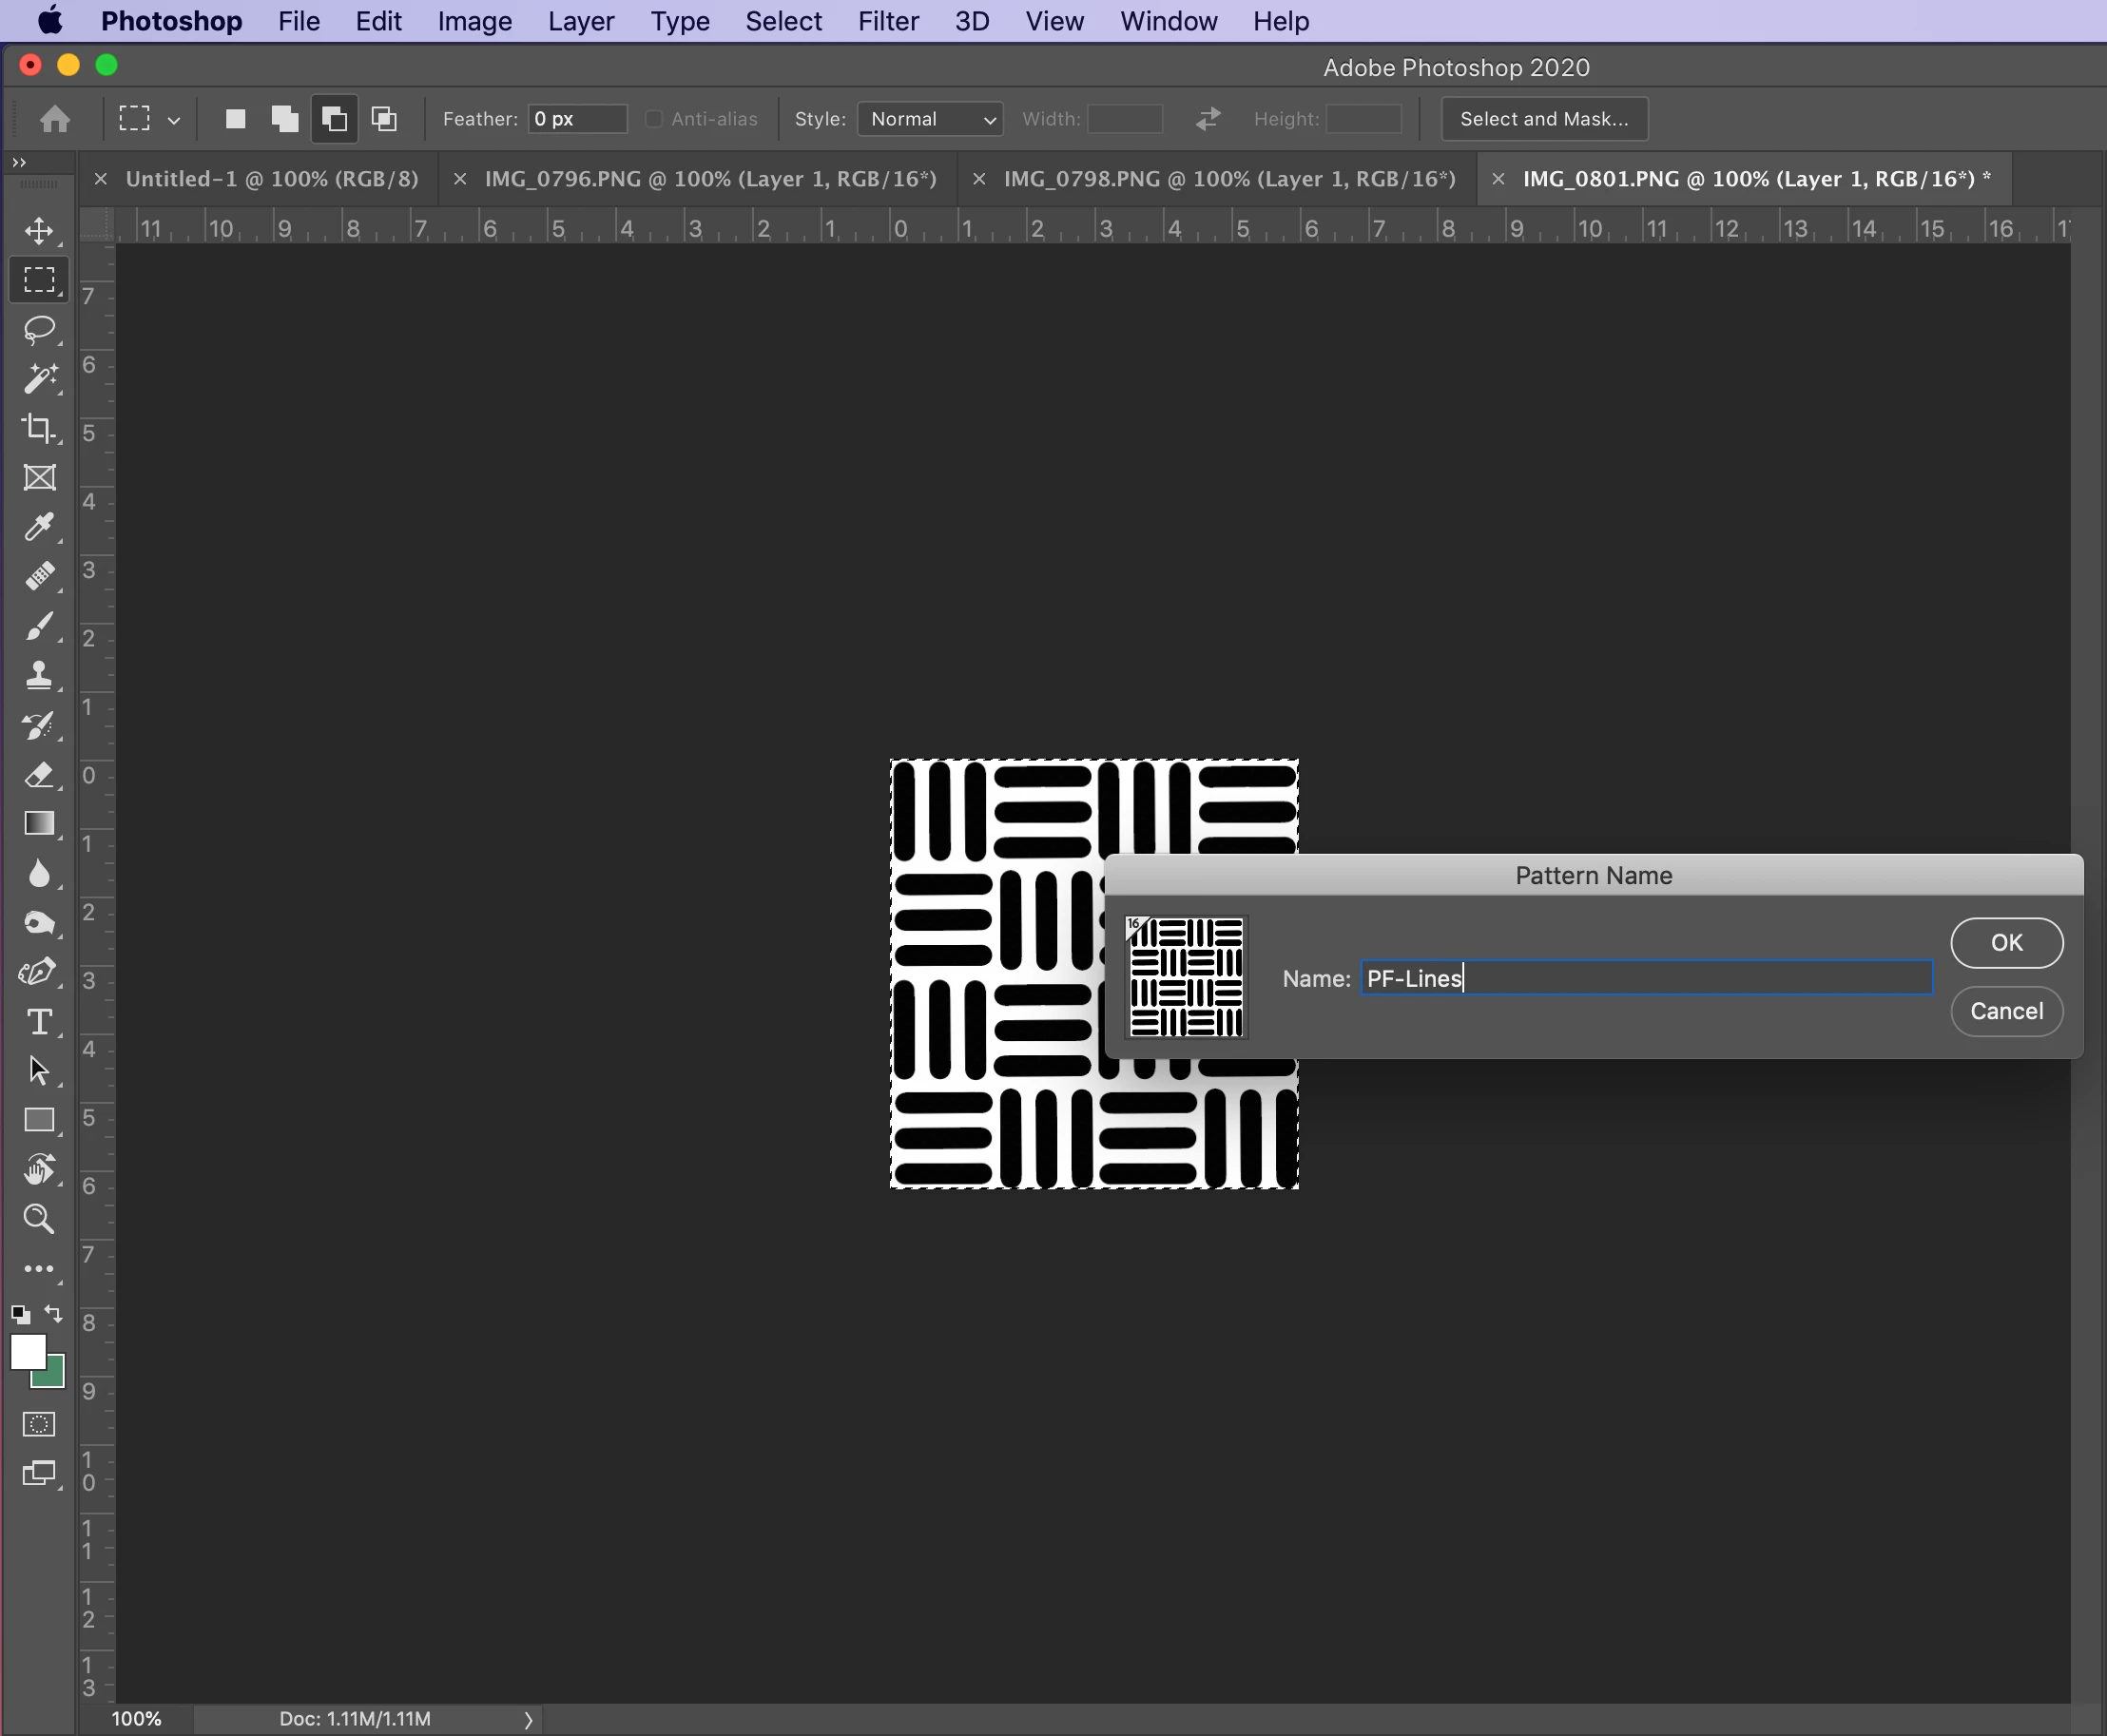
- Choose Edit > Define Pattern
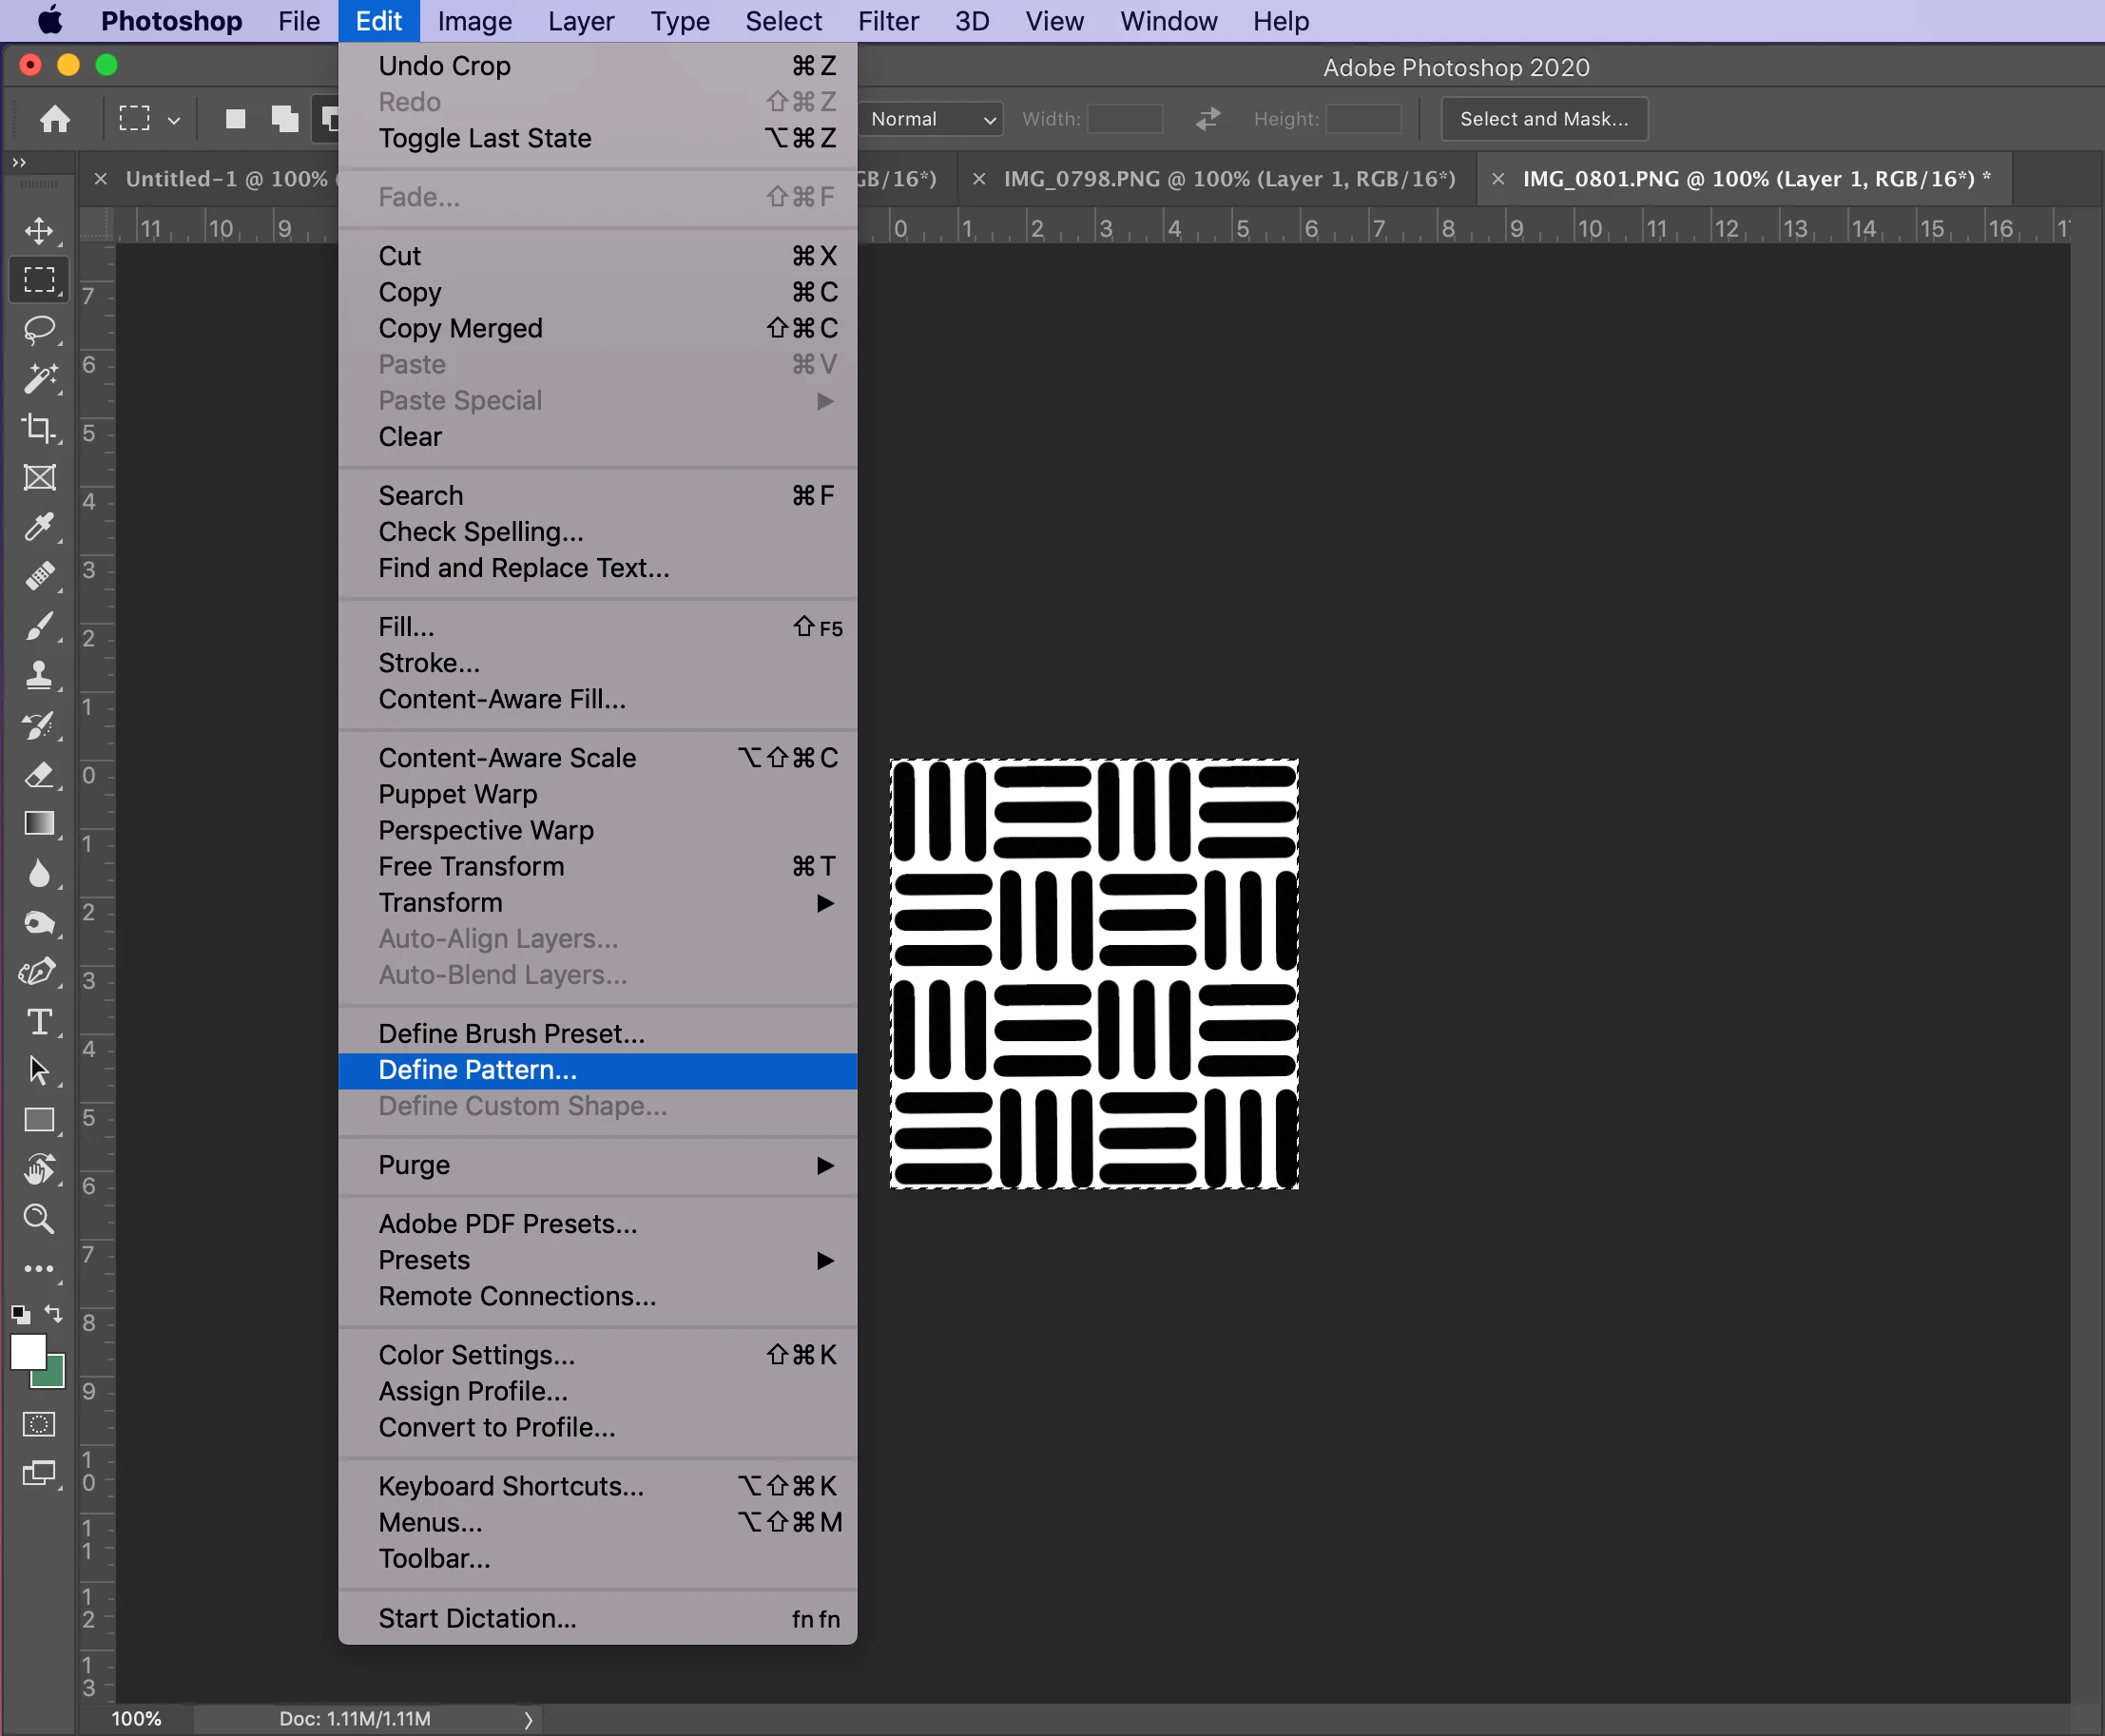
- Type a name for the pattern in the dialog box
- Open the pattern window by navigating to Window>Pattern to see your new pattern
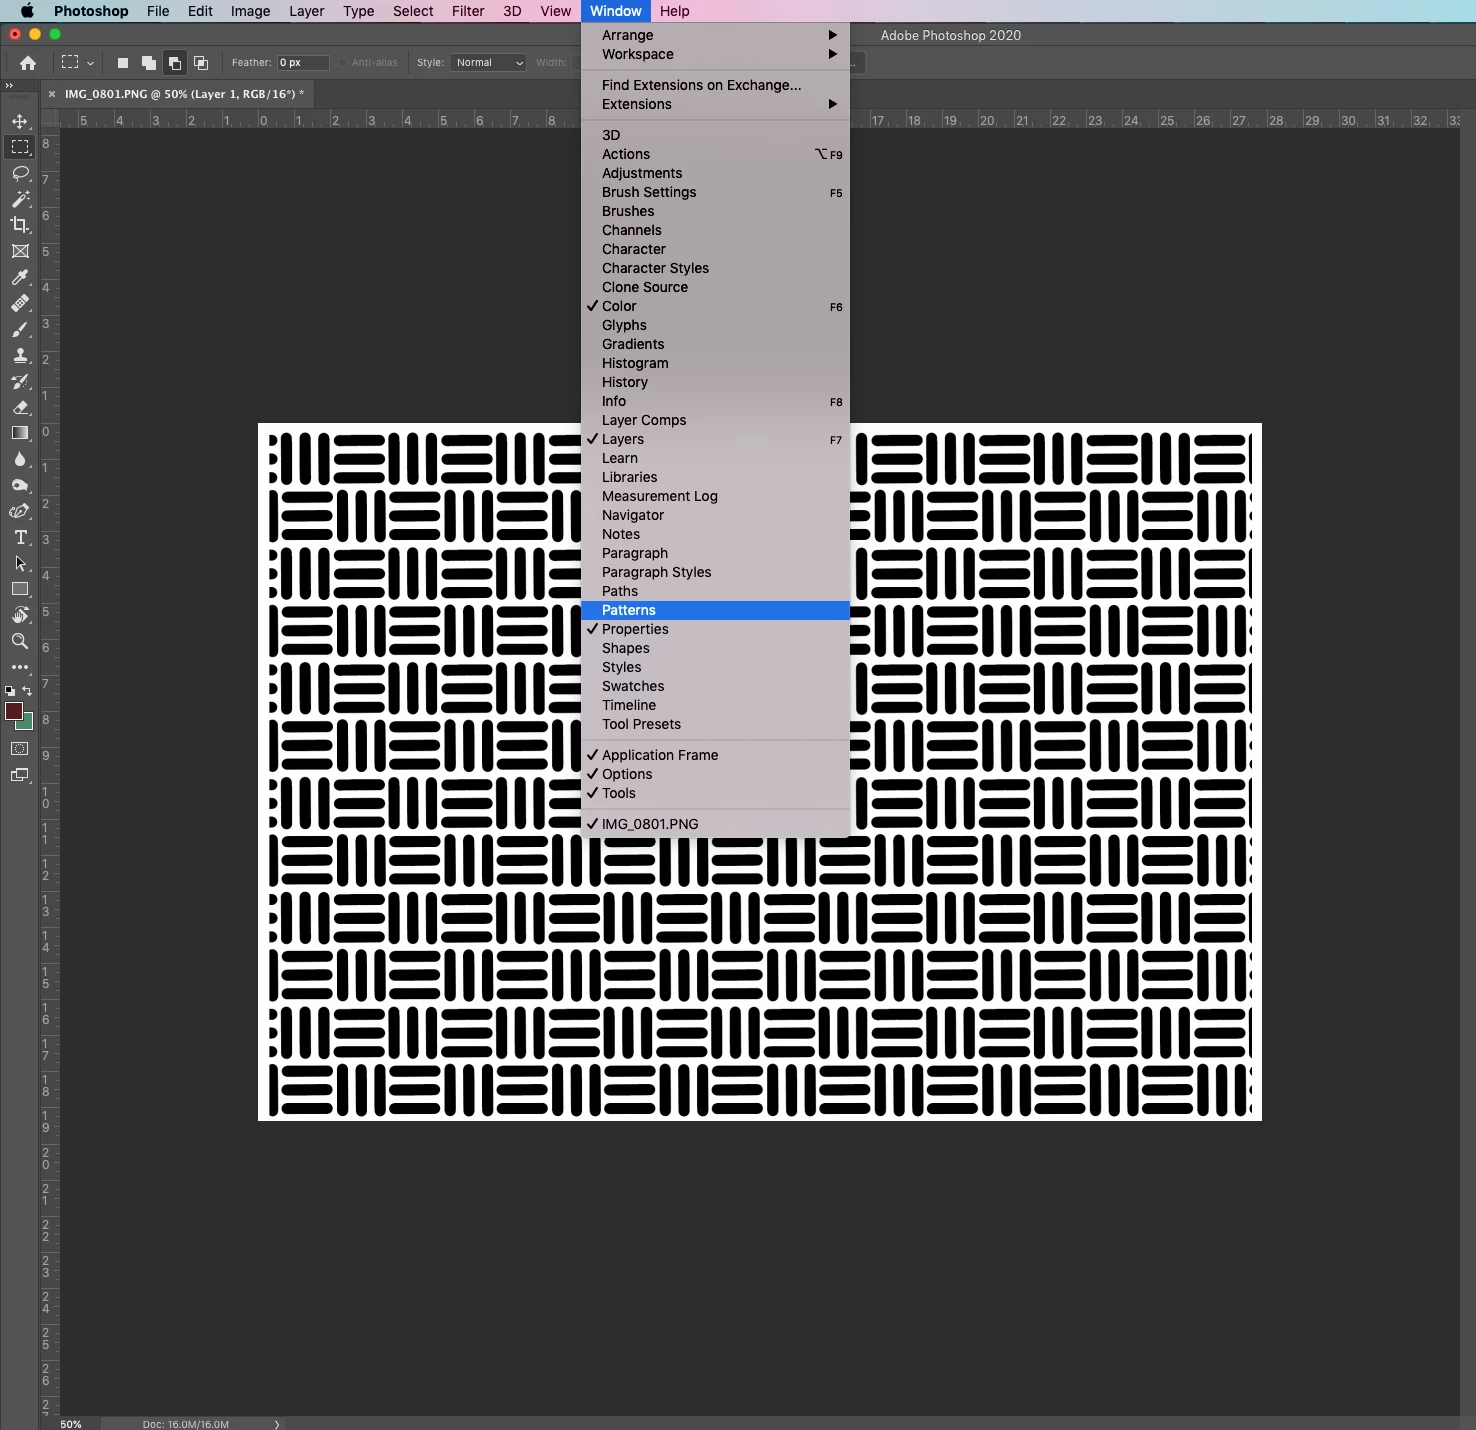
- The new pattern now appears in the panel

❷ Open a file - Open an existing file or create a new one
Create, open, and import images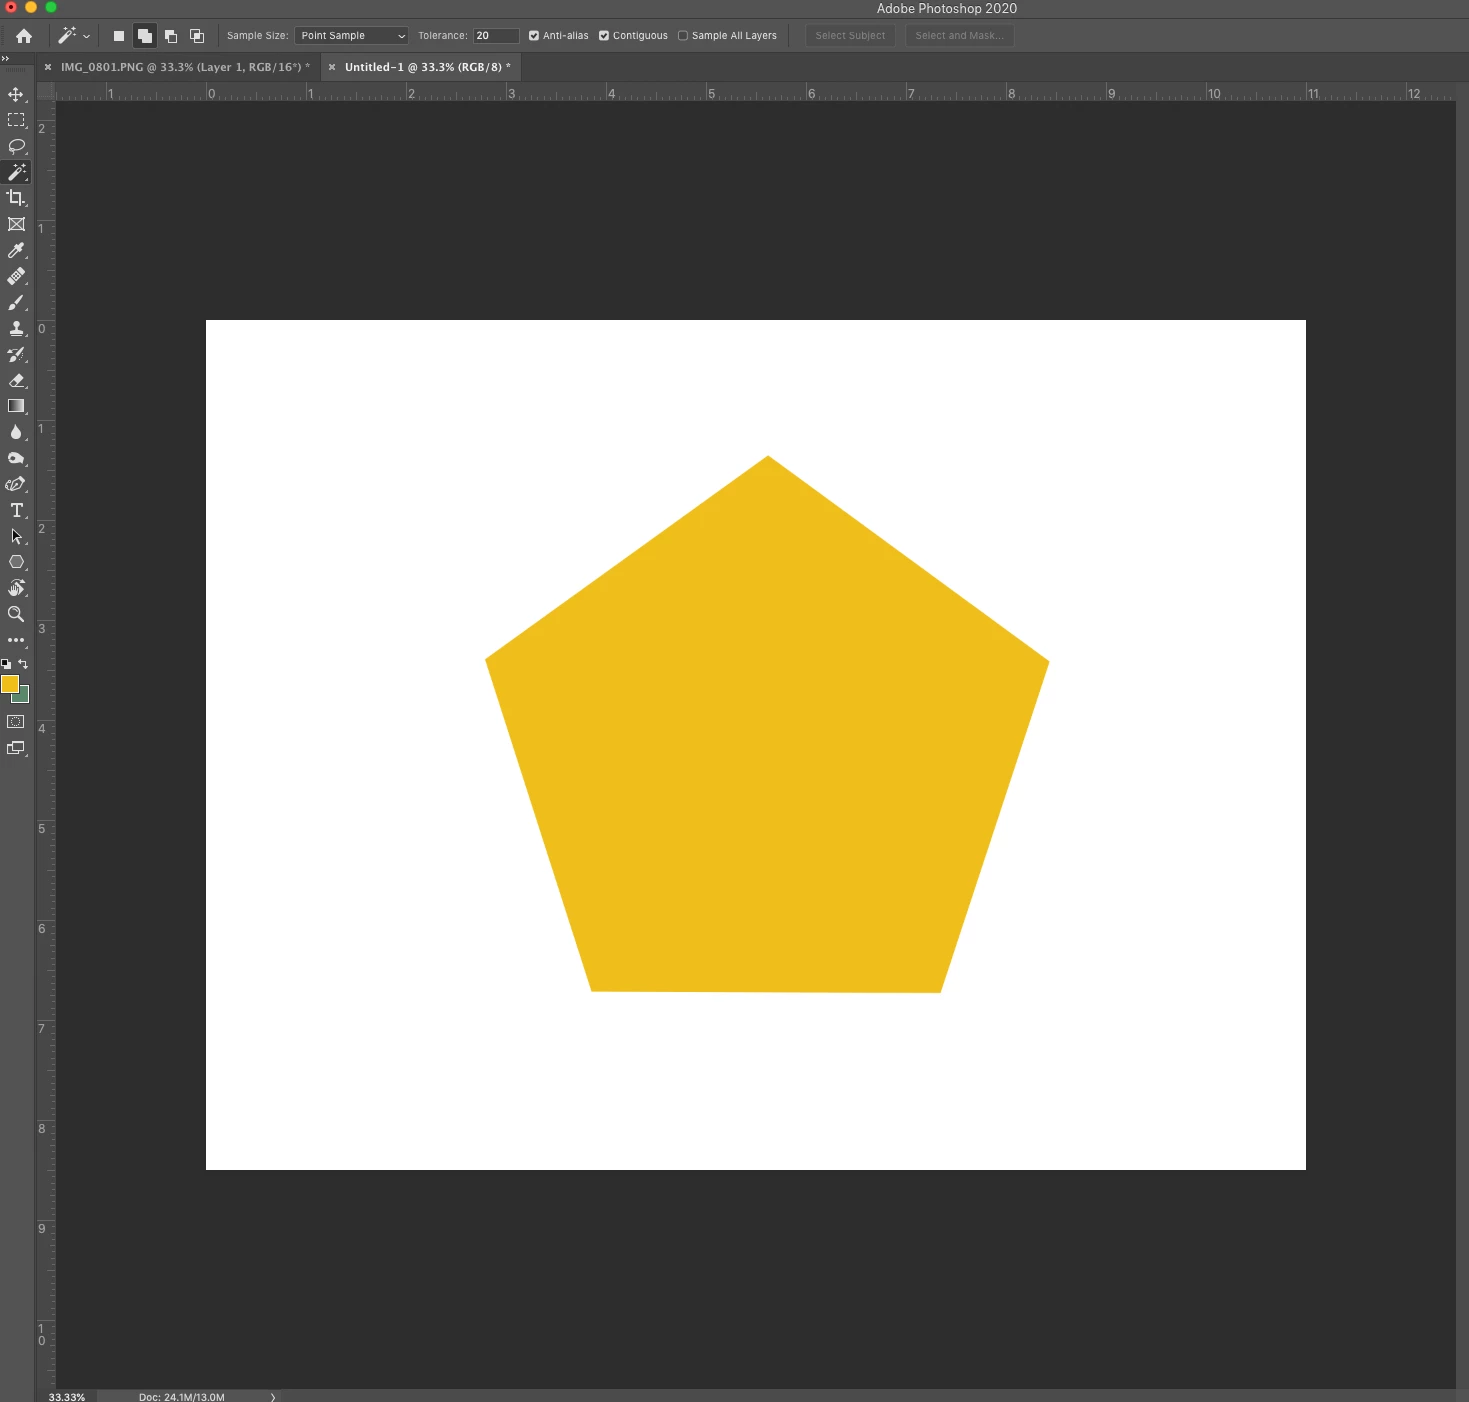
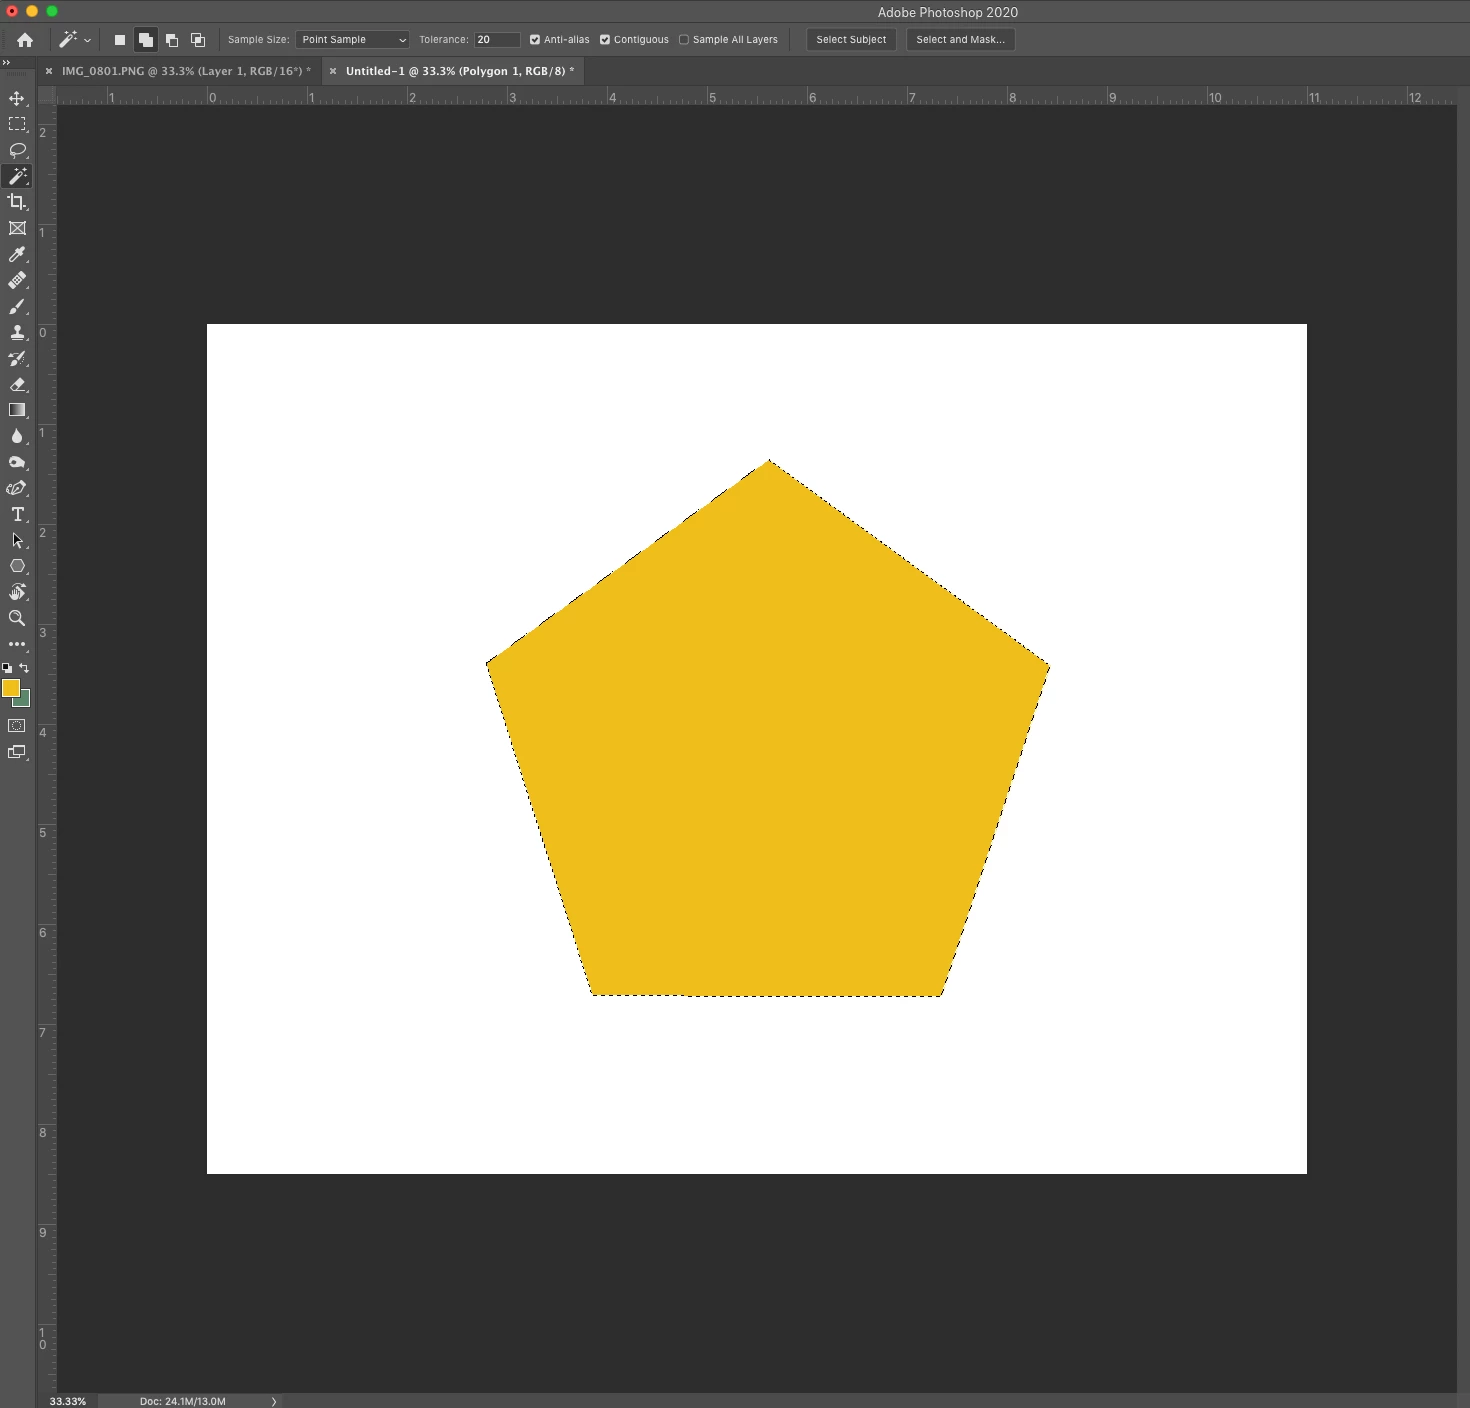
❸ Select an area to fill
- Make a selection around the area you wish to fill using your choice of selection tools
❹ Fill the selection with a pattern
- From the menu, select Layer> New Fill Layer > Pattern
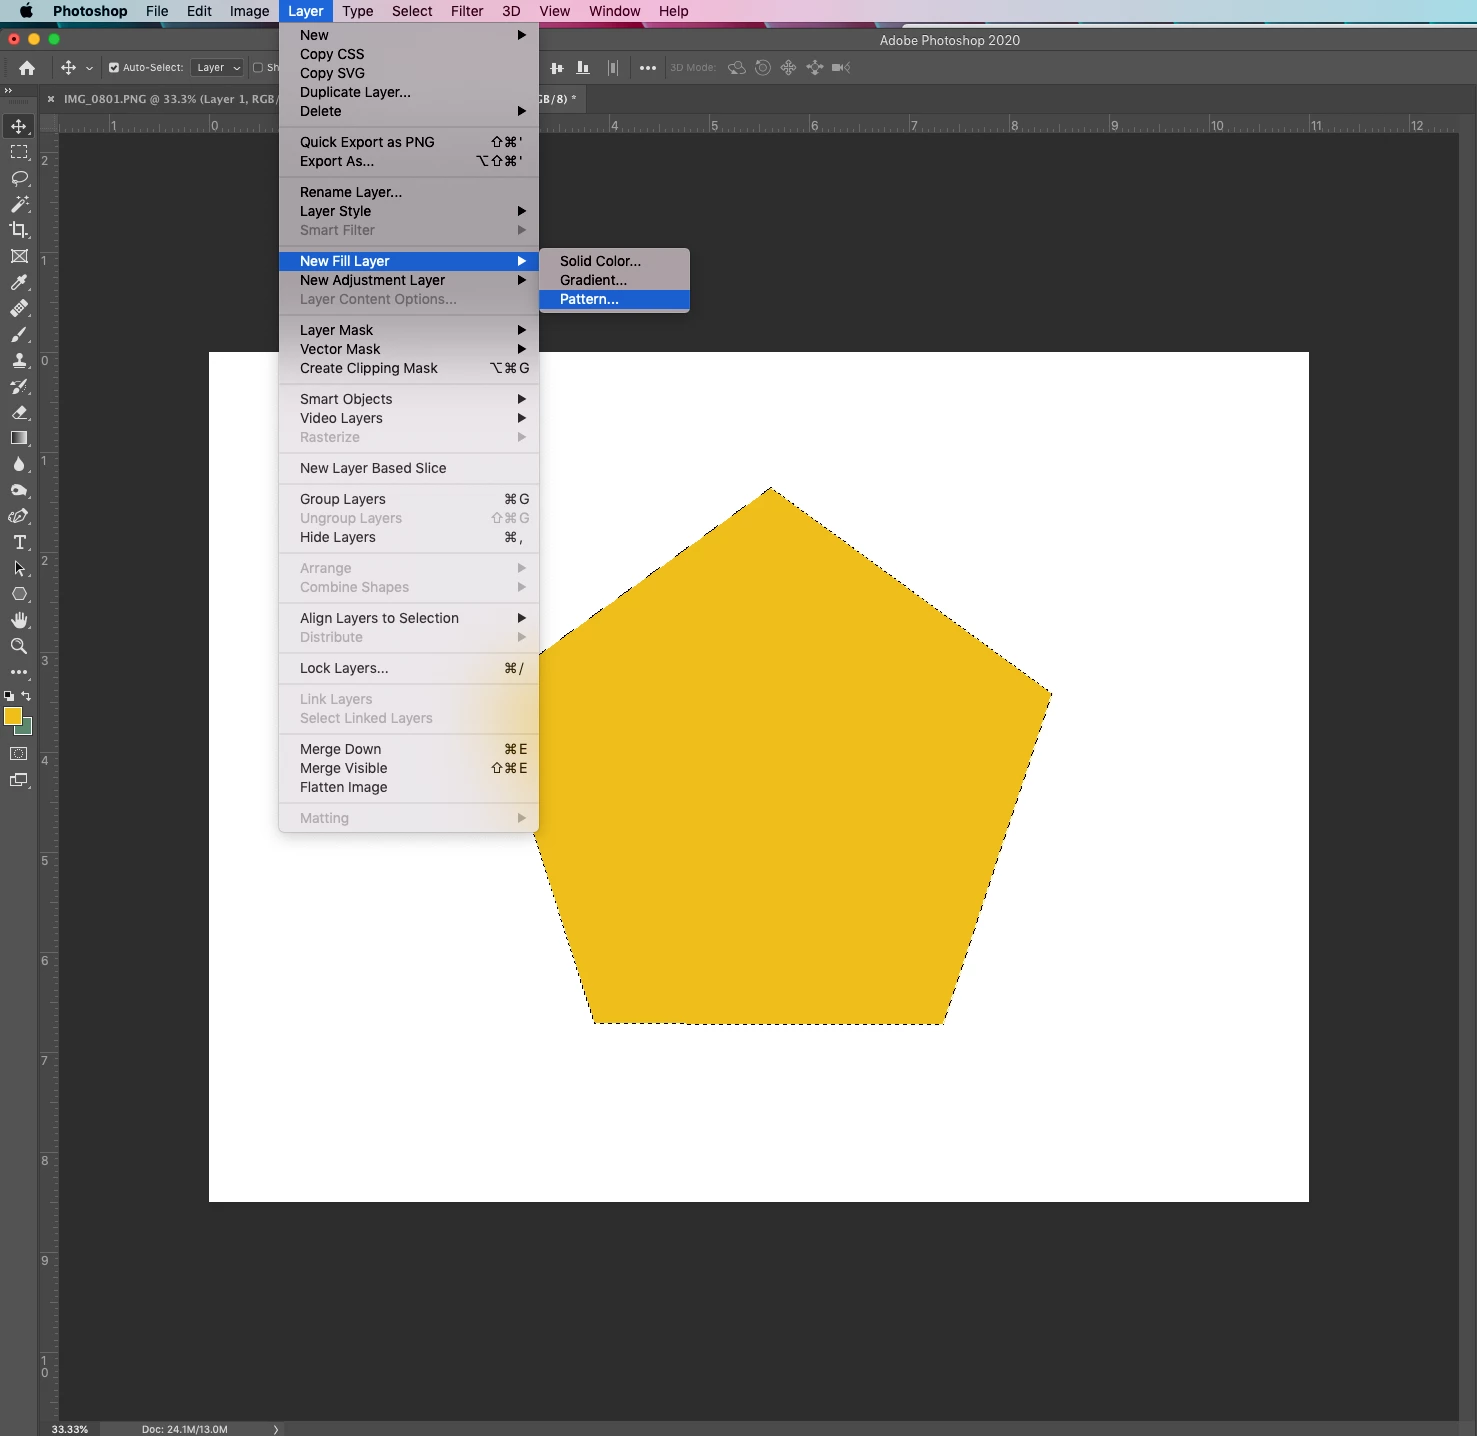
- Click OK
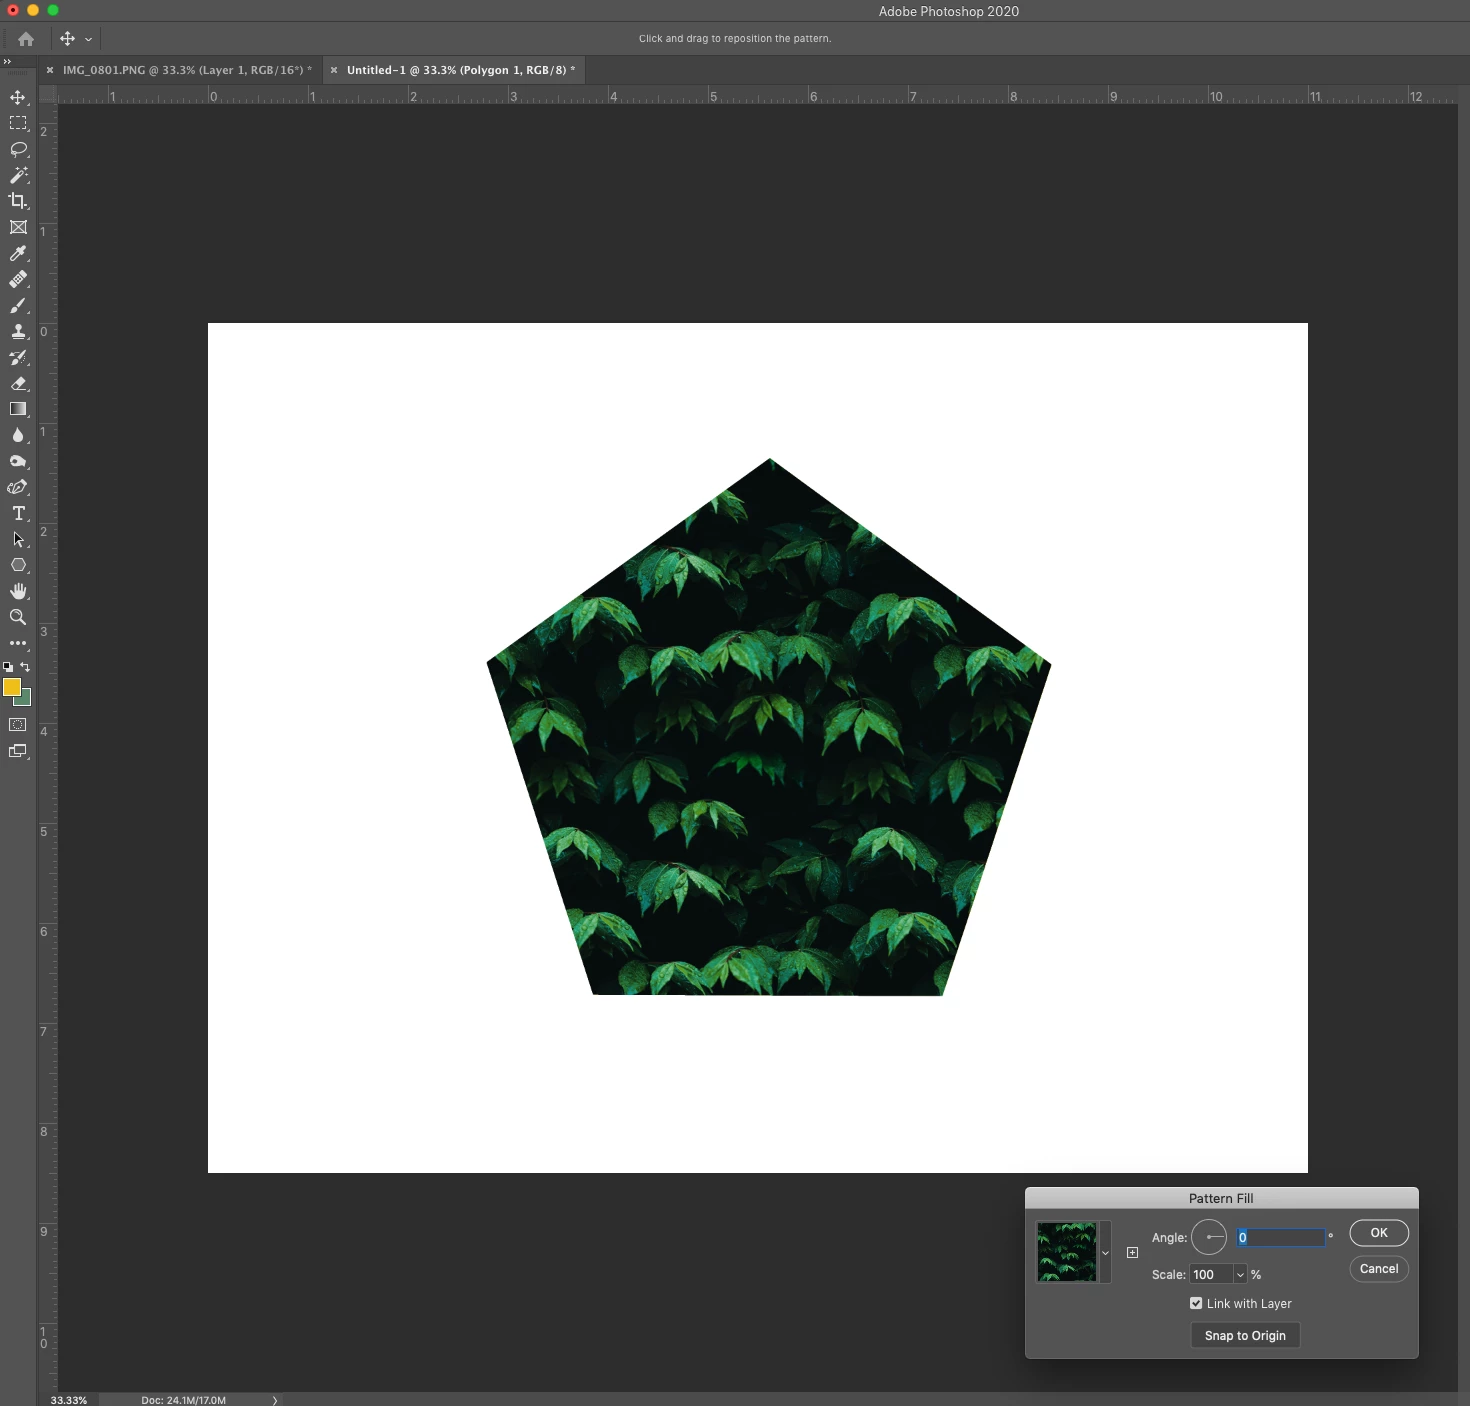
- Click on the pattern thumbnail for select from different pattern options
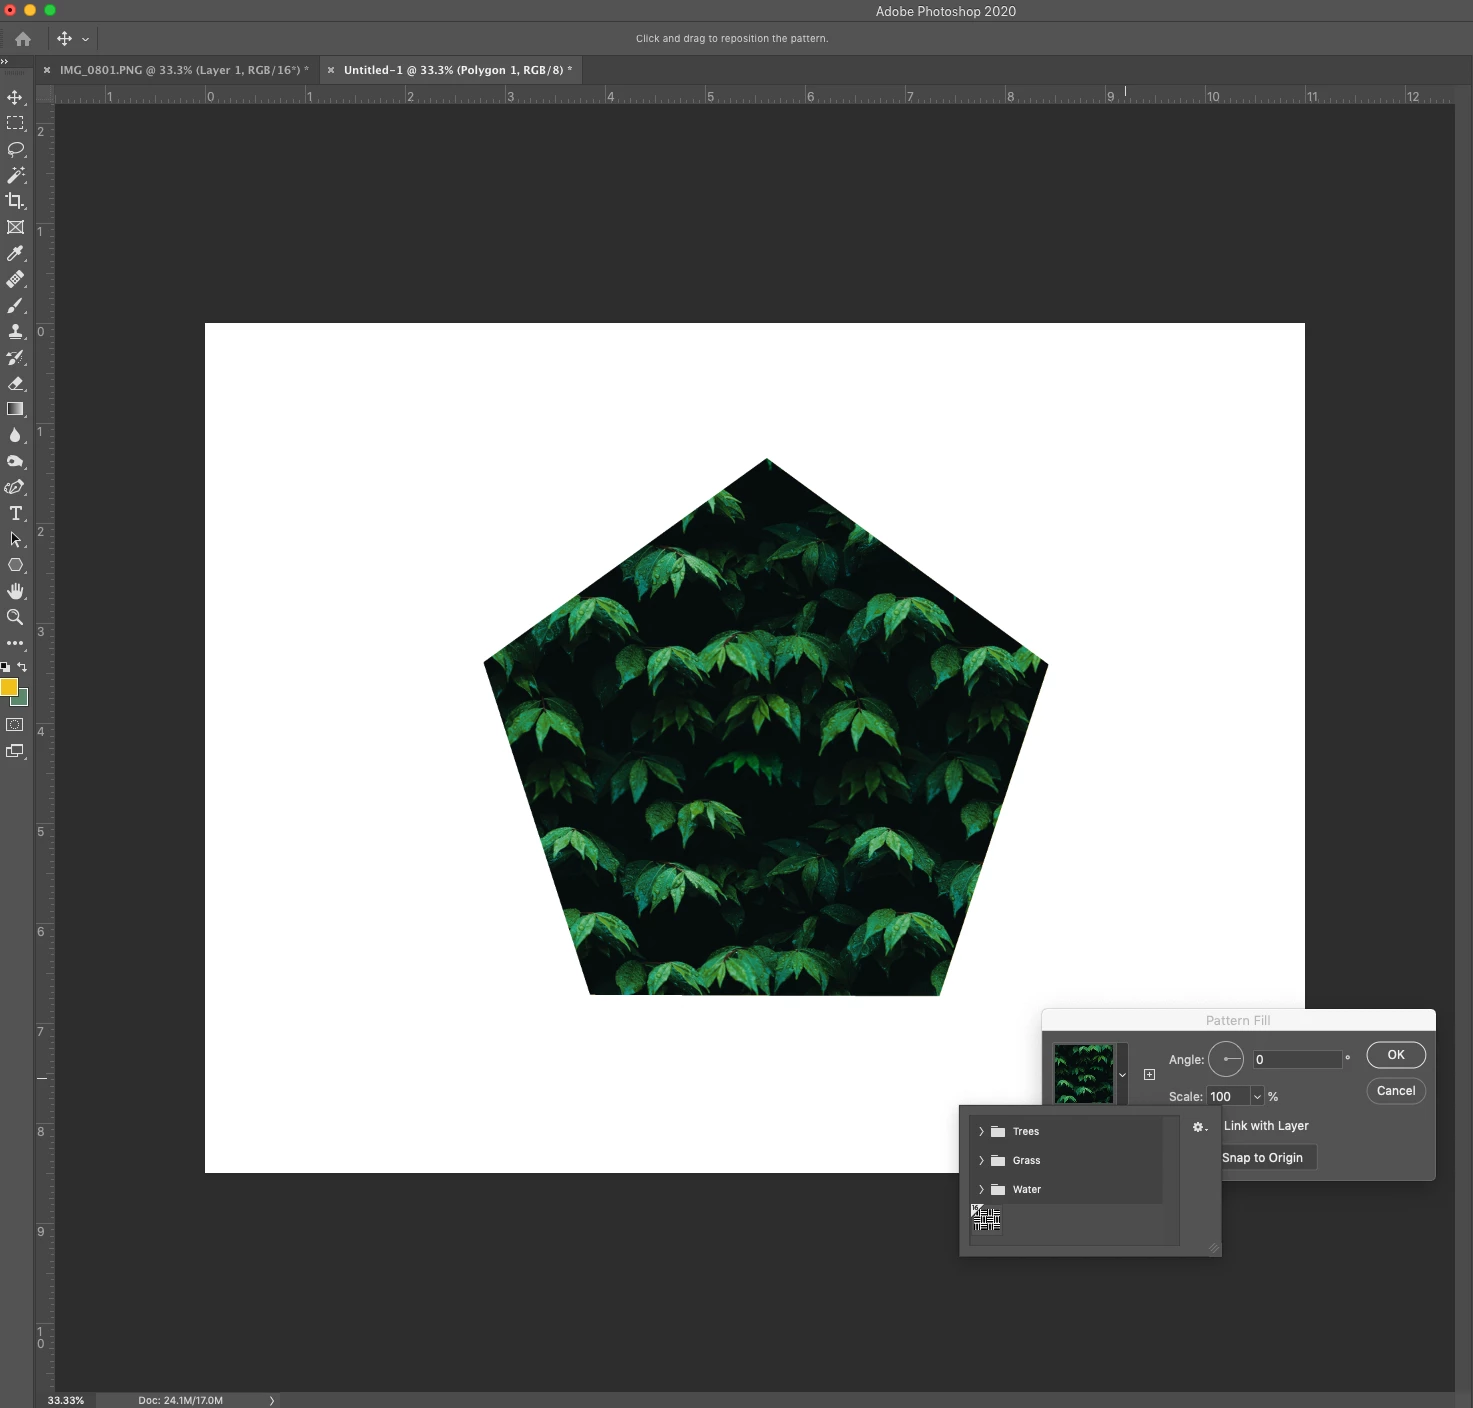
- Select the pattern you just created
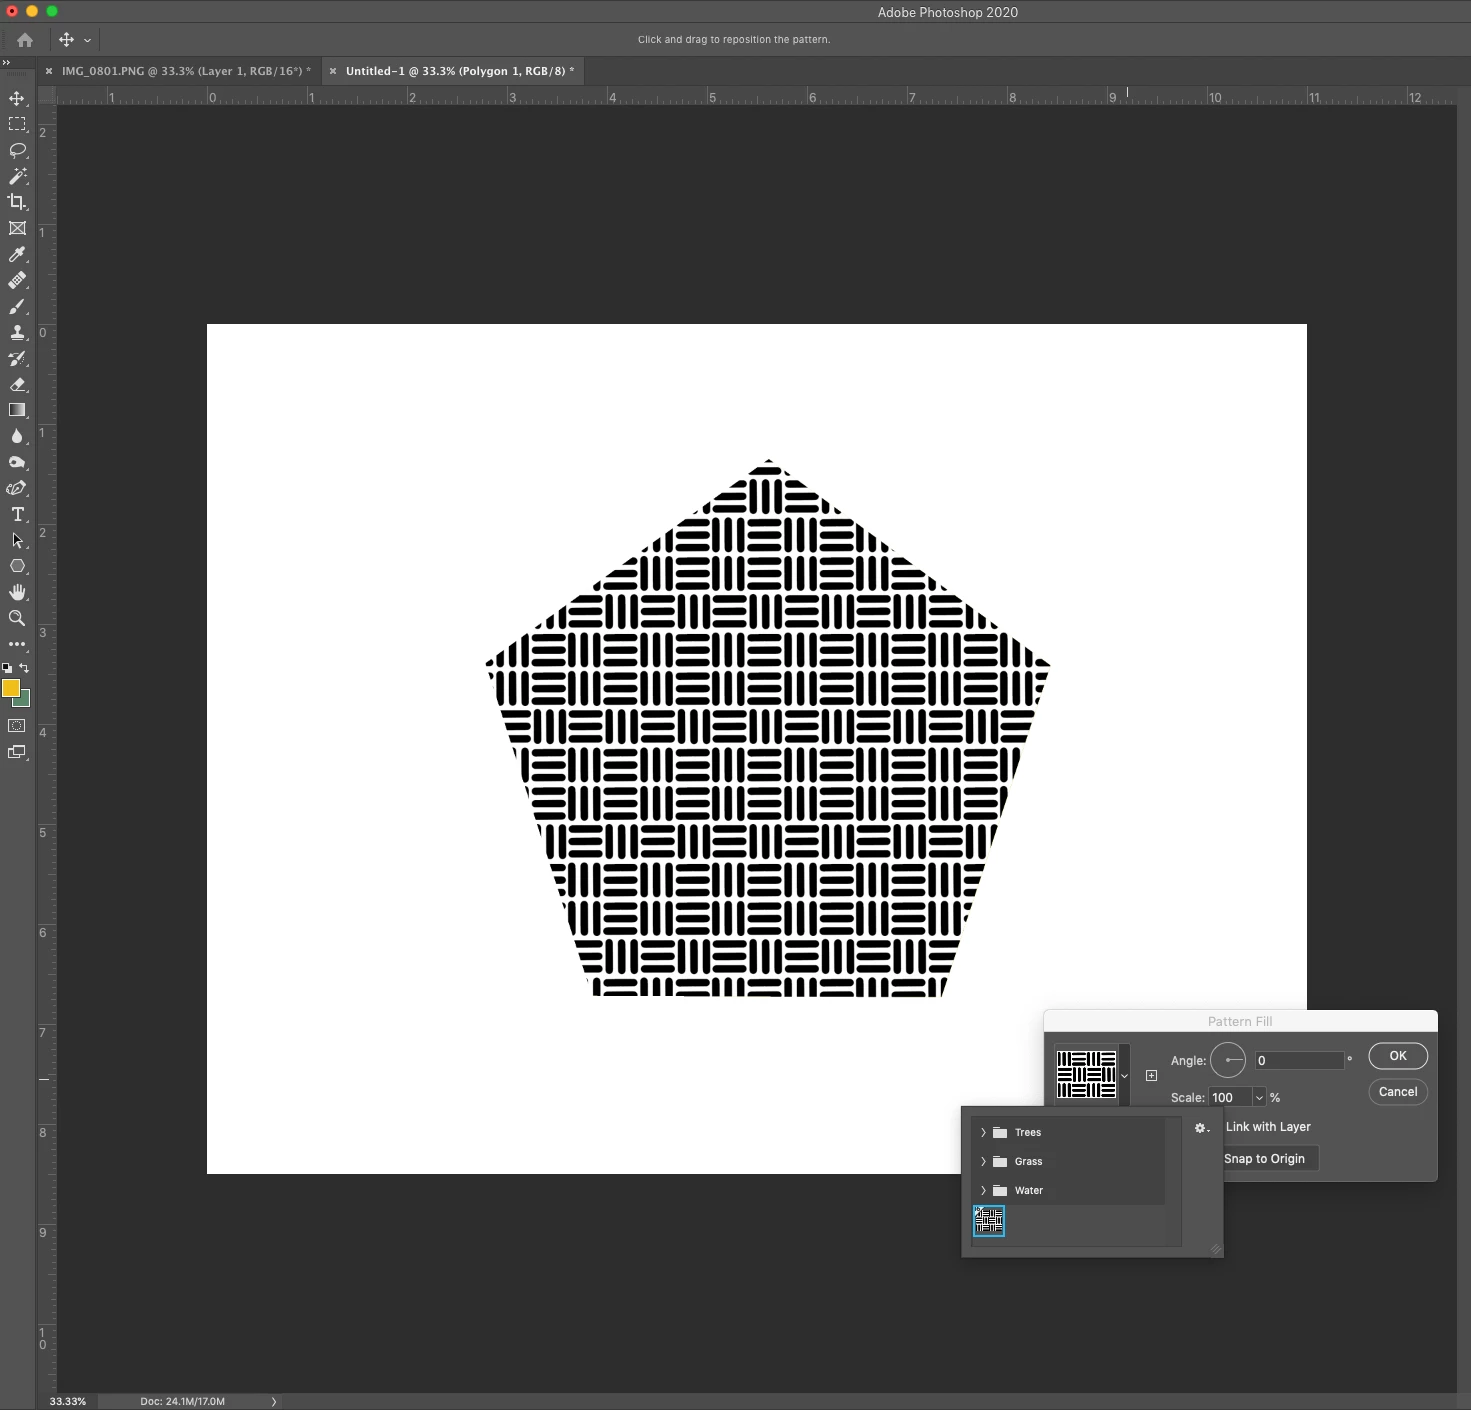
❺ Rotate the pattern
- Adjust the angle of the pattern in the Pattern Fill dialog,

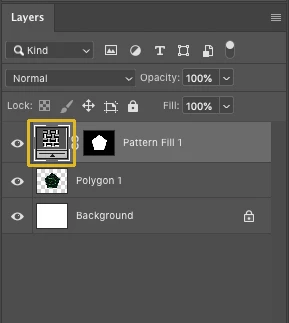
- If you want to adjust the angle later, just click on the pattern in the layers panel and change the angle
Note: The pattern angle selector can be accessed from these locations in the user interface:
| Layers |
|
| Shapes |
|
| Frames |
|
Related links:
Create patterns in Adobe Photoshop