Copy link to clipboard
Copied
Hi everyone. Consider an oval such as the one here. What I'm trying to do is superimpose a "rounded millimetric ruler" on the outside of the oval pictured. So that starting at this ruler's 0-position, to be able to measure the distance alongside this oval up to any point. In other words, imagine a ruler set aside the first straight section of that oval, then going "round" the first curve, then straight again, then following the last curve of the oval. Is this something that can be achieved with Photoshop, and if so, could you let me know some pointers on how to do it ?
I can't see your first image - but if you mean something like this............. :
.........then I would create it in illustrator using the dashed line set to 10pt stroke 0.5mm dash and 0.5mm gap. The cm lines are a 15pt stroke with 0.5mm dash and 9.5mm stroke. The numbers are just text on a path.
You can then bring it into Photoshop as required.
Dave
Copy link to clipboard
Copied
You do have the Ruler Tool in Photoshop where you click and drag a line anywhere you wish to measure in inches, mm, or pixels using the Info Panel (Window > Info).
That seems more practical than creating a ruler unless I don't get your question.
Copy link to clipboard
Copied
The thing is that I want to print the whole resulting image, including the millimetric ruler that follows the oval's contour. This is why I'd need a solution to have this inserted in the picture.
Copy link to clipboard
Copied
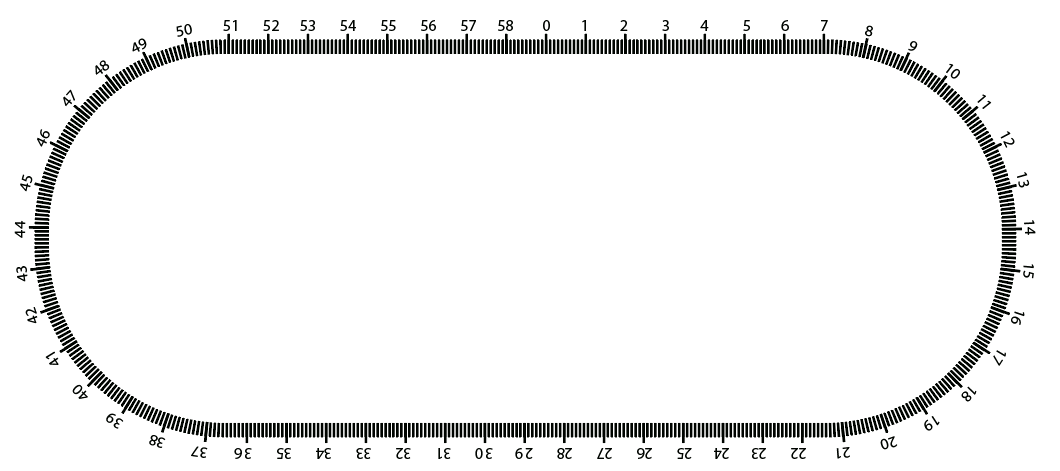
If this is only to show the measurement, not to actually perform it, you could use the Distort > Polar Coordinates filter:
You'd need to have separate sections for each curved and straight section, and it can be quite fiddly getting the curve to look right.
It might be better to do this in Illustrator, where you can evenly space text boxes along a path, and flow the text (numerals) from one box to the next:
Copy link to clipboard
Copied
Semaphoric, how do you evenly distribute the text boxes ? I've been searching for half an hour but to no avail. Closest I came was this Adobe help article, section Threading text between objects. The little "play" icons from around the text boxes resemble those in your document, but I don't understand how you get them to evenly distribute.
Copy link to clipboard
Copied
To be honest, it's been a while so I'm not entirely sure, But I think I set up a non-printing circle, and then Rotate Copied a text box appropriately around the center of the circle, and then linked an flowed the text into the boxes.
I like Dave's version. It looks just like a real bent ruler.
Copy link to clipboard
Copied
I can't see your first image - but if you mean something like this............. :
.........then I would create it in illustrator using the dashed line set to 10pt stroke 0.5mm dash and 0.5mm gap. The cm lines are a 15pt stroke with 0.5mm dash and 9.5mm stroke. The numbers are just text on a path.
You can then bring it into Photoshop as required.
Dave
Copy link to clipboard
Copied
Dave, that's the exact result I'm after. I could replicate the strokes and everything looks good, but I have no clue as to how is your text done. You evenly space out whole numbers as well, not just individual digits. Do you have a short link for an article describing this ?
Copy link to clipboard
Copied
Hi
Apologies for my late reply I've just returned from a trip away with sun, sand surf and no internet
For the lettering I just attached it to a copy of the path, which was expanded from the original, and experimented with the letter spacing until it looked right - then typed away.
Dave
Find more inspiration, events, and resources on the new Adobe Community
Explore Now