

- Home
- Photoshop ecosystem
- Discussions
- Re: Salt art effect on object/logo
- Re: Salt art effect on object/logo

Copy link to clipboard
Copied
Hello
Please help
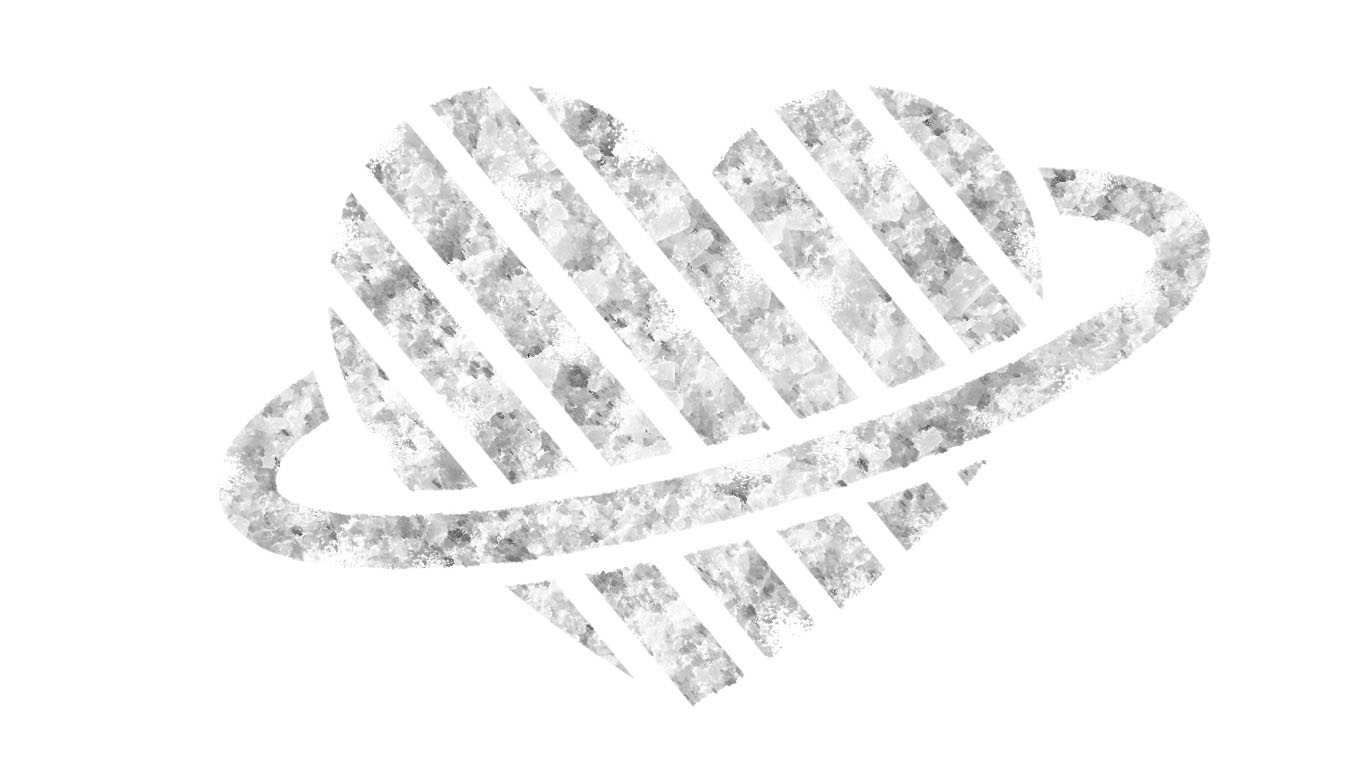
I believe what i am trying to achieve is easy but i am a PS Novice so not quite sure how to get this done. I am trying to replace the yellow in the below logo to a salt/sugar like texture, so that it gives off a handmade art feel. I've seen this being done with text, just wondering how to achieve the same with an object.

Thanks in advance


 1 Correct answer

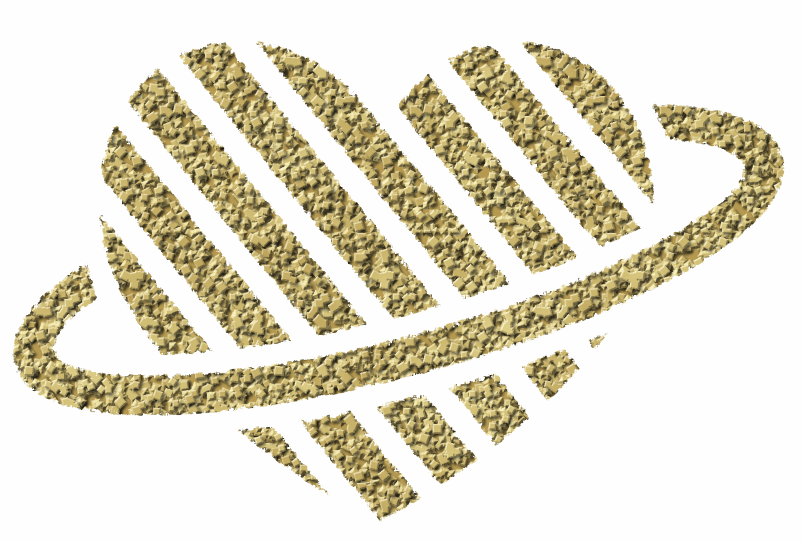
If you mean you want an image of sugar to appear then
Place a sugar image above it. Alt click on the border between the sugar layer and the object so a liitle arrow appears. The sugar image will not be clipped to the object


If that is not what you were after - please ask further
Dave
Explore related tutorials & articles
 13
Replies
13
13
Replies
13
Copy link to clipboard
Copied
If you mean you want an image of sugar to appear then
Place a sugar image above it. Alt click on the border between the sugar layer and the object so a liitle arrow appears. The sugar image will not be clipped to the object


If that is not what you were after - please ask further
Dave
Copy link to clipboard
Copied
Hello Dave,
Thanks for the help & demonstrative images. Nearly what I was getting at! I wanted to try and keep some of the natural grainy edges instead of the sharp edges the logo has,
Little like this art (couldn't find a simple one):
http://mashlot.com/wp-content/uploads/2015/12/12.png
Thanks,
Zach
Copy link to clipboard
Copied
Hi
You could try something along these lines.
With the two layers as in my previous post temporarily turn off the clipping mask (Alt click at border)
Save the image which should show the sugar as a PSD called Displace 1
Invert the red channel and Save the image as Displace 2
Go back in history so you have the clipping mask again (and the red channels are not inverted)
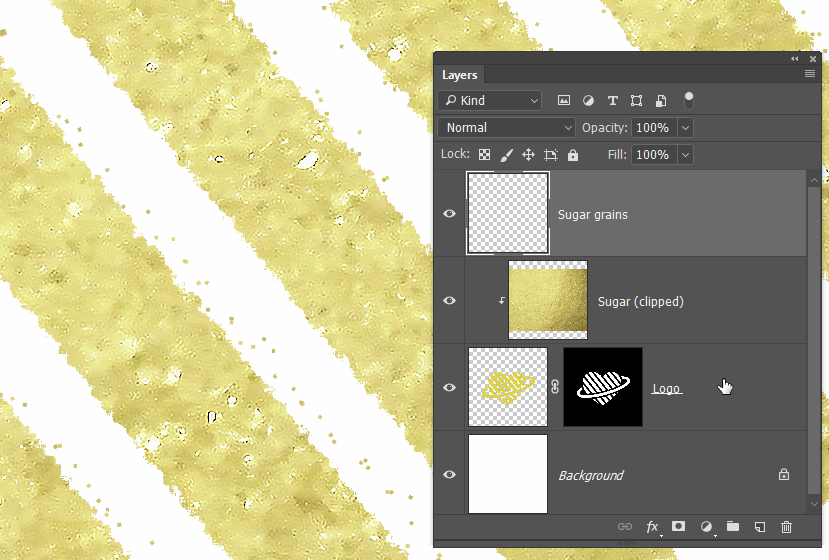
Turn the two layers (the logo and the sugar) into a smart object.
Apply Filter > Distort > Displace Using Displace 1 as the map
Apply Filter > Distort Displace and this time use Displace 2 as the map
Save the image


I hope that helps you
Dave

Copy link to clipboard
Copied
I use a layer mask to distress object edges.
Ctrl click the log layer to load it as a selection, and contract the selection so it eats into the logo a few pixels. Image resolution will dictate how much to contract.
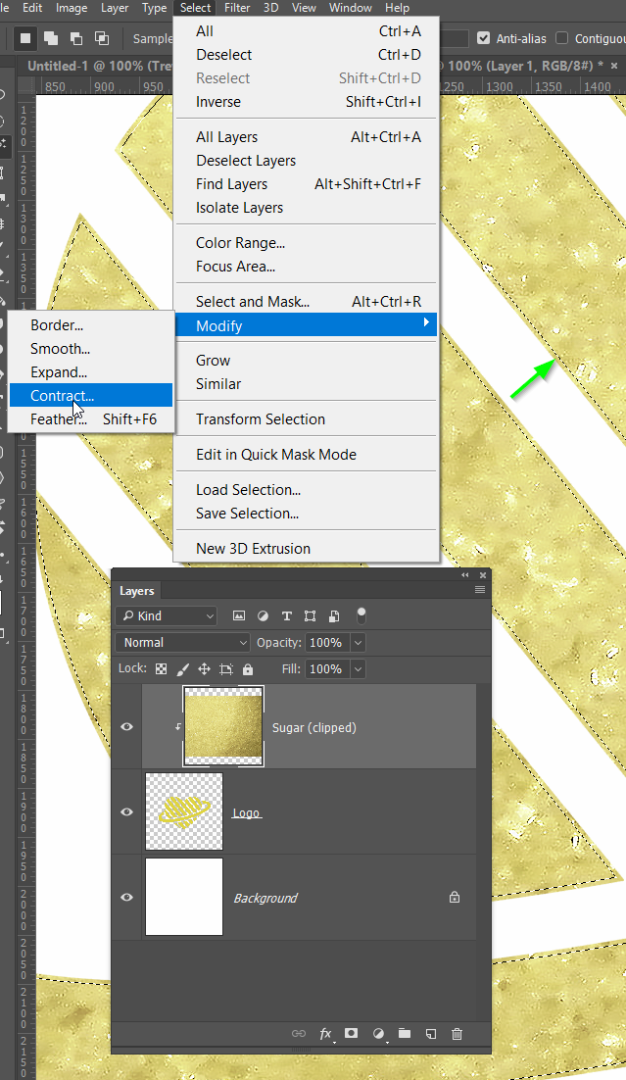
With the contracted selection loaded, add a layer mask to the logo layer

You can now run filters on the layer mask to rough up the edge. There several ways you can do it.
Torn edges

Glass

Ocean Ripple

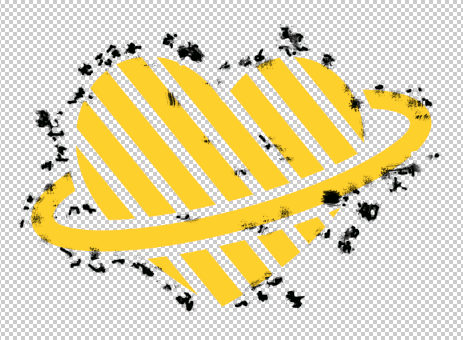
I've gone with Splatter

A bit of spilled sugar might add to the effect.
Append the square brushes set.
Increas the spacing to aboput 400%
Set angle jitter to 100%
Scatter to 1000%, both axes, control Off
Sample foreground and background colours to two shades of the sugar colour, and set foreground/background jitter to 100%, control off. Make sure that hue and saturation jitter is set to 0% or you'll get some psychedelic sugar.
Paint in some sugar grains on a new layer.
If you go with bigley grain size for a good covfefe, you could use some light Bevel & Emboss. Actually,, that has given me an idea...
Bugger. Photoshop just crashed on me.
[Terminator voice on]
I'll be back
[Terminator voice off]
Copy link to clipboard
Copied
Nope, I'm going to call this one a fail. I tried to create a sugar texture using the square brush I made in the last post, and defining a new Pattern. Then use that pattern on multiple layers with a light Bevel & Emboss and a drop shadow, You have to offset each copied layer because the pattern produces an identical fill on every layer. It looks more like Fudge seen from space, than sugar, and I have just noticed that the thread subject is Salt and not Sugar.
I nice bowl of sugar looks way better than my fake pattern. Back to the drawing board. Actually back to doing some work.

Copy link to clipboard
Copied
Hello Trevor,
Thanks for this!
Your last image - was this achieved using the same method as the first reply (by Dave)?
And is there a way to 'paint on salt' to some edges to make it look even more realistic. From what i remember from tutorials it can be done by selecting a paintbrush with black (or white) and painting it on???
If the above is correct, which layer do i need to perform this on?
Thanks again

Copy link to clipboard
Copied
A purely artificial approach will not get quite the results but noise and a Hard Mix Layer on a Gaussian Blurred SO may help with the contour.


Copy link to clipboard
Copied
Hi Dave thanks for this again - i'll definitely use this method
Is there a way to paint on some more of the background image to the white space, to show a bit of mess on the side of the logo to make it look even more realistic?
I've used the brush tool with black (or white) selected to 'paint on' or 'paint off' adjustments (mask layer) but not sure if this requires the same technique???

Copy link to clipboard
Copied
If you create the custom shape I suggested you can create the Layer mask any size you need using that vector path. You just need to click the Mask button. That layer will scale perfectly.


Copy link to clipboard
Copied
Hi
just open up the smart object and use a small brush to add a few dots to the yellow logo layer

Copy link to clipboard
Copied
Thanks for this Dave!
I couldn't get the hang of the opening smart object part but i found an alternative - i used the splatter paint brush to go around some edges (like what you did)!
Copy link to clipboard
Copied
Hi
Glad you got there 
You said you didn't get the part about opening the smart object.
In post 3 one of the steps was convert the yellow logo and the sugar image into a smart object. You do this by highlighting both layers in the layers panel, right click then choosing "convert to smart object".
I then went on to apply the displacement.
Opening the smart object just involves double clicking it in the layers panel. Then you can alter it, save and close, and the displacement is now applied to the altered content.
Dave
Copy link to clipboard
Copied
You have the yellow on a layer all you need do is add a layer style to it. Layer styles have all sort of layer effects satin overlays textures patterns, contours.
If I had a logo that simple I would create a custom shape so I could drag out one any size I needed and then style the shape layer.
![]()

Find more inspiration, events, and resources on the new Adobe Community
Explore Now
 AdChoices