- Home
- Photoshop ecosystem
- Discussions
- Re: Scanned line art editing - Grey & black lines ...
- Re: Scanned line art editing - Grey & black lines ...
Scanned line art editing - Grey & black lines help?
Copy link to clipboard
Copied
Hi there,
Completely new to this but I am attemping to learn how to edit/clean up my basic line drawings on photoshop ready to put them into illustrator to edit...
This may be something very obvious/simple but I'm really struggling to work it all out, hopefully I can also explain it so will make some sense!
I don't really want to have to draw/create the image again digitially i'd rather use the scanned drawing and turn that digital, so have been trying several ways to edit (with contrast/brightness etc) in order to create the black outline on a transparent background, but keep coming back to the same problem:
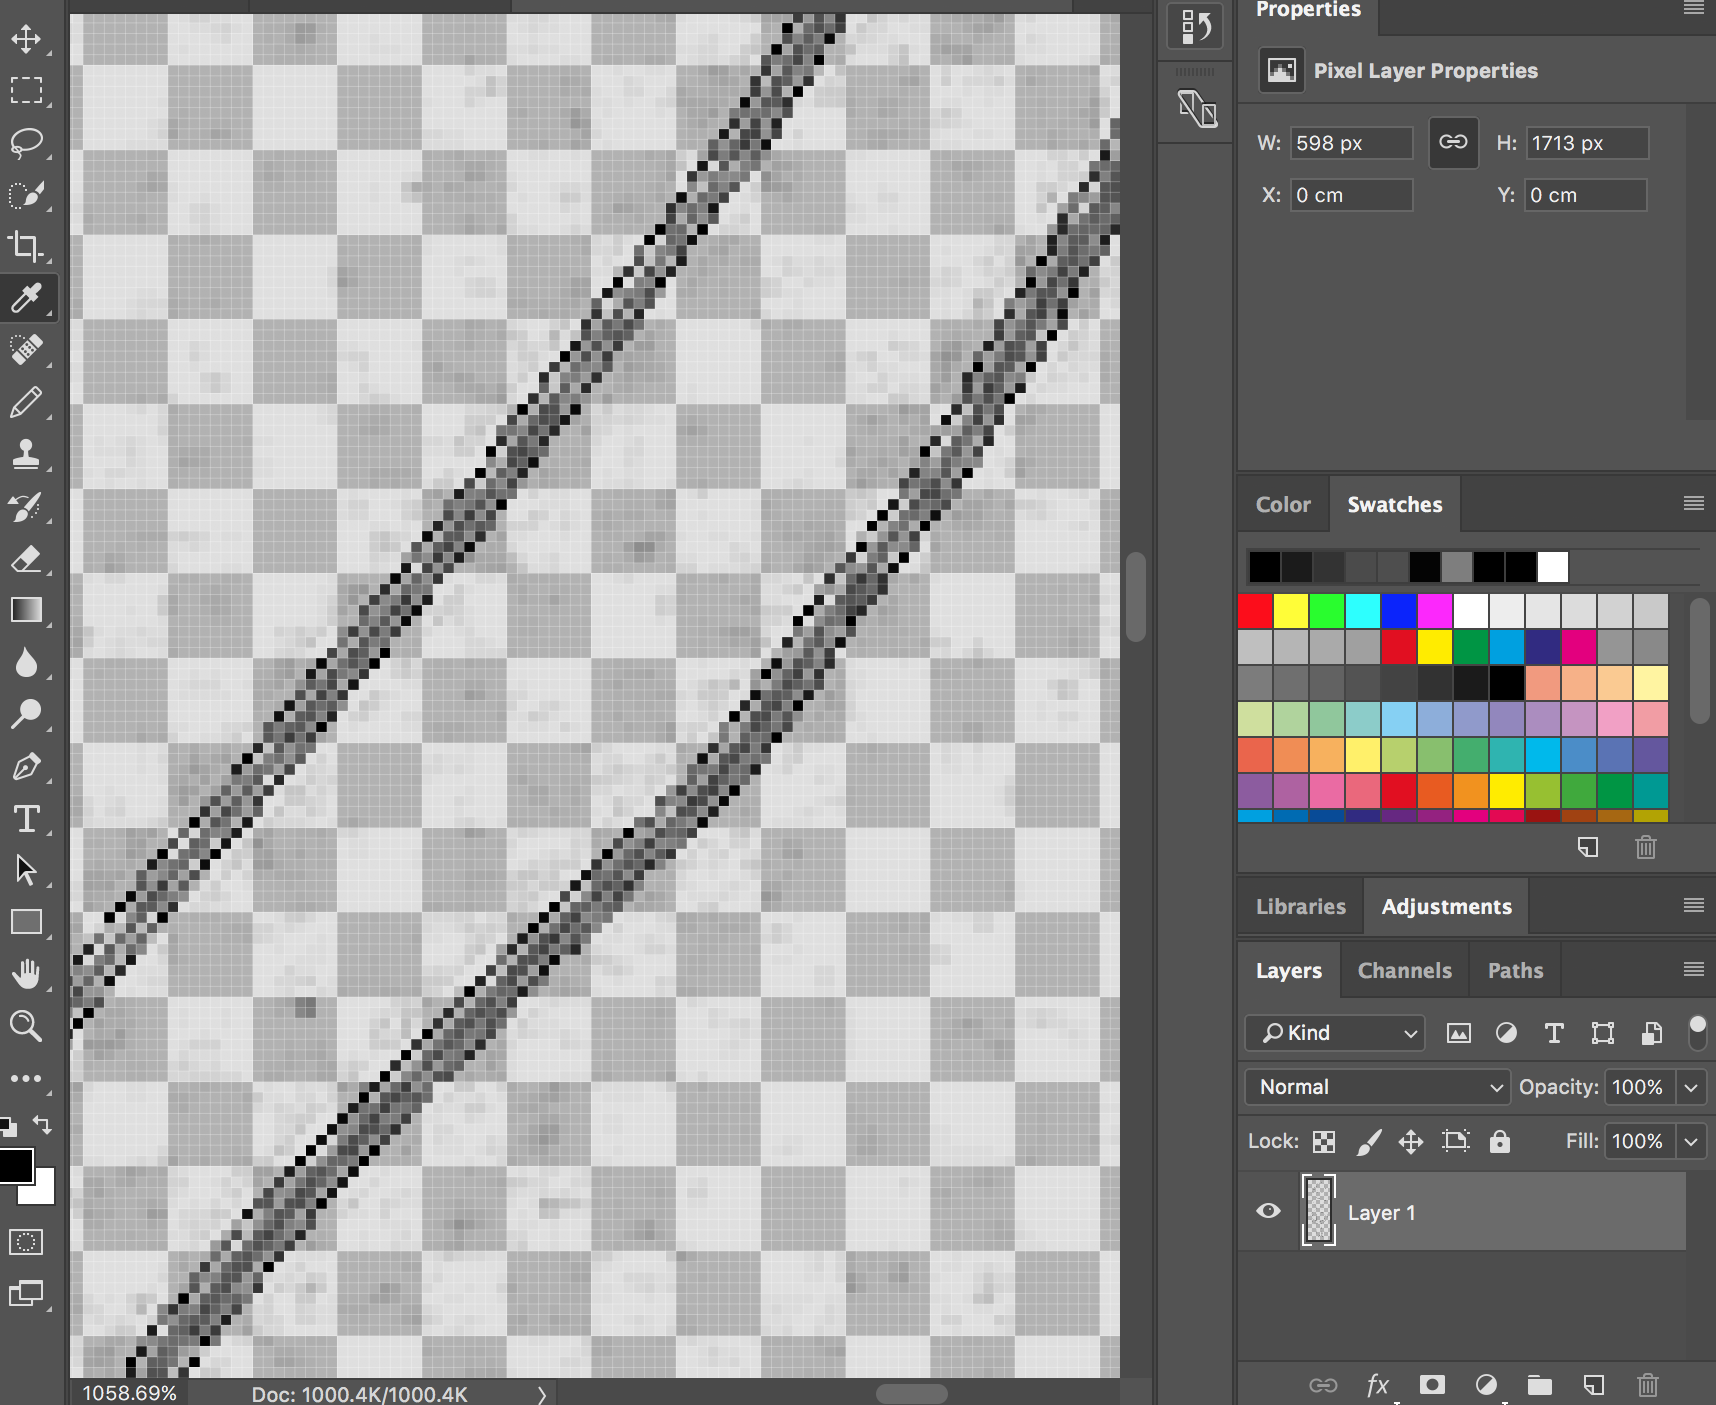
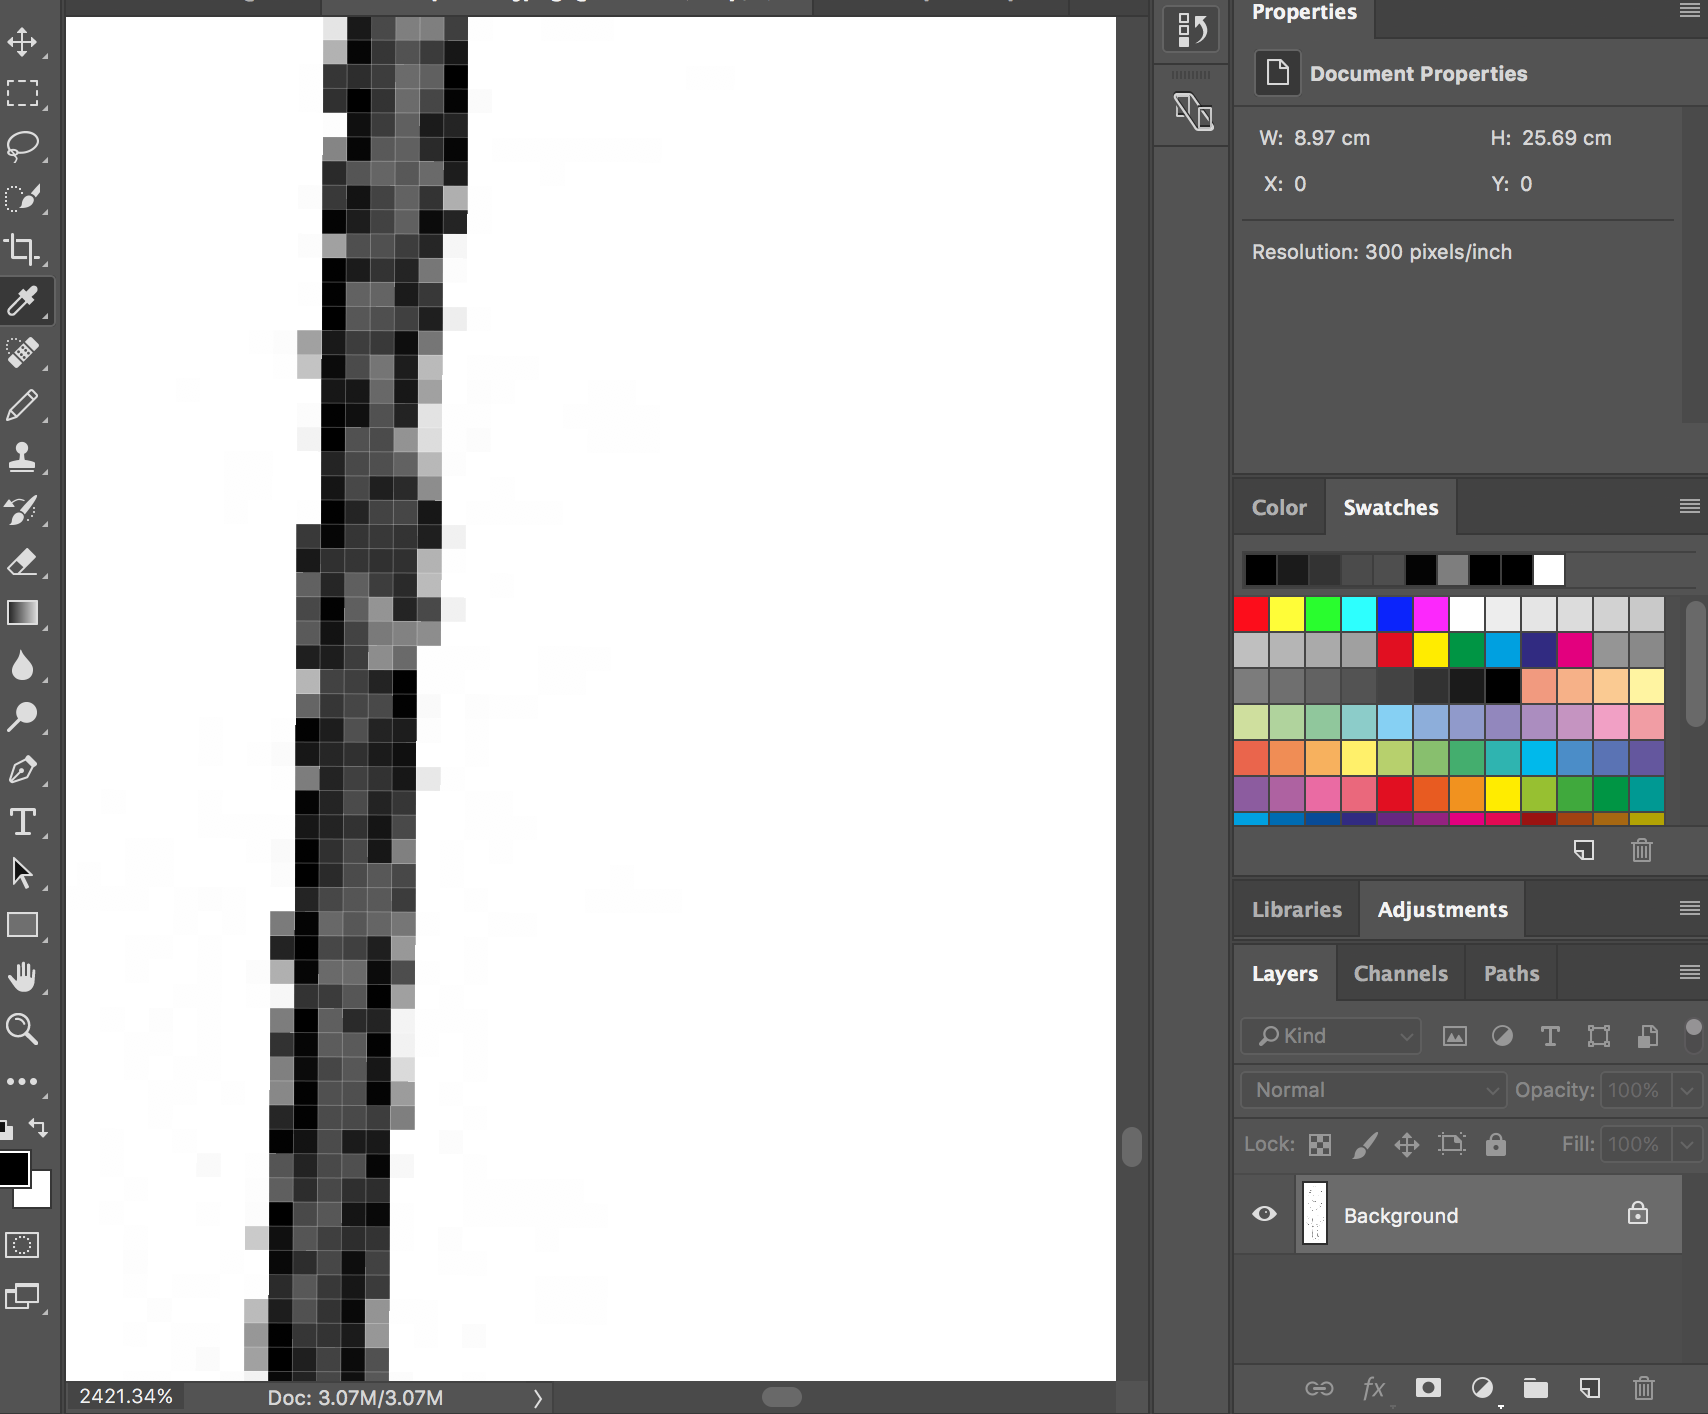
The scanned image is originally made with a black fine liner on white paper but when scanned in the line isn't back it is mainly lots of different shades of grey (maybe this is normal and it's just me not knowing much?). My aim is to make it all solid black but nothing seems to work like it does in the tutorials I've followed/watched because typically thiers will become dark obvious lines just like the hand drawing, mine instead creates a small black line around the edges of the original scanned line in the drawing.
I have attached 2 image to try and try and help show what I mean...
The one has a black outline around the original drawn black line (which has scanned in grey)
The second shows the make up of the line being a mixture of black an grey
I have scanned it in using settings of greyscale and colour and it's made no difference.
Is the issue the paper and pen to begin with (it is only black colour I use for the lines)?
Or is there a way I can make it solid a solid black line?
Or am I just going about this the wrong way completely??
Any adivce would be much appreciated. Thank you!


Explore related tutorials & articles
Copy link to clipboard
Copied
And what is the point of the exercise? If you are going to trace it/ re-draw it in Illustrator, it's utterly moot. The lines could be unicorn pink and yet once traced in AI could be changed to any color your like. You seriously have a wrong understanding of the process. Aside from that simply read up on what Gamma means, how to use color management, how to use adjustments to define black and white points. You are lacking in essential basics and need to read up.
Mylenium
Copy link to clipboard
Copied
Hi thanks for your reply!
That was where I was originally... Planned to only use illustrator, but was then advised to edit the drawing first to ensure crisp lines for illustrator. As I mentioned I am still new to things and reading up/learning which is why I asked for help ![]() (There are peices of wrong advice so thought it was best to check hence the post). I understand and use the process of illustrator but wanted claification with this issue within photoshop but as you have said it isn't relevent or needed to use photoshop as the first step anyway (as I was advised). I've manged to figure it out perfectly and got it sorted, so no issue now, but at the time I wanted some claification so thought I'd ask for it and thought here would be a good palce to get it, thanks for your taking the time to reply!
(There are peices of wrong advice so thought it was best to check hence the post). I understand and use the process of illustrator but wanted claification with this issue within photoshop but as you have said it isn't relevent or needed to use photoshop as the first step anyway (as I was advised). I've manged to figure it out perfectly and got it sorted, so no issue now, but at the time I wanted some claification so thought I'd ask for it and thought here would be a good palce to get it, thanks for your taking the time to reply!
Copy link to clipboard
Copied
To begin: the paper stock on which you create the original image is critical. When you draw on an uncoated paper (or worse, a textured paper) the capillary action of the surface fibers absorb the ink and, depending upon fiber length, deliver a line that is not crisp but can easily be seen under a loupe as unevenly feathered. In addition, ink absorption into the sheet reduces the density of the black line.
Next: a scan of that art will produce a line that is neither evenly jet black nor crisp. Drawing on a gloss or semi-gloss coated stock provides the advantage of accepting ink that sits on its surface to produce a more intense black, and may avoid feathering entirely.
Properly created art will have better chance of producing a scan more suited to your purpose and the opportunity, in Photoshop, of allowing you to create a "shape", a vector version more suited to your needs.

