Copy link to clipboard
Copied
Hello,
I have read tutorials on how to remove the green screen from reflective objects along with how to remove the green overcast on those objects and this works well for many objects. Yet, for these types of chairs that have chrome feet, I am stuck at the initial step which is to make the selection of the object...
Using the select -> color range tends to remove too much of the "feet" of this chair and the quick selection tool isn't performing well.
The magnetic polygonal lasso isn't also doing a great job.
Do you have a suggestion on how to do so or a tutorial to point me to?
Thanks a lot!!
-C
Copy link to clipboard
Copied
Hi,
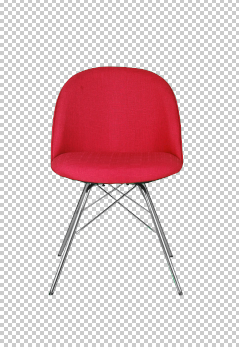
As you have found - you will not get a perfect selection using Select color range, due to the green colour reflected in the chair legs. The resulting mask is not clear black & white and misses the back legs
You could make a selection using colour range then modify the mask with another tool - but given the good sharp edges on this subject I would make the whole selection with the pen tool.
Trace the outer path with the pen then change the pen tool to subtract selection, in the options bar, and trace the inner paths (i.e. the gaps in the leg braces)
Right click on the path and "Make Selection. Then use Layer - Layer Mask - Reveal Selection to make a mask.
This will give you a nice clean sharp mask - - if you need to you can paint on the mask with white /black to modify it later
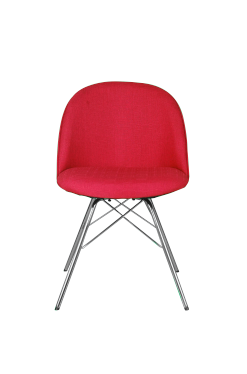
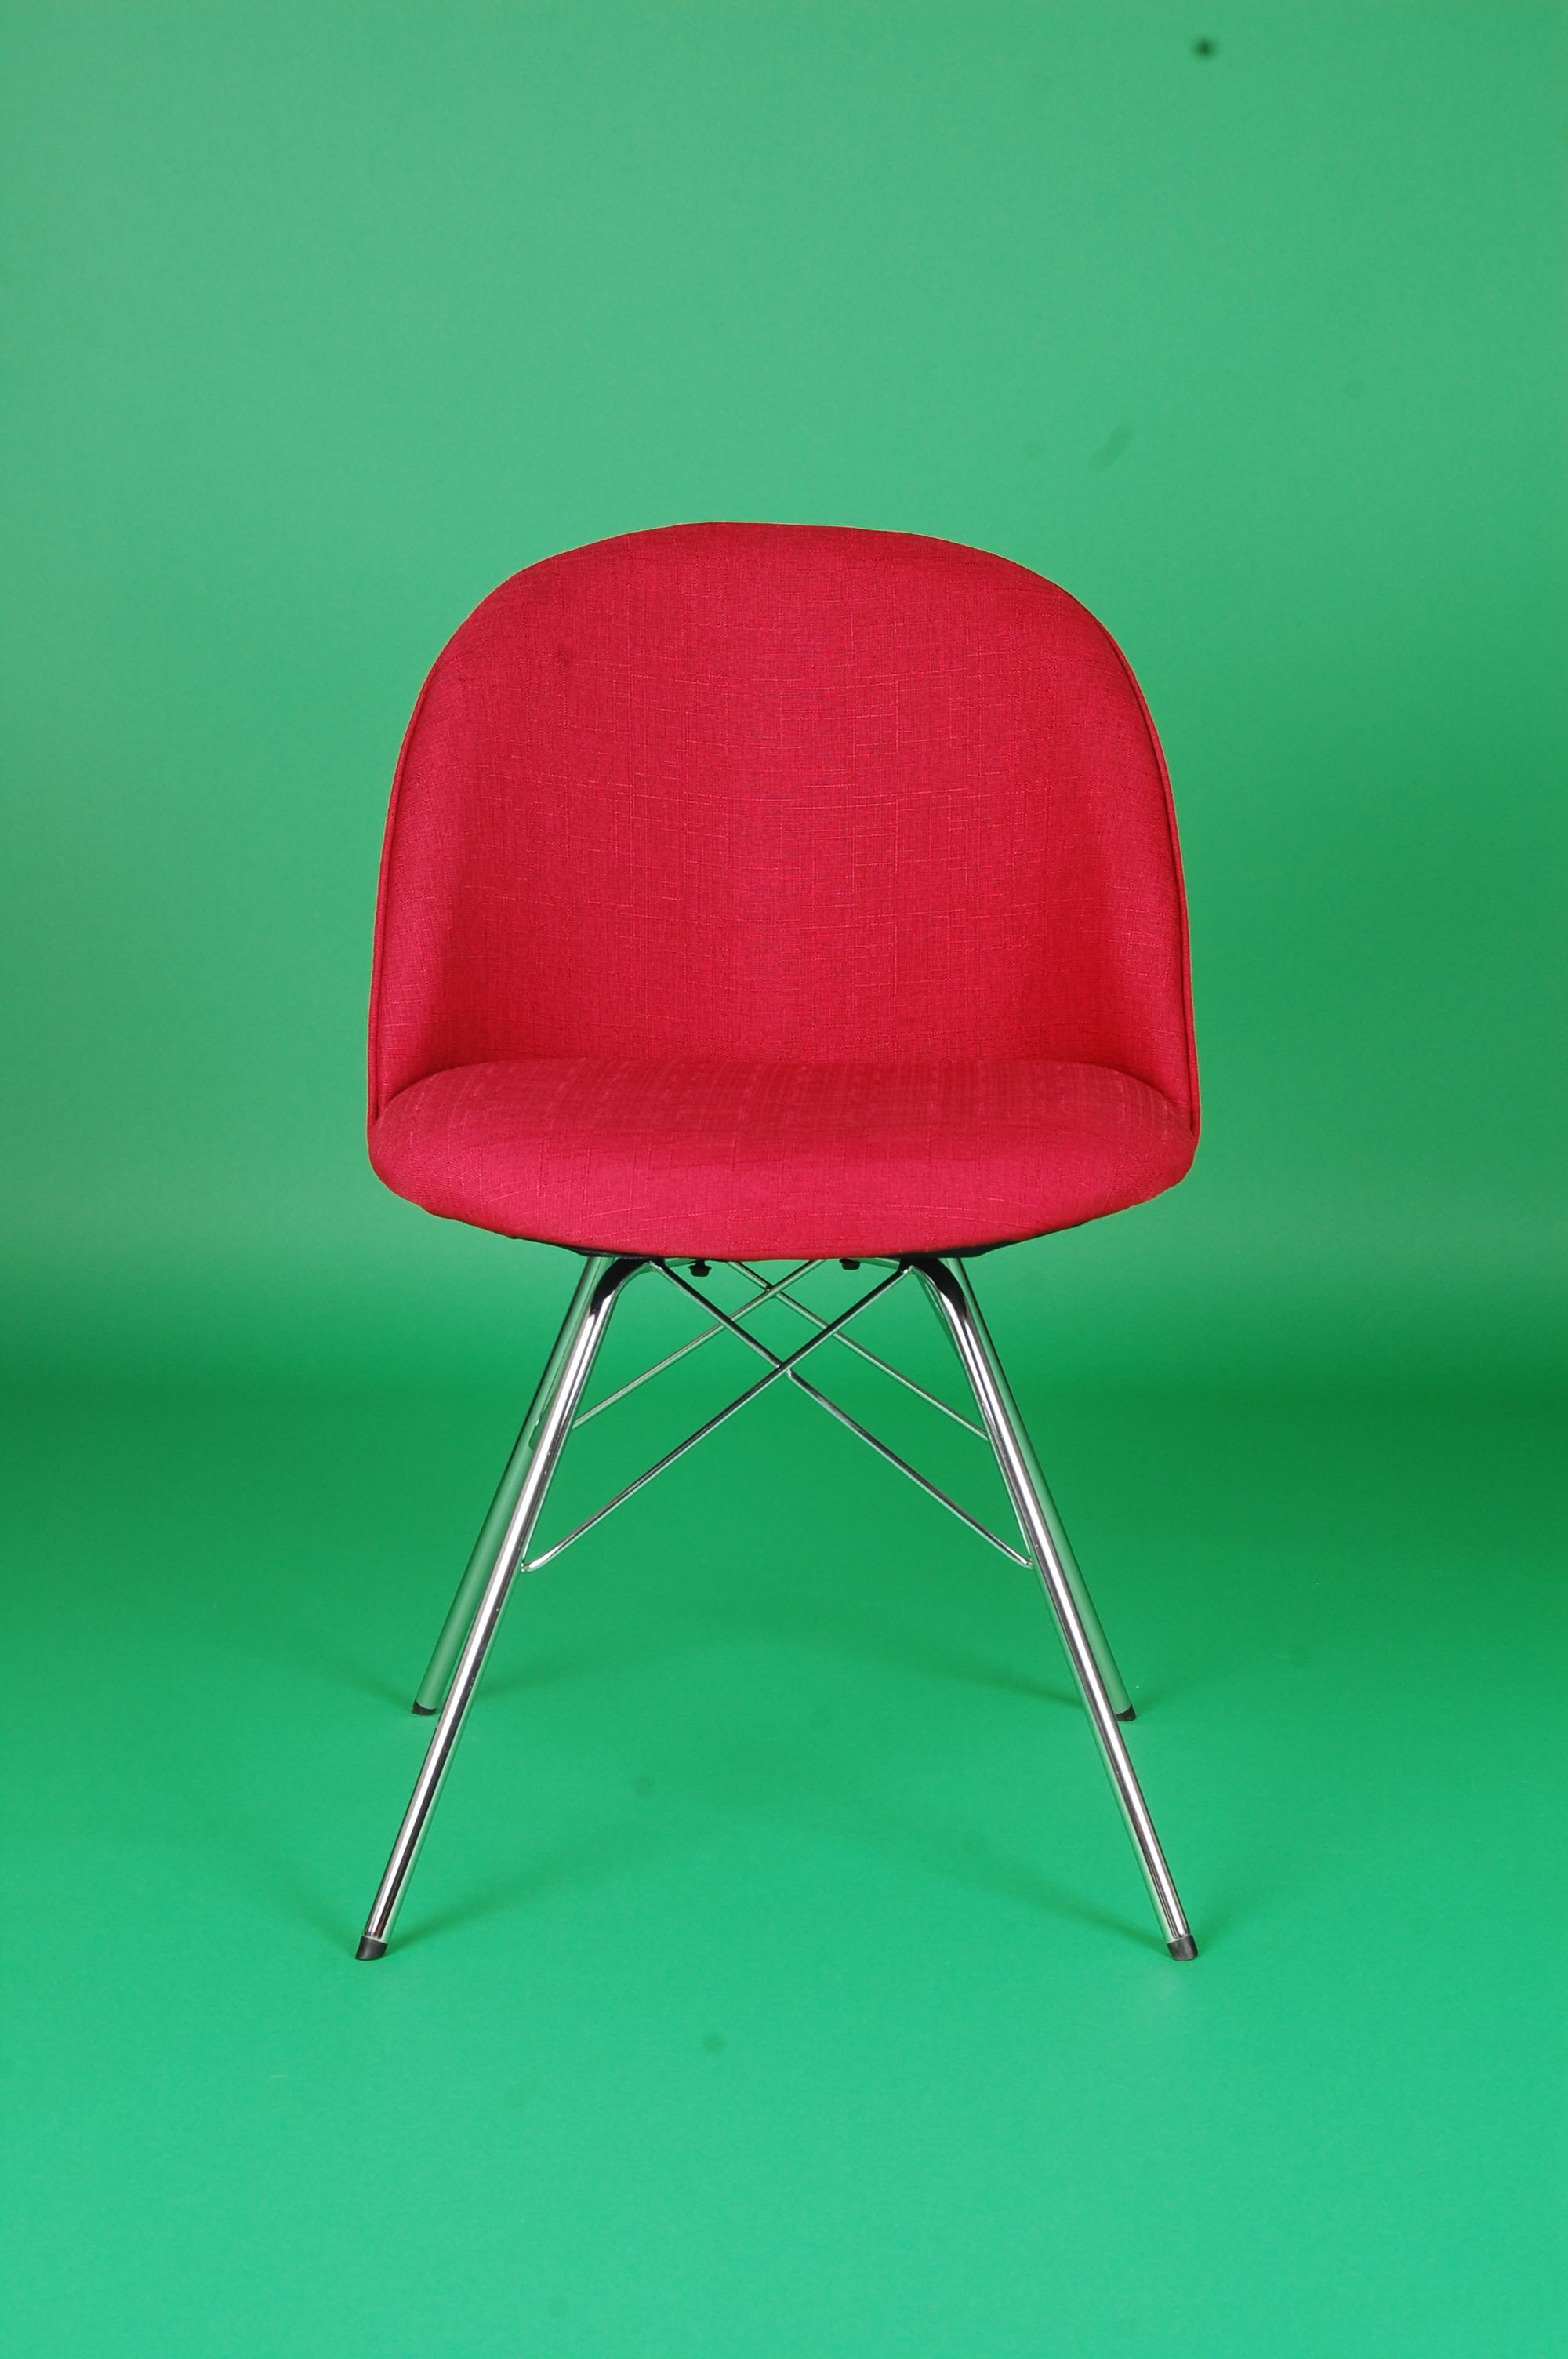
However you will have green reflection in the chrome;
Add a new layer above the chair. Alt click the border between those two layers so a downward arrow appears . This will create a clipping mask which means anything you paint on that layer will only appear where the layer below has pixels. Where the layer below is transparent - painting will have no effect.
Set the blending mode of that new layer to color and paint the legs with a brush set to white. This will remove all the green colour
or shown against white :
There is a reference on how to use the pen tool here:
Draw with Pen tools in Photoshop
I hope that helps you
Dave
Copy link to clipboard
Copied
Thank you so much for your detailed answer.
I understand all of the steps including the clipping color layer and this definitely seems like the perfect solution.
Yet I am still wondering how you make the pen path. Do you use the magnetic pen and toggle to pen tool using alt for the straight segments? Your selection seems excellent. Is this something you take a few minutes to perfect or are you able to circle the object rather quickly using the correct settings for the magnetic tool? I've tried a few time and read through the guide you mentioned yet my results are rather sloppy...
Finally to combine the paths I stay on the "combine shapes" setting and onces a path is drawn I click on "selection" then either "add to selection" or "subtract from selection". Is this okay?
Thank you so much for your greatly appreciated help.
Copy link to clipboard
Copied
Yet I am still wondering how you make the pen path. Do you use the magnetic pen and toggle to pen tool using alt for the straight segments?
Hi
This was not a magnetic tool but the straightforward "pen tool"
It works by adding points then dragging handles to curve the line between them, manually positioning the points and curves so they lie on the edge of your image.
It can be a little tricky at first but it is well worth learning as , once you get the hang of it, it is quick and makes for excellent selections along smooth edges, much better than tools which are looking for a pixel edge and can get confused by the image content.
The "how to use" it is in the link I added in my last post.
Draw with Pen tools in Photoshop
Finally to combine the paths I stay on the "combine shapes" setting and onces a path is drawn I click on "selection" then either "add to selection" or "subtract from selection". Is this okay?
The pen draws a path. In options you choose whether your path adds to or subtracts from an existing path
Dave
Find more inspiration, events, and resources on the new Adobe Community
Explore Now