- Home
- Photoshop ecosystem
- Discussions
- Selecting the difference between two images
- Selecting the difference between two images
Copy link to clipboard
Copied
Hi
I have two photographs exactly the same which I have taken using a tripod, lighting and general studio conditions. However, in the second picture I have inserted an subject - in this case an intricate sculpture. Can Photoshop merge those two images together AND in doing so select the difference between the two images - in this case the intricate sculpture?
Basically I need to select the sculpture and don’t want to spend the time manually selecting it due to its complexity. I need to separate the background and sculpture for editing on their own layers.
Thanks
Stephen – CS3
 1 Correct answer
You posted this in two forums, its been answered in the mac forum.
Explore related tutorials & articles
Copy link to clipboard
Copied
You posted this in two forums, its been answered in the mac forum.
Copy link to clipboard
Copied
This isn't helpful to the rest of us as a selected answer. Could you please link to the other post?
Copy link to clipboard
Copied
Photoshop Extended has stack mode blending options that most likely could do what you want in standard Photoshop this is grayed out its under menu Layers>Smart Objects>Stack Mode..
Even though the images were taken on a tripod there is most likely dome difference other then the inserted object between the two images due to exposure, background objects moving and camera movement. Try selecting both layers and use auto align layers then set the top layers blending mode to difference. Stamp visible layers into a new layer you may get a good outline of the statue. and be able to create a mask from this new layer.
Copy link to clipboard
Copied
I'd probably put one image over the other as a layer, set the mixing mode to Difference, carefully align the two images to minimize the differences, then Select All and Copy Merged.
After that I'd paste the result as a new layer or channel and enhance it (e.g., with Curves) to black out the similar parts and white out the differences. You will probably have to paint on this by hand to clean it up a bit, because no two exposures are ever identical.
Then you can Select All and paste as a new channel, or use the data as a mask, or whatever.
-Noel
Copy link to clipboard
Copied
That precise method, without all the unecessary merging of layers and faffing around has already been suggested Noel. Twice.
There is another way, by simply inverting one of the layers. And using Vivid light on it. Using Color Range to isolate the gray you can generate a difference mask in this way too. Many ways
Copy link to clipboard
Copied
Reynolds (Mark) wrote:
That precise method, without all the unecessary merging of layers and faffing around has already been suggested Noel. Twice.
So? Does it hurt to have more than one description?
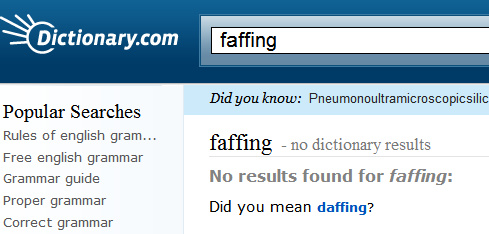
Regarding "faffing around", do you have a definition for this nonsense? PC users tend to be more down to Earth and prefer real English words. ![]()
-Noel
Copy link to clipboard
Copied
Well I am English Noel. Meaning I live in England. If you are having trouble with the language that Shakespeare and his mates invented…
http://www.urbandictionary.com/define.php?term=faffing
Copy link to clipboard
Copied
Oh forgive me, my lord, for I use not the Bard's slang daily.
You Englishmen talk funny. ![]()

-Noel
Copy link to clipboard
Copied
I actually came here just to double check there wasn't a better way but I see there is some confusion as to whether this is answered so here's mine: invert the top layer and switch the blending mode to linear burn.
We had a person leave who made a cool gif that I wanted to use for a new campaign but unfortunately I can't get the layered file from him and need to recreate it manually. Its very complex and has 68 frames I need to rebuild where a semi-transparent water splash is the subject to be masked.
As you can imagine the transparency of the water would be a problem.
So, I make a quick action to 1) go to the next frame and select the target layer 2) invert the layer and change the blending mode to Linear Burn 3) create a mask from the output
and youre done!
Copy link to clipboard
Copied
That's a nice animation, but I'd hate to have to reproduce it with Photoshop. 68 frames is precious little to get such beautifully fluid movement. Do you know what app your ex colleague is likely to have used?
I wonder if After Effects would be be the tool to use? @davescm could the animation be done with one of the 3D apps?
Copy link to clipboard
Copied
@Trevor.Dennis Yes a water splash animation can be created in a 3D application with a fluid physics simulation. Doing it that way, the liquid and object in the glass would also move realistically not just the separate splashes above the glass as in the above animation.
Dave


