 Adobe Community
- Home
- Photoshop ecosystem
- Discussions
- Re: Shading/Masking Land or Ocean on a Map
- Re: Shading/Masking Land or Ocean on a Map
Shading/Masking Land or Ocean on a Map
Copy link to clipboard
Copied
Hello,
I'm brand new to PhotoShop (only on a trial right now), but I'm trying to see if the software can do what I want for doing weather maps.
What I'm trying to do is precipitation forecast maps, where land would be shaded based on rainfall/snowfall ranges (i.e. 3-6 inches, 6-12 inches, etc.) with each range colour coded. But, I want to do this shading only over land, so I'm hoping there is something in PhotoShop that will either allow me to only shade land areas or to do shaded contours that may go over the ocean, but I can apply a mask that will remove any of the shading over water.
I'm hoping that someone can help me see if PhotoShop is able to do this or not.
Thanks
Brian
Explore related tutorials & articles
Copy link to clipboard
Copied
One idea is the Clipping Mask, pretty easy to create.
Create a Clipping Mask in Photoshop (Great For Bloggers!)
Simple example: Use Layer > Create Clipping Mask and Layer > Release Clipping Mask to return the Layer to normal.
You would use the Move Tool on the Precip layer to move your shading into position on the map.
You can make masks for the Ocean areas, and hide those when you don't want them by clicking the Eyeball on the layer.

Copy link to clipboard
Copied
And maybe experiment with Blending Modes so the underlying map can be seen.
Copy link to clipboard
Copied
I definitely welcome ideas. I don't do much in the way of layered compositions, so this just very basic.
Copy link to clipboard
Copied
Can you provide a link to a representative sample of the original image (attach to the forum or using DropBox or similar file sharing)?
Are the ranges already included on the map as “contours” say as black keylines and all you need to do is “fill in” the contours? If not, where/how will you be basing the rainfall locations from?
Is the original image vector or raster/pixel based?
Any other broad/general info that may help?
Copy link to clipboard
Copied
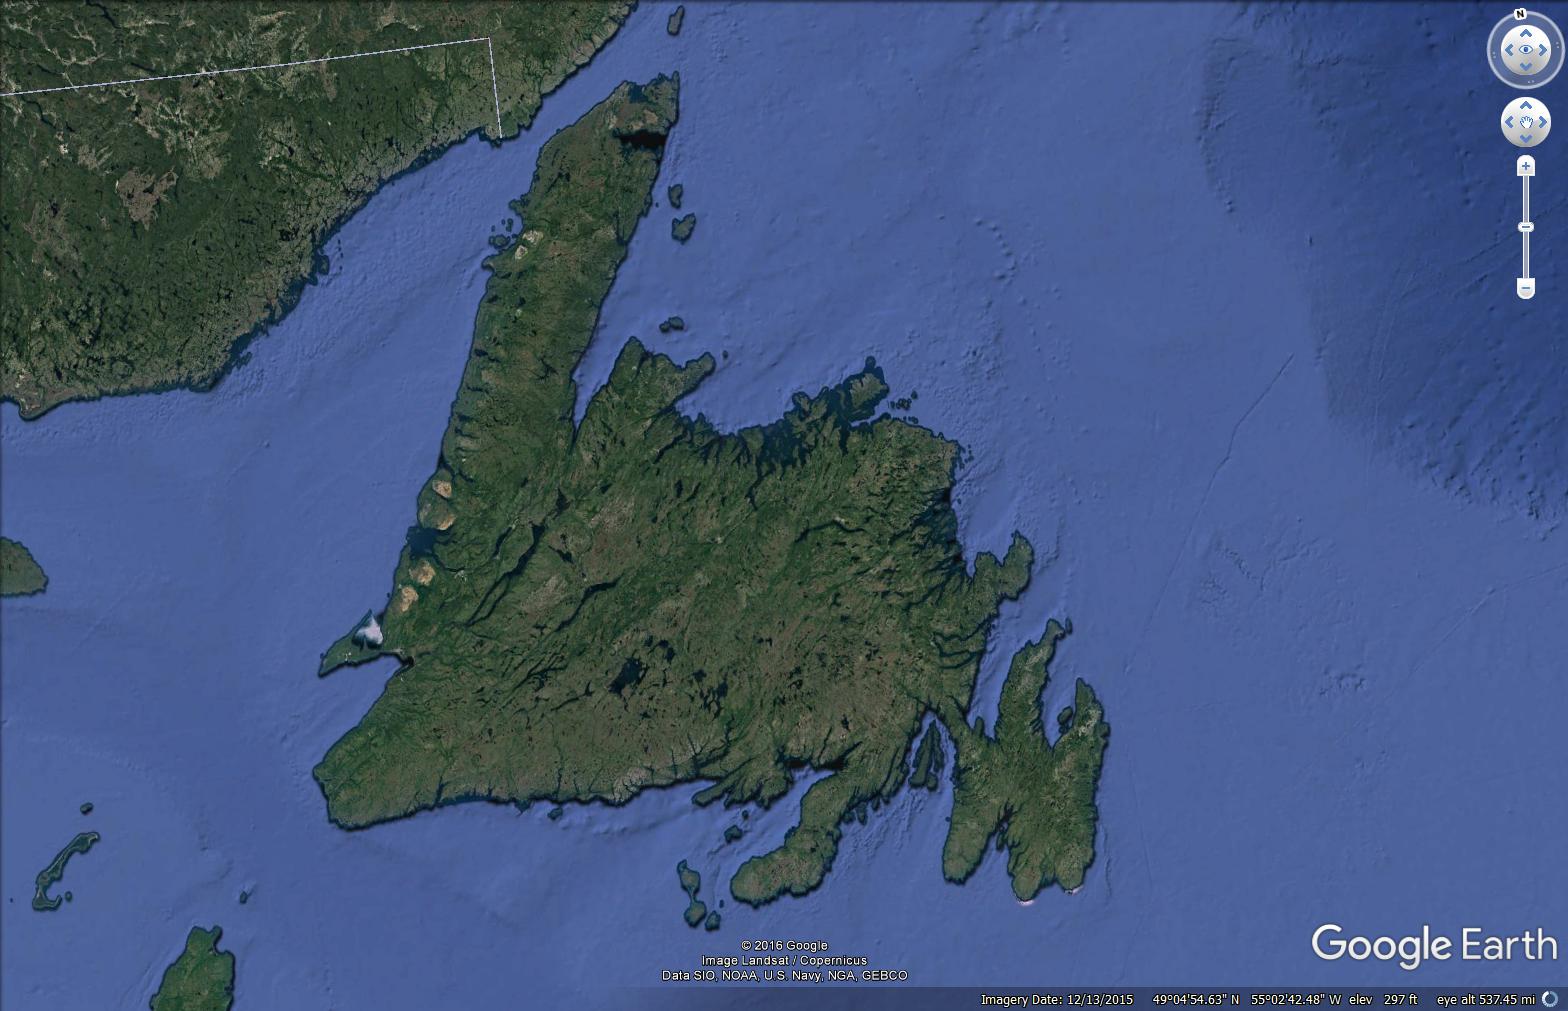
I'm just talking about using a basemap from Google Earth. The idea would be for me to draw the lines/contours or a polygon and shade within the lines, but to apply a mask so that only land areas are shaded.

Copy link to clipboard
Copied
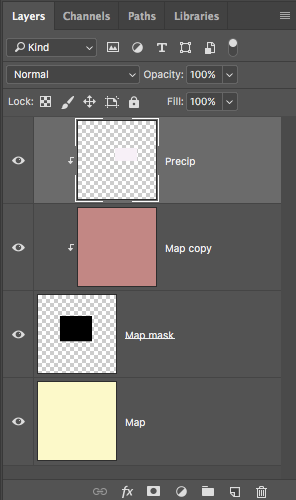
In a case like this, you need to make a selection of just the land or sea, and separate them to different layers with the same arrangement as in my last post. You can see below that the sea is now only in the top most layer, the land near the bottom, and that the rainfall layer is in between. The rainfall layer's thumbnail shows that the broad cyan brush stroke extends right across the page, but only shows where it crosses the land because the sea layer at the top of the stack, hides it.

What I did was make a selection of the sea using Quick Select, because it was easy to select being the same shade of blue. I then used the Select & Mask features to improve the selection, and copy the selection to a new layer.
From there I was able to Ctrl click the sea layer to reload it as a selection, and delete the sea from the original layer. I placed a layer filled with red at the bottom of the stack for the sole reason of showing you that there is a slight gap between land and sea, which is allowing a fringe of red to show through.
To fix that, select the sea colour with the eye dropper, and fill the lowest layer with that colour (Alt Backspace). The fringe is still there, but being the same colour as the sea, we don't notice it. You can also see that I have turned off the rainfall layer, but clicking its eyeball icon.

These are the things you need to learn:
Learning layer basics in Photoshop
Using improved selecting and masking
But please come back as many times as you need if you get stuck.
Copy link to clipboard
Copied
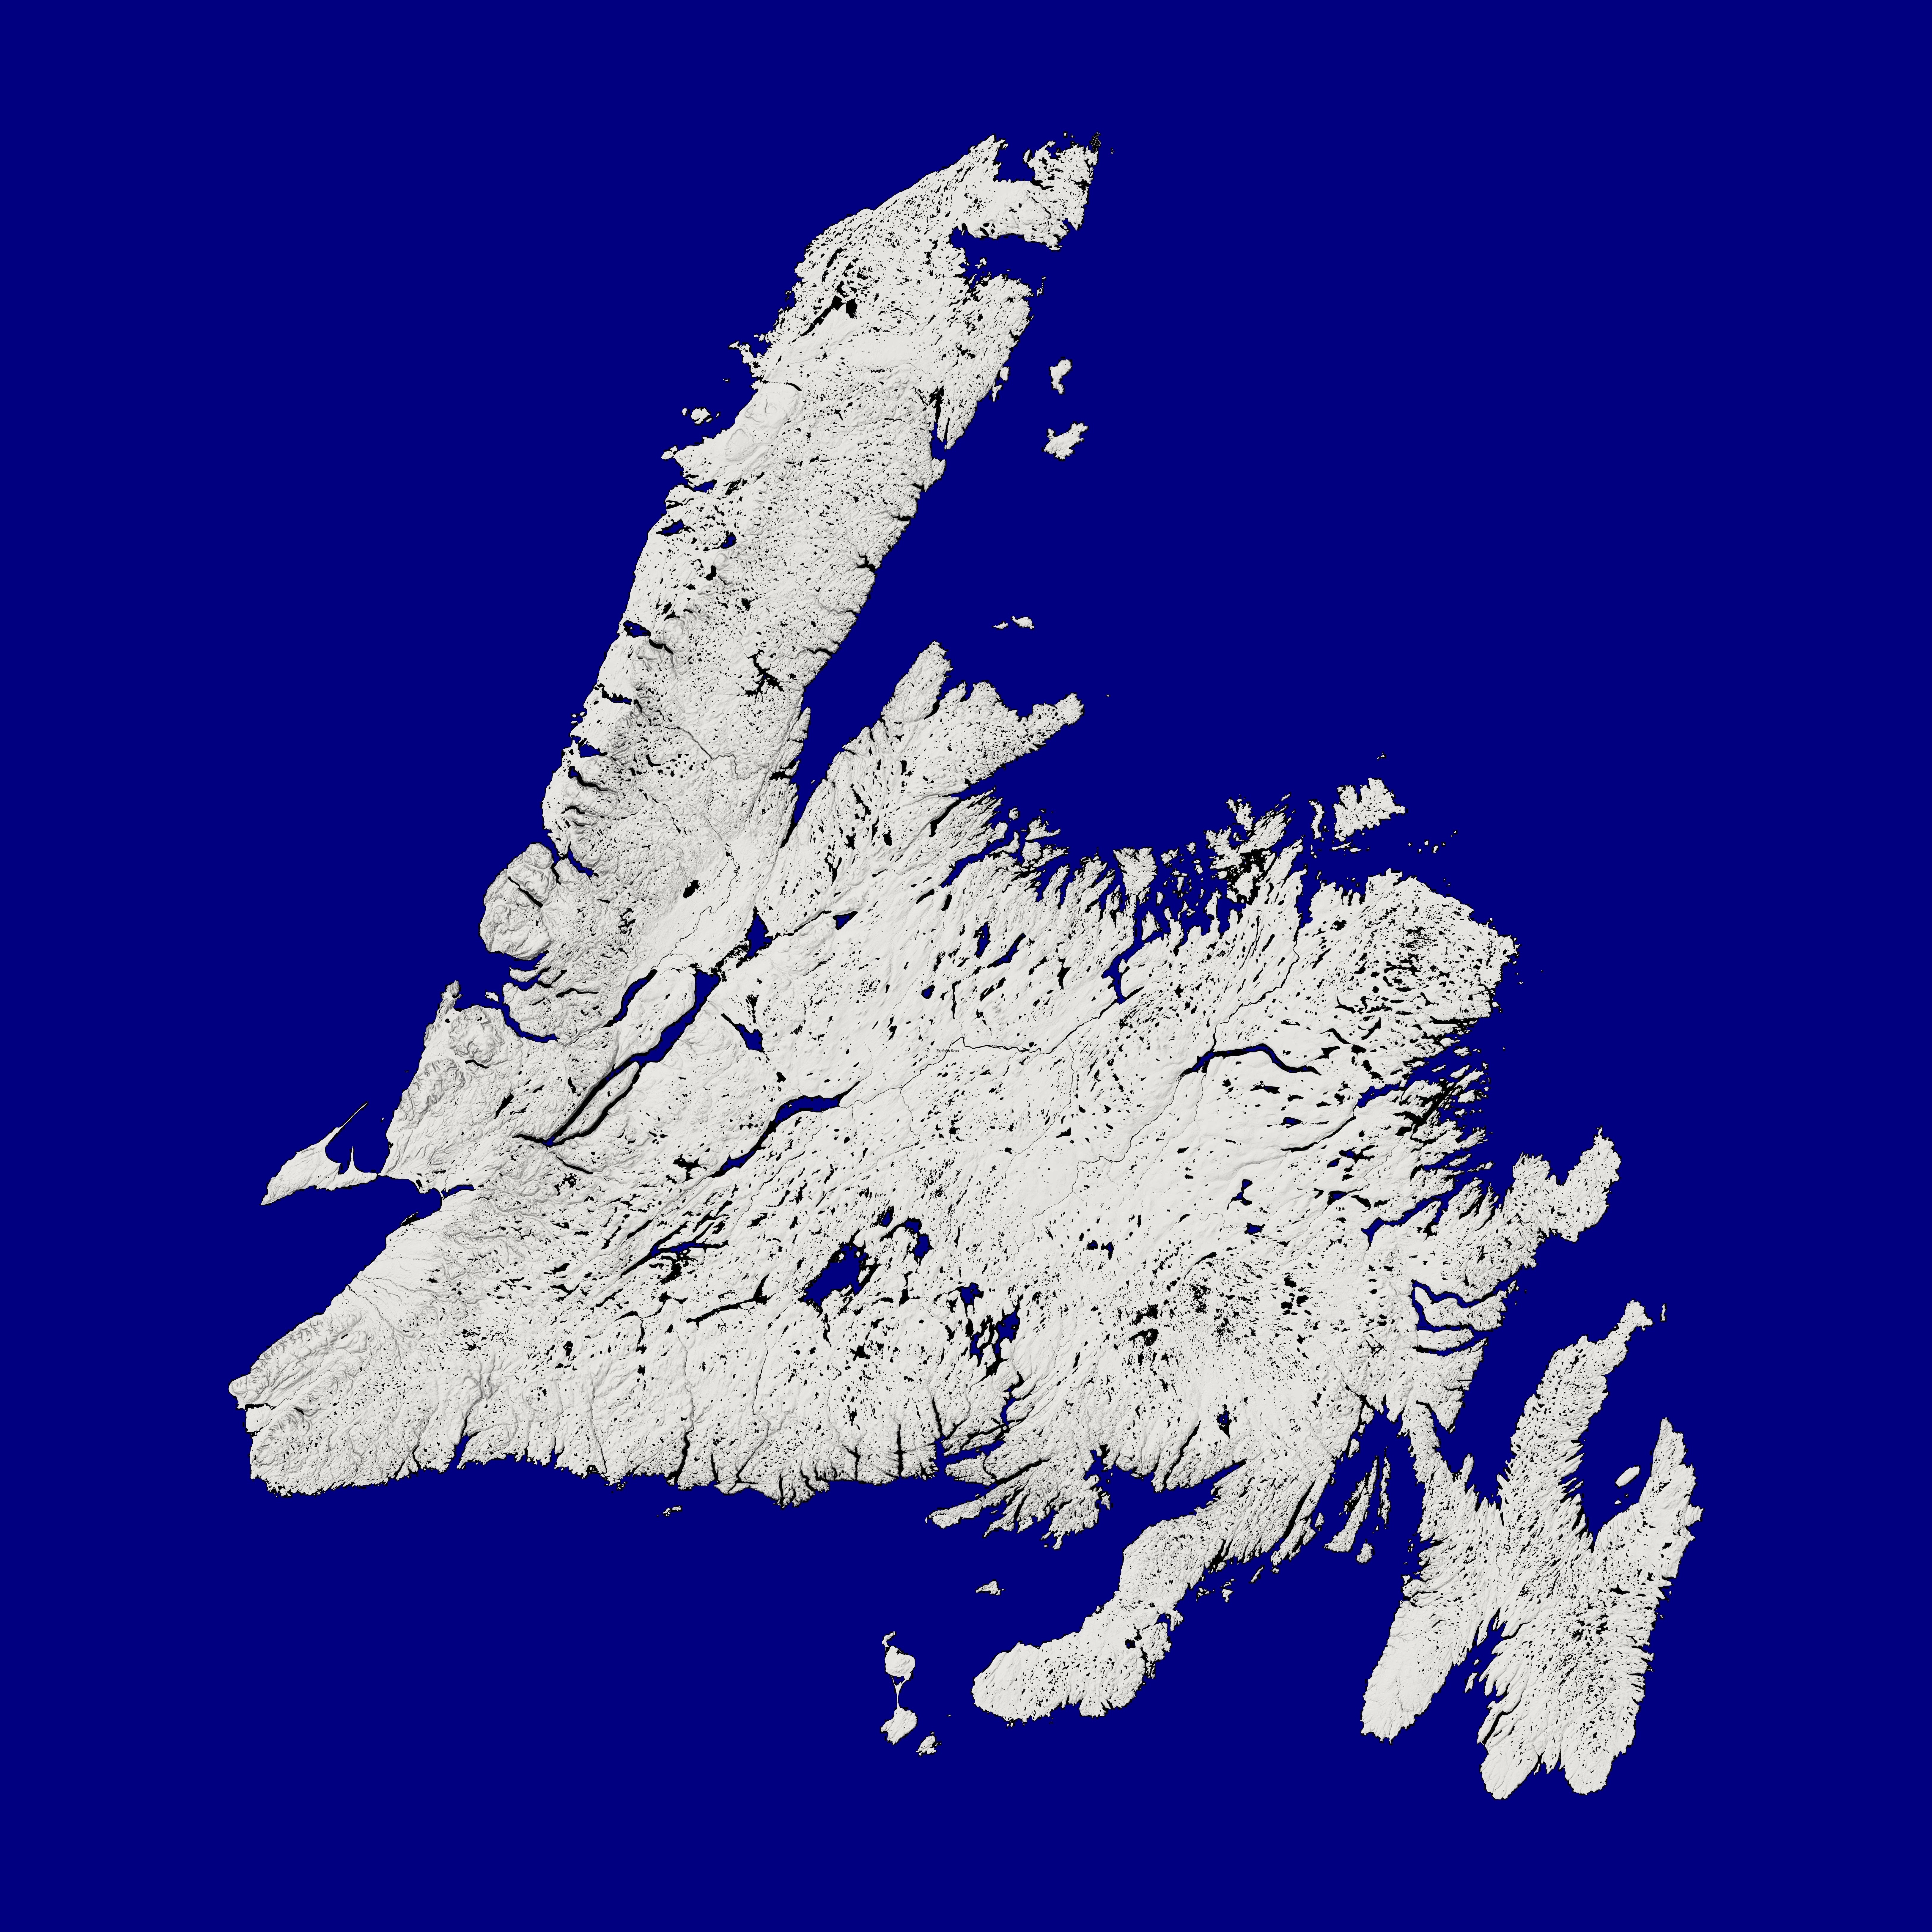
Thanks for the response Trevor. I know this will sound bad, but can you give step by step instructions on what you did above? As I mentioned, I'm very new to Photoshop, so going through your description, I was unable to reproduce it. Also, I'm guessing it is the quality of the image, but the cyan shading gets very pixelated around the coasts, especially wh ere there are lots of islands. Is that just a resolution problem or how the layering works? Would the following, higher resolution, image work better?
Thanks again. My trial runs out tomorrow, so I'm hoping to get it to work so I can figure out if I will pay the full cost of the software package.
Brian
Copy link to clipboard
Copied
Absolutely it can do it, and I think you will find it remarkably easy once you have it set up. Layers are your first thing to learn and understand. Layers higher up the stack hide layers lower down the stack, so if you have the sea on the top layer, with the land area transparent, you can add your rainfall in a lower layer.
You can see from my illustration that the red strokes extend all over the Predicted Rainfall layer, but they are hidden by the sea layer above them.

There are infinite possibilities like custom brushes that will automatically do your isobars with those little triangles and semi circles. Draw out a path where you need the front to go, and a couple clicks later your have your pointy round things.
Creative Cloud has Libraries where you can store your custom shapes and objects and quickly drag them on to your map time after time (like the sunshine over my house ![]() )
)
As Stephen has said, if you show us an example we can be more specific. Just copy to your clipboard, and paste to this thread with Ctrl v (Cmd v) easy peasy.. ![]()


