- Home
- Photoshop ecosystem
- Discussions
- Re: Taking the background out of a Logo
- Re: Taking the background out of a Logo
Taking the background out of a Logo
Copy link to clipboard
Copied
Good Afternoon Everyone!
I am new here on the Adobe Forums and to Photoshop! howdy from The Great State of Texas! I have a newly designed logo that has both a black and white background. I would like to know how to remove the colored background in order to use the logo as a watermark.
I would graciously appreciate a step by step instructions. Thank you so very much for your time!
Explore related tutorials & articles
Copy link to clipboard
Copied
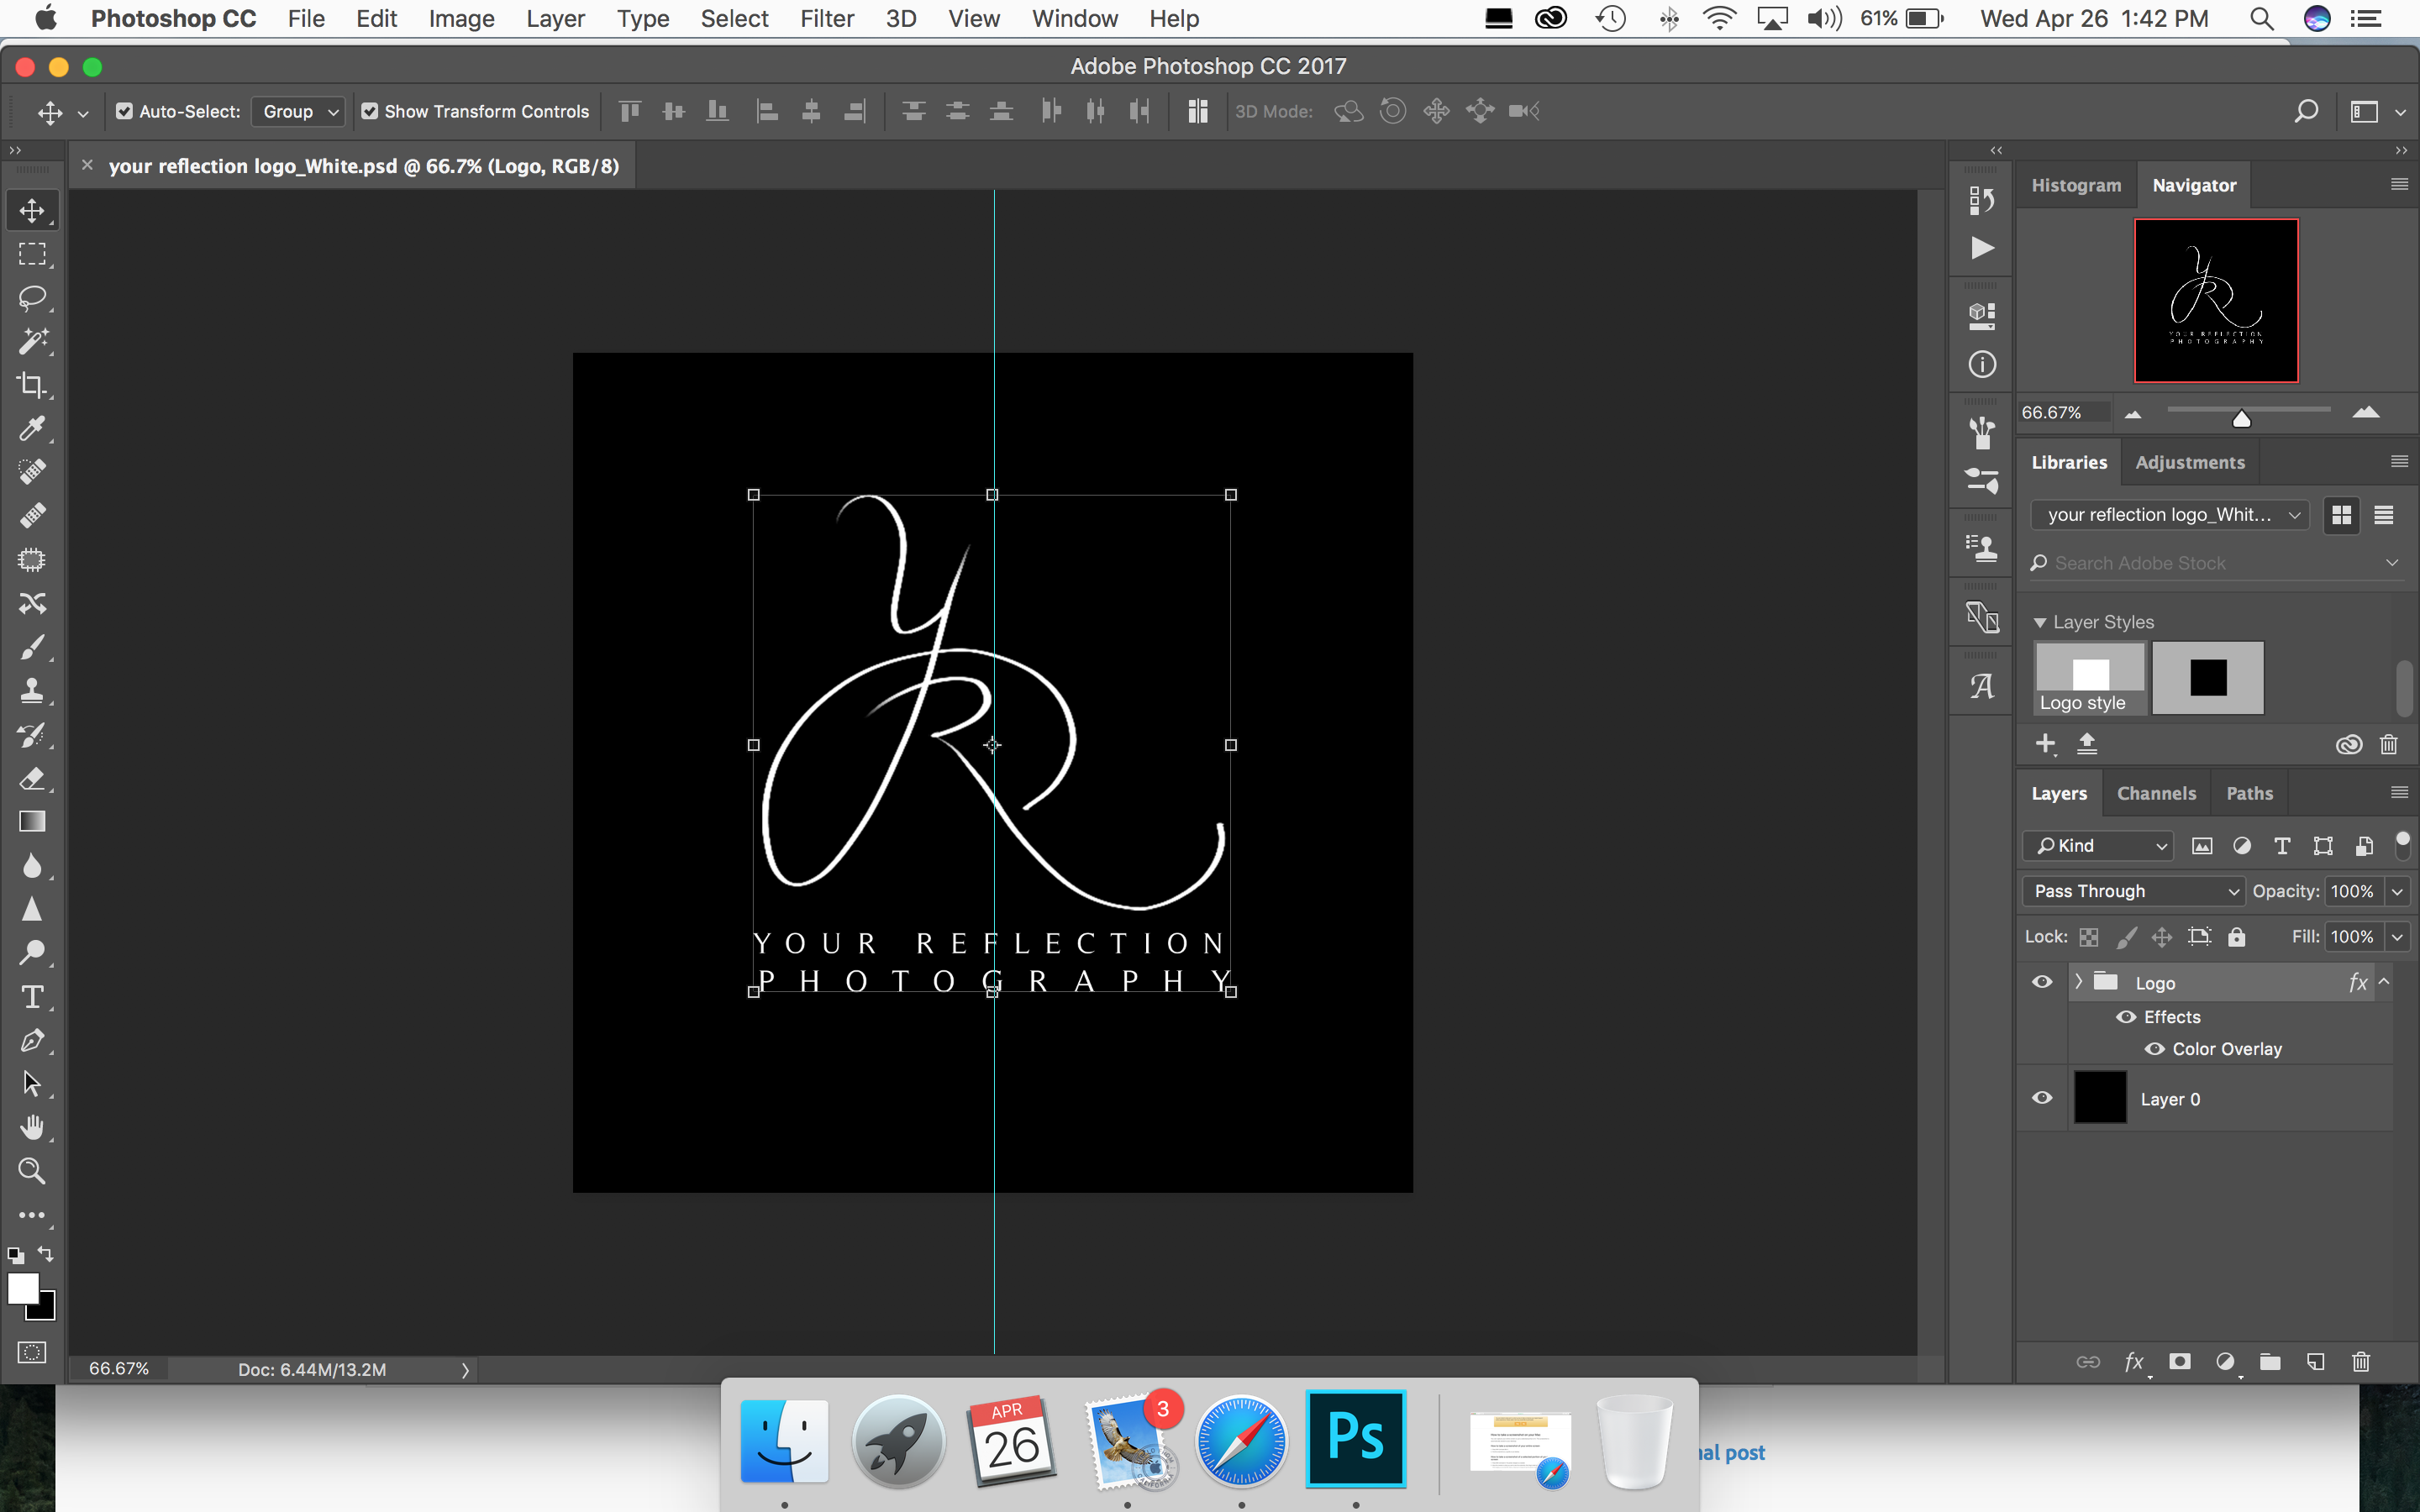
Please post a screenshot so that we can see what you need to do.
Copy link to clipboard
Copied
Please include a shot of your Layers panel, as well
Copy link to clipboard
Copied

Copy link to clipboard
Copied
It looks like you already have the logo in layers - separate to the background. All you need to do is switch off Layer 0 (click the eye symbol) and add it above the image you want to watermark
Dave
Copy link to clipboard
Copied
Maybe try to merge/flatten layers and then use Invert (Cmd+I) command
In this case your logo will be black on white background and you can easy use it as watermark
Pawel
Copy link to clipboard
Copied
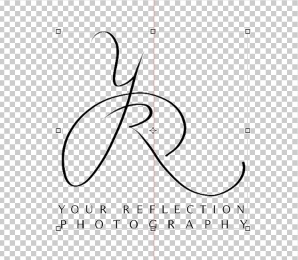
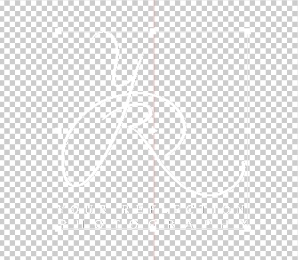
Are these two versions (without the Move tool controls handles and the center line marker) what you had in mind?
Each one is your logo on a transparent layer


Copy link to clipboard
Copied
I think Dave is right from what we can see of your Layers panel. If it is not on separate layers, if it was me, I would rebuild it. It makes for a nicer graphic, and is great practice. The Y is very close to Bickham Script Pro regular if you turn on additional Swash in the Characters panel.

Convert the type layer to a Shape from the Type menu

Select the pen tool, and edit out the unwanted points. Hold down the Ctrl key to change to the Direct Selection tool and drag across the points you don't need, and hit the delete key. (See note below)

Note: if you get into this sort of situation

It is because you didn't close the open ends after removing the points top left. Hover over one of the end points till you see the chain icon, click and close.

This might be a good time to introduce this graphic

You'll have no problem finishing off after that but you will probably need to add new points in the required location before deleting the unwanted points.
The R is not so easy unfortunately. You could run a path through the centre of the R and stroke it, but a) it would be raster, and b) you need to mess about with multiple layers because you'd need to do it with and without Simulate Pressure checked. Not a good solution. So you'd need to make it as a shape running the path around the outside.
When you have the path around the outline go Layer > New Fill Layer > Solid Color and you have your vector shape.
Move it into position with the Y, and fine tune with the Direct selection tool to get the curves as nice as possible.
Merge the two shape layers (Ctrl E) and with the pen tool or selection tool selected Merge Shape Components
you now have a fully scalable vector of your logo. Add the additional Type layers, select all the layers and make into a Smart Object, abd drag to a CC Library for future use.

Copy link to clipboard
Copied
You can also make it a new custom shape, but you will need to convert 'Your Reflections' into a shape layer, and then merge the two shapes. With the resulting single shape layer selected, go Edit > Define Custom Shape

You now have the vector in your shapes panel, but don't forget to select it, and Save. Maybe save the PSD file for a belt and braces cover all angles approach.

Copy link to clipboard
Copied
You may want to consider two other items:
1. With the black logo on a white background, the white will automatically disappear when the Blending Mode is set to Multiply
2. If the logo appears in a textured background (variation of colors and/or tones) or in a reduced size the type line's legibility will be seriously hampered.


