Exit
  • Global community
    • Language:
      • Deutsch
      • English
      • Español
      • Français
      • Português
  • 日本語コミュニティ
  • 한국 커뮤니티
1

Transparent Pixels Along Edge when Cropping to Full Width or Height

Explorer ,
Nov 13, 2025 Nov 13, 2025

Hello,


When cropping images to the full height or width of the image (or crop along any side of the original canvas), then a 1px semi-transparent edge appears. For dark images, this causes a light strip when flattening/saving as a new JPG.


For example, if I crop the image like this, going all the way to the left and right edges of the image:

Screenshot 2025-11-13 at 9.51.17 AM.jpg


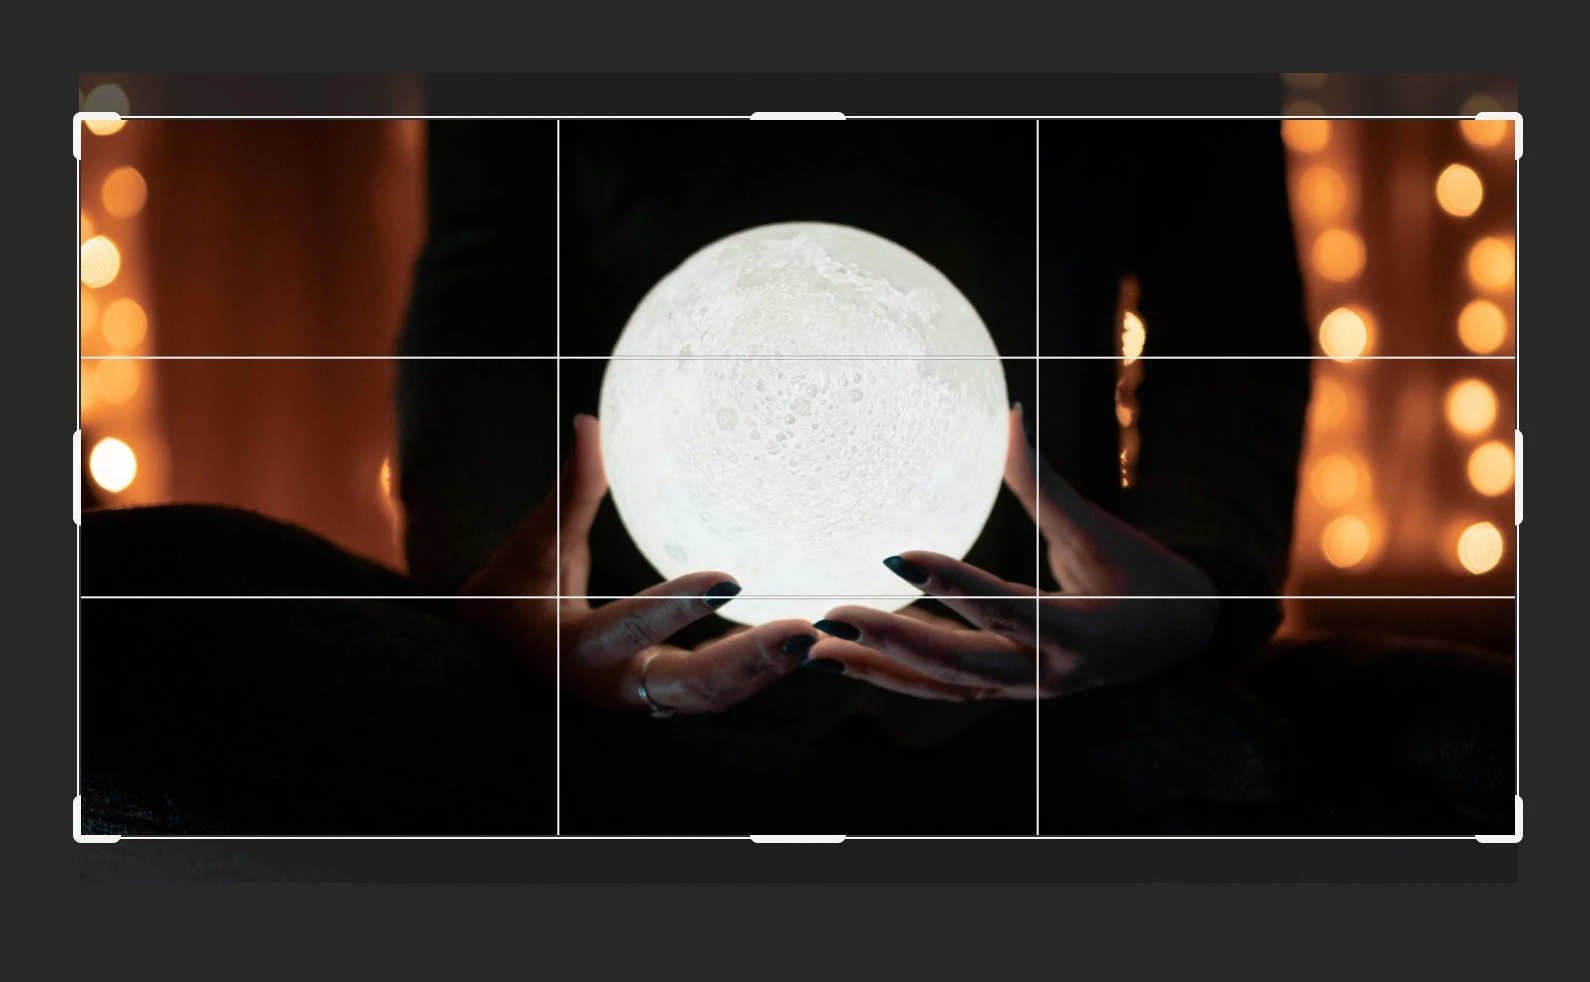
Then a transparent strip appears along the left & right sides:

Screenshot 2025-11-13 at 9.53.04 AM.jpg


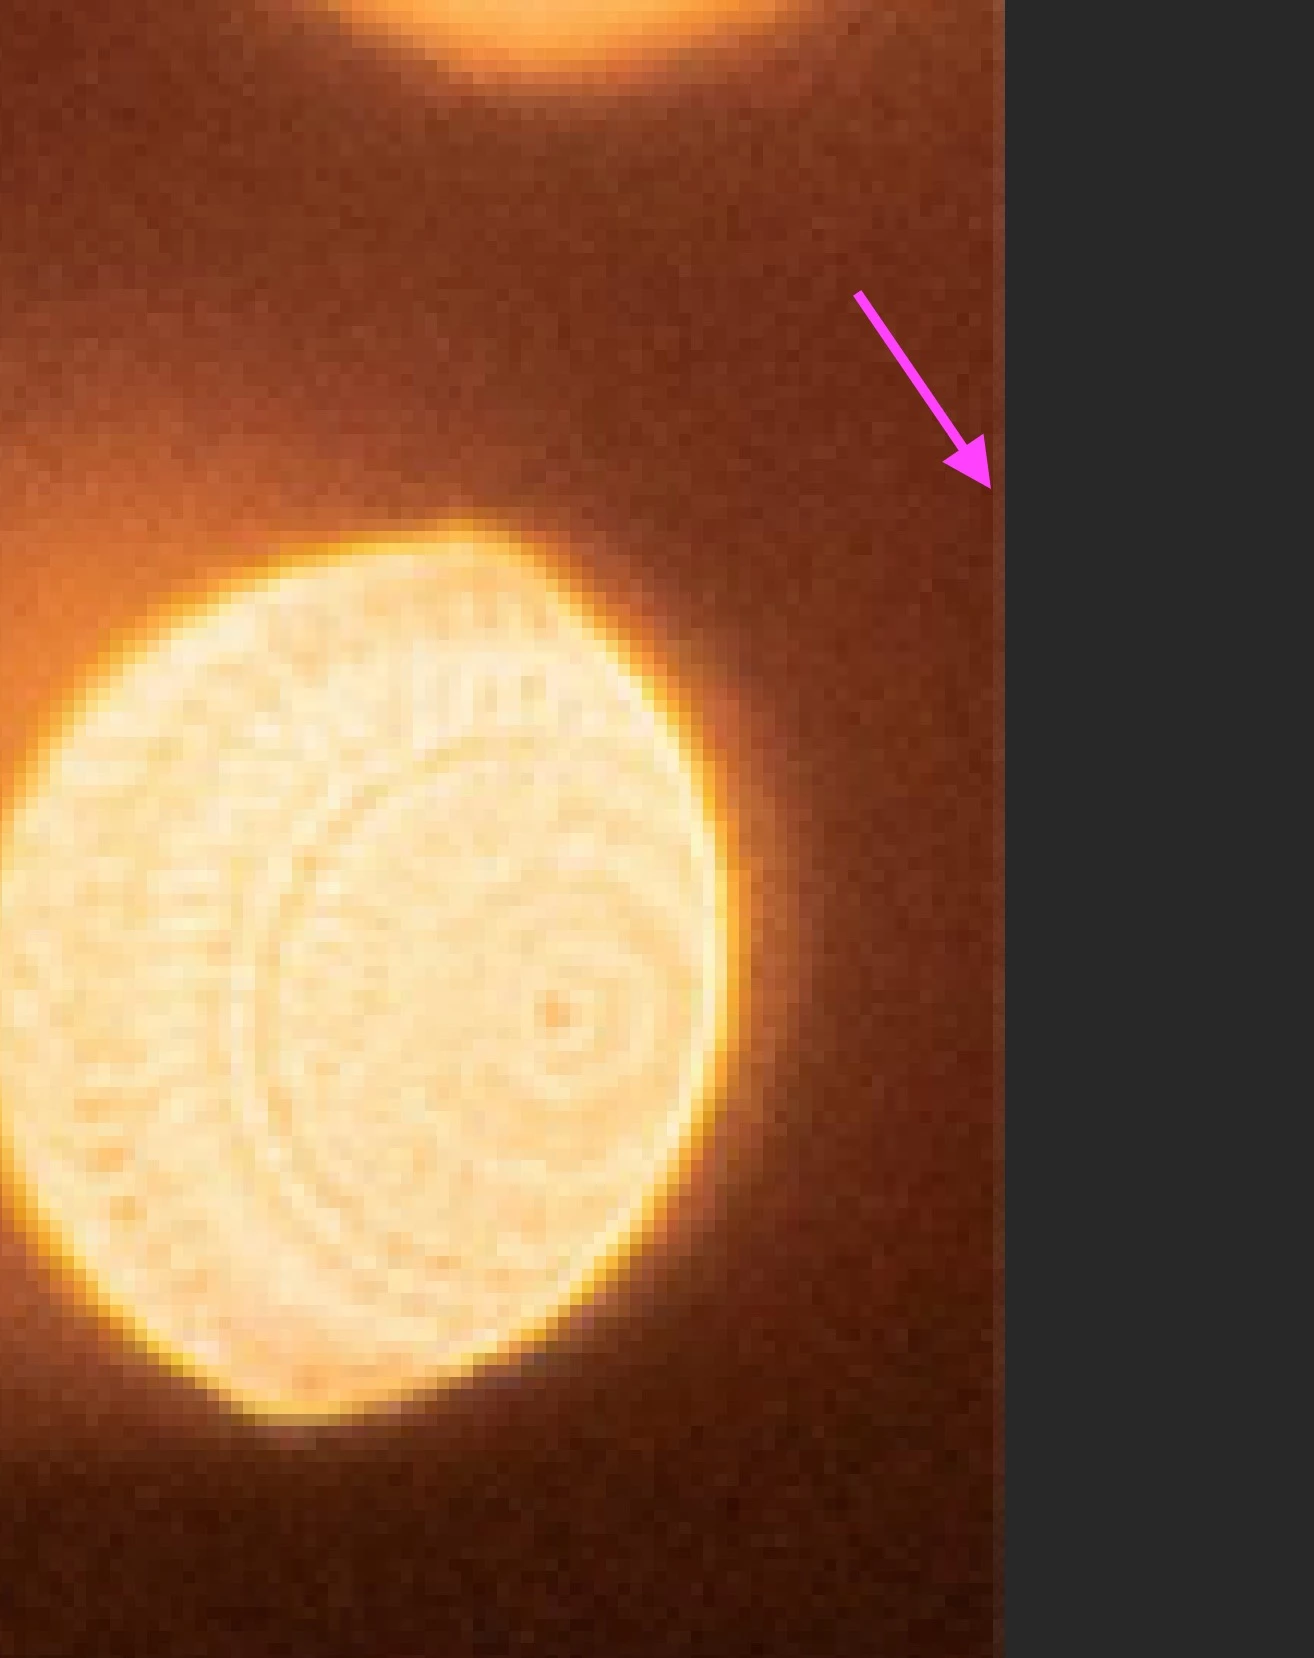
When flattened to save as a new JPG, it's still visible:

Screenshot 2025-11-13 at 9.53.28 AM.jpg


This doesn't happen if I check "Delete Cropped Pixels", but then I can't finesse placement after cropping. It also doesn't happen if I bring the crop handles in a few pixels from the edge, but it's very tedious to do that for the high volume I work with, it's much more efficient to let it snap to the full width/height of the canvas. I tried adding a black fill layer below, which helps a little, but there's still a visible line. 


Is there any other way to avoid this?

TOPICS
macOS , Windows
289
Translate
Report
Community guidelines
Be kind and respectful, give credit to the original source of content, and search for duplicates before posting. Learn more
community guidelines
Adobe
Adobe Employee ,
Nov 13, 2025 Nov 13, 2025

Hi @Elise_Claire, thanks so much for reaching out!
I tried reproducing this on my end but haven’t had any luck. Could you let us know which version of Photoshop you’re using and, if possible, share a quick screen recording of the issue? That would really help us understand what’s going on.
Thanks a lot!
Alek

*(If you mention me with an @, like @Aleke, I’ll get a notification and can respond faster.)*
Translate
Report
Community guidelines
Be kind and respectful, give credit to the original source of content, and search for duplicates before posting. Learn more
community guidelines
Explorer ,
Nov 13, 2025 Nov 13, 2025

Hi @Aleke ,


Sure! I've attached a screen recording, as well as the image file I used in the recording (I can provide additional image examples if needed). I'm using Photoshop 27.0.0 in the screen recording, but I've had this issue for a while and can also recreate it in version 26.10.0.


I think I just figured out a clue, though - in my recording, I was cropping to 2048x1024px. But if I crop to a 2:1 Ratio instead, there is no transparency. But I always use W x H x Resolution because I need to crop to specific pixel dimensions for my work.


Thank you in advance for your help!

Translate
Report
Community guidelines
Be kind and respectful, give credit to the original source of content, and search for duplicates before posting. Learn more
community guidelines
Community Expert ,
Nov 13, 2025 Nov 13, 2025

Is there any resampling at any point in this? If not, is it still visible when you view at 100% ?


This happens when you have a floating layer (as opposed to a flat background layer), and the edge pixels are interpolated. With a floating layer, there are invisible transparent pixels outside the canvas, and they are factored into the interpolation.


In a flat background layer (Background in the panel, in italics) pixels outside the canvas boundary are not allowed.

Translate
Report
Community guidelines
Be kind and respectful, give credit to the original source of content, and search for duplicates before posting. Learn more
community guidelines
Explorer ,
Nov 20, 2025 Nov 20, 2025

Hi, apologies for the delayed response!


Yes, it is resampling and the transparent strip is still visible at 100%. The images I output are for digital, so they have to be specific pixel dimensions, and I use W x H x Resolution mode with the crop tool to get there. I want to keep it as a floating layer (keeping "Delete cropped pixels" unchecked) so I can nudge the image a bit after the initial crop to finesse the placement. 


I did figure out that it doesn't happen if I use the crop tool's Ratio mode instead of W x H x Resolution, so it must be related to the resampling. But I've used W x H x Resolution crop in this way for years and it used to handle the edges properly (no transparent pixels) so I'm just wondering if there's a setting somewhere I'm overlooking....

Translate
Report
Community guidelines
Be kind and respectful, give credit to the original source of content, and search for duplicates before posting. Learn more
community guidelines
New Here ,
Nov 20, 2025 Nov 20, 2025

@Aleke I'm able to replicate this issue, and my estimation is that it is directly related to the resampling function as described below by @D Fosse .

Steps to reproduce (tested under PS 26.11.0):

Cropping with ratio, no resampling, no resulting artifacting:

  1. Open any JPG.
  2. Set the Crop tool to Ratio, choose any value (eg 16:9). Enable Delete Cropped Pixels.
  3. Snap Crop bound to the edge (let's use left or right edge) of the frame
  4. Apply crop
  5. View at 100% zoom
  6. Note complete fidelity & 100% opacity within the outermost column of pixels when compared to original image. Performance as expected.


Cropping with specific width x height x DPI, inherent resampling, resulting in artifacting at edge:

  1. Open any JPG
  2. Set the Crop tool to W x H x Resolution, choose any value (eg 1280px 720px 72 px/in). Enable Delete Cropped Pixels.
  3. Snap Crop bound to the edge (let's use left or right edge) of the frame
  4. Apply crop
  5. View at 100% zoom
  6. Note artifacting (specifically, as pointed out by @Elise_Claire , a lower opacity, as demonstrated in steps below) within the outermost column of pixels when compared to original image. Performance is degraded.


Supporting evidence process for decreased pixel opacity at frame edge after crop & resample function:

  1. Open any JPG
  2. Duplicate Background via Layer via Copy.
  3. Create new Color Fill layer. Set color fill to 06ff06 (a bright green, but use whatever is contrasty to your source image)
  4. Set the Crop tool to W x H x Resolution, choose any value (eg 1280px 720px 72 px/in). Enable Delete Cropped Pixels.
  5. Snap Crop bound to the edge (let's use left or right edge) of the frame
  6. Apply crop
  7. View at 100% zoom
  8. Note introduction of increased green values at frame edge when viewed at 100%. 
  9. Adjust Color Fill layer's color. Note column of pixels is affected by the color change. Performance is degraded.


Translate
Report
Community guidelines
Be kind and respectful, give credit to the original source of content, and search for duplicates before posting. Learn more
community guidelines
New Here ,
Nov 20, 2025 Nov 20, 2025
LATEST

I forgot to mention one step above in the final step-by-step - between steps 3 and 4, move the Color Fill layer beneath the new Layer 1 that resulted from the Background layer via copy.

Translate
Report
Community guidelines
Be kind and respectful, give credit to the original source of content, and search for duplicates before posting. Learn more
community guidelines