Copy link to clipboard
Copied
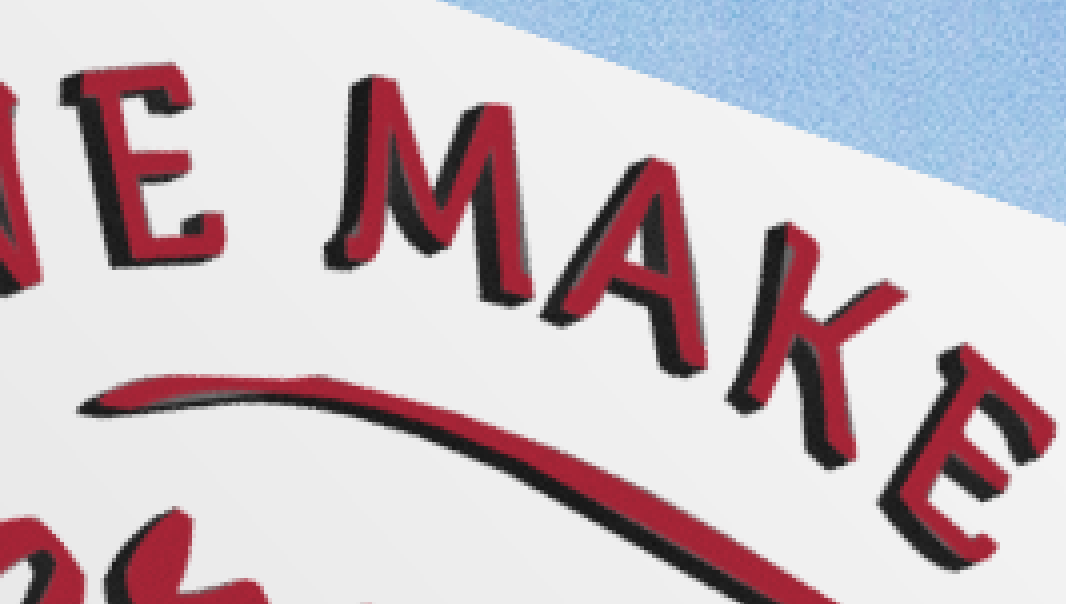
I'm looking for a way to keep rendered paths true to the original shape. If I render layers based on extruded paths, the rendering is often distorted. You can see the distortion most often near corners or intersections, but also on straight and curved segments (see image area of the letter k and the line beneath it which should be a clean shape). How can this be fixed? The problem is most apparent when I use outlined fonts as opposed to extruding from a live text layer, but the distortion happens on just about any vector based art such as logos, etc. I've tried extruding from smart objects, object layers with uneven results. Is there a way to make rendering more predictable when using paths?
I'm using Photoshop CC 2017.0.1 on a Power book with Retina display, 16mgs Ram, NVIDIA GeForce GT if that info helps.
 1 Correct answer
Now that I can see the screenshots - I see your problem is coming from the use of a smart object - which effectively makes it a pixel based image and the extrusion is no longer based on the vectors - but on Photoshop creating the vector from the rasterised layer - which includes anti aliased edges.
Below is the top corner of a simple text letter K .
1. Extruded from the text layer

2. Converted to a shape layer and extruded

3. Put into a smart object and extruded.
The third method (the smart object) s
...Explore related tutorials & articles
Copy link to clipboard
Copied
Hi
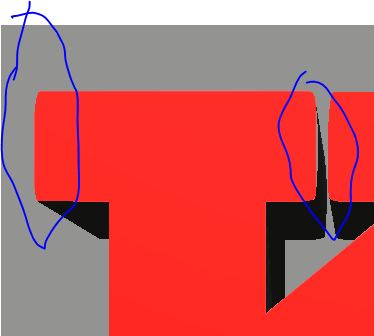
I have not seen a problem with that, but looking at the image you have posted it looks like the edge of the K is a smooth shape but the red diffuse texture is not covering the whole of the front UV - allowing some gray to show. The initial cause of that could be that the path is just outside the red area when traced.
It should be simple to fix by editing the texture.
For example :
If there are any gaps - brush them in. If all the front texture is the same colour then just select the whole square texture and fill it with the required colour.
Can you go to Front Inflation Material - Properties - Edit Texture and take a screenshot.
Dave
Copy link to clipboard
Copied
Ok. Here are a few steps I've done that I hope help to solve this.
I did as you suggested: go to Front Inflation Material - Properties - Edit Texture and take a screenshot.
Here's what that looked like:
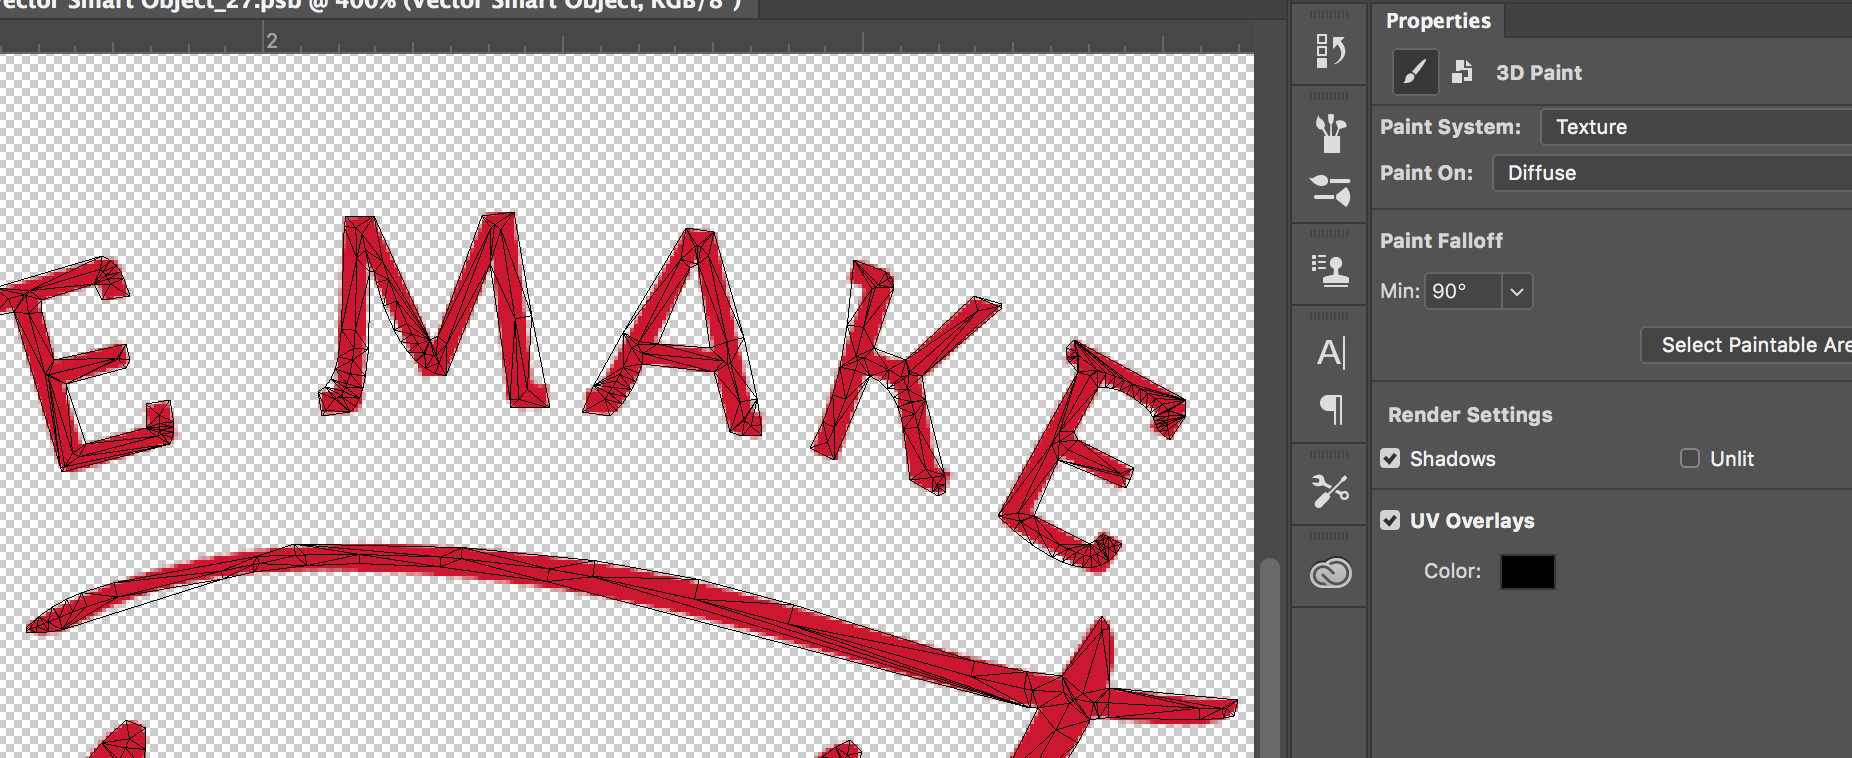
The red area is the true shape, as you can see in the next image. The shape is a smart object that looks like this:
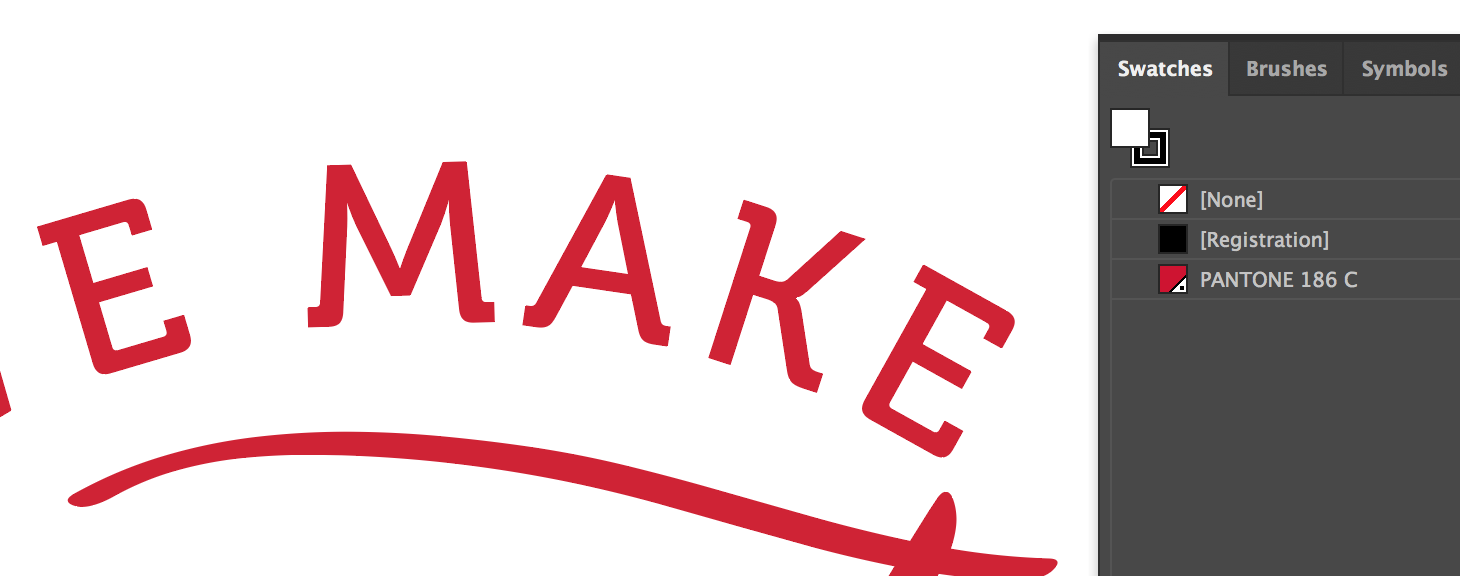
So if I fill the area with red, as in your screen shot, I have to rasterize the smart object:

then fill the paintable area with red:
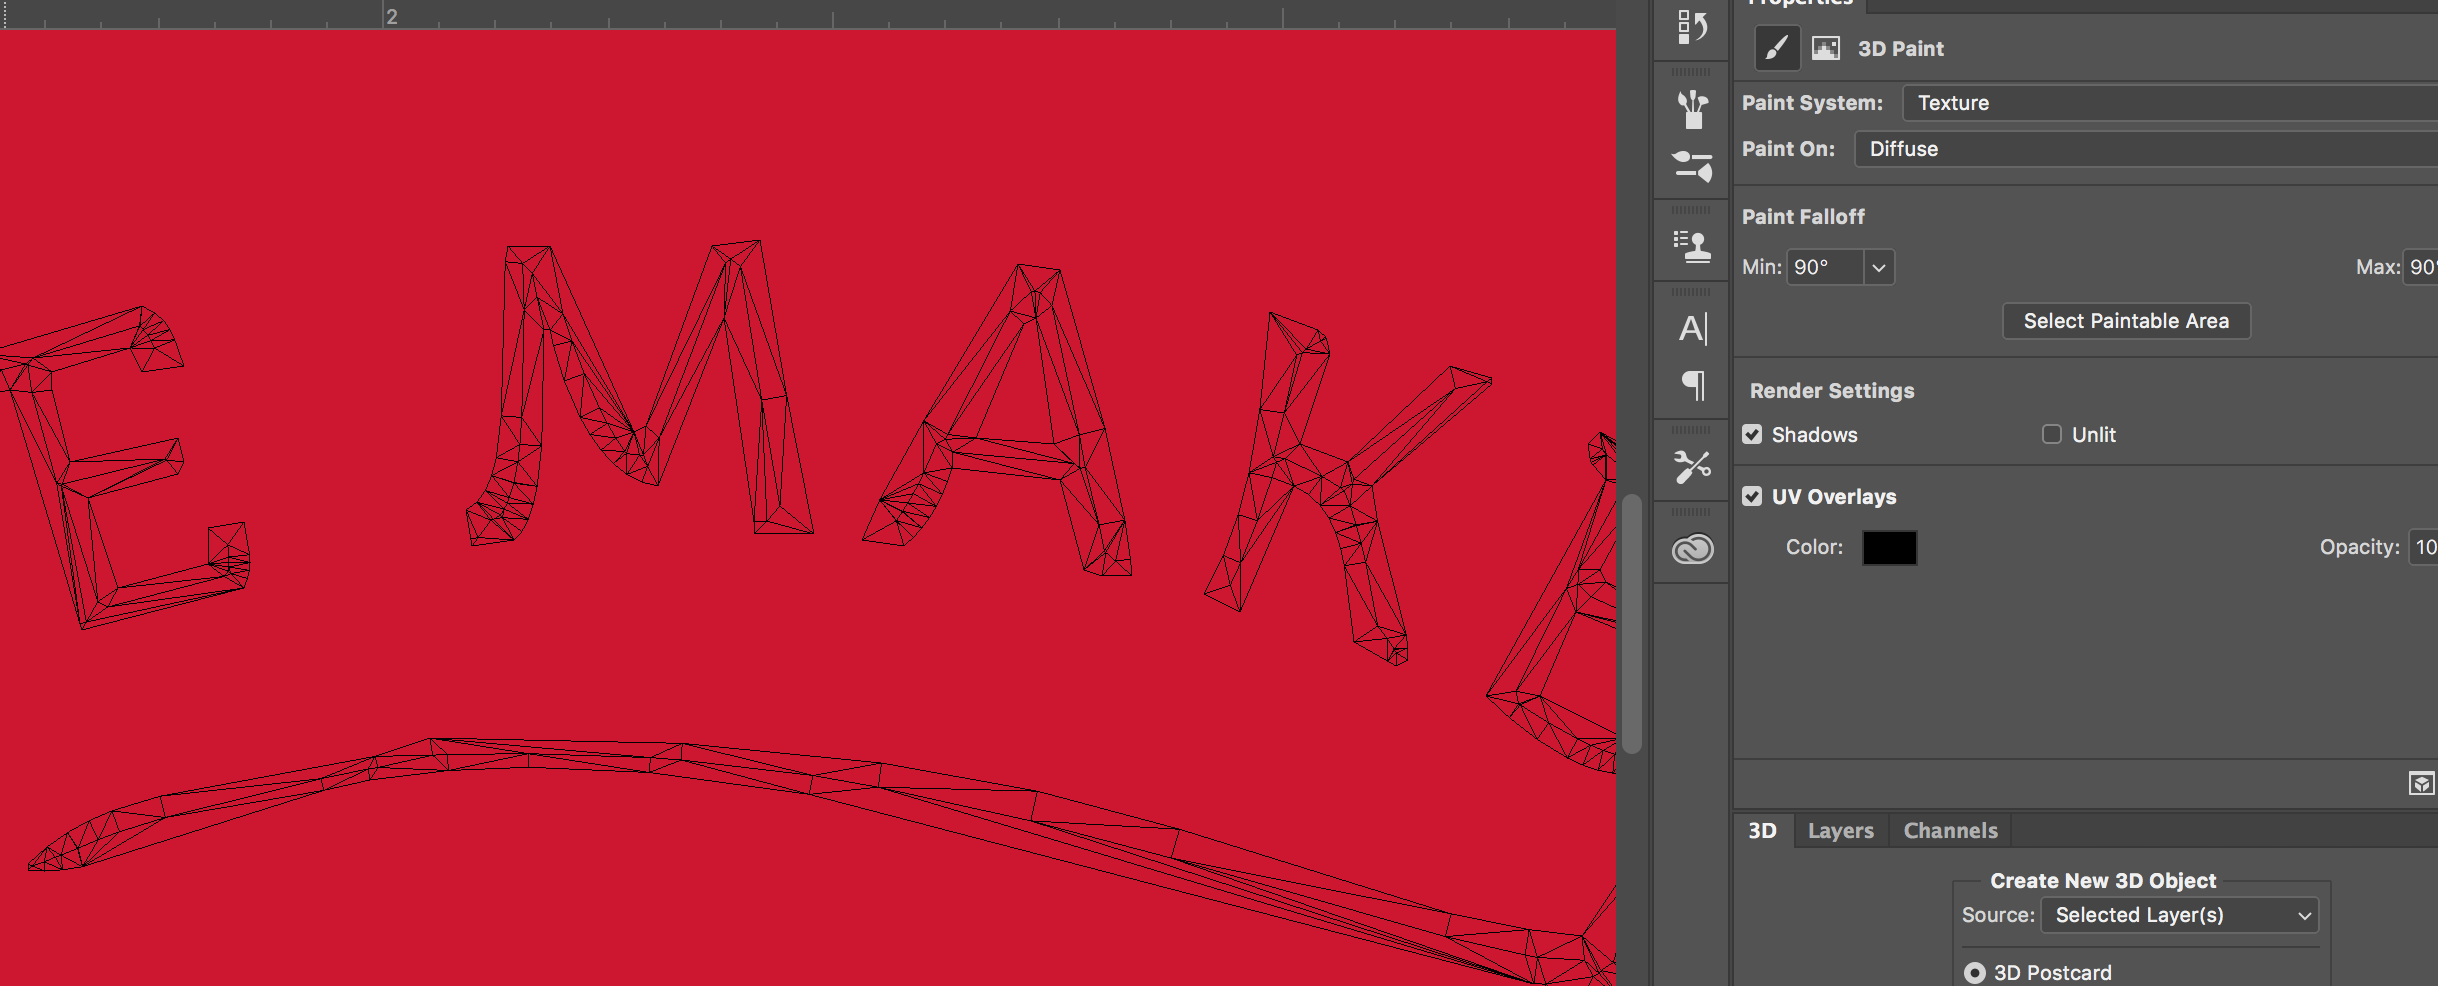
This is the result:
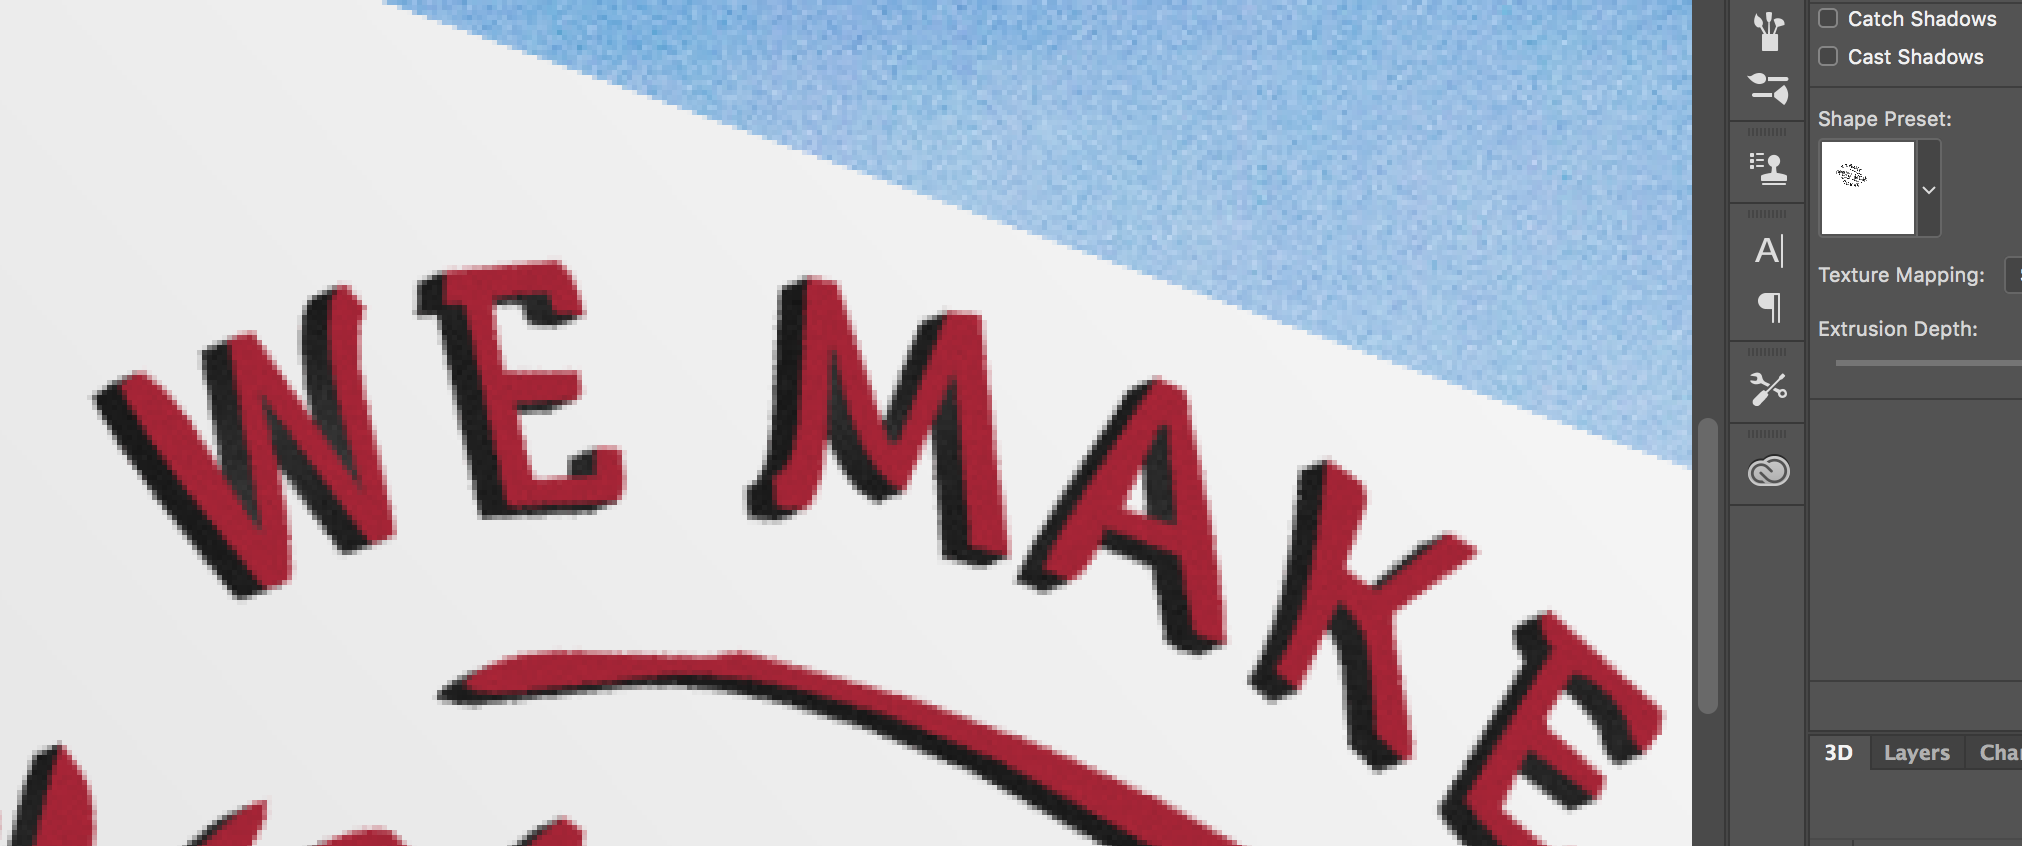
Same problem.
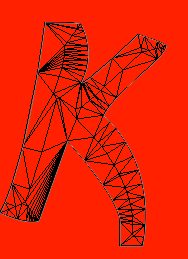
How is the UV overlay generated? It seems to be a rough trace of the Smart Object or path. The final rendering seems to be based on the UV overlay and not the Smart Object. Can I replace the UV overlay with the more accurate Smart Object?
Is there a way to adjust or tighten the trace of the Smart Object through a preferences setting?
I can't seem to find anything about this in searches. I've had the problem show up on different computers and several earlier versions of the Photoshop. There is a lot of nice work being done in Photoshop 3D, so I know that there is a fix for this or I'm just doing something wrong. UHG!
Any help is appreciated.
Copy link to clipboard
Copied
Now that I can see the screenshots - I see your problem is coming from the use of a smart object - which effectively makes it a pixel based image and the extrusion is no longer based on the vectors - but on Photoshop creating the vector from the rasterised layer - which includes anti aliased edges.
Below is the top corner of a simple text letter K .
1. Extruded from the text layer

2. Converted to a shape layer and extruded

3. Put into a smart object and extruded.

The third method (the smart object) shows the issue you describe.
To keep it crisp - use the vectors (i.e. paths and shapes) to create your extrusion, rather than relying on Photoshop to create an edge from an aliased pixel layer (which is what the smart object presents).
I hope that helps you
Dave
Copy link to clipboard
Copied
Thanks for time and attention to this Dave.
I'll tinker with this some more and keep that in mind for future 3D builds. Maybe this would be something to have Adobe developers work on for a future upgrade. ![]()
Thanks again,
Richard
Copy link to clipboard
Copied
....... Maybe this would be something to have Adobe developers work on for a future upgrade.
Thanks again,
Richard
Now if only I could control what Adobe do .....![]() .
.
You see a similar thing when you make a path from a selection. Sometimes it doesn't quite get it right.
Dave
Copy link to clipboard
Copied
So when we are importing vector files (logos or such) from Illustrator, we would always this kind of issue?
Thanks!
Copy link to clipboard
Copied
I was having the same problem, which is how I came across this post.
So rather than a smart object I pasted as a path. Of the 10 or so letters I pasted only 2 would extrude, the others just disappeared.
Long story short I found the font had I outlined was all made of open paths, the ones that worked were ones I had edited myself. Once the palths were closed it extrudes perfectly.
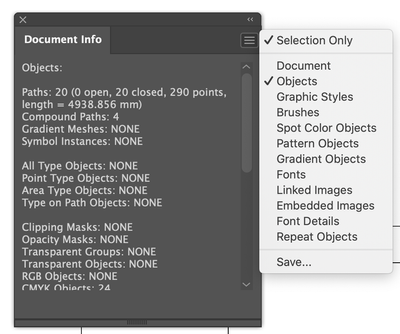
In Illustrator have the Document Info palette open, and select objects to see if you have any open paths. Then it's a tedious serch for the open points. Move each point with the direct selection tool, if it's joined Undo and move to the next.
