 Adobe Community
- Home
- Photoshop ecosystem
- Discussions
- White Background removing from template Adobe Stoc...
- White Background removing from template Adobe Stoc...

Copy link to clipboard
Copied
Hello ,:)
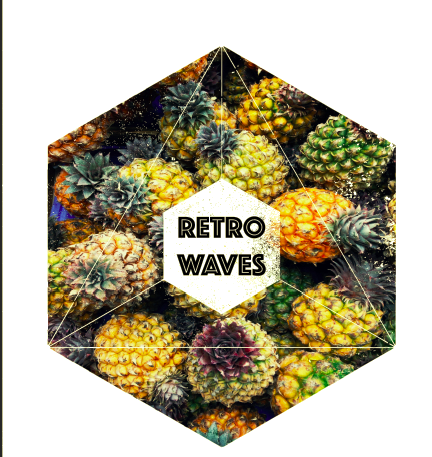
i am trying since hours to find out how to remove the white background from this image but still have the white in the image and still cut of the sides of the hexagon pineapple image? It is crazy i get either the pineapple in the old rectangular shape or the whiteness goes completey away and also inside in the middle of the hexagon.
Tried the magic wand tool, the magic erase, multiple layers adjusting colour and contrast. I dont know how i can upload the PSD file here.
I hope anyone can help me.
Kind regards,
Yannick


 1 Correct answer

First what I would do....
Dupicate original layer.
Then use the Magic Wand or Quick Selection Tool to select the white background.
Play around with the Tolerlance level to find the perfect selection.
Then hit delete.
If that works..... then erase the original layer.
You can also use the Polygonal Lasso Tool as well on the dupiclate layer to select the main part of the shape. Then Select>Inverse and hit delete. Then do use the same lasso tool to select the inside and hit delete.
After you do either
...Explore related tutorials & articles
 12
Replies
12
12
Replies
12

Copy link to clipboard
Copied
Is this what you are trying to do:
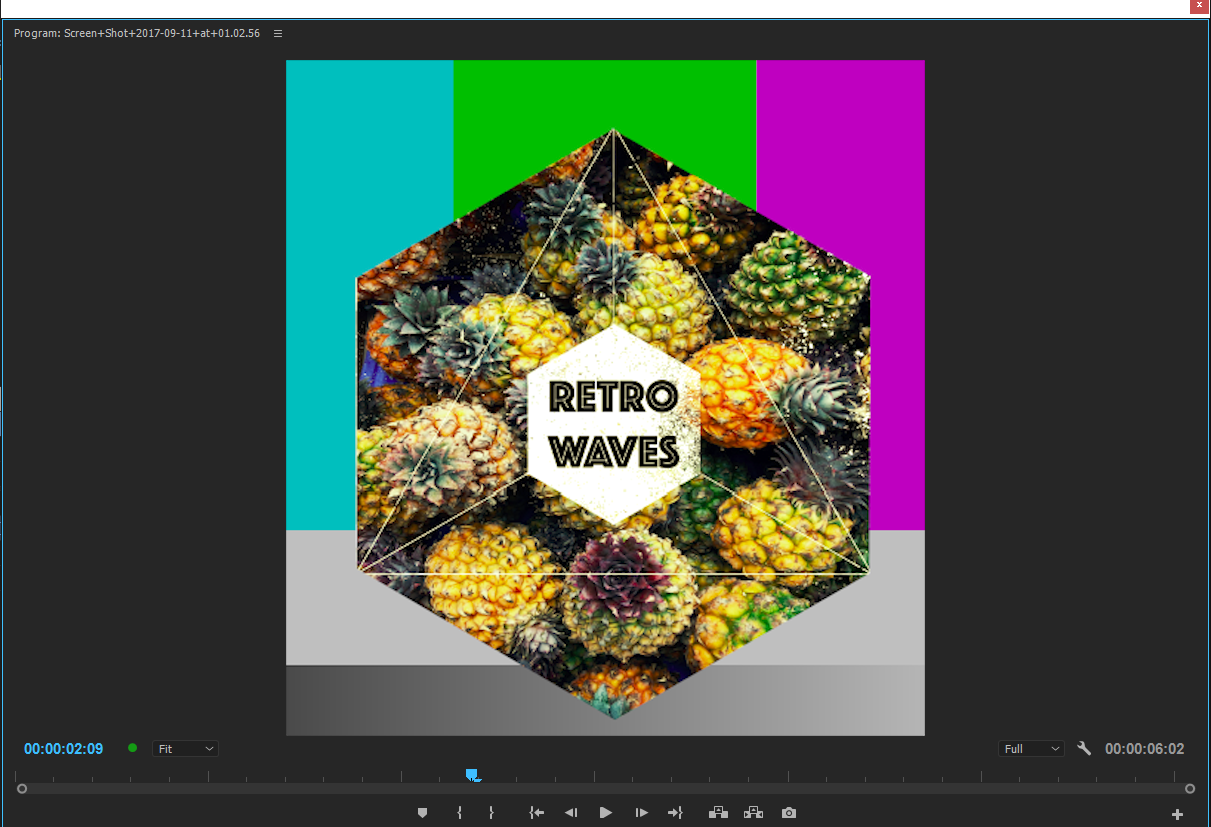
This was done using the mask in opacity fixed effect.

Copy link to clipboard
Copied
MOved to Photoshop forum.
Copy link to clipboard
Copied
First what I would do....
Dupicate original layer.
Then use the Magic Wand or Quick Selection Tool to select the white background.
Play around with the Tolerlance level to find the perfect selection.
Then hit delete.
If that works..... then erase the original layer.
You can also use the Polygonal Lasso Tool as well on the dupiclate layer to select the main part of the shape. Then Select>Inverse and hit delete. Then do use the same lasso tool to select the inside and hit delete.
After you do either of these simply save it as PNG. Then you will have a clear invisible background and no white.
Copy link to clipboard
Copied
Thanks for your answers they are highly appreciated  ,
,
Anyway I have only photoshop to work with so first thing i can not do.
I can erase the background but my pineapple image on the next layer is then not in the shape I want it to be. I need to at the same time cut it in the shape.
Do you know what I mean?
Thanks so much for your kind help
Yannick

Copy link to clipboard
Copied
Can you show a screen shot showing the Layers pallet with all layers expanded?
Copy link to clipboard
Copied
Ahhhhh are you doing the entire image from scratch?
If so.... the of course there are other steps. Let us know where you are starting from.
Copy link to clipboard
Copied
Hey everyone;
sorry I am really new in this.
So i put up screenshots of the layers visible.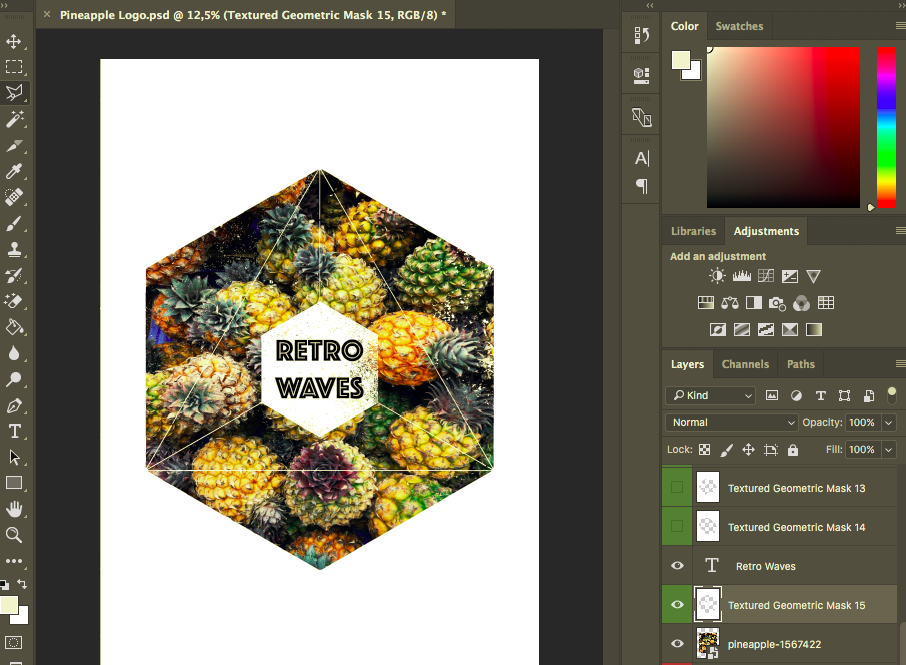
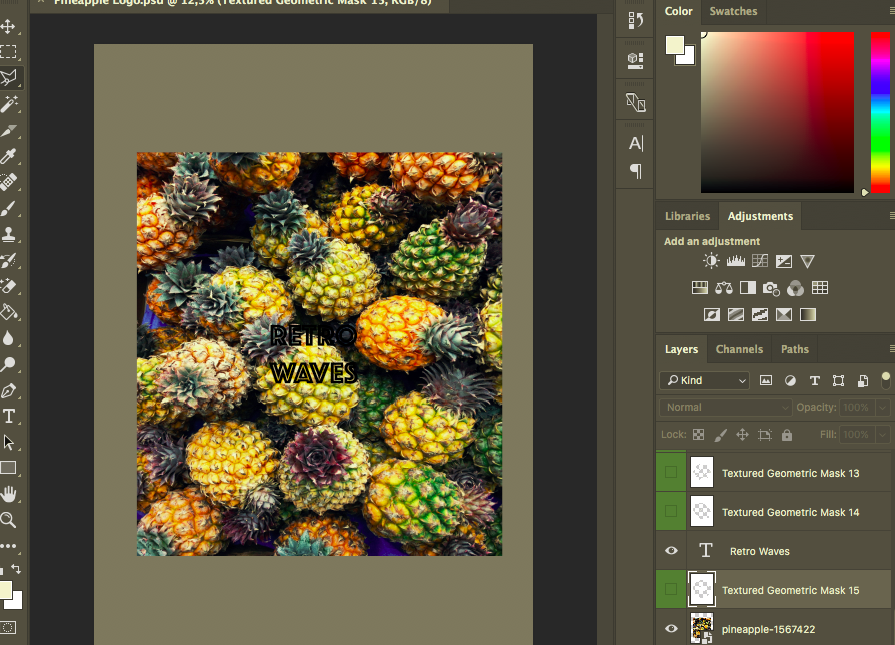
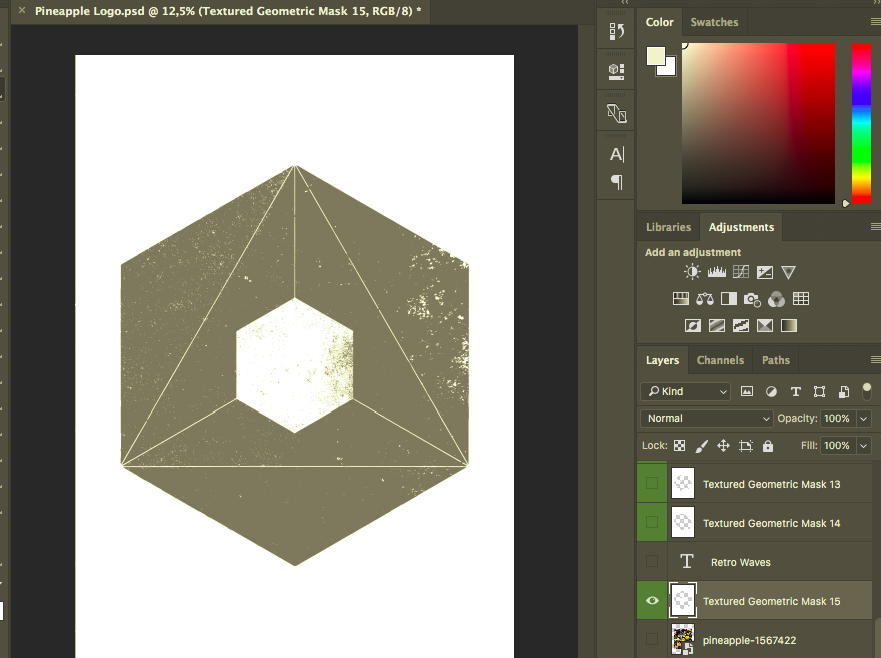
The shapes are from adobe for free downloadable and as you see there are other geometric masks. Last picture is basically where i started from
Best wishes and thank you so much.
Yannick
Copy link to clipboard
Copied
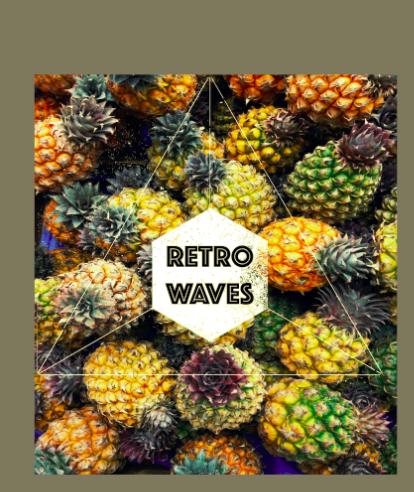
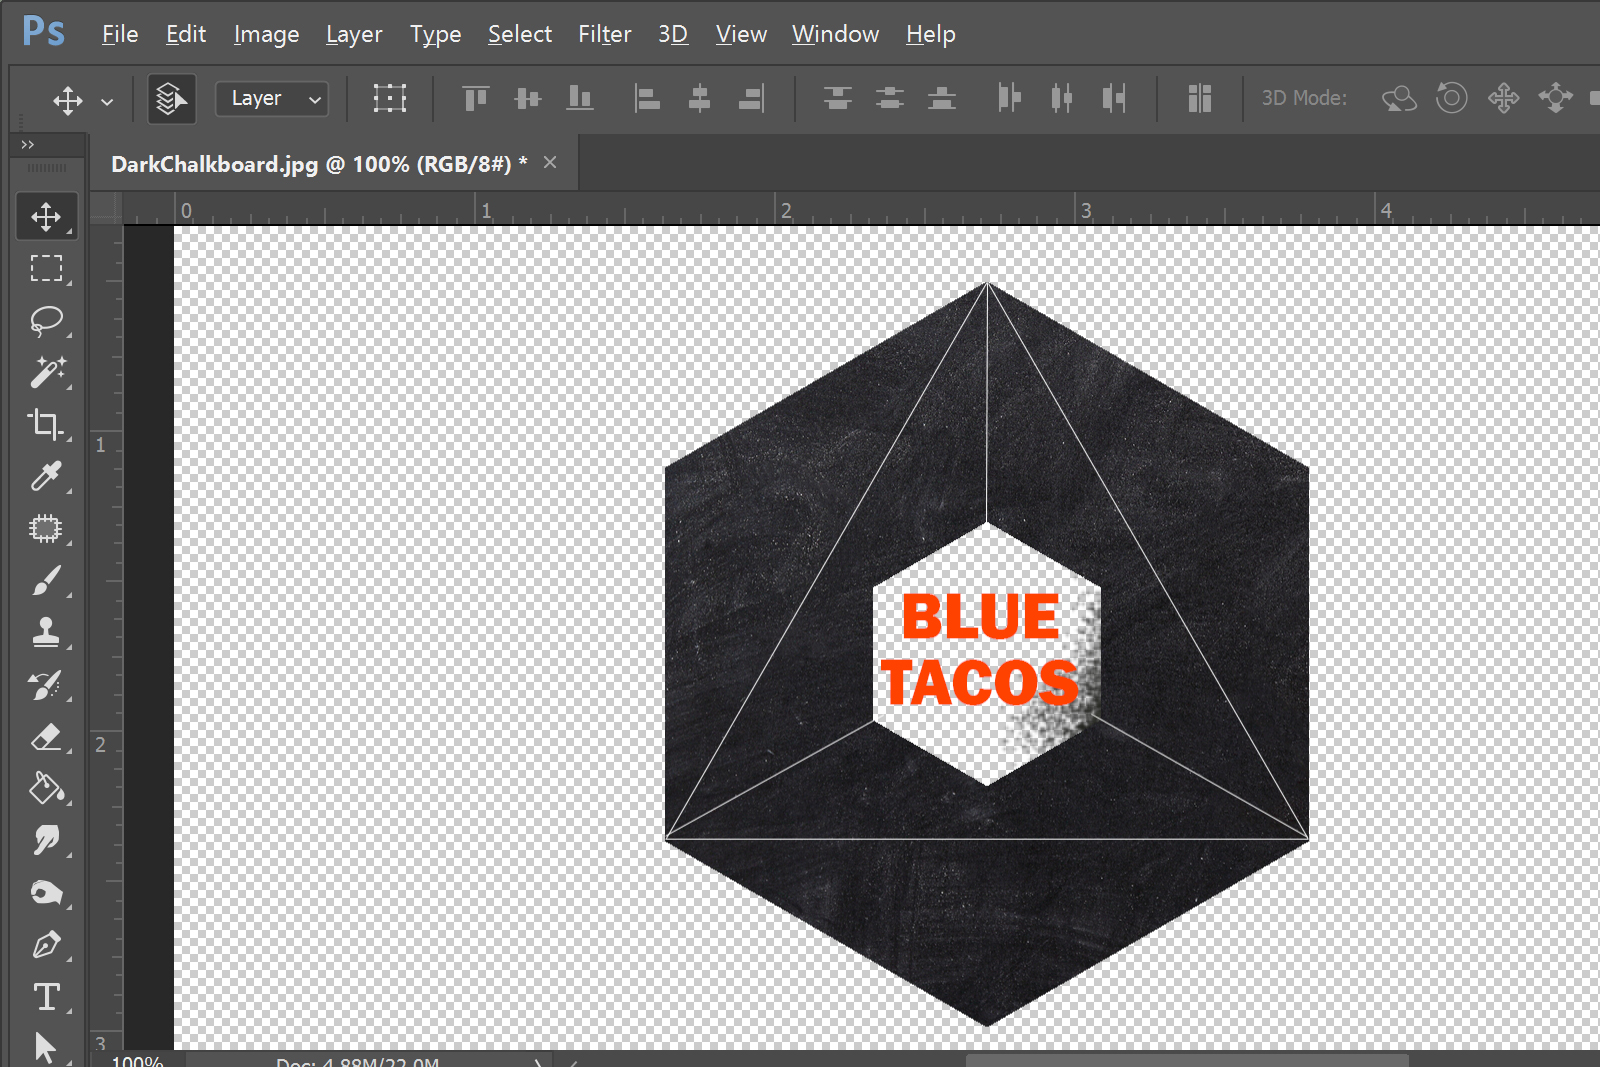
I was able to recreate the design easily in Photoshop with no background. I just used a chalkboard background as an example since I do not have a photo of pineapples.
Followed pretty much the same steps as I mentioned above.
Copy link to clipboard
Copied
Hey,
what really? I tried those steps many times. Okay will definitely try that again.
Thanks
Copy link to clipboard
Copied
"Dupicate original layer.
Then use the Magic Wand or Quick Selection Tool to select the white background.
Play around with the Tolerlance level to find the perfect selection.
Then hit delete.
If that works..... then erase the original layer."
This does not work since when i hit delete the rectangular shape of the pineapple image comes out.
"You can also use the Polygonal Lasso Tool as well on the dupiclate layer to select the main part of the shape. Then Select>Inverse and hit delete.
Then do use the same lasso tool to select the inside and hit delete."
Now i Have the rectangular shape of the pineapple picture again all over the image. If I want to then cut the edges with the Lasso tool it says
"smart object not directly editable"
maybe thats a problem . Can i delete that it´s smart? 
Copy link to clipboard
Copied
Okay got it.
I had to rasterize the smart object.
Thank you for all your kind help
Yannick

Copy link to clipboard
Copied
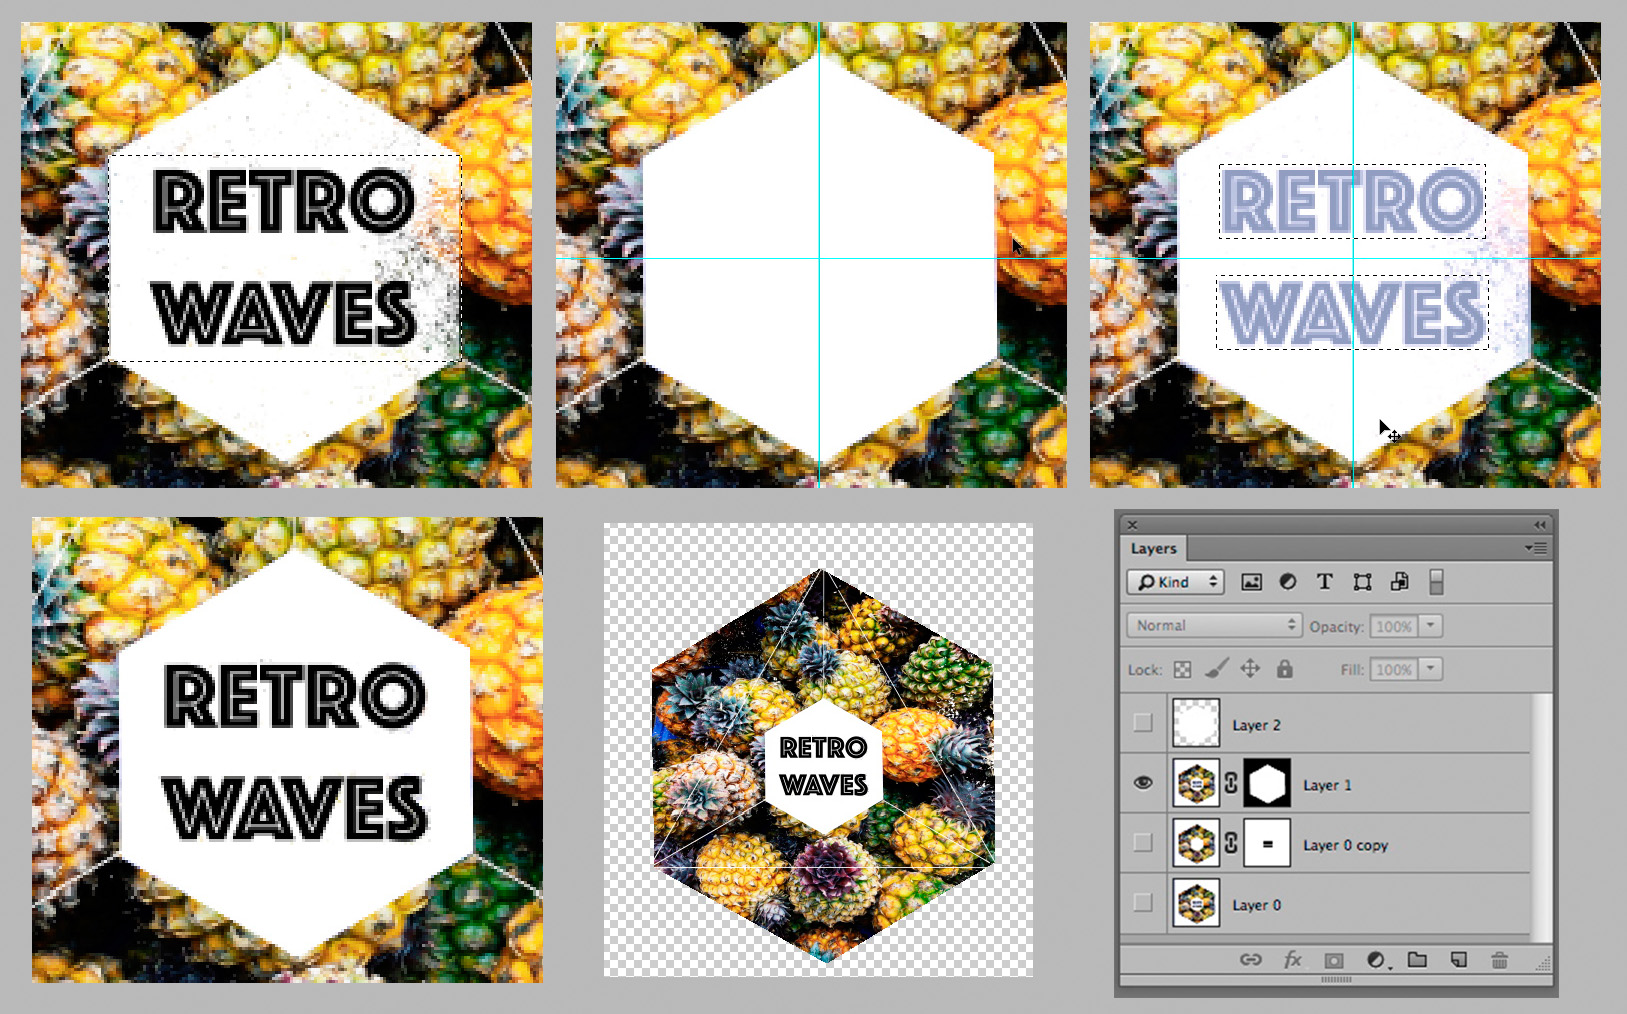
If this is the result you are aiming for, the following mayl be of help
1. Open the file and make a duplicate layer
2. Make a rectangular selection as shown in the first frame above
3. Choose Edit > Transform > Scale. You are only interested in the center mask.
4. From the top and side rulers drag out guides that cross the center mark.
5. Cancel the Transform and marching ants
6. Choose the Polygon tool (above the hand tool) and set the Options bar to Pixels, normal, 100%, sides: 6
7. Drag from the center mark to one of the corners to create a white area as shown in the second frame
8. Reduce the opacity so that you can make a rectangular selection of the type and use it to create the mask shown in the Layers panel and frame 3 above, and then bring the opacity back to f00% as shown in frame 4. The result will require minor touch up in white with the hard edge brush set to Overlay. The result is frame 4
9. Cmd+Opt+Shift+E to make a composite as shown in the next to top layer in the Layers panel.
10. Add a blank layer and use the same center mark and method to create the top layer that is shown
11. Use it to create the mask used in the next to top layer. Note position of the eye in the Layers panel to see the final result.

 AdChoices