• Global community
    • Language:
      • Deutsch
      • English
      • Español
      • Français
      • Português
  • 日本語コミュニティ
    Dedicated community for Japanese speakers
  • 한국 커뮤니티
    Dedicated community for Korean speakers
Exit
0

Working with 3D Text

Engaged ,
Jun 01, 2017 Jun 01, 2017

Copy link to clipboard

Copied

I am using Photoshop 3D tools to integrate 3D text with photographic images.

I find the 3D interface less intuitive than the 2D Pshop tools which I have used for years. I do have experience with other 3D apps.

Questions re 3D extruded text:

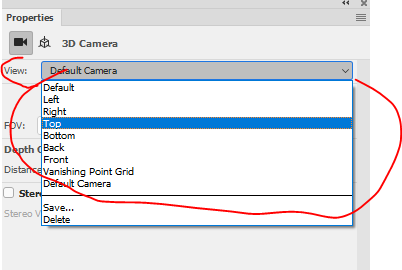
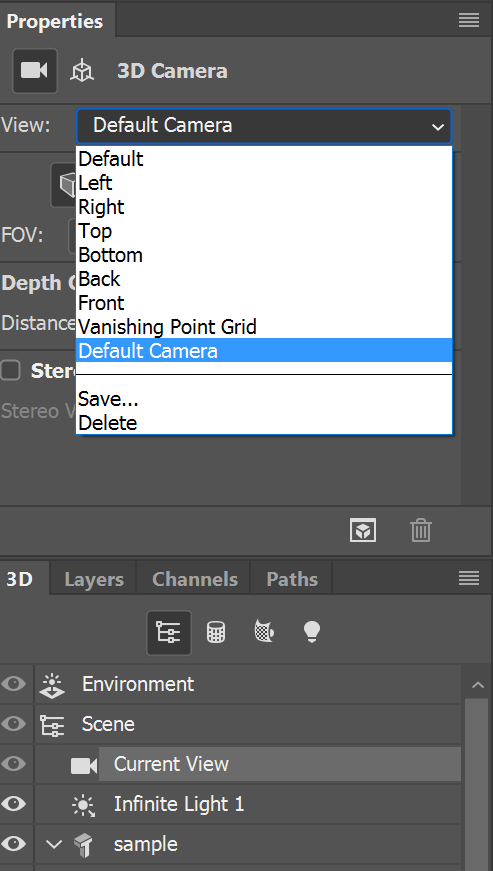
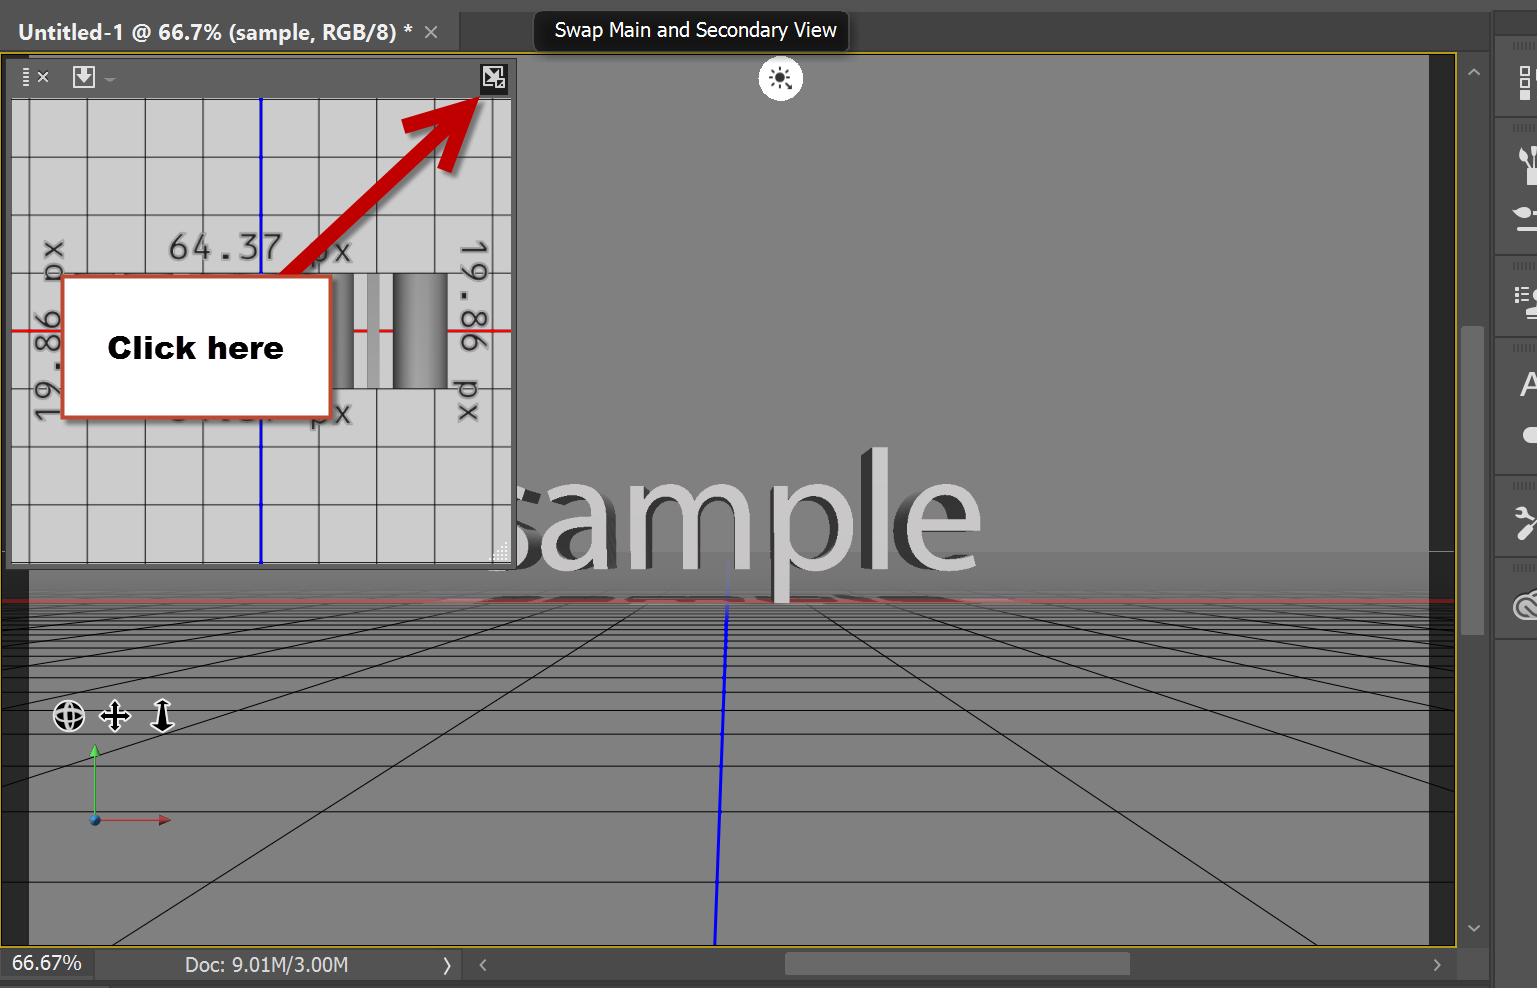
1. In other 3D apps it's easy to toggle camera between up/down/side/custom views etc. I have 2 text blocks, on in front of the other. I need to use a down view to determine the physical distance been the 2 text blocks. I can't tell if they're close or far apart.

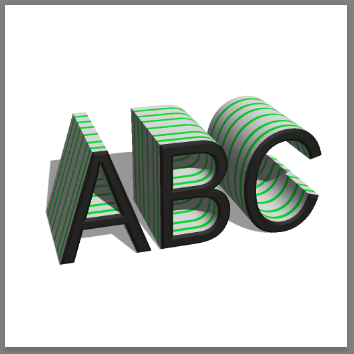
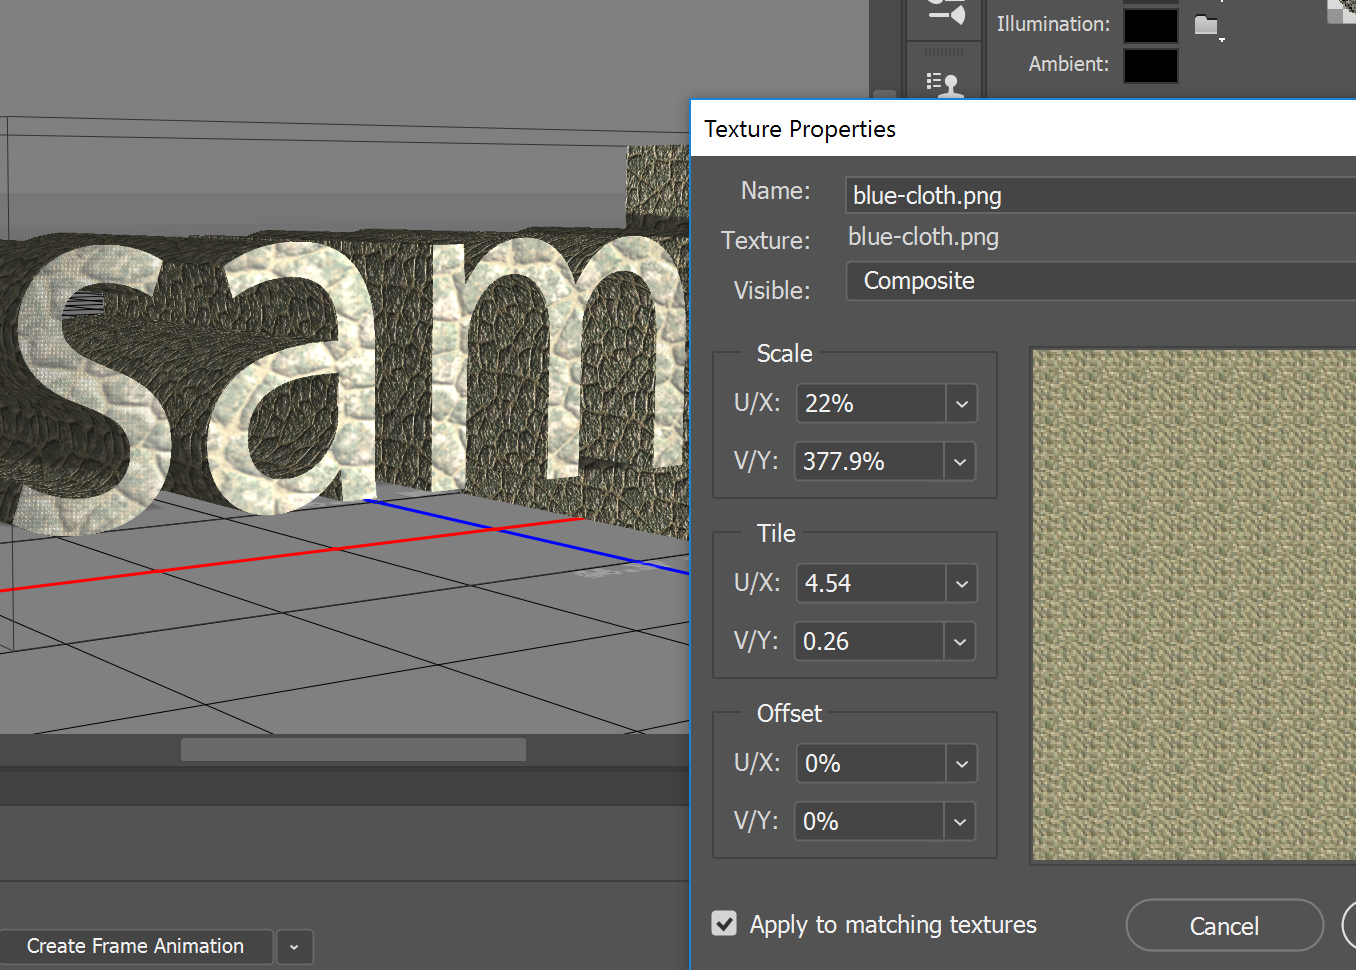
2. How is the orientation of the texture material controlled on the sides (extrusion) of the extruded text? I.e., I want the texture to appear projected at right angles to the extrusion -not stretched front to back. (Projected onto the surface normal)  I don't see any control or instructions to control the orientation of the texture on front, bevel, sides, etc.

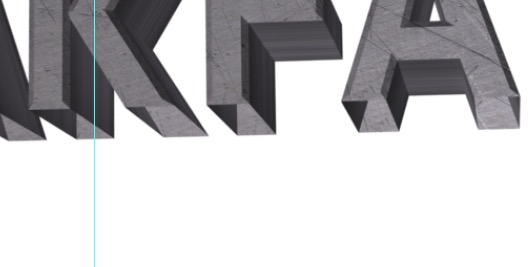
3. When I applied the texture to the extruded text, I shift-clicked to select the front, rear, bevel, & extrusion of the text block. So the lighting, texture, reflectivity, etc. should be the same for front AND sides, etc. But the extrusion looks darker than the front & and bevel. I want the entire text block to look like it is made of the same material. I understand that the orientation of the lights will affect the various planes of the extruded text differently, but in other apps the sides of extruded text match the front & bevels much better. How do I ensure that the various sections of the extruded text match each other better?
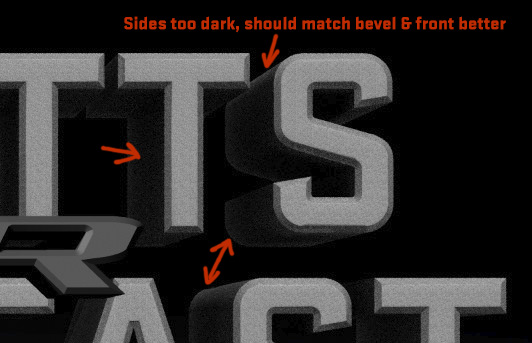
Screen Shot 2017-06-01 at 1.40.32 PM.jpg

Views

756

Translate

Translate

Report

Report
Community guidelines
Be kind and respectful, give credit to the original source of content, and search for duplicates before posting. Learn more
community guidelines

correct answers 1 Correct answer

Community Expert , Jun 01, 2017 Jun 01, 2017

Hi

Your questions in turn:

1. Camera changes without using the camera move tools

In the 3D panel click on "Current View" . Then in properties for the camera, switch the view from the drop down

You can also turn on the 3D secondary view - in View - Show - 3D secondary view and set that to an alternative viewpoint

2, Add the texture by clicking on the folder icon next to Diffuse in the properties panel and choosing New or Edit Texture. It opens up as a layered file with the UVs. If you add your texture

...

Votes

Translate

Translate
Adobe
LEGEND ,
Jun 01, 2017 Jun 01, 2017

Copy link to clipboard

Copied

Here you can choose another angle or perspective.

Here you can choose what view for the preview window.

You can quickly switch between two views to work with

Votes

Translate

Translate

Report

Report
Community guidelines
Be kind and respectful, give credit to the original source of content, and search for duplicates before posting. Learn more
community guidelines
Community Expert ,
Jun 01, 2017 Jun 01, 2017

Copy link to clipboard

Copied

Hi

Your questions in turn:

1. Camera changes without using the camera move tools

In the 3D panel click on "Current View" . Then in properties for the camera, switch the view from the drop down

You can also turn on the 3D secondary view - in View - Show - 3D secondary view and set that to an alternative viewpoint

2, Add the texture by clicking on the folder icon next to Diffuse in the properties panel and choosing New or Edit Texture. It opens up as a layered file with the UVs. If you add your texture as a smart object you can rotate, stretch, tile (provided it is seamless) etc to make it fit your needs.

Note :For more control on text , where the UVs can be hard to see and will not be even across the letters - build each letter as a separate object rather than as a  word as shown above. That way the UVs make more sense.

3. You just need to look at your lighting. Adding a second light will often help with this (see below single infinite light from above the front and 2 infinite lights from above left and right)

Remember as well as the movable lights in the 3D panel you also have global and image base lighting in "Environment"

The third example uses 3 lights, with the shadows softened  plus the global ambient is turned up a little

I hope that helps you

Dave

Votes

Translate

Translate

Report

Report
Community guidelines
Be kind and respectful, give credit to the original source of content, and search for duplicates before posting. Learn more
community guidelines
LEGEND ,
Jun 01, 2017 Jun 01, 2017

Copy link to clipboard

Copied

Edit the texture property will bring up the UV controls, allowing you to stretch the image.

Ignore the texture name, I started with a different texture and ended up with a stone. Go figure.

Votes

Translate

Translate

Report

Report
Community guidelines
Be kind and respectful, give credit to the original source of content, and search for duplicates before posting. Learn more
community guidelines
Engaged ,
Jun 01, 2017 Jun 01, 2017

Copy link to clipboard

Copied

Thank you all for the excellent -and quick- answers on this. I think I am only permitted to acknowledge one "correct" answer -but I think you must ALL be correct.

Oddly, I have rotated the text so that the underside of the characters is visible, and the bottom line of text appears HOLLOW at the base line. Letters are not "filled".

Known issue? Unique glitch? Suggestions for fix?

Thanks again to all above!

Screen Shot 2017-06-01 at 5.26.00 PM.jpg

Votes

Translate

Translate

Report

Report
Community guidelines
Be kind and respectful, give credit to the original source of content, and search for duplicates before posting. Learn more
community guidelines
LEGEND ,
Jun 01, 2017 Jun 01, 2017

Copy link to clipboard

Copied

No problem it all works out.

As for the text clipping, you may have the camera below the horizon. Try raising the camera a bit, then raise the text. See if the text is still hollow.

Votes

Translate

Translate

Report

Report
Community guidelines
Be kind and respectful, give credit to the original source of content, and search for duplicates before posting. Learn more
community guidelines
Community Expert ,
Jun 02, 2017 Jun 02, 2017

Copy link to clipboard

Copied

LATEST

I'm with Silk Rooster on that last one. It is most likely the camera and interaction with the ground plane.

When created the side top and bottom are all part of the same material. To make sections of the extrusion transparent you would have to add a map to the opacity and carefully apply black/white across the UVs.

Dave

Votes

Translate

Translate

Report

Report
Community guidelines
Be kind and respectful, give credit to the original source of content, and search for duplicates before posting. Learn more
community guidelines