• Global community
    • Language:
      • Deutsch
      • English
      • Español
      • Français
      • Português
  • 日本語コミュニティ
    Dedicated community for Japanese speakers
  • 한국 커뮤니티
    Dedicated community for Korean speakers
Exit
0

Making a white background transparent

Community Beginner ,
Mar 11, 2021 Mar 11, 2021

Copy link to clipboard

Copied

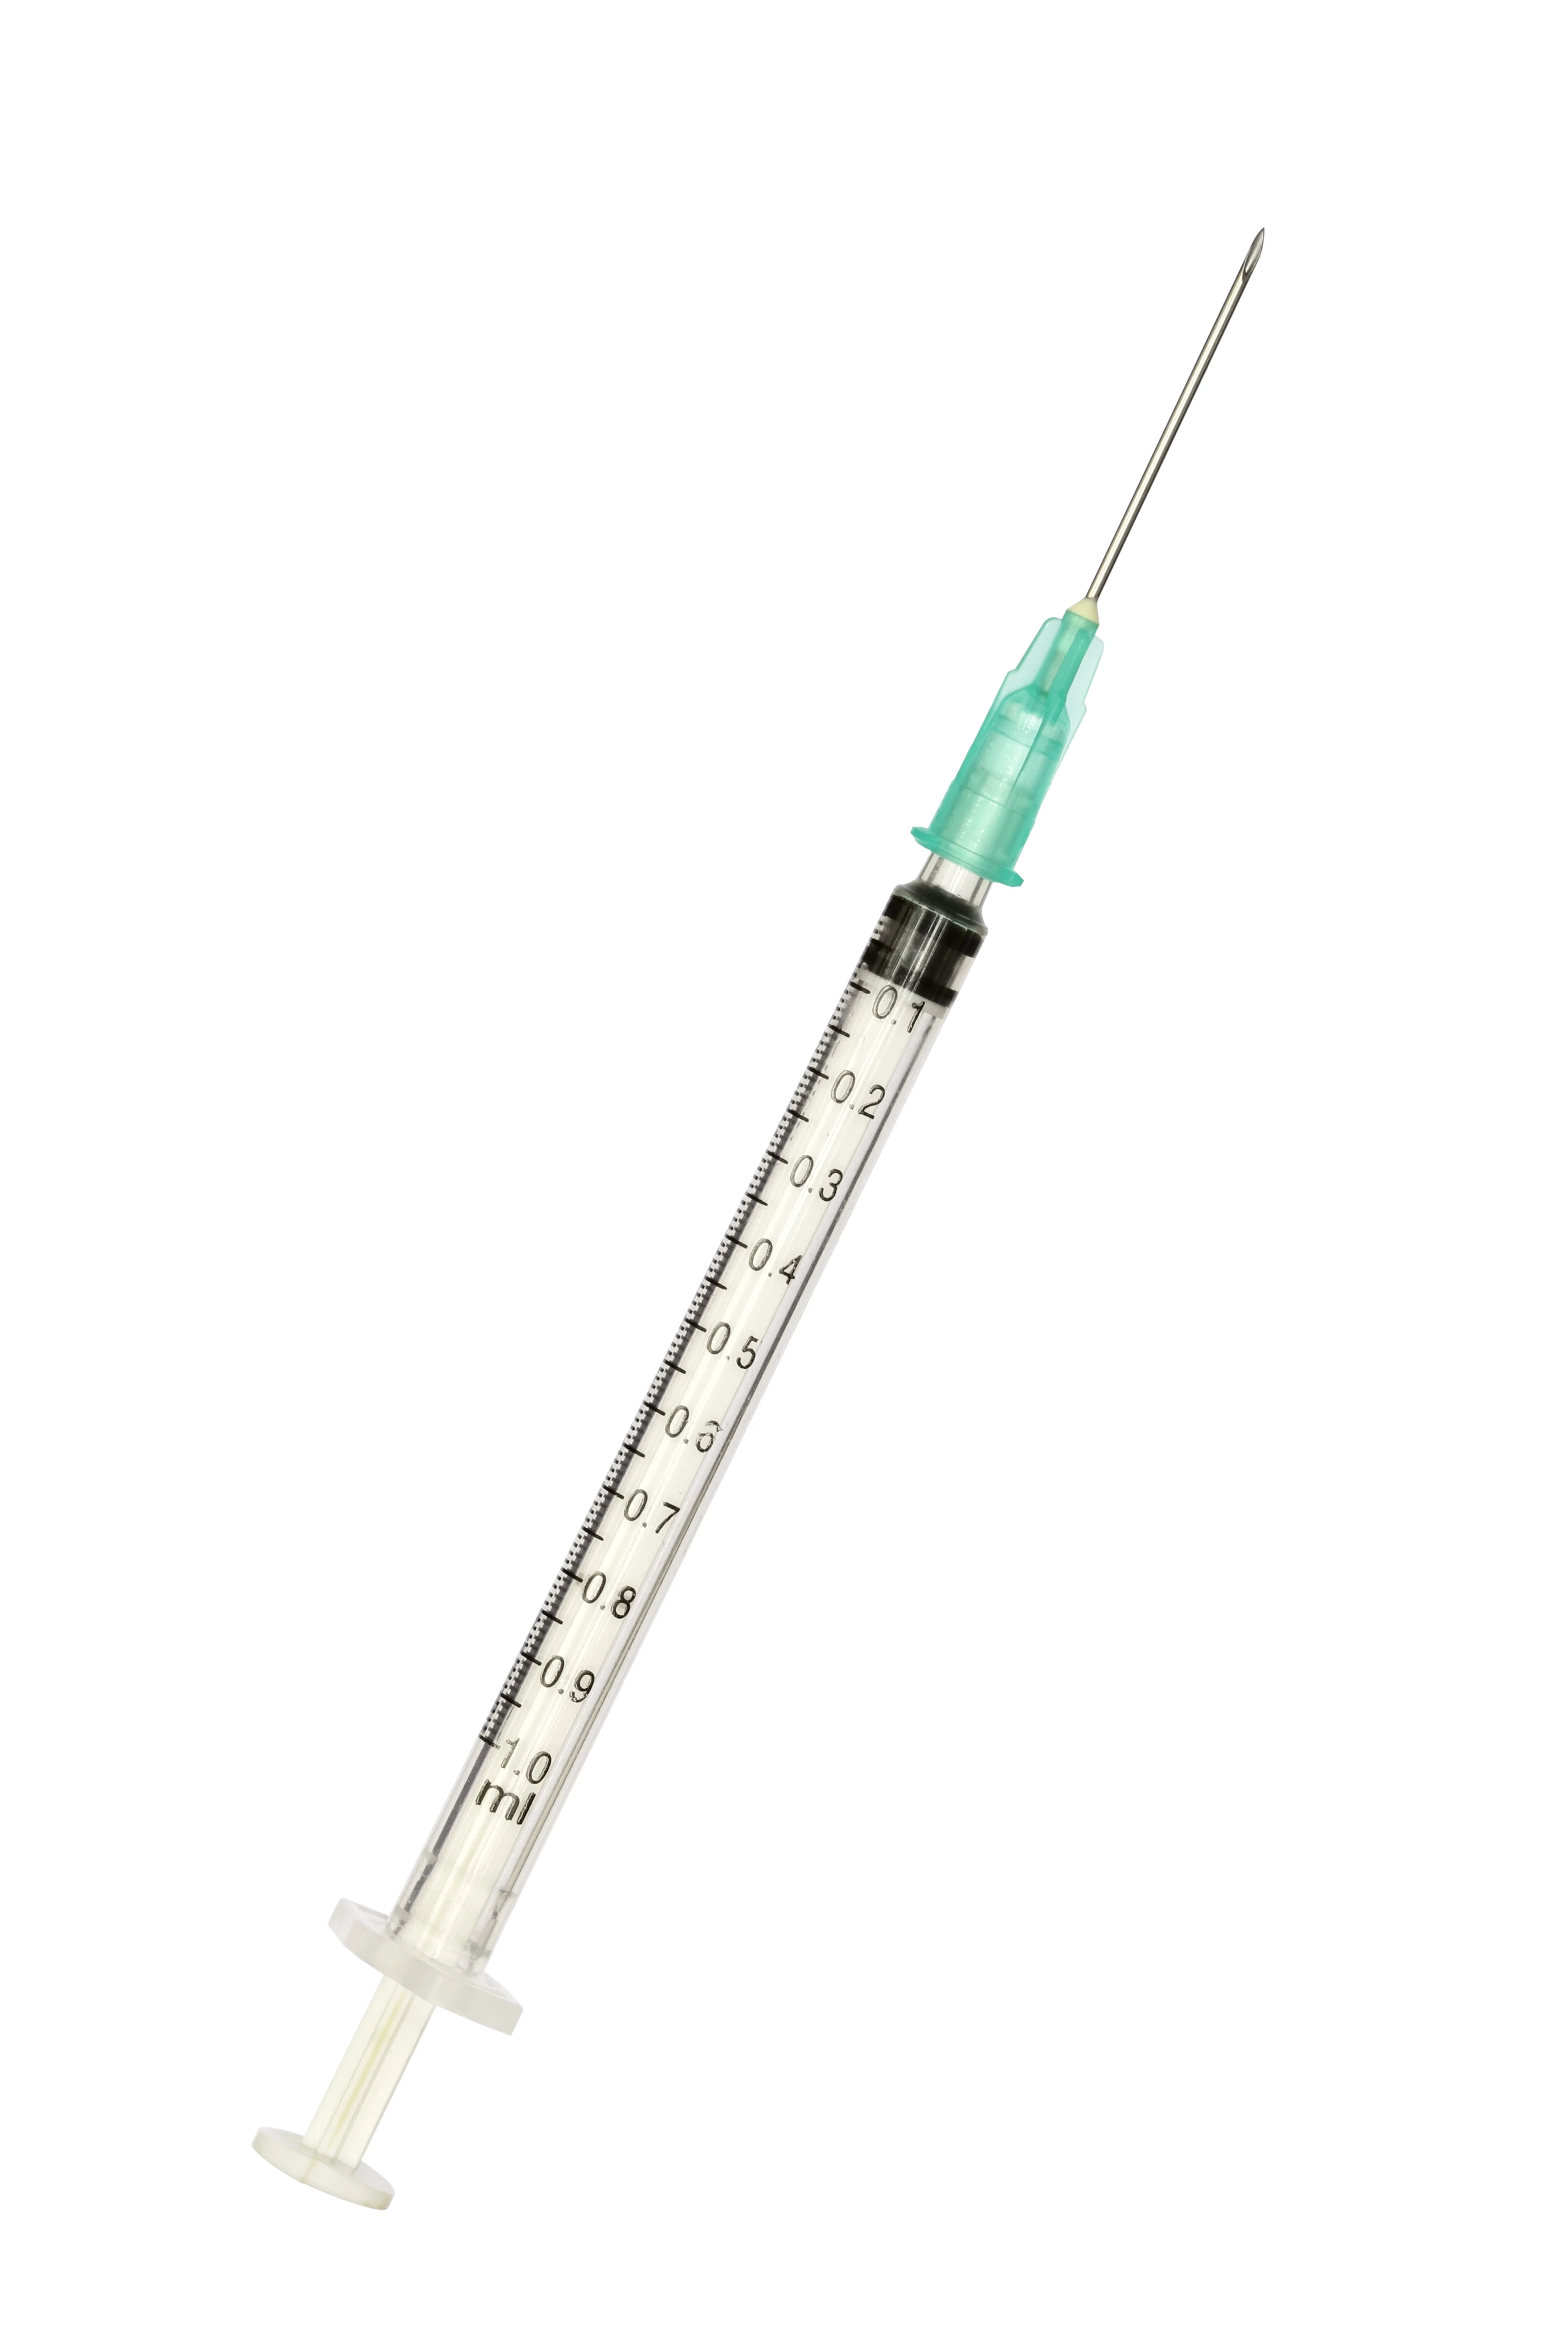
I am trying to remove the white background from a photo of a needle so I can use the needle as a graphic on a t-shirt. I have tried to use a few of the solutions here, but I can't find the items they suggest, such as the "magic wand", and the "Select" menu doesn't work, apparently because the background is not a layer. Also, most suggestions are for previous versions of Photoshop Elements. I am using(or more accurately, attempting to use) Adobe Photoshop Elements 2021. Below is the photo I am trying to use(I apologize for the size).

shutterstock_103639610 (1).jpg

TOPICS
How to , Problem or error

Views

5.9K

Translate

Translate

Report

Report
Community guidelines
Be kind and respectful, give credit to the original source of content, and search for duplicates before posting. Learn more
community guidelines

correct answers 2 Correct answers

Community Expert , Mar 11, 2021 Mar 11, 2021

Here is one way to do it.  Follow along with my screenshot:


  1. Choose the Quick Selection tool from the tool bar.  (The active tool may be different in your toolbar, depending on which selection tool was last selected.)  Or you can use the keyboard shortcut A to cycle through these tools or to open the tools in the tool bin. 
  2. In the tool bin, select the Magic Wand tool.
  3. Make sure the tolerance is fairly low (because you are basically looking for a pure white color).
  4. For this project, you should
...

Votes

Translate

Translate
Community Expert , Mar 11, 2021 Mar 11, 2021

I forgot to mention that before you do anything else, you need to double-click the background layer in the Layers panel.  That will turn the layer into a regular layer.  When you delete the white pixels, the background will then be transparent. 

Votes

Translate

Translate
Community Expert ,
Mar 11, 2021 Mar 11, 2021

Copy link to clipboard

Copied

Here is one way to do it.  Follow along with my screenshot:


  1. Choose the Quick Selection tool from the tool bar.  (The active tool may be different in your toolbar, depending on which selection tool was last selected.)  Or you can use the keyboard shortcut A to cycle through these tools or to open the tools in the tool bin. 
  2. In the tool bin, select the Magic Wand tool.
  3. Make sure the tolerance is fairly low (because you are basically looking for a pure white color).
  4. For this project, you should check the contiguous box because you only need to select the white pixels surrounding the syringe and to isolate it.
  5. Click anywhere on the background white.
  6. (Optional) click on the Refine Edge button and a new dialog will open.
  7. Choose one of the different Views from the dropdown menu.  In my screenshot, I have chosen overlay which nicely displays what has been selected.
  8. If you are satisfied that the syringe has been isolated from the selected white background, click OK.
  9. Press the delete key.
  10. Save the file in a format that preserves transparency such as .png.

Snap_Thursday, March 11, 2021_19h00m33s_000_SnapCollage.png


Votes

Translate

Translate

Report

Report
Community guidelines
Be kind and respectful, give credit to the original source of content, and search for duplicates before posting. Learn more
community guidelines
Community Expert ,
Mar 11, 2021 Mar 11, 2021

Copy link to clipboard

Copied

I forgot to mention that before you do anything else, you need to double-click the background layer in the Layers panel.  That will turn the layer into a regular layer.  When you delete the white pixels, the background will then be transparent. 

Votes

Translate

Translate

Report

Report
Community guidelines
Be kind and respectful, give credit to the original source of content, and search for duplicates before posting. Learn more
community guidelines
Advocate ,
Mar 12, 2021 Mar 12, 2021

Copy link to clipboard

Copied

Just to add to @Greg_S. 's excellent walkthrough - the Guided > Replace Background feature does a pretty good job too on this particular image just using the one-click Select Subject button. It needs a little tidying up with the Refine Edge Brush, but nothing too difficult - it's helpful to actually choose a Color background for doing this tidying up work (rather than None) - but you'll then need to quickly go into Expert mode to delete the color background layer right at the end.


And also, I've noticed you're using a stock image for this project. Just wanted to make sure you are aware that if you are using this image to produce a t-shirt that you intend to sell commercially, you will need to purchase an Enhanced License from Shutterstock (their Standard License only covers non-commercial use for things like t-shirts).


Votes

Translate

Translate

Report

Report
Community guidelines
Be kind and respectful, give credit to the original source of content, and search for duplicates before posting. Learn more
community guidelines
Community Beginner ,
Mar 12, 2021 Mar 12, 2021

Copy link to clipboard

Copied

LATEST

I wasn't aware of the Enhanced License, as they are now included as a choice for images within the website of the provider I am using. Thanks for pointing that out, I will check with them to verify that I need one.

Votes

Translate

Translate

Report

Report
Community guidelines
Be kind and respectful, give credit to the original source of content, and search for duplicates before posting. Learn more
community guidelines