
Draw yourself manga or anime style today
Use Fresco and Photoshop on the iPad to turn yourself into a manga character
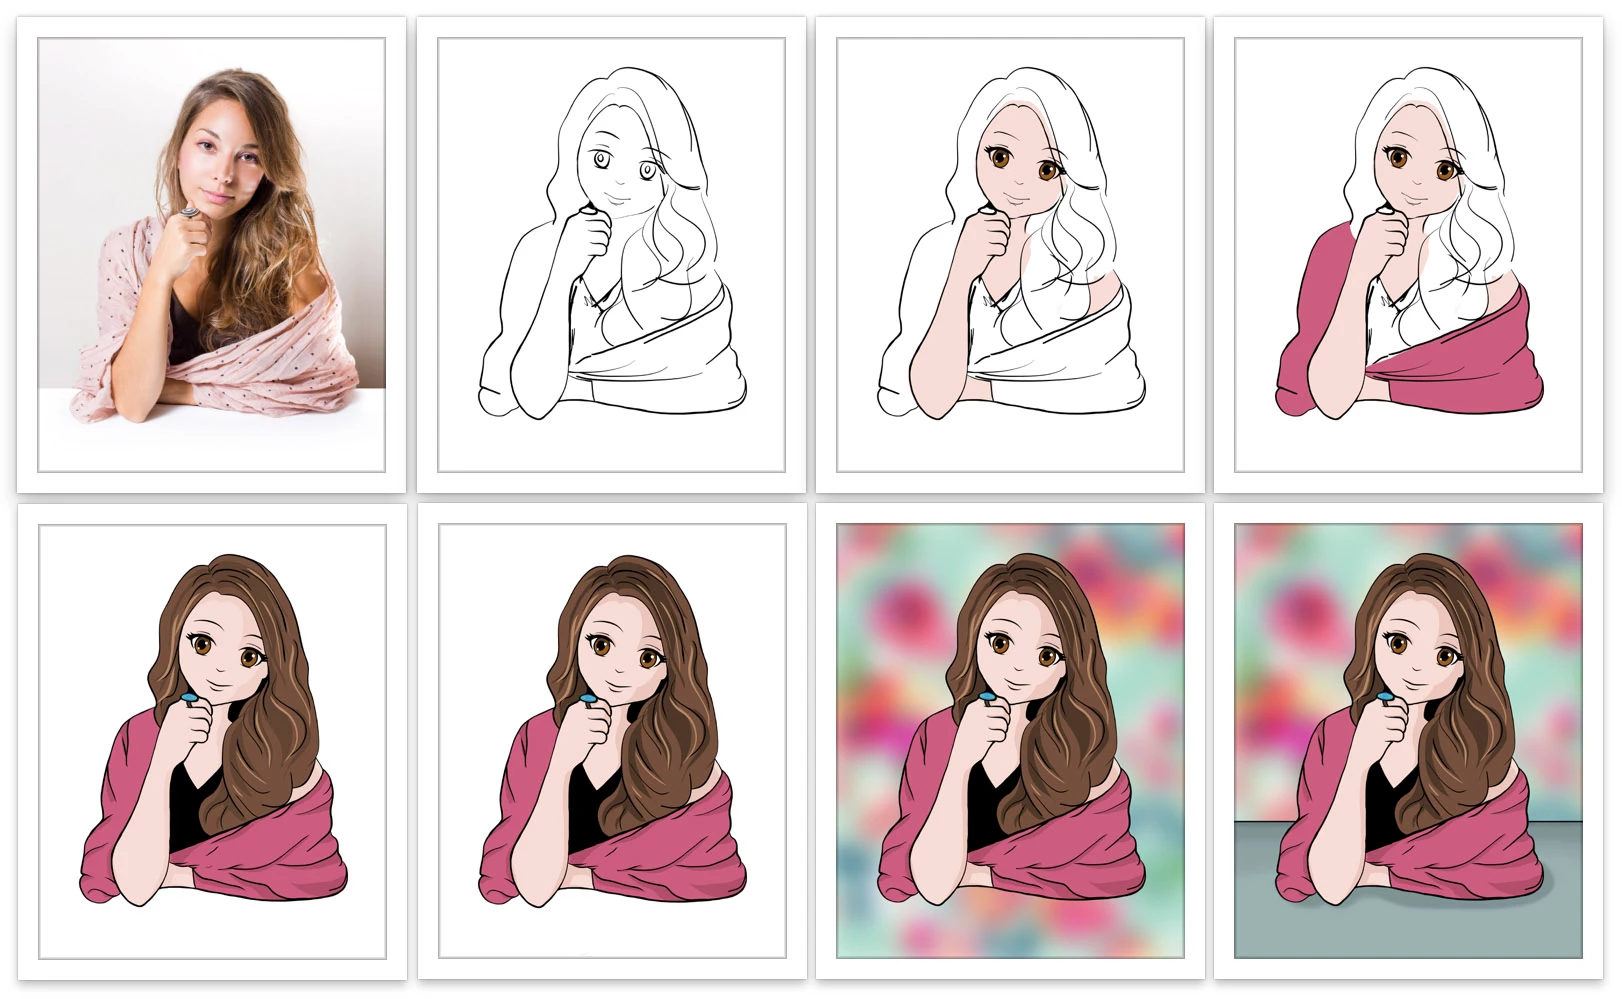
To exercise my artistic muscles, I like to take a break from the norm and create art in different ways. I generally paint traditional or digital watercolors, but this time I created a manga-like character from a portrait using vector brushes. Since I like to draw in Fresco and I like to create and edit in Photoshop on the iPad, it seemed only natural to use both for my creation.
I decided to draw the character in Fresco because it is a drawing and painting app. Likewise, I thought it made sense to open my character in Photoshop on the iPad to create a background and then edit my character there. There are many different styles of anime and manga, from relatively realistic to highly stylized. I chose to make mine somewhere in the middle of the spectrum.
Follow this step by step tutorial to create a character from a photograph of yourself and have fun creating using both Adobe Fresco and Photoshop on the iPad.
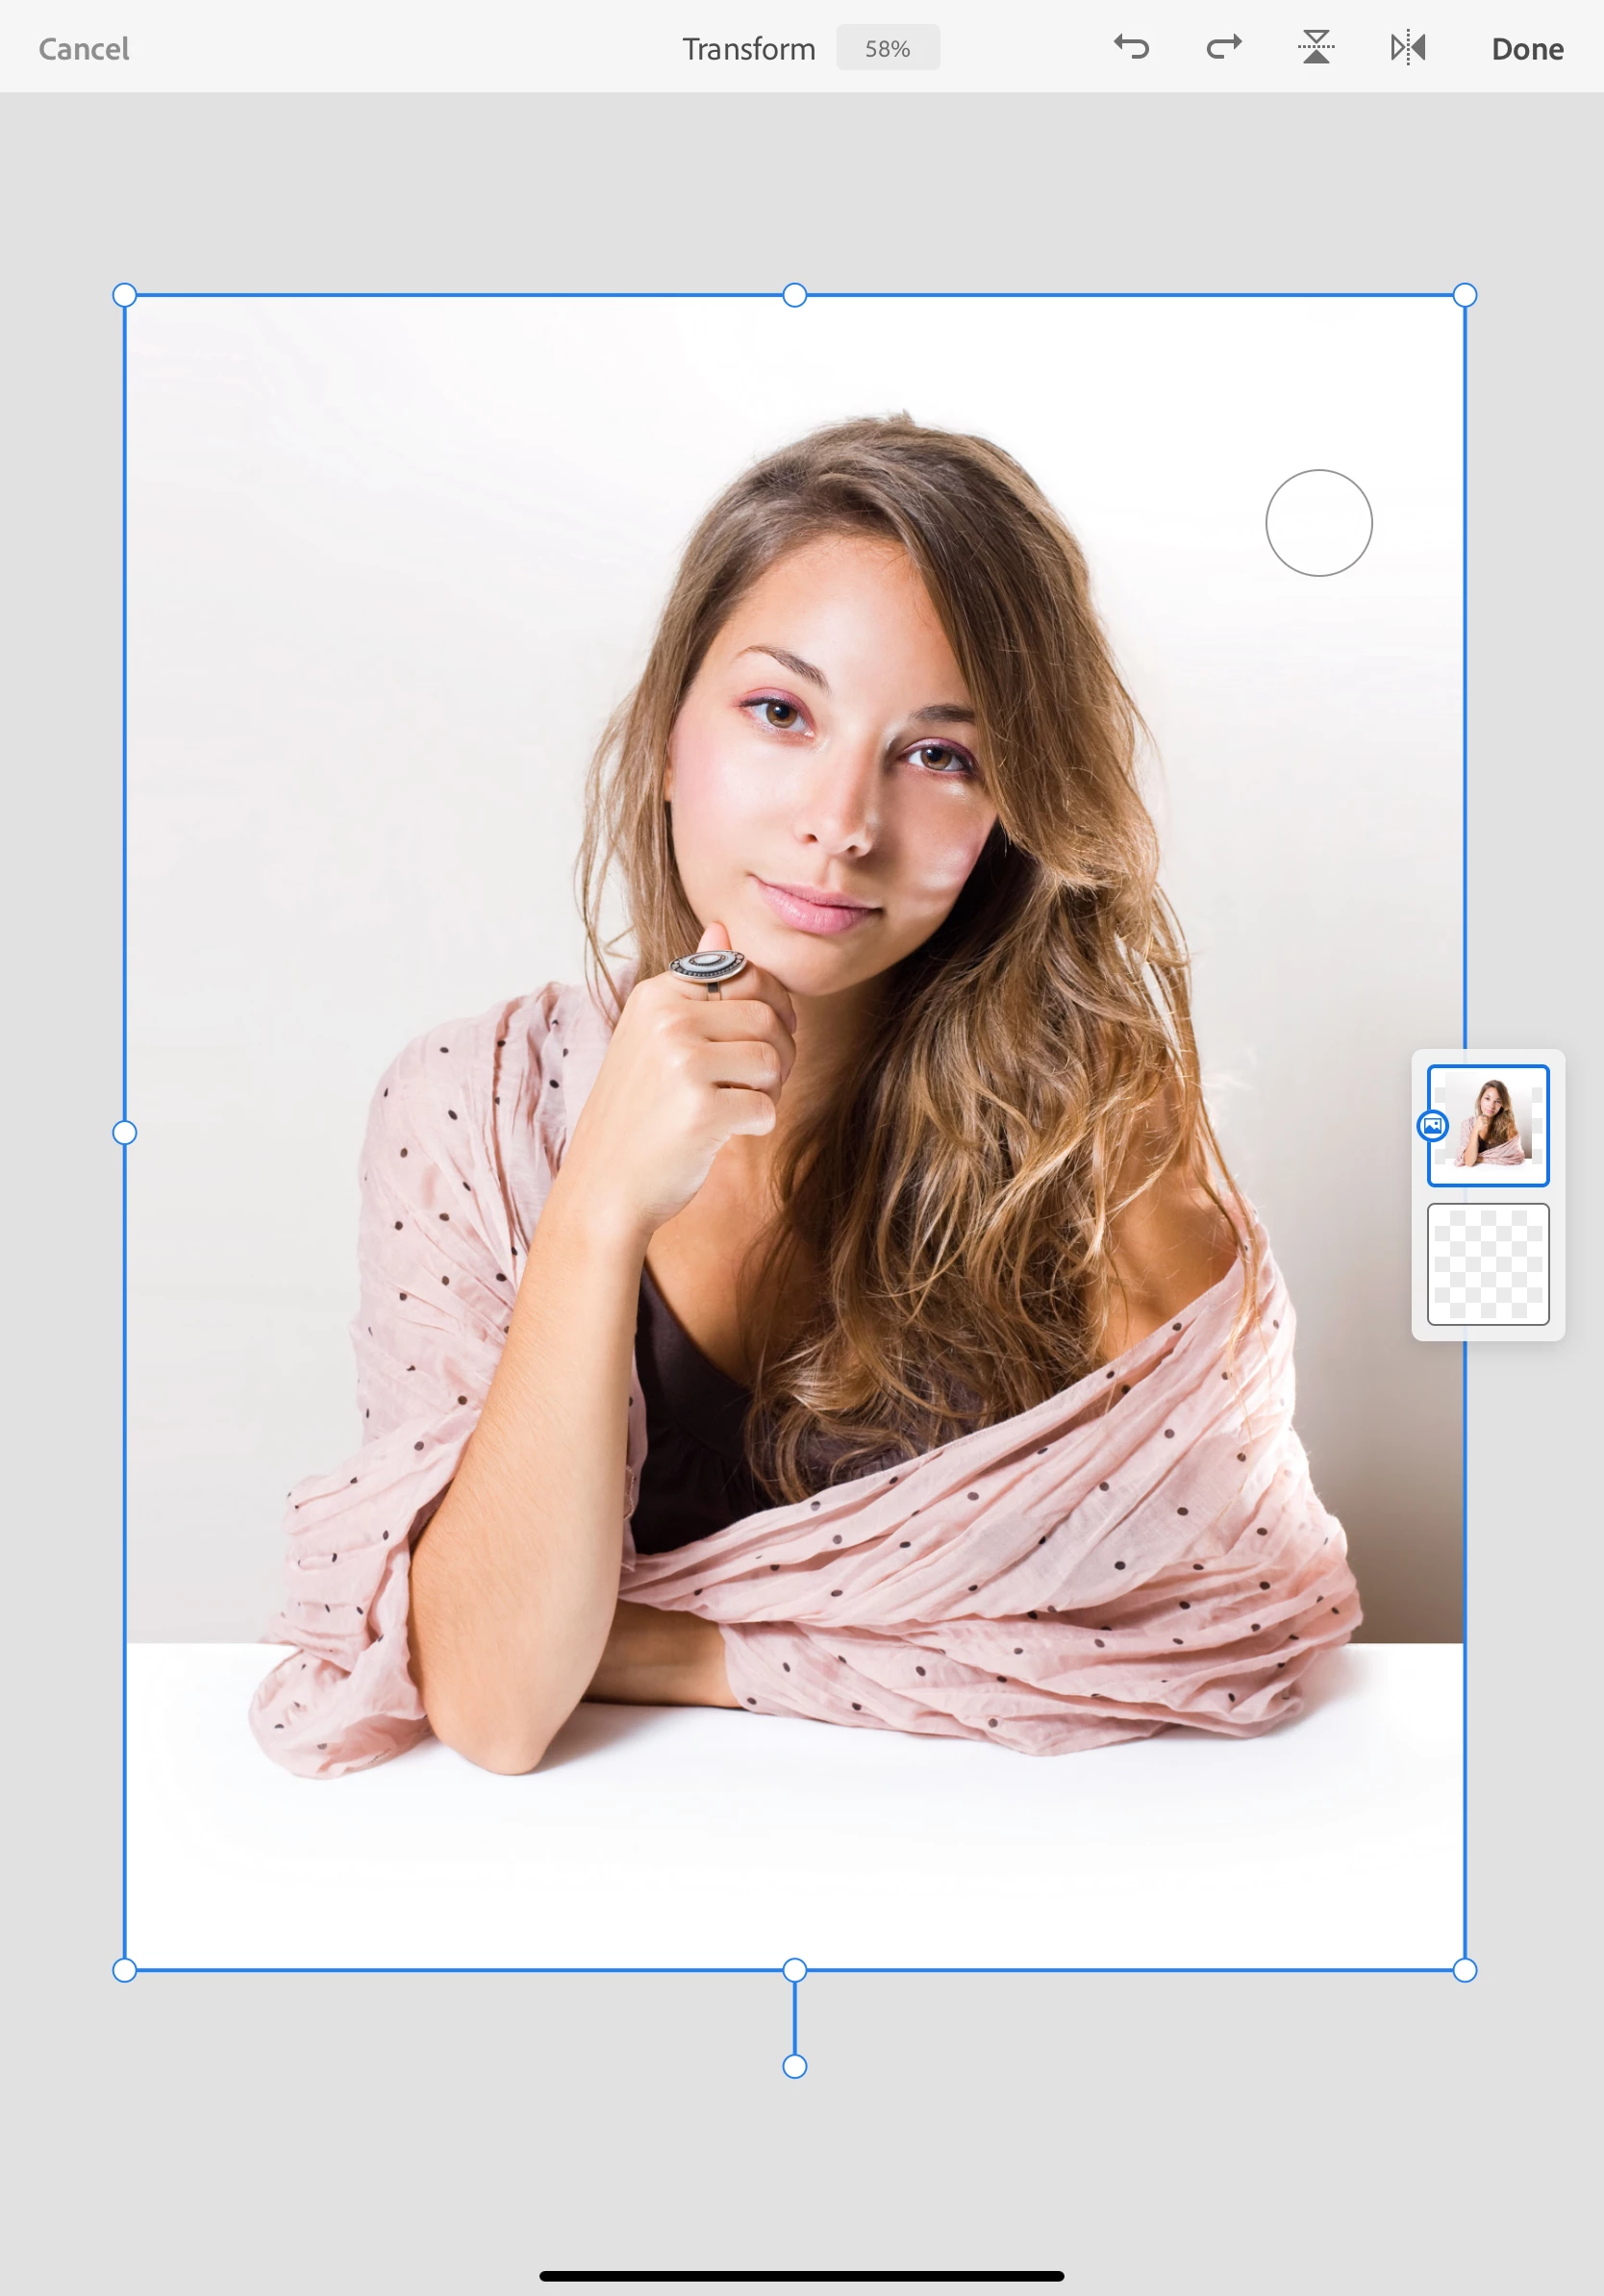
❶ Import a photo
- Open Adobe Fresco and tap + Create New to start a new document
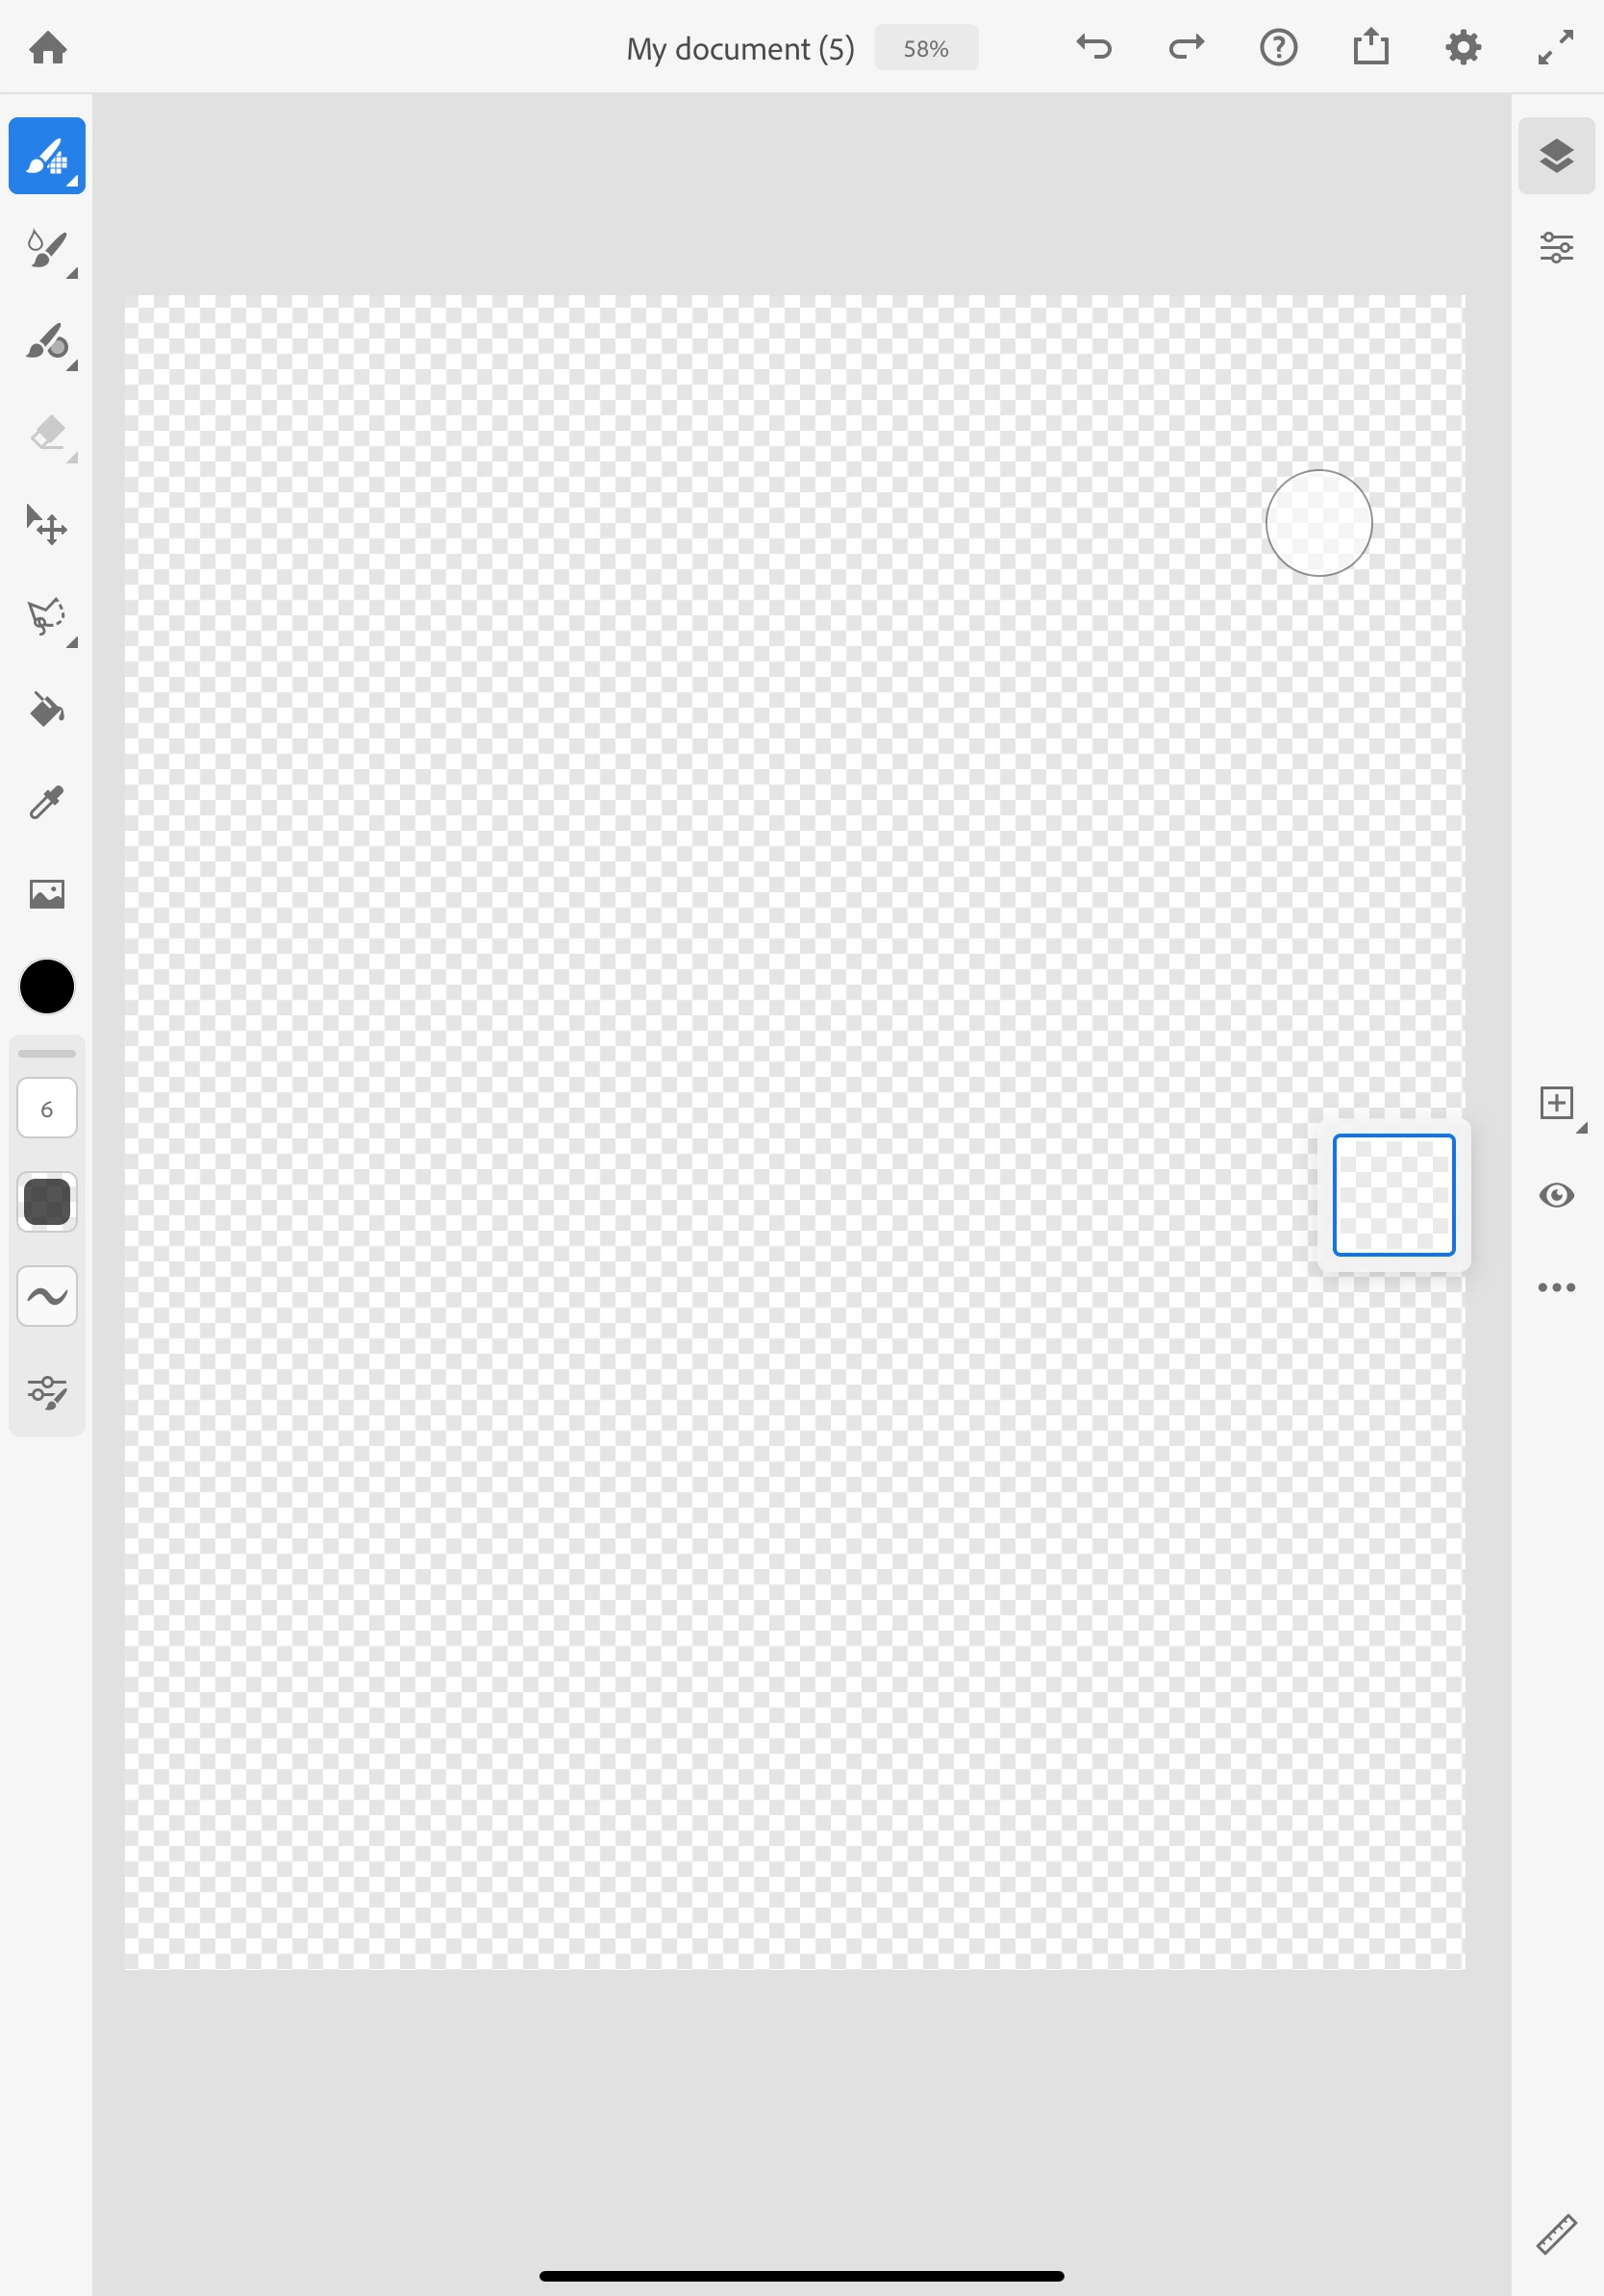
- Your empty document will look something like this depending on the size and settings you choose
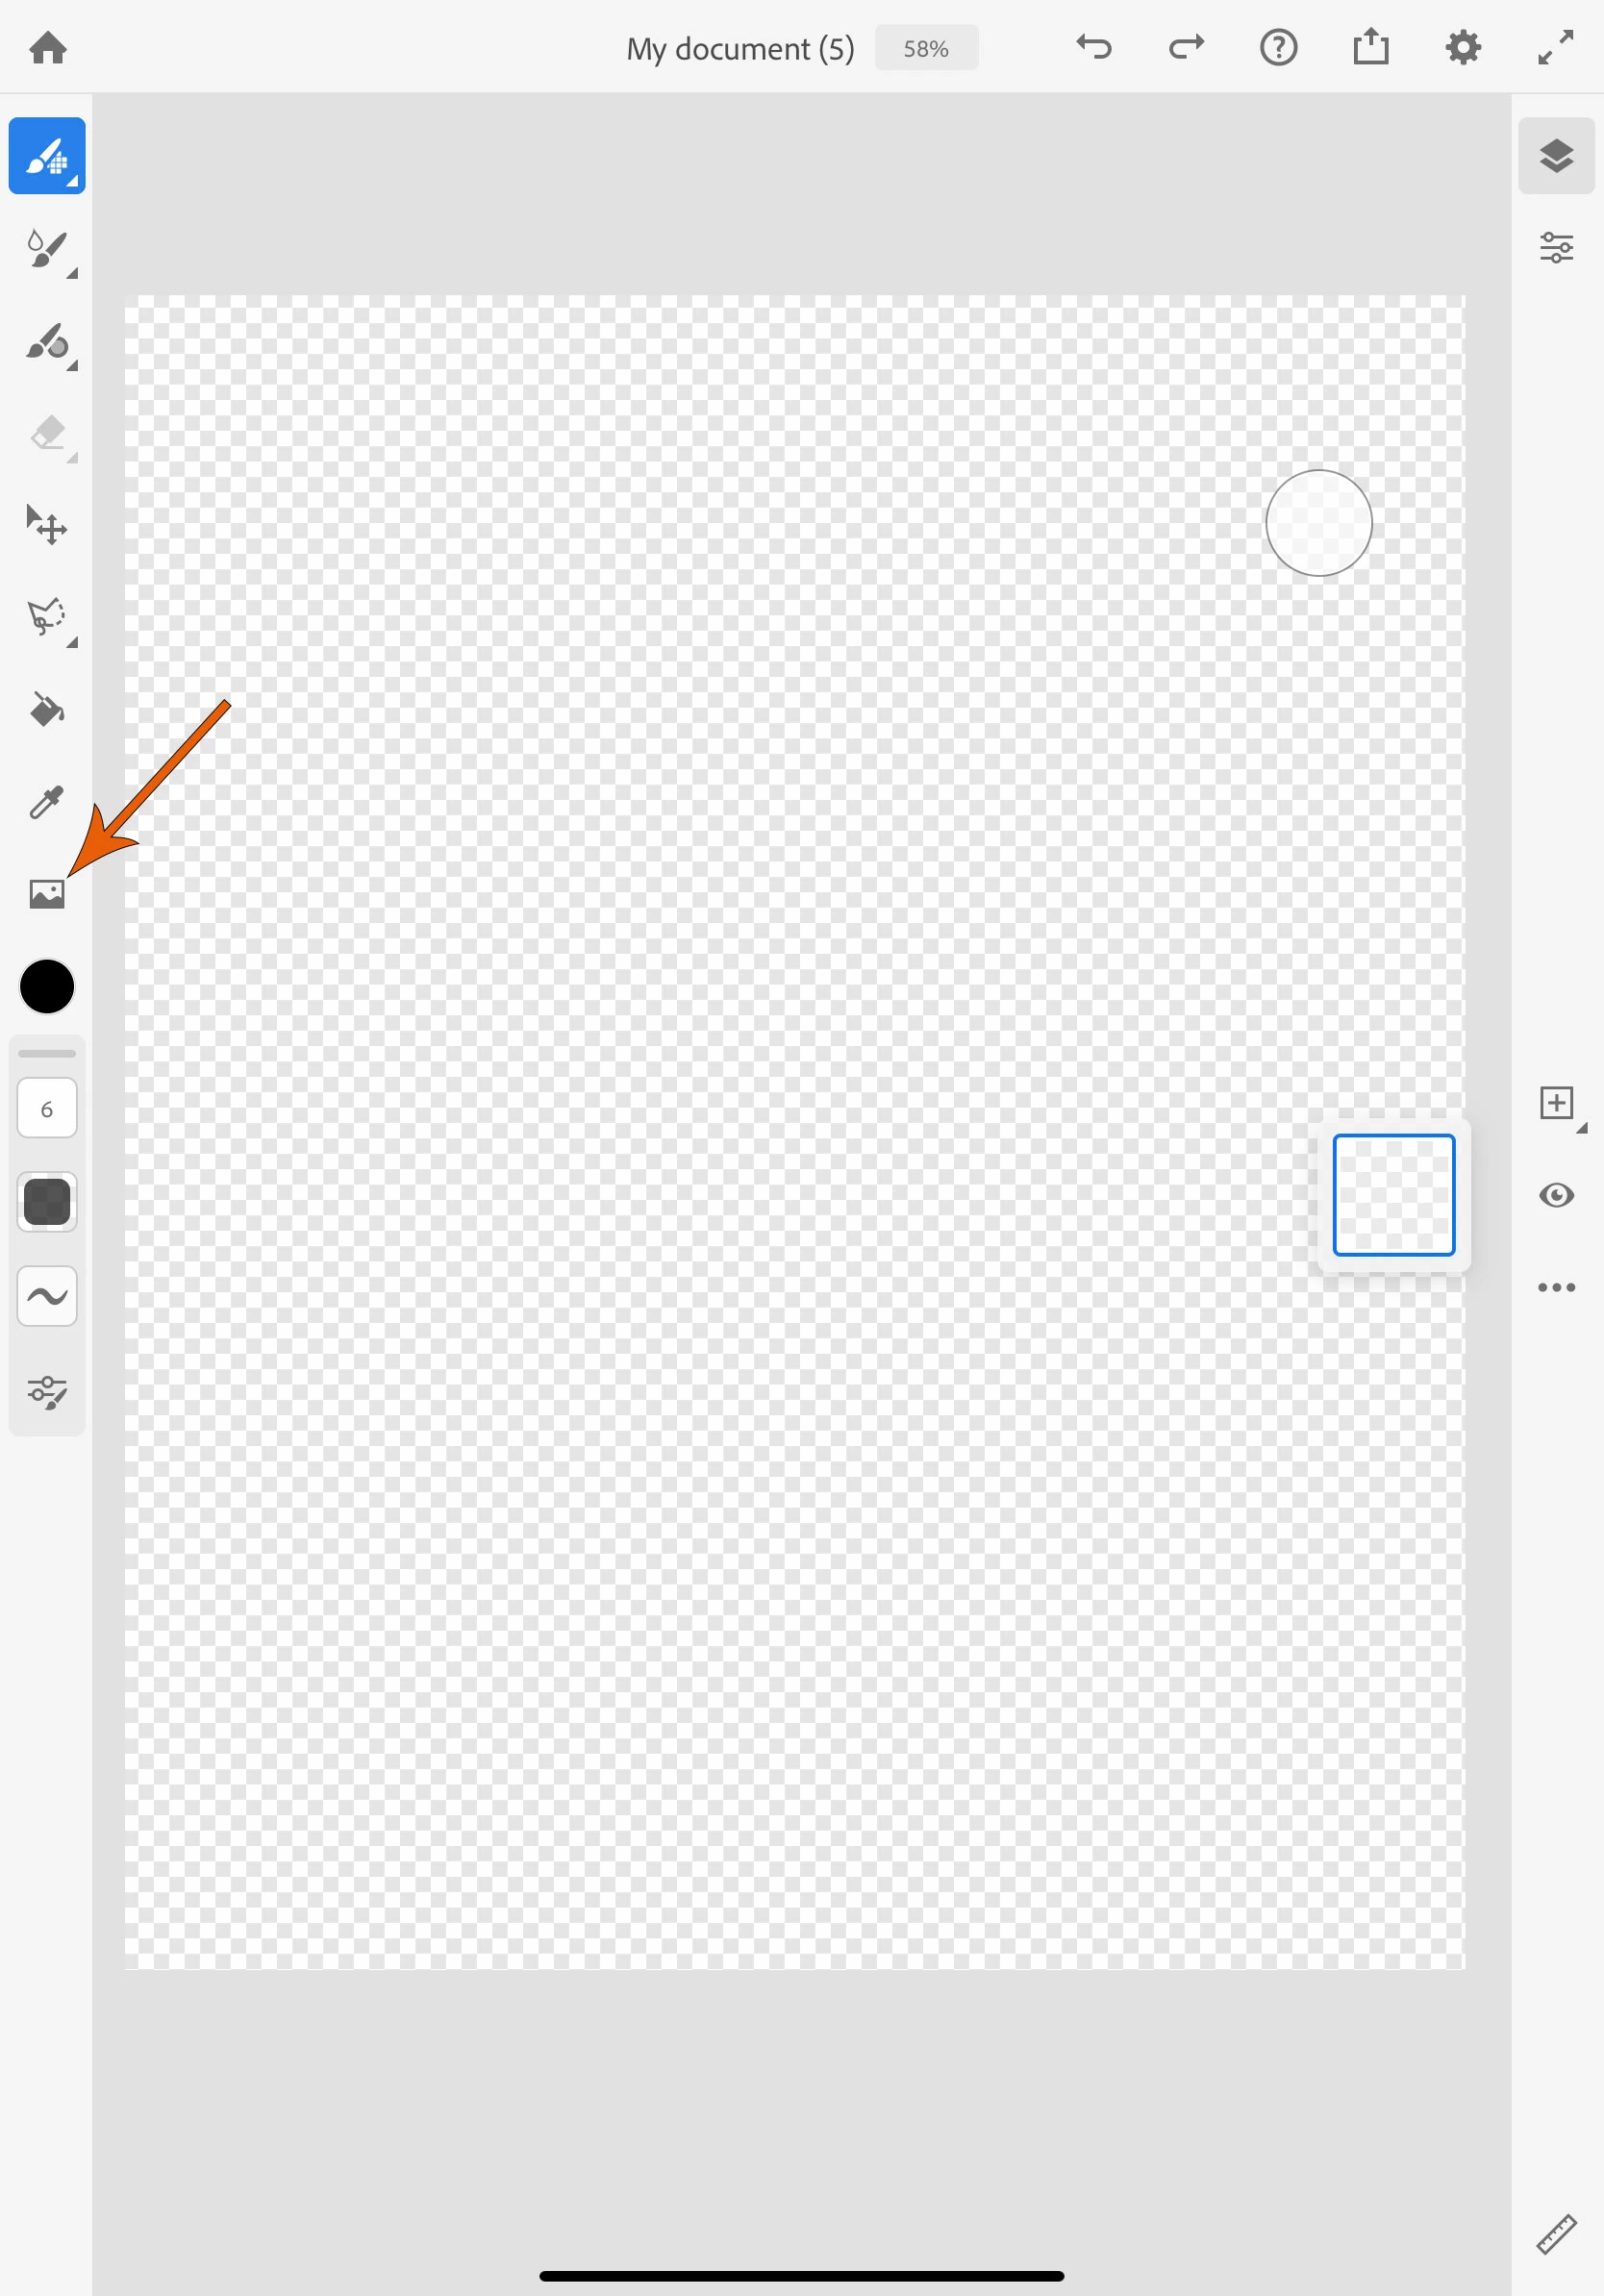
- Next, tap on the photo icon in the toolbar
- Navigate to the location your photo is stored and select it
- Use your thumb and finger to make the image smaller or larger as desired
- Tap Done in the top-right corner
NOTE: If you are new to Fresco, you may find these links helpful.
You can learn more about layers in Fresco here: Layers
You can learn more about the interface here: Get to know the document workspace
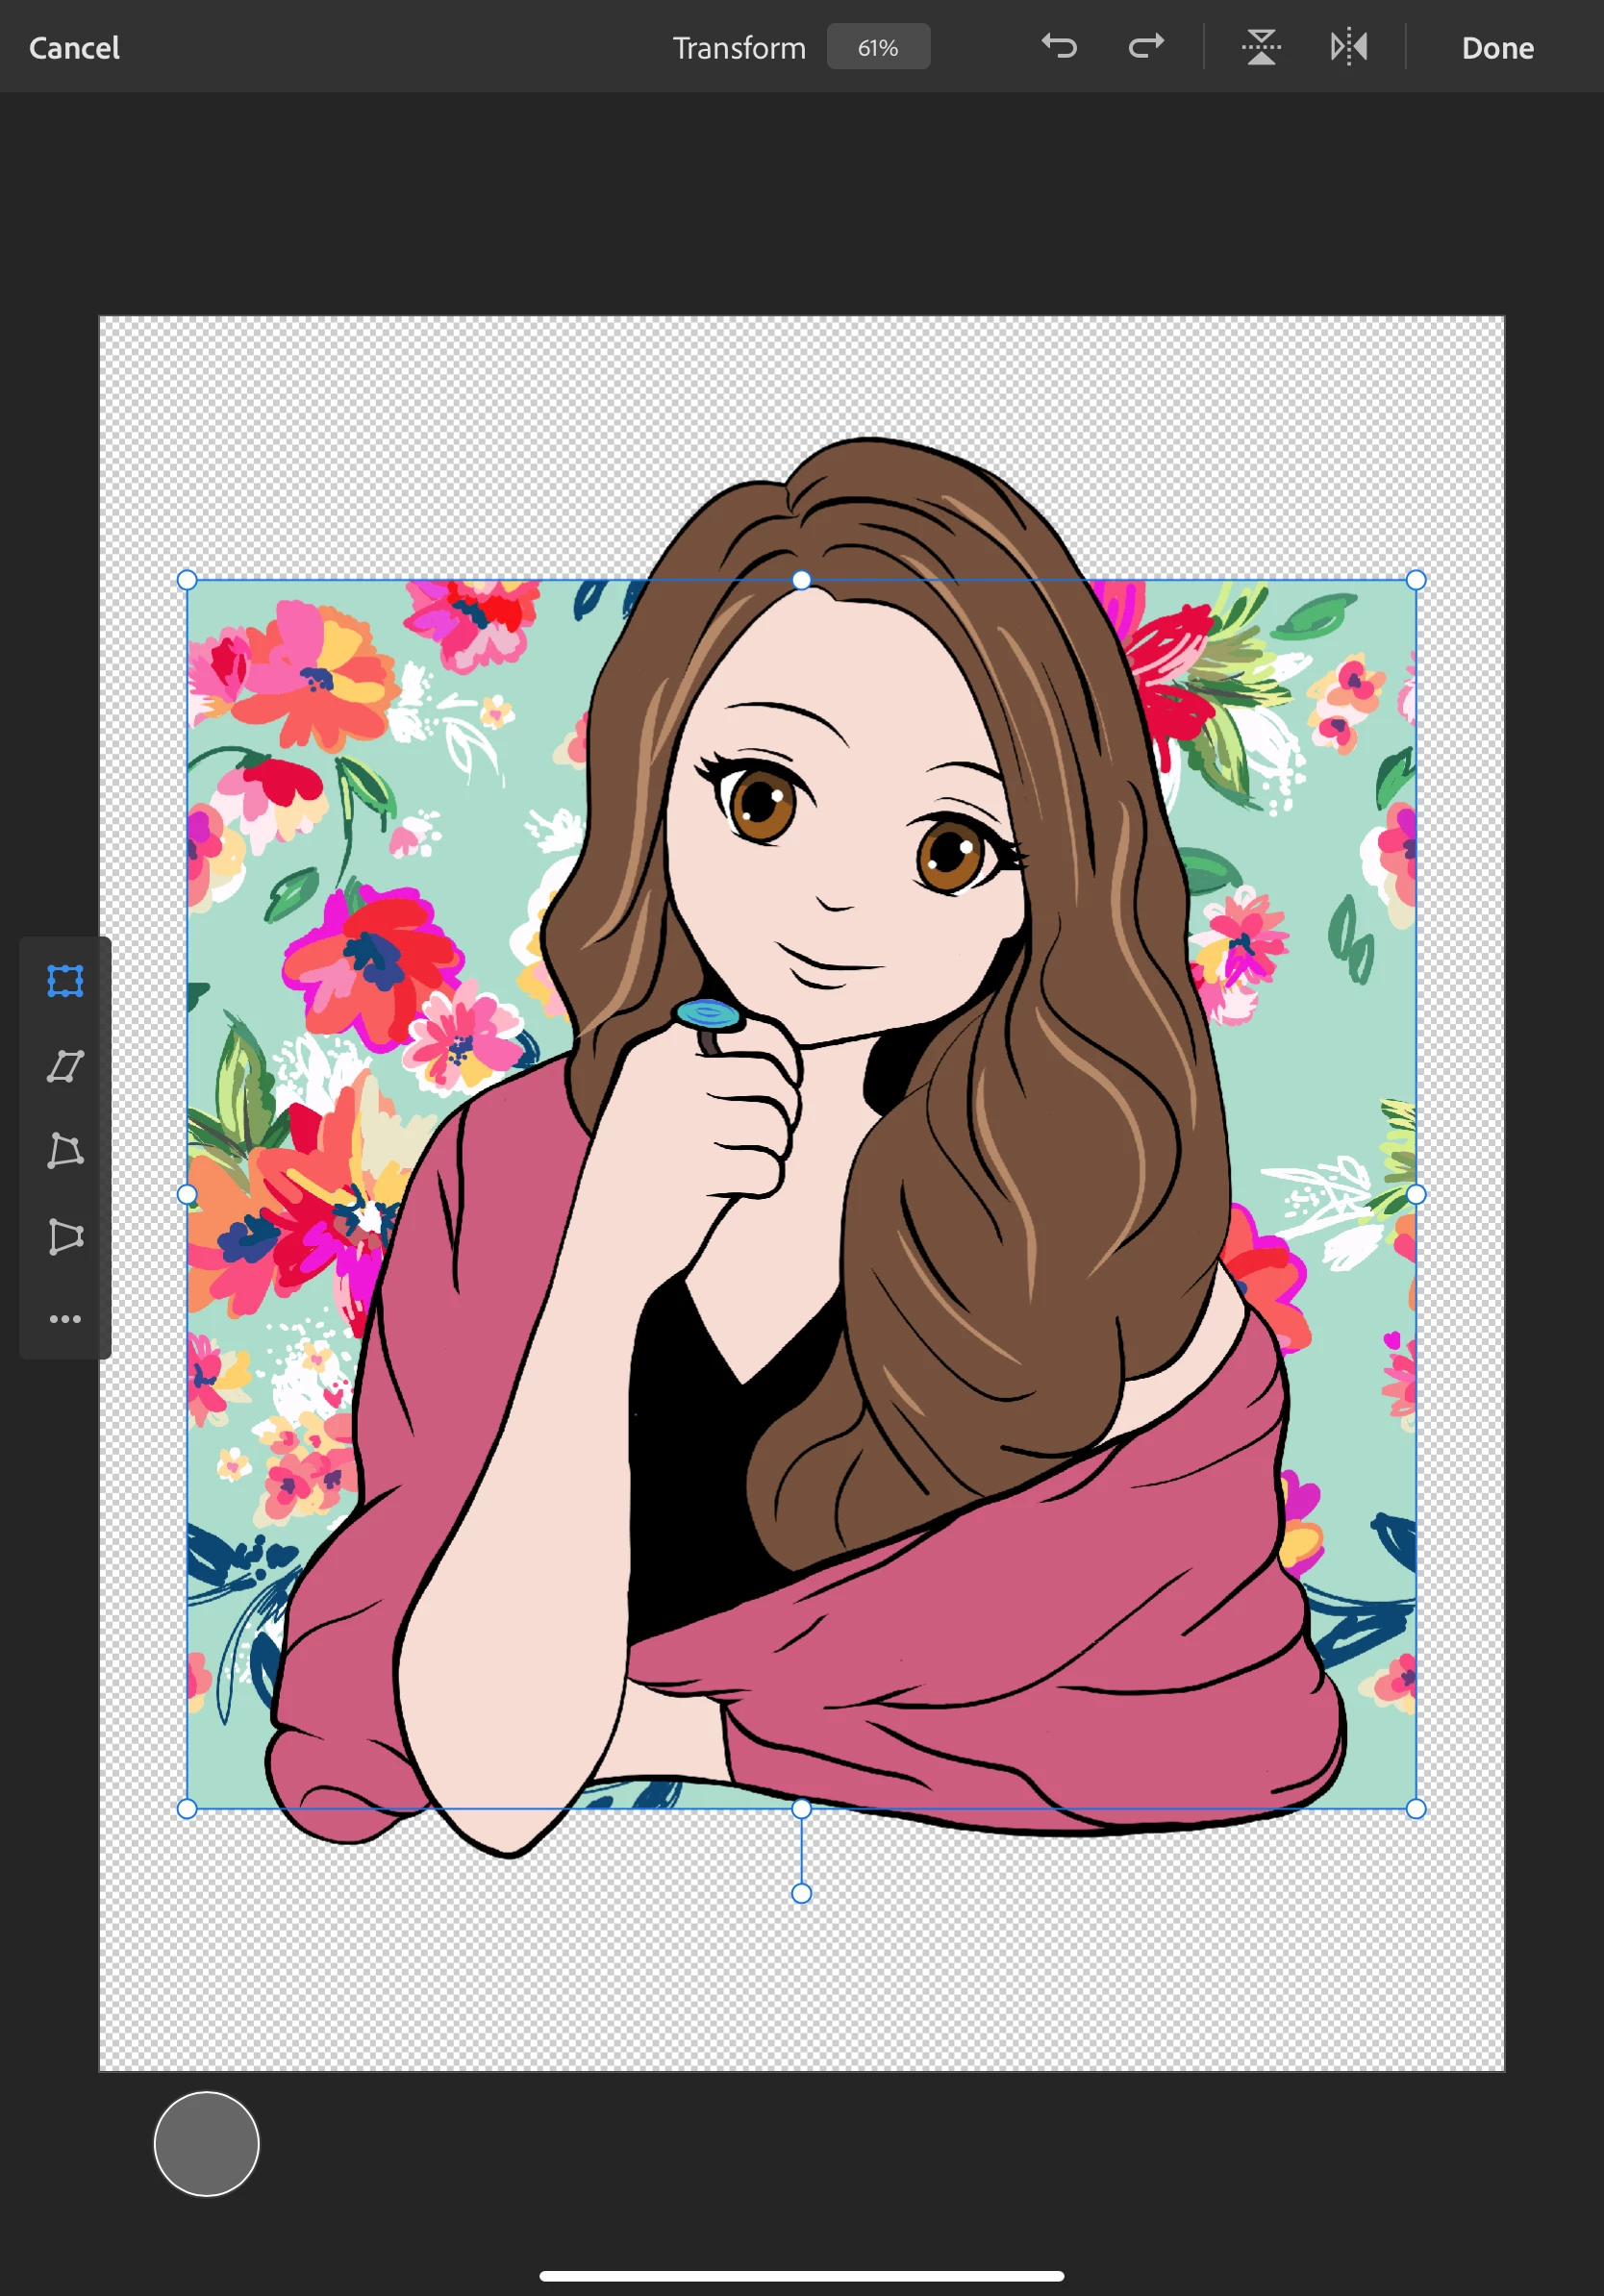
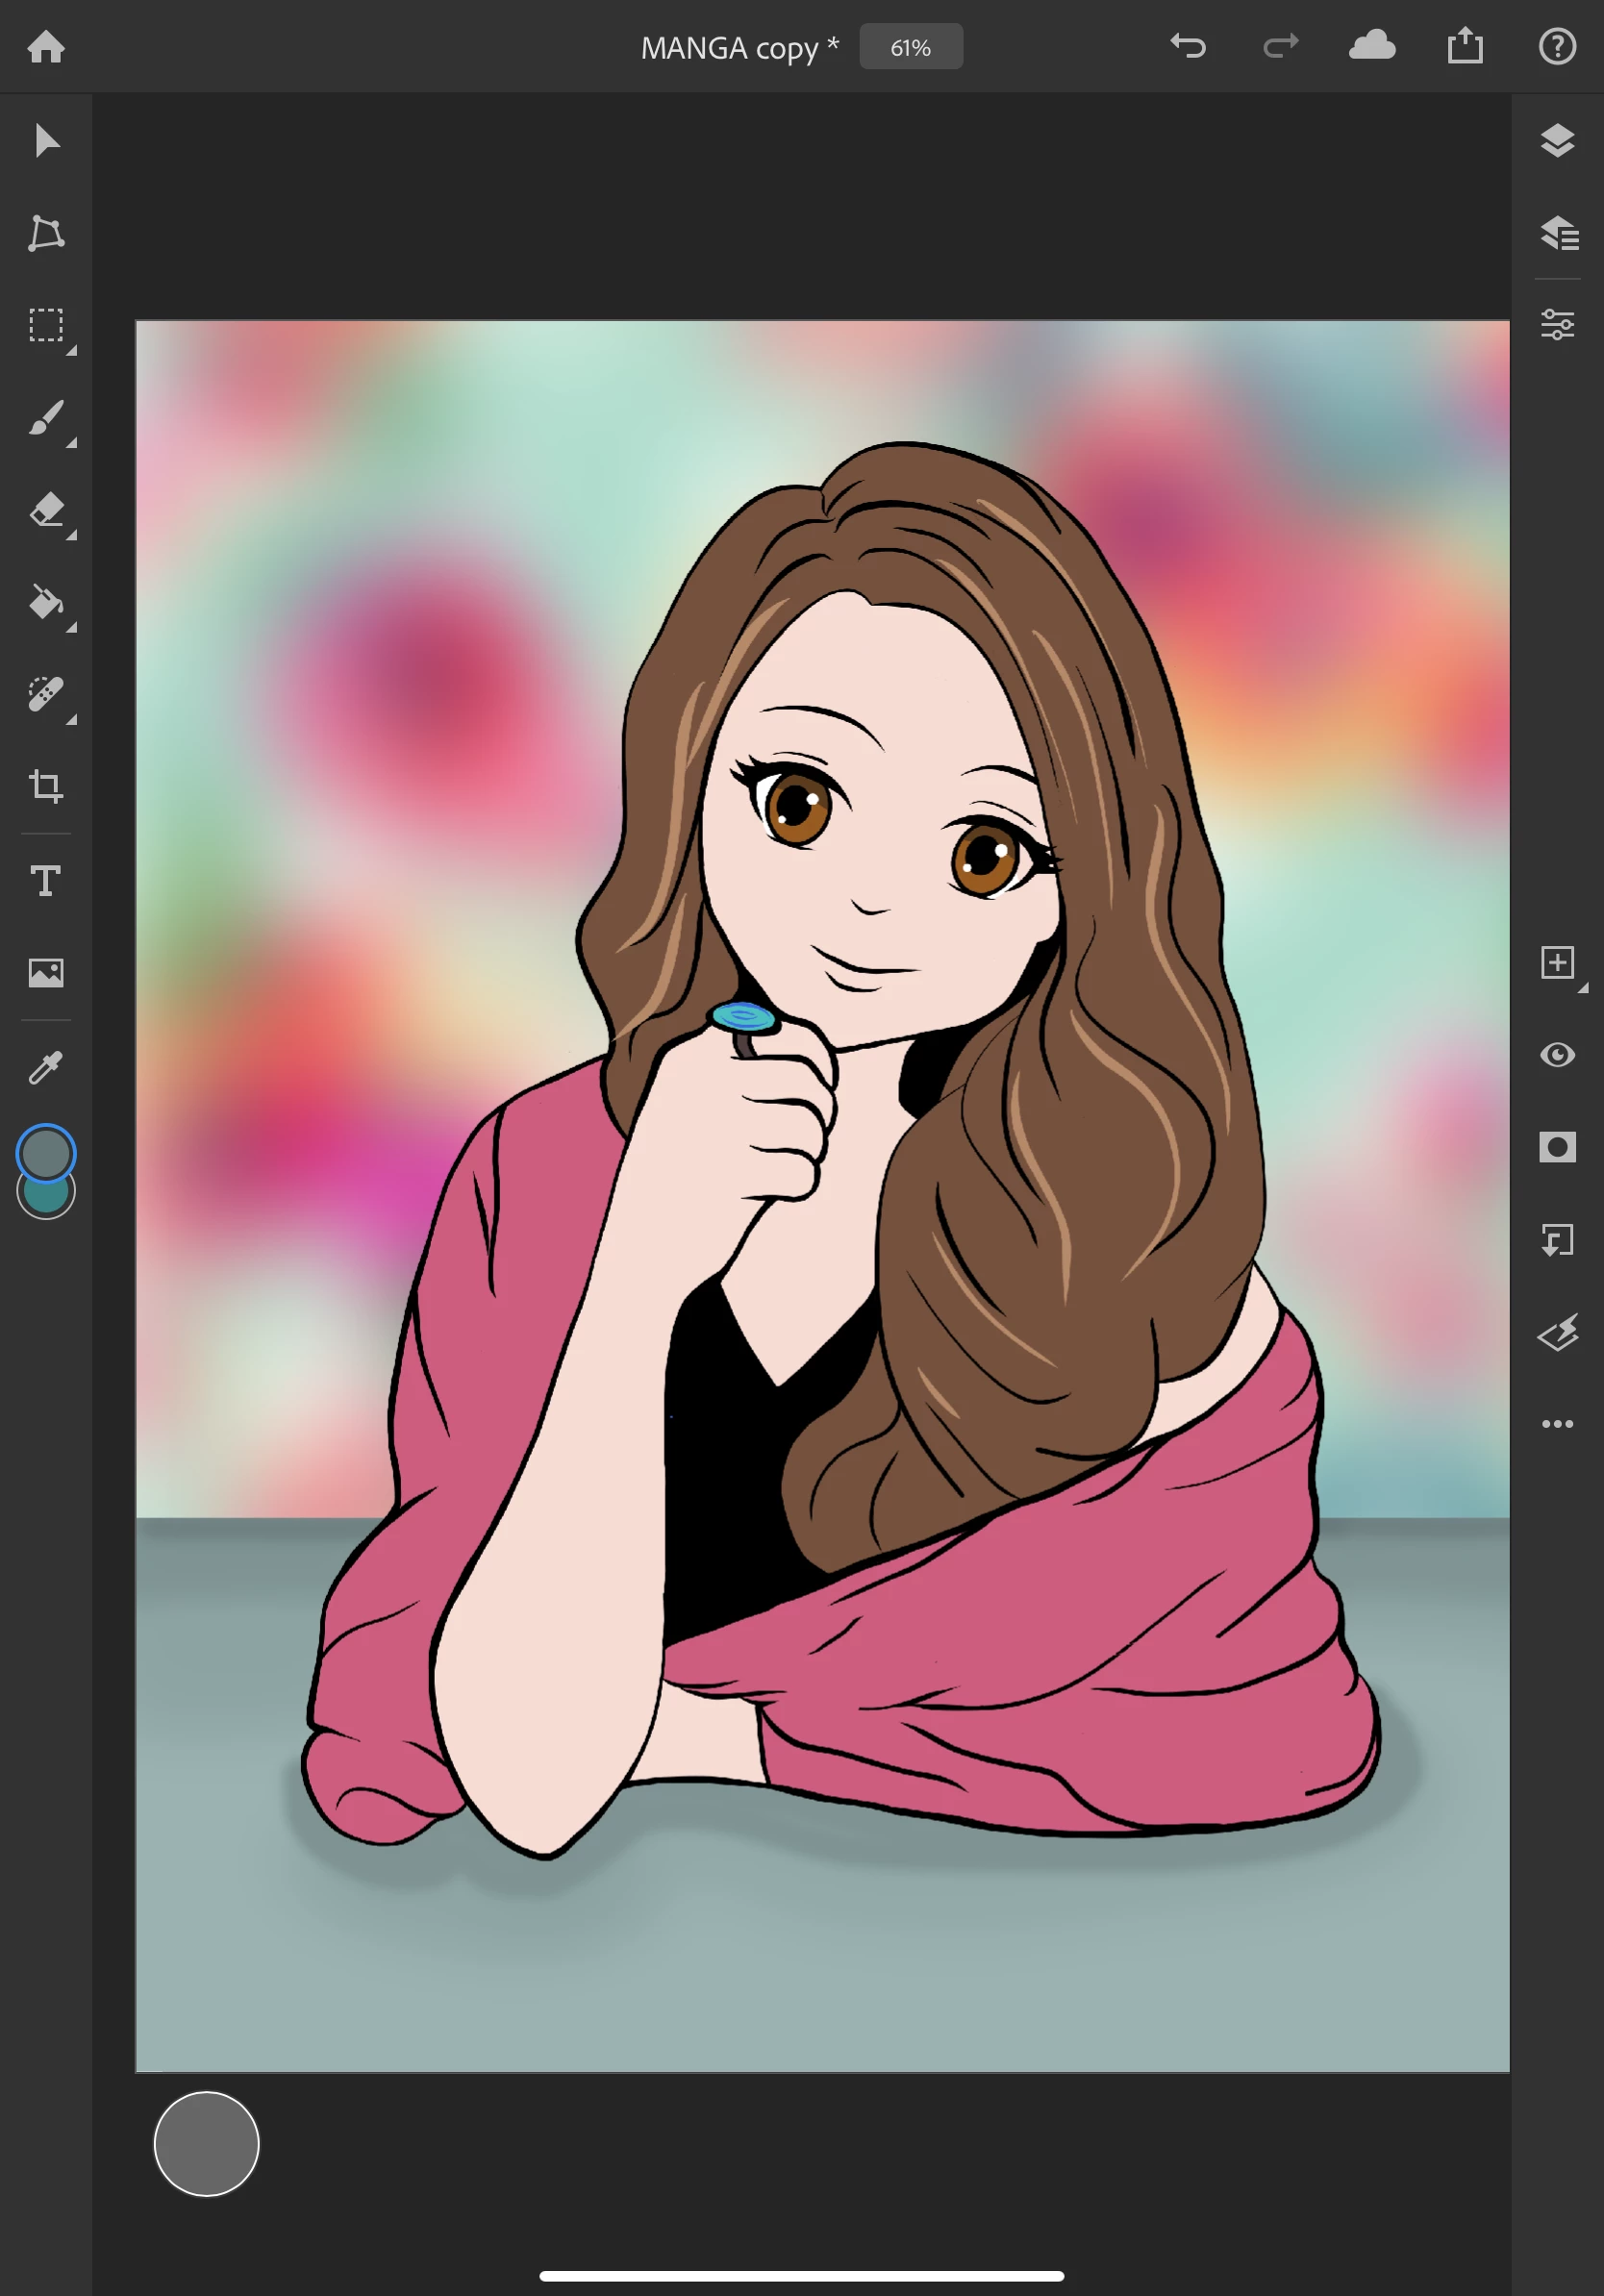
❷ Trace your outline and modify your features
Before you start drawing or painting, you should decide which type of layers you want to create, pixel or vector. You can learn more about the types of layers and brushes here: Pixel brushes, Vector brushes, Live brushes, Erasers. To learn about importing and managing brushes read here: read here: Import and manage brushes. I decided to make a vector drawing, so I chose the third brush tool from the top.
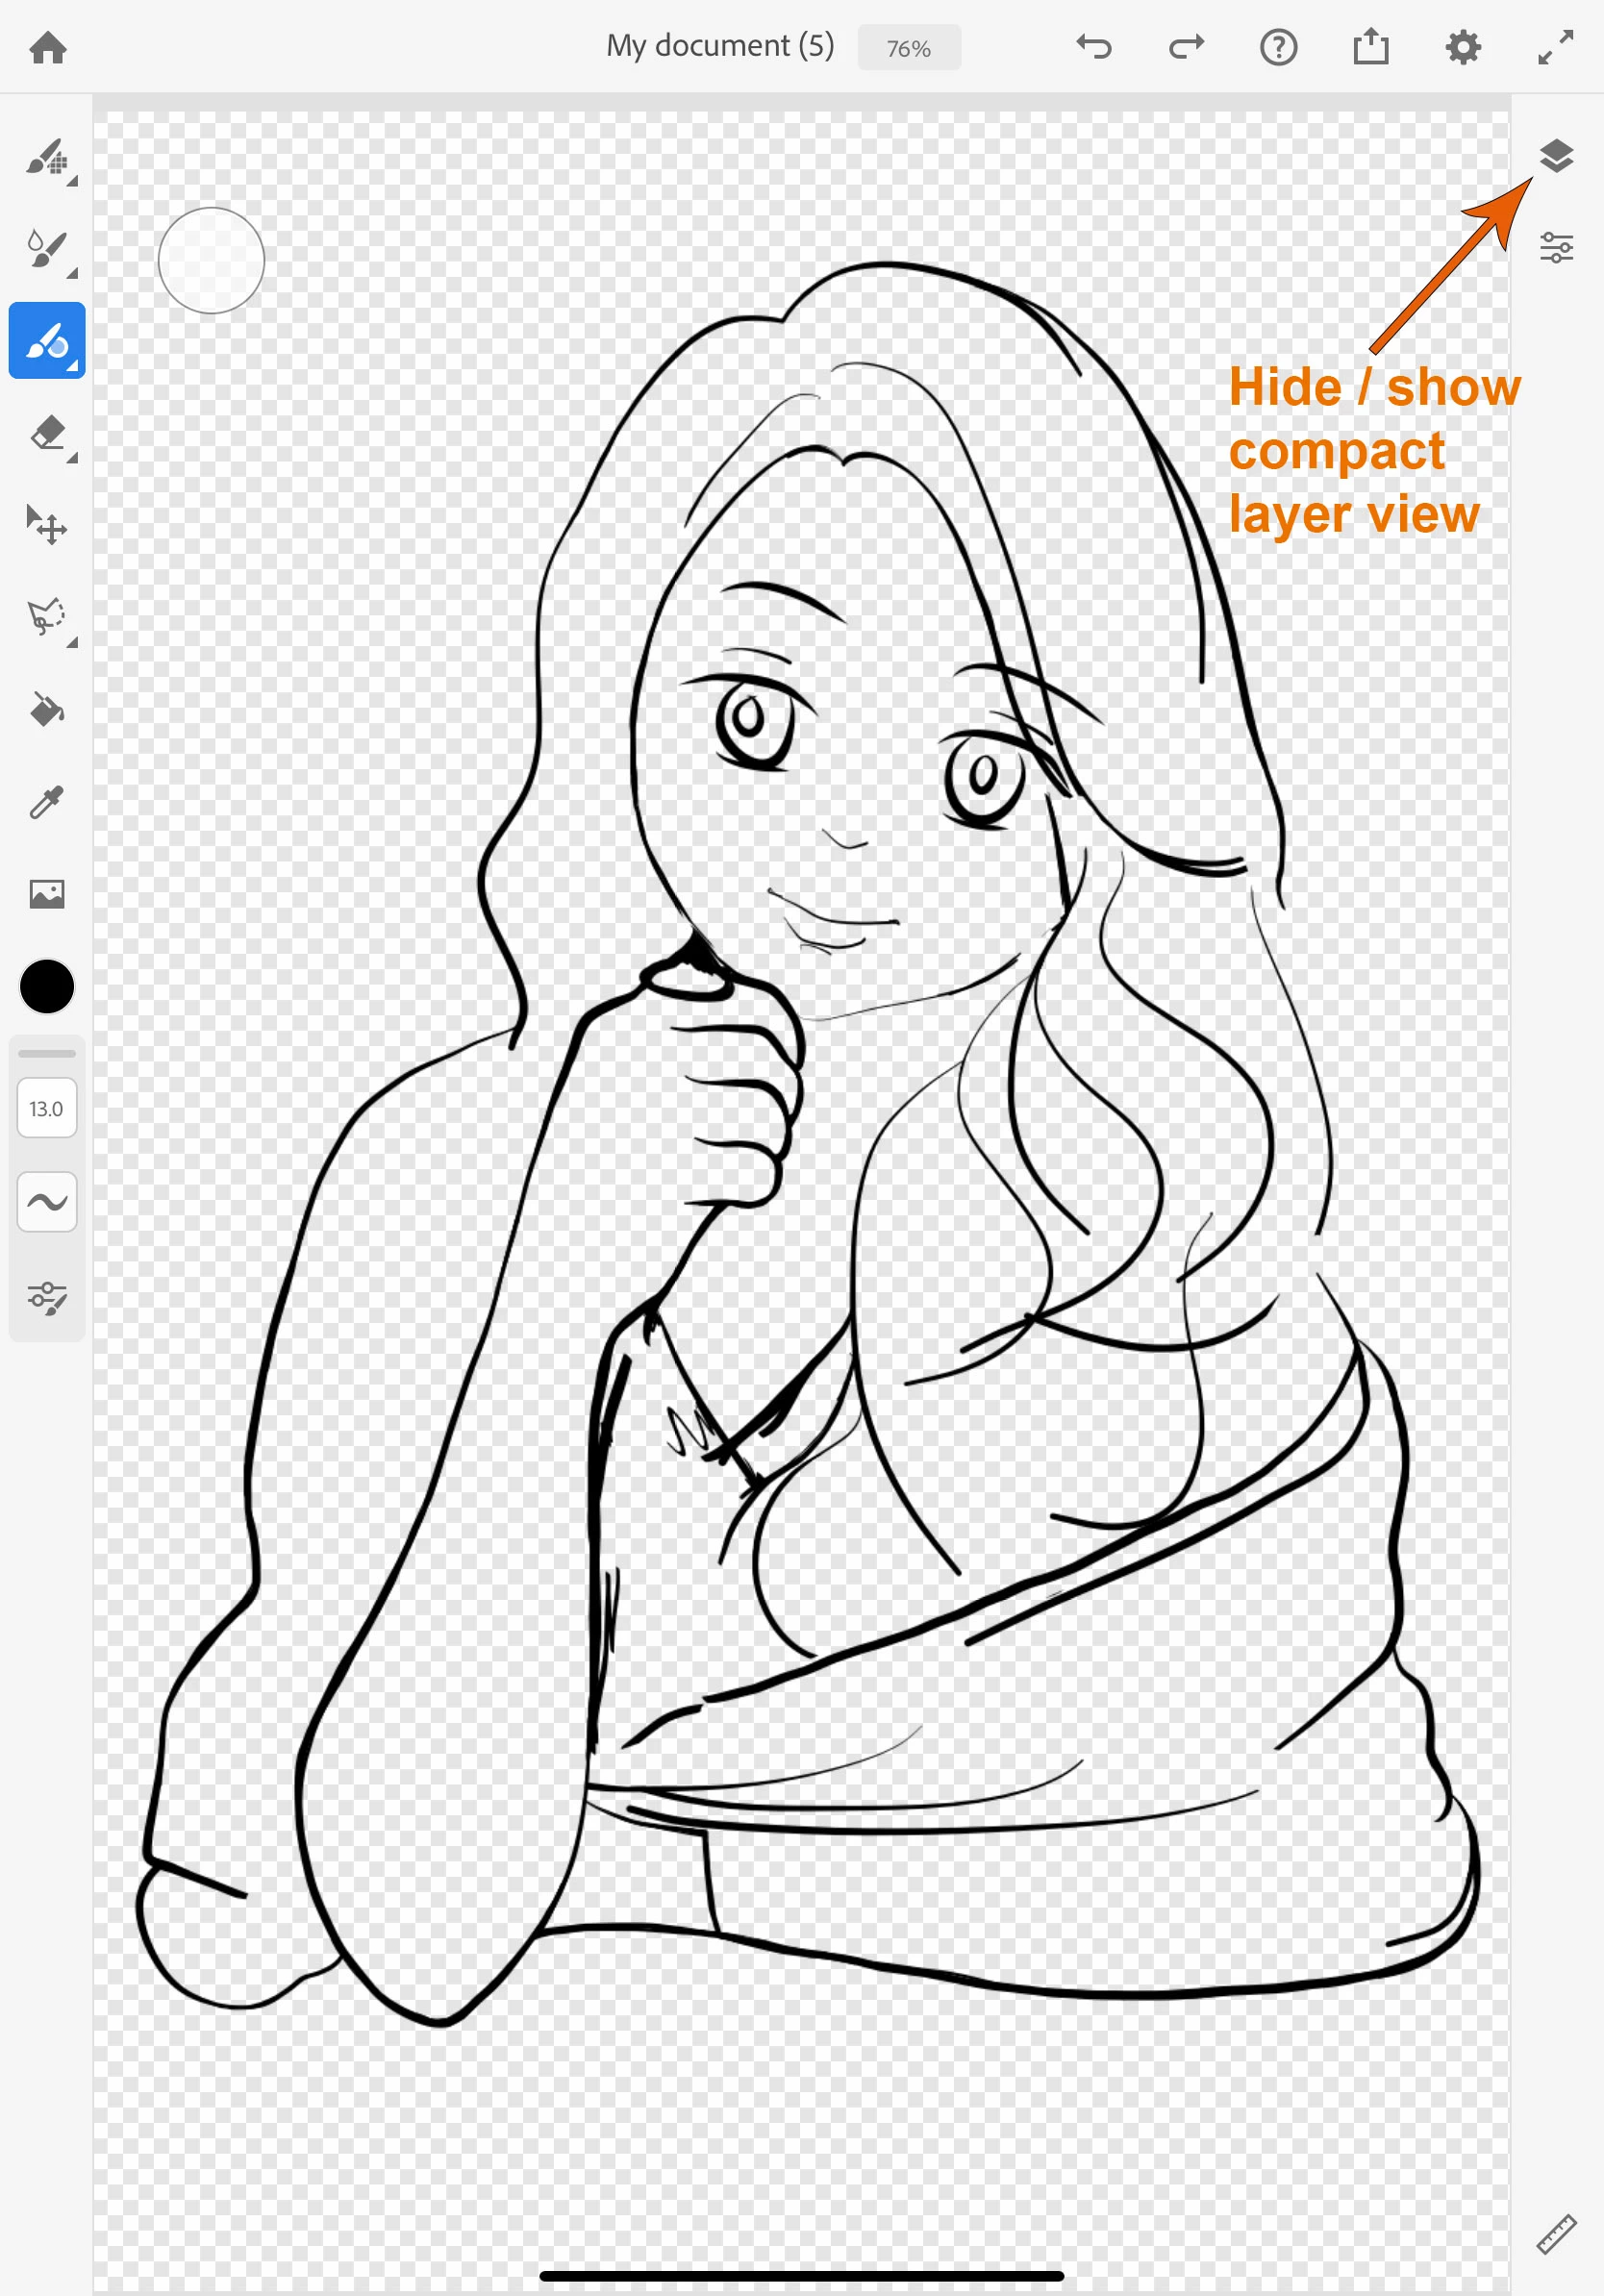
- Tap the compact layer icon at the top of the taskbar on the right if you temporarily want to hide your layer views
- Long-press or double-tap on the vector brush tool and select a brush (Basic taper and basic round two of my favorites)
- Adjust your brush size and settings
- Begin by drawing the outline of your character
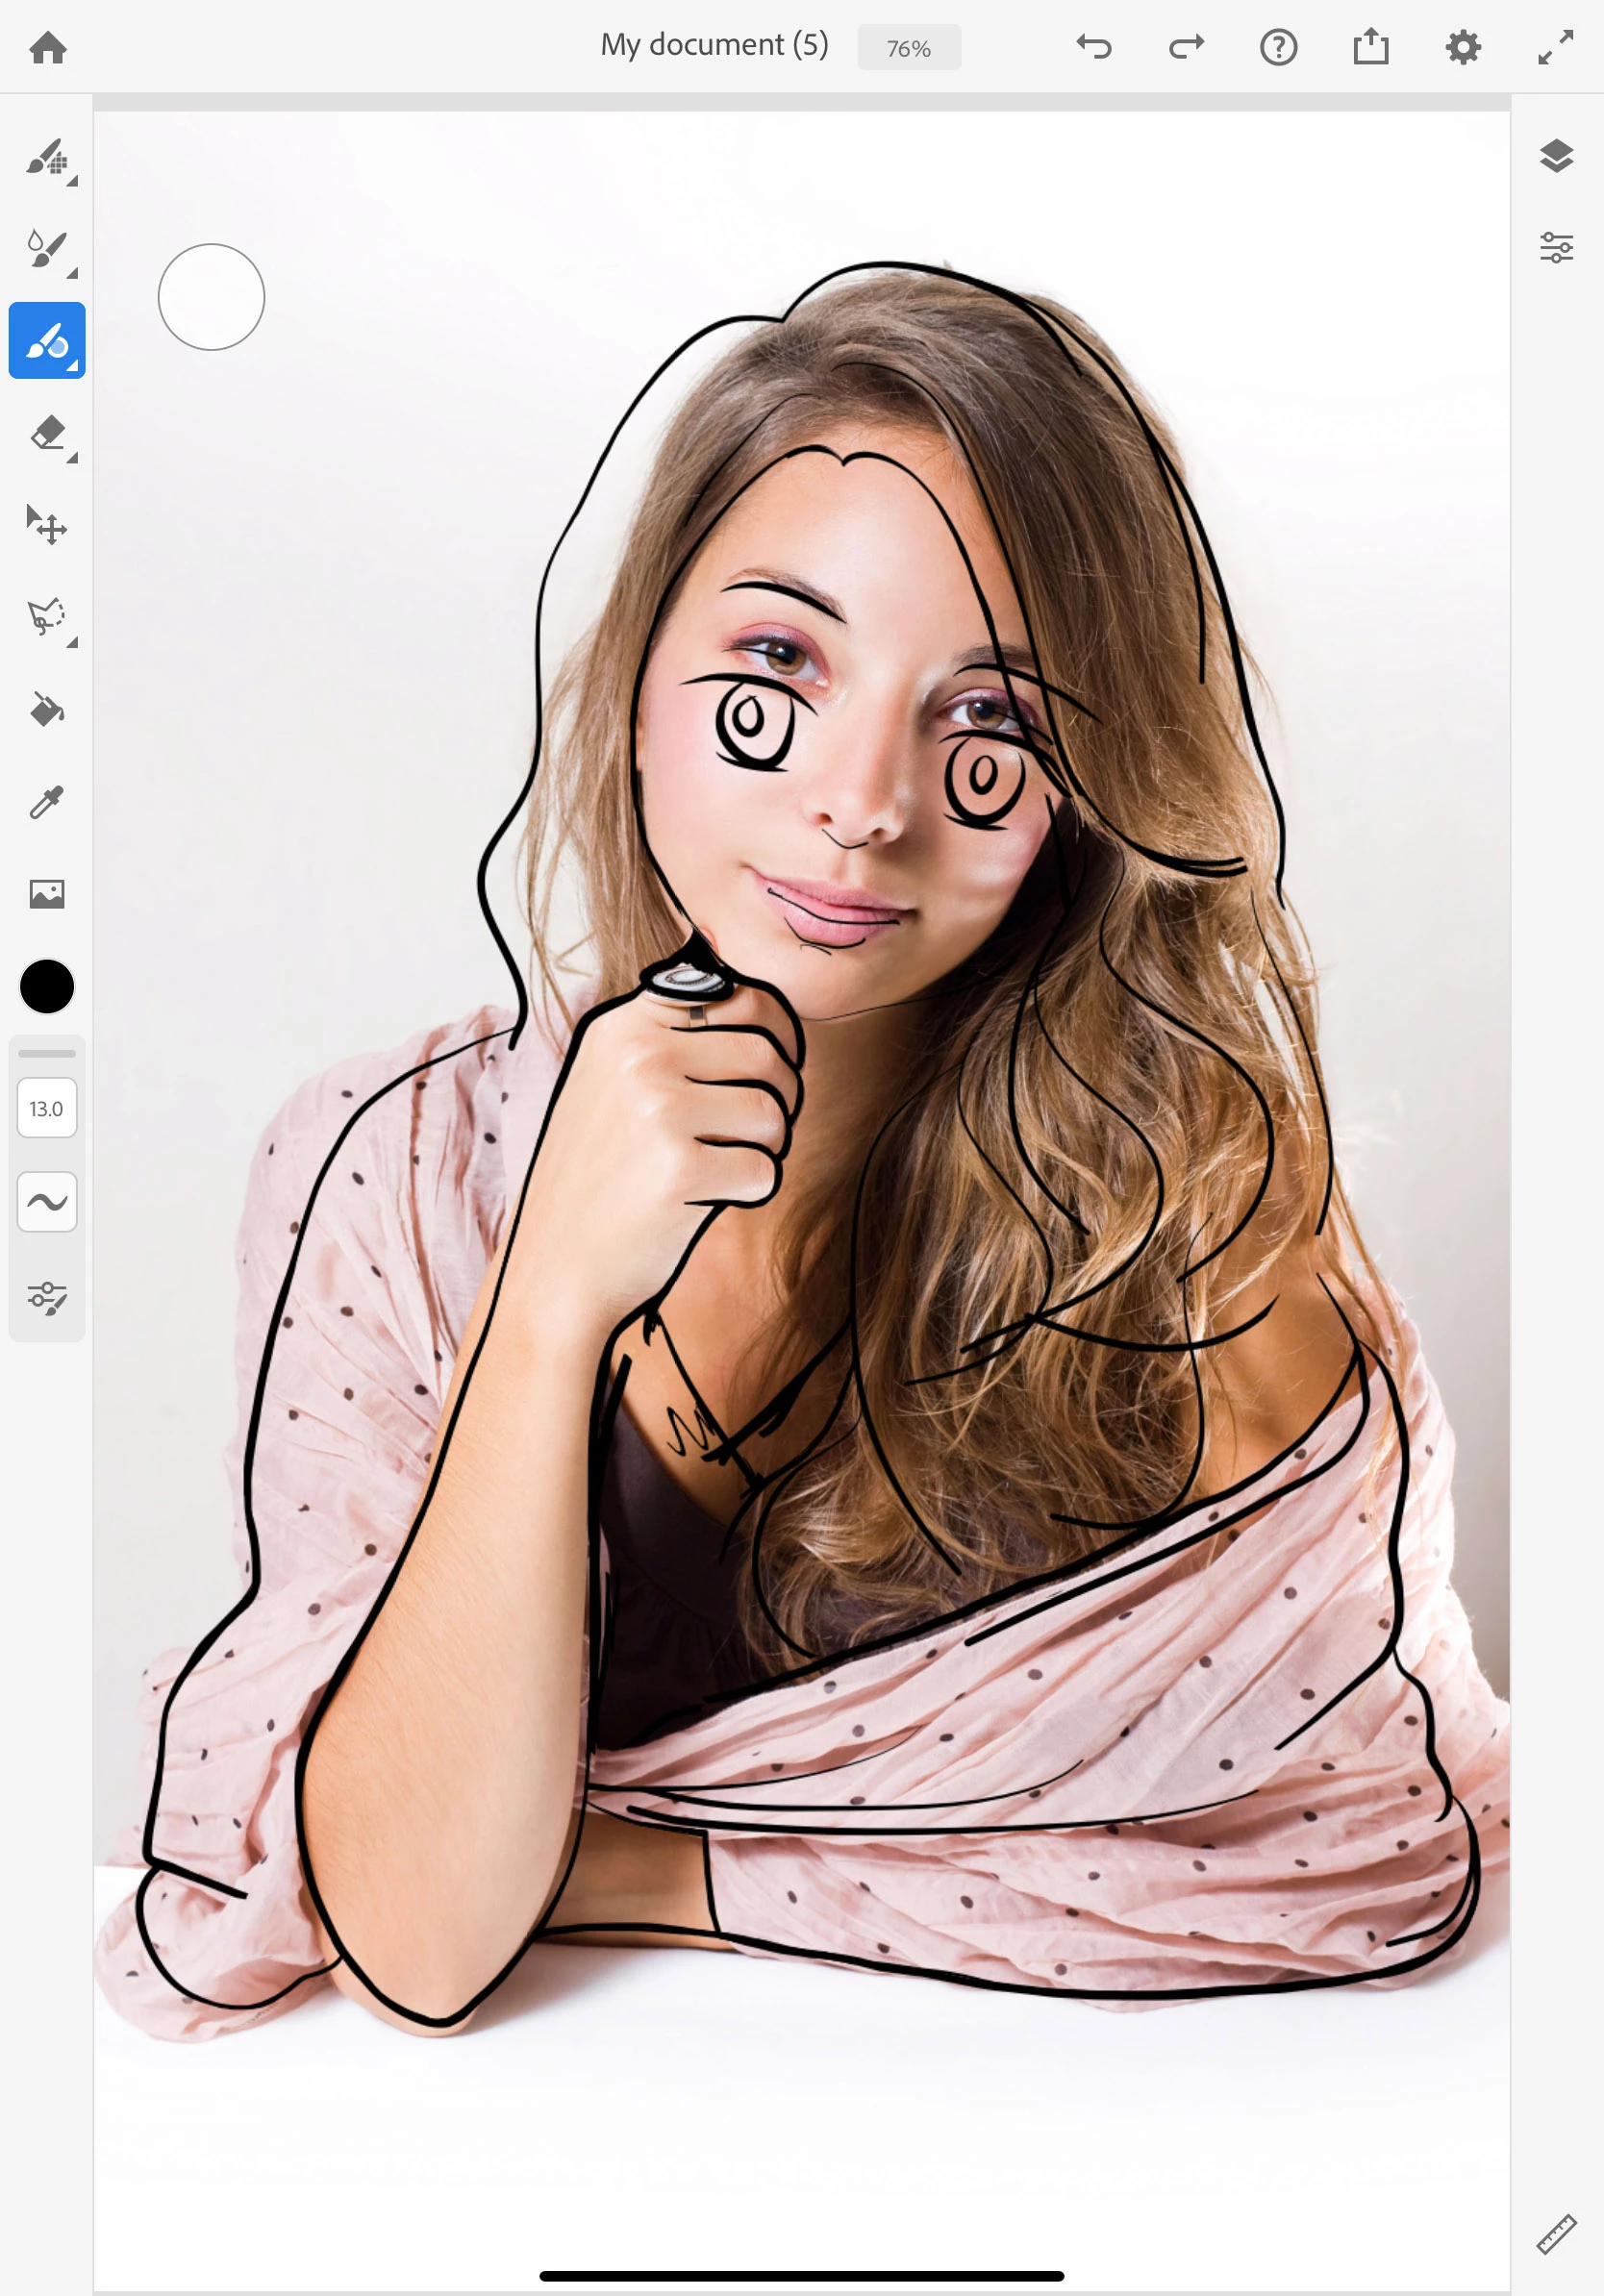
NOTE: Manga characters typically have somewhat smaller bodies, chins, and mouths, but larger heads and eyes. I made these adjustments in my sketch. You can see that one of the main changes is that I lowered the eyes and made them much larger. You can learn more about drawing manga characters here:
https://www.adobe.com/creativecloud/illustration/discover/how-to-draw-manga.html
- It will be easier to see the sketch if you hide the image layer by tapping on the visibility icon (eyeball)
- If your compact layer view is hidden, touch the top icon on the taskbar to the right to show it again
- Tap the + on the taskbar to the right to add another layer
- Long touch the new layer and drag it below the sketch
- Tap on the color swatch on the left toolbar and select a skin color
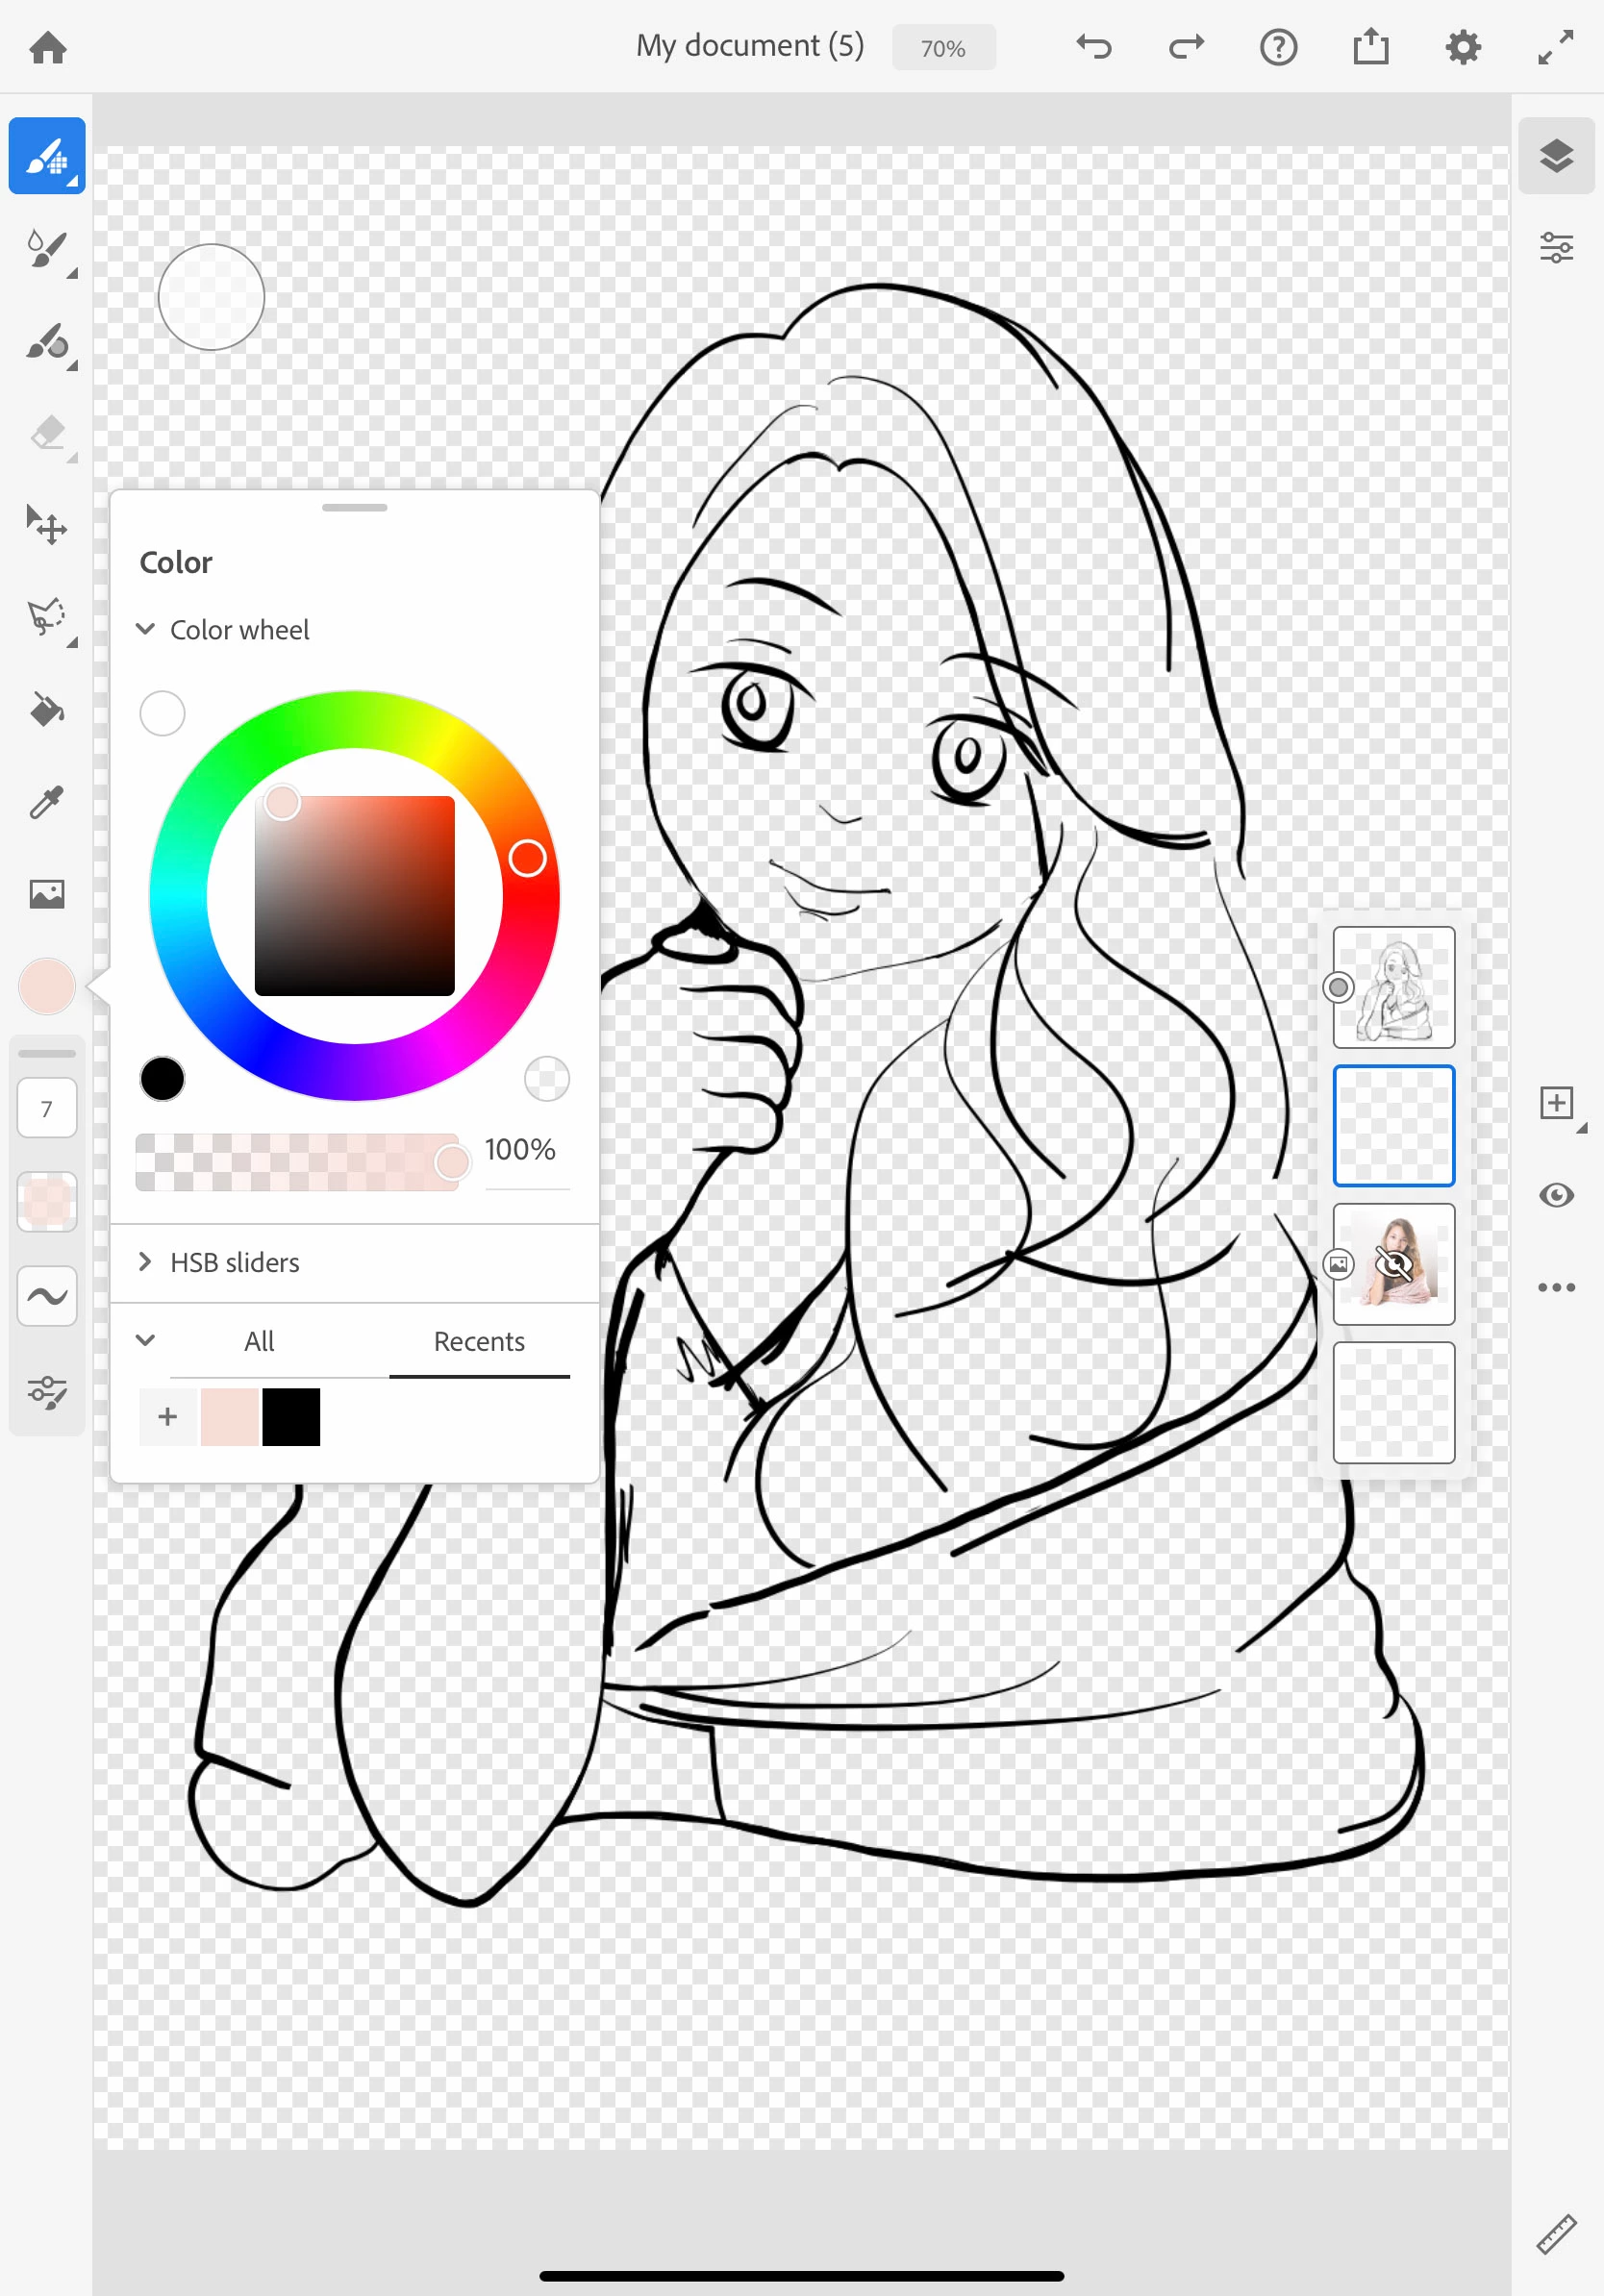
- Tap on the vector brush again to select it
- Paint the skin area with color
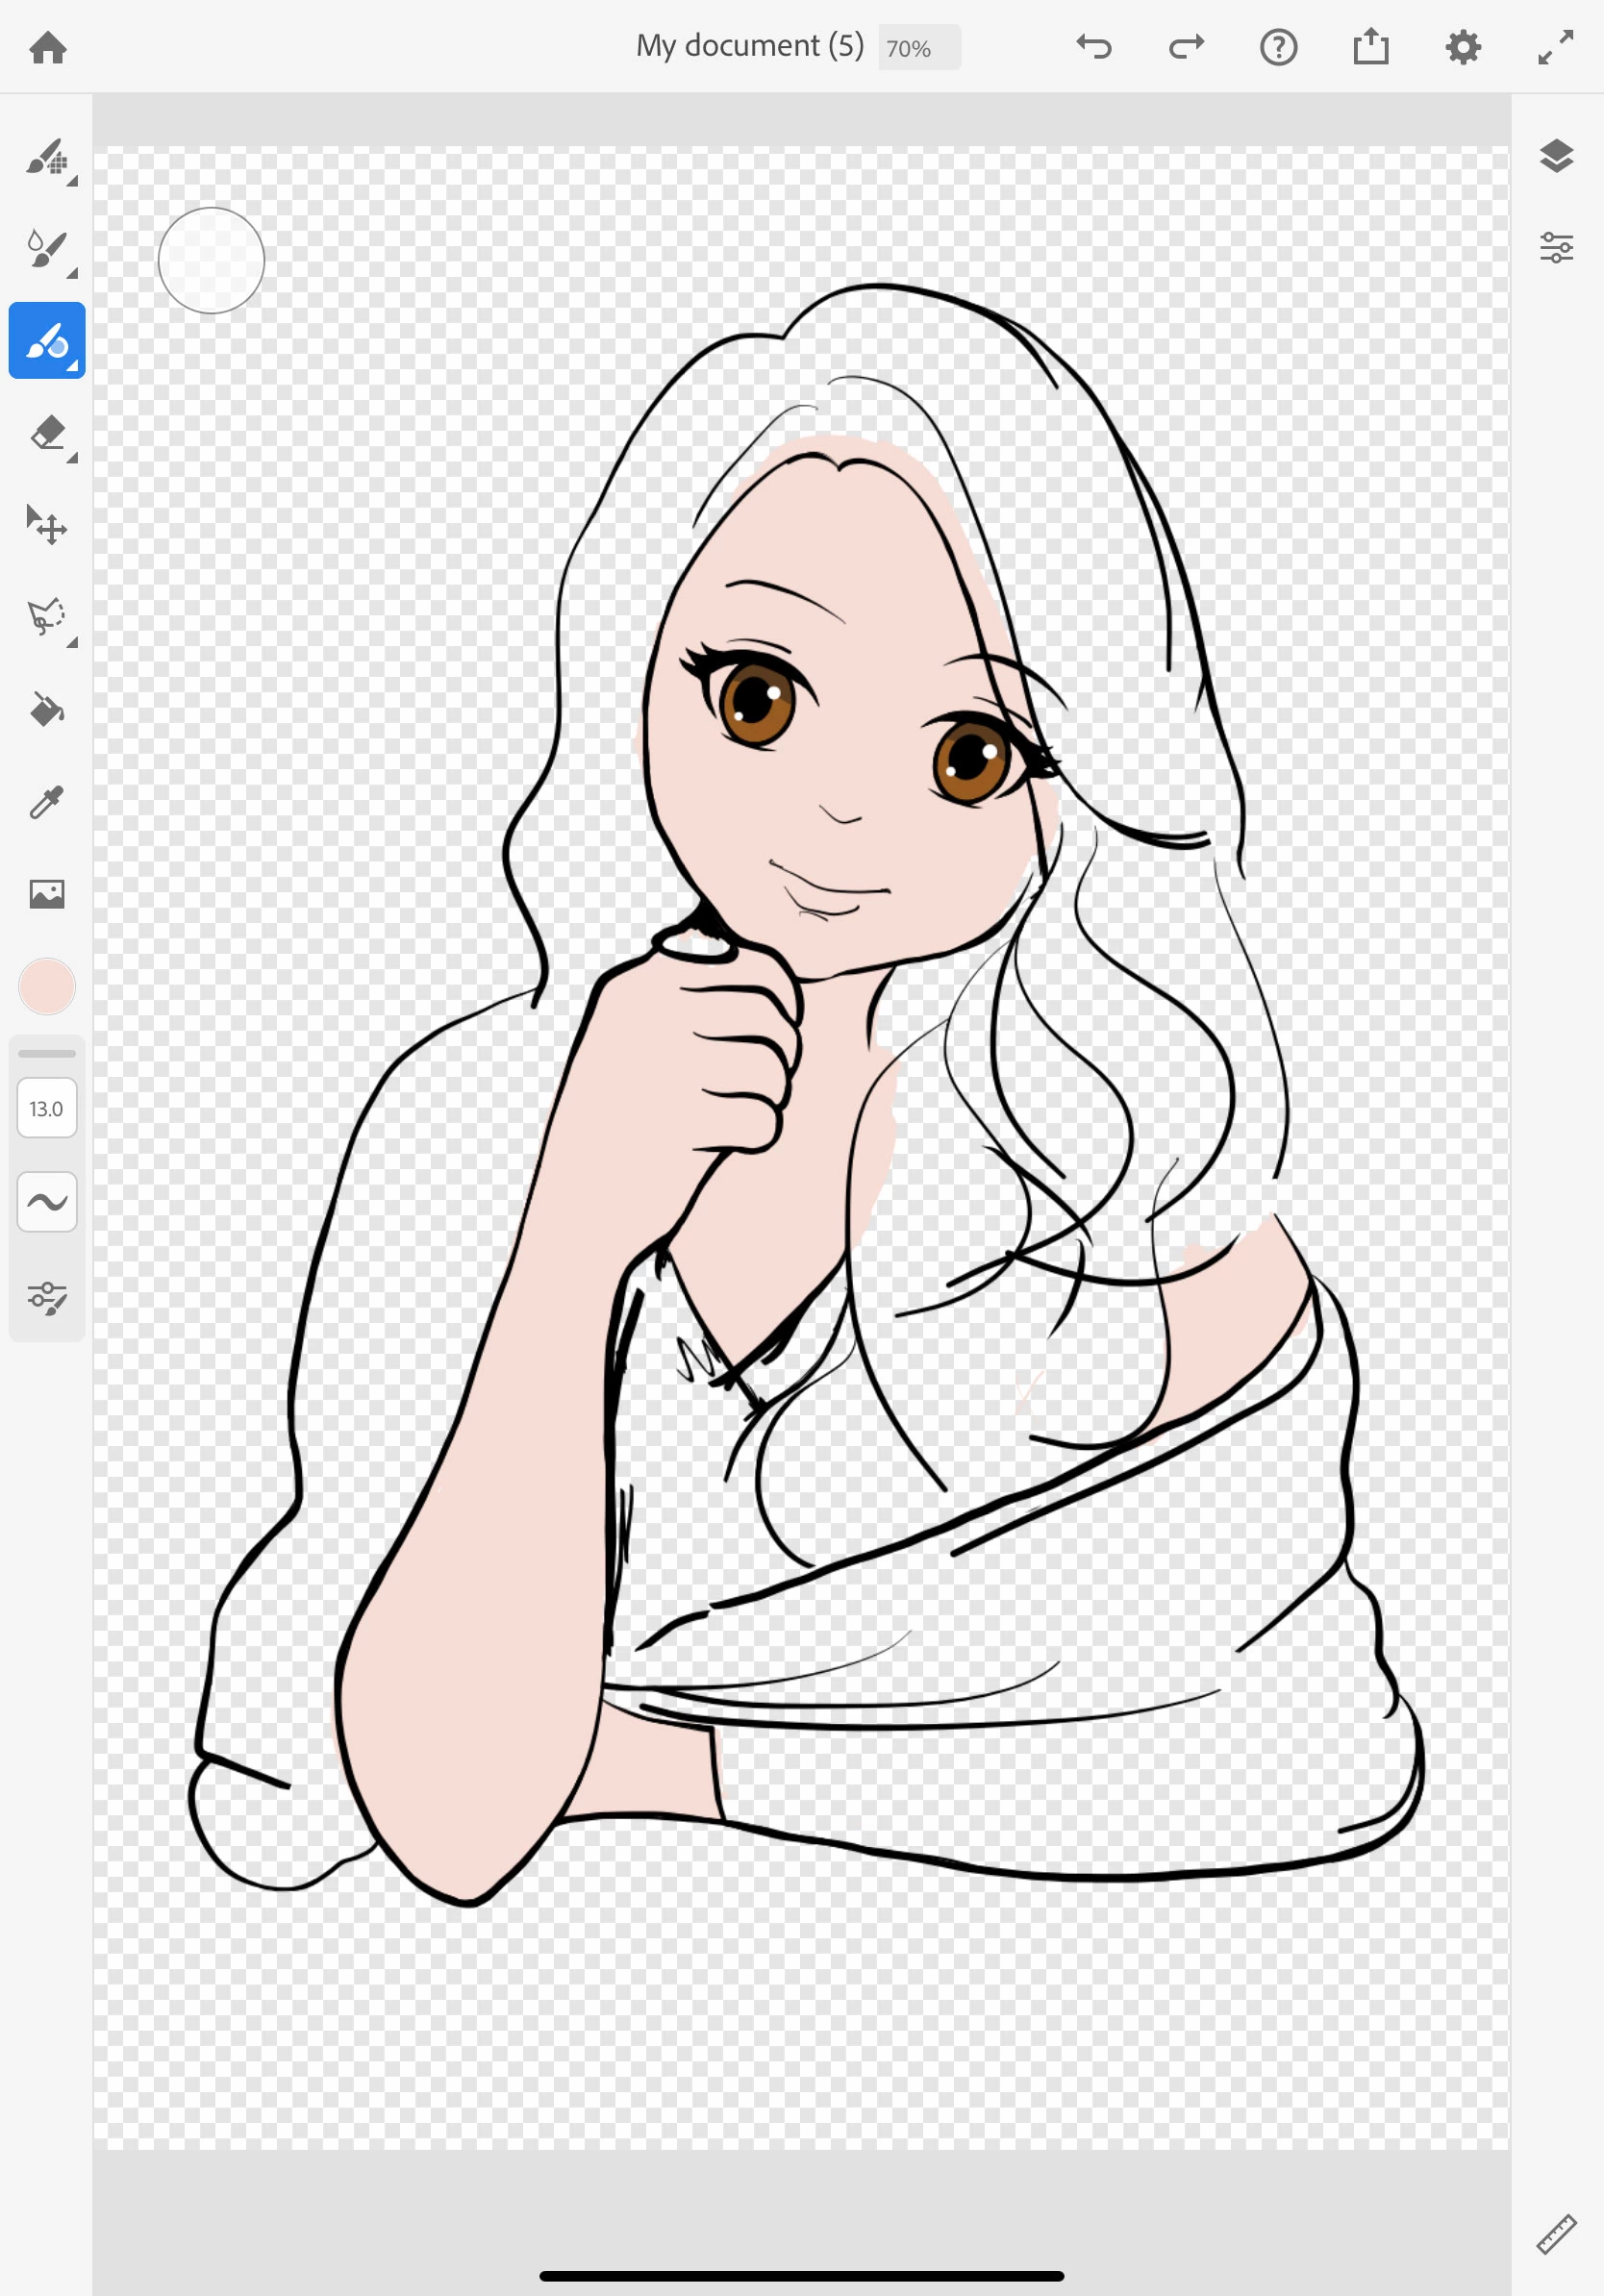
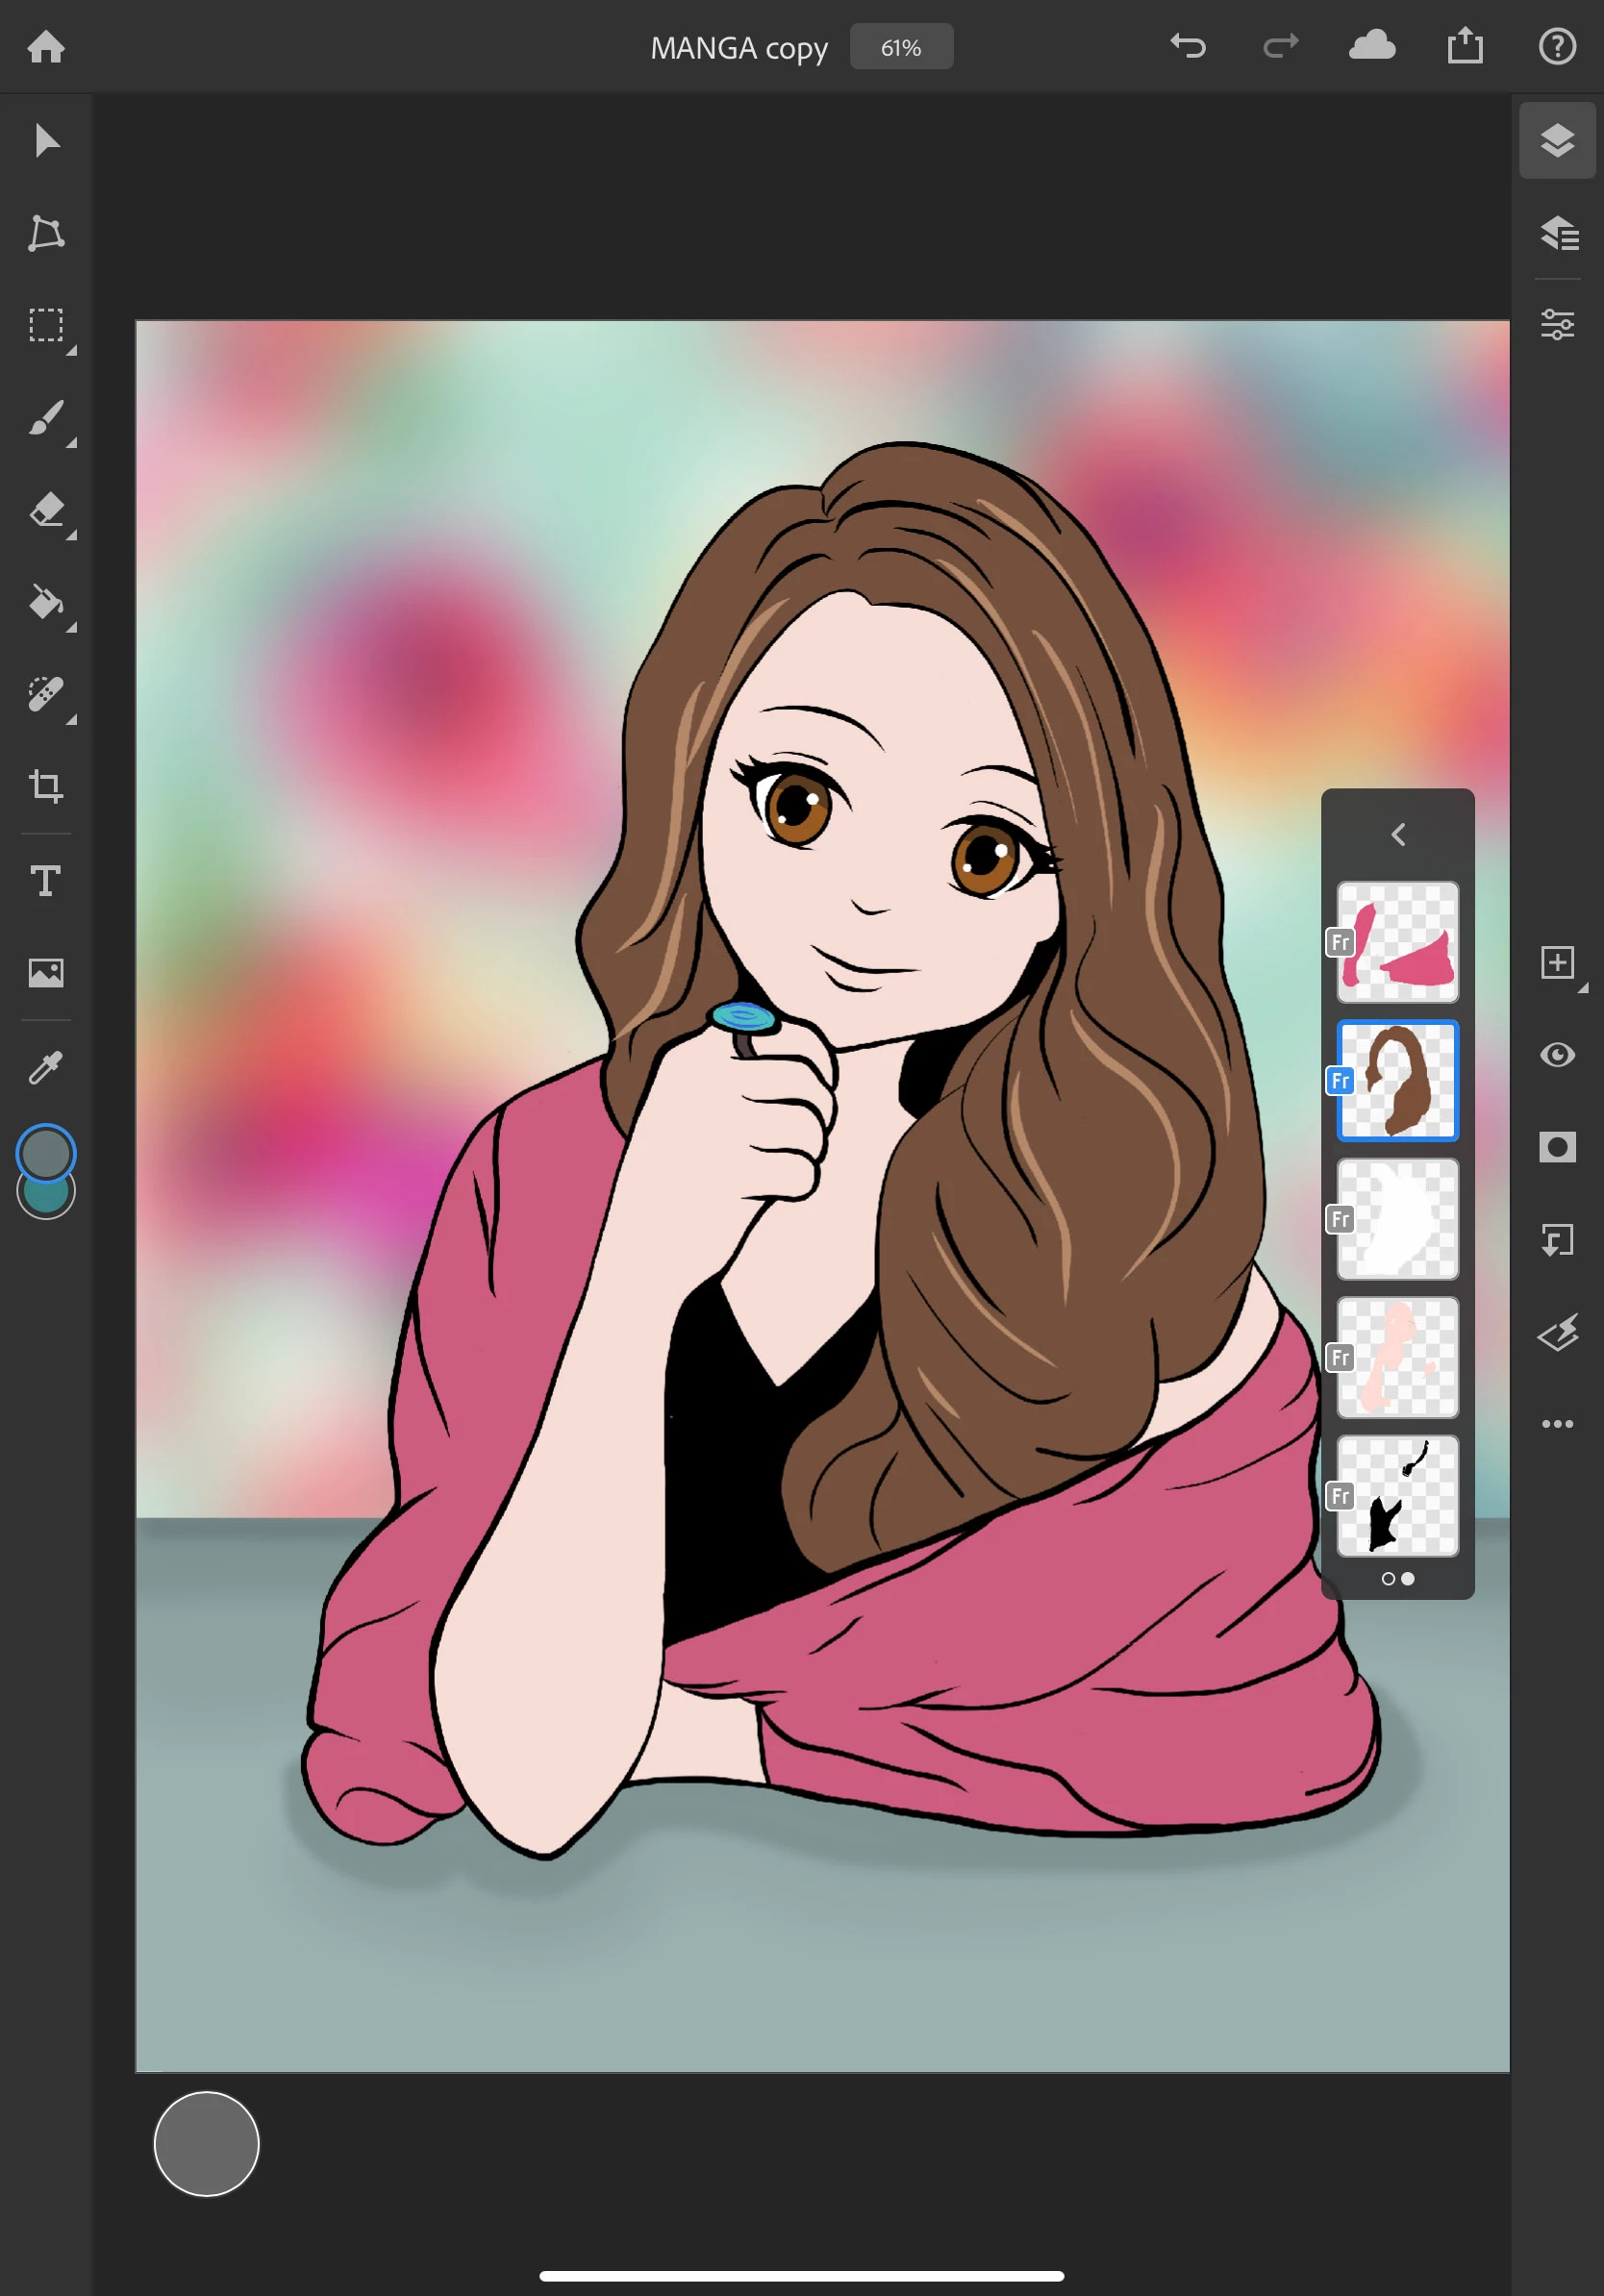
- Continue to create layers and color, adding and erasing as needed until you are satisfied with the drawing
- Below my sketch layer, I made a vector layer to color the skin, drape, shirt, and hair. I grouped all of the layers related to the eyes together.
- Quick tip: If you find you end up with too many layers, you can either merge them down or drag and drop layers on top of others to make logical layer groups. I suggest keeping the hair, skin, and each color of clothing separate so they are easy to edit later.
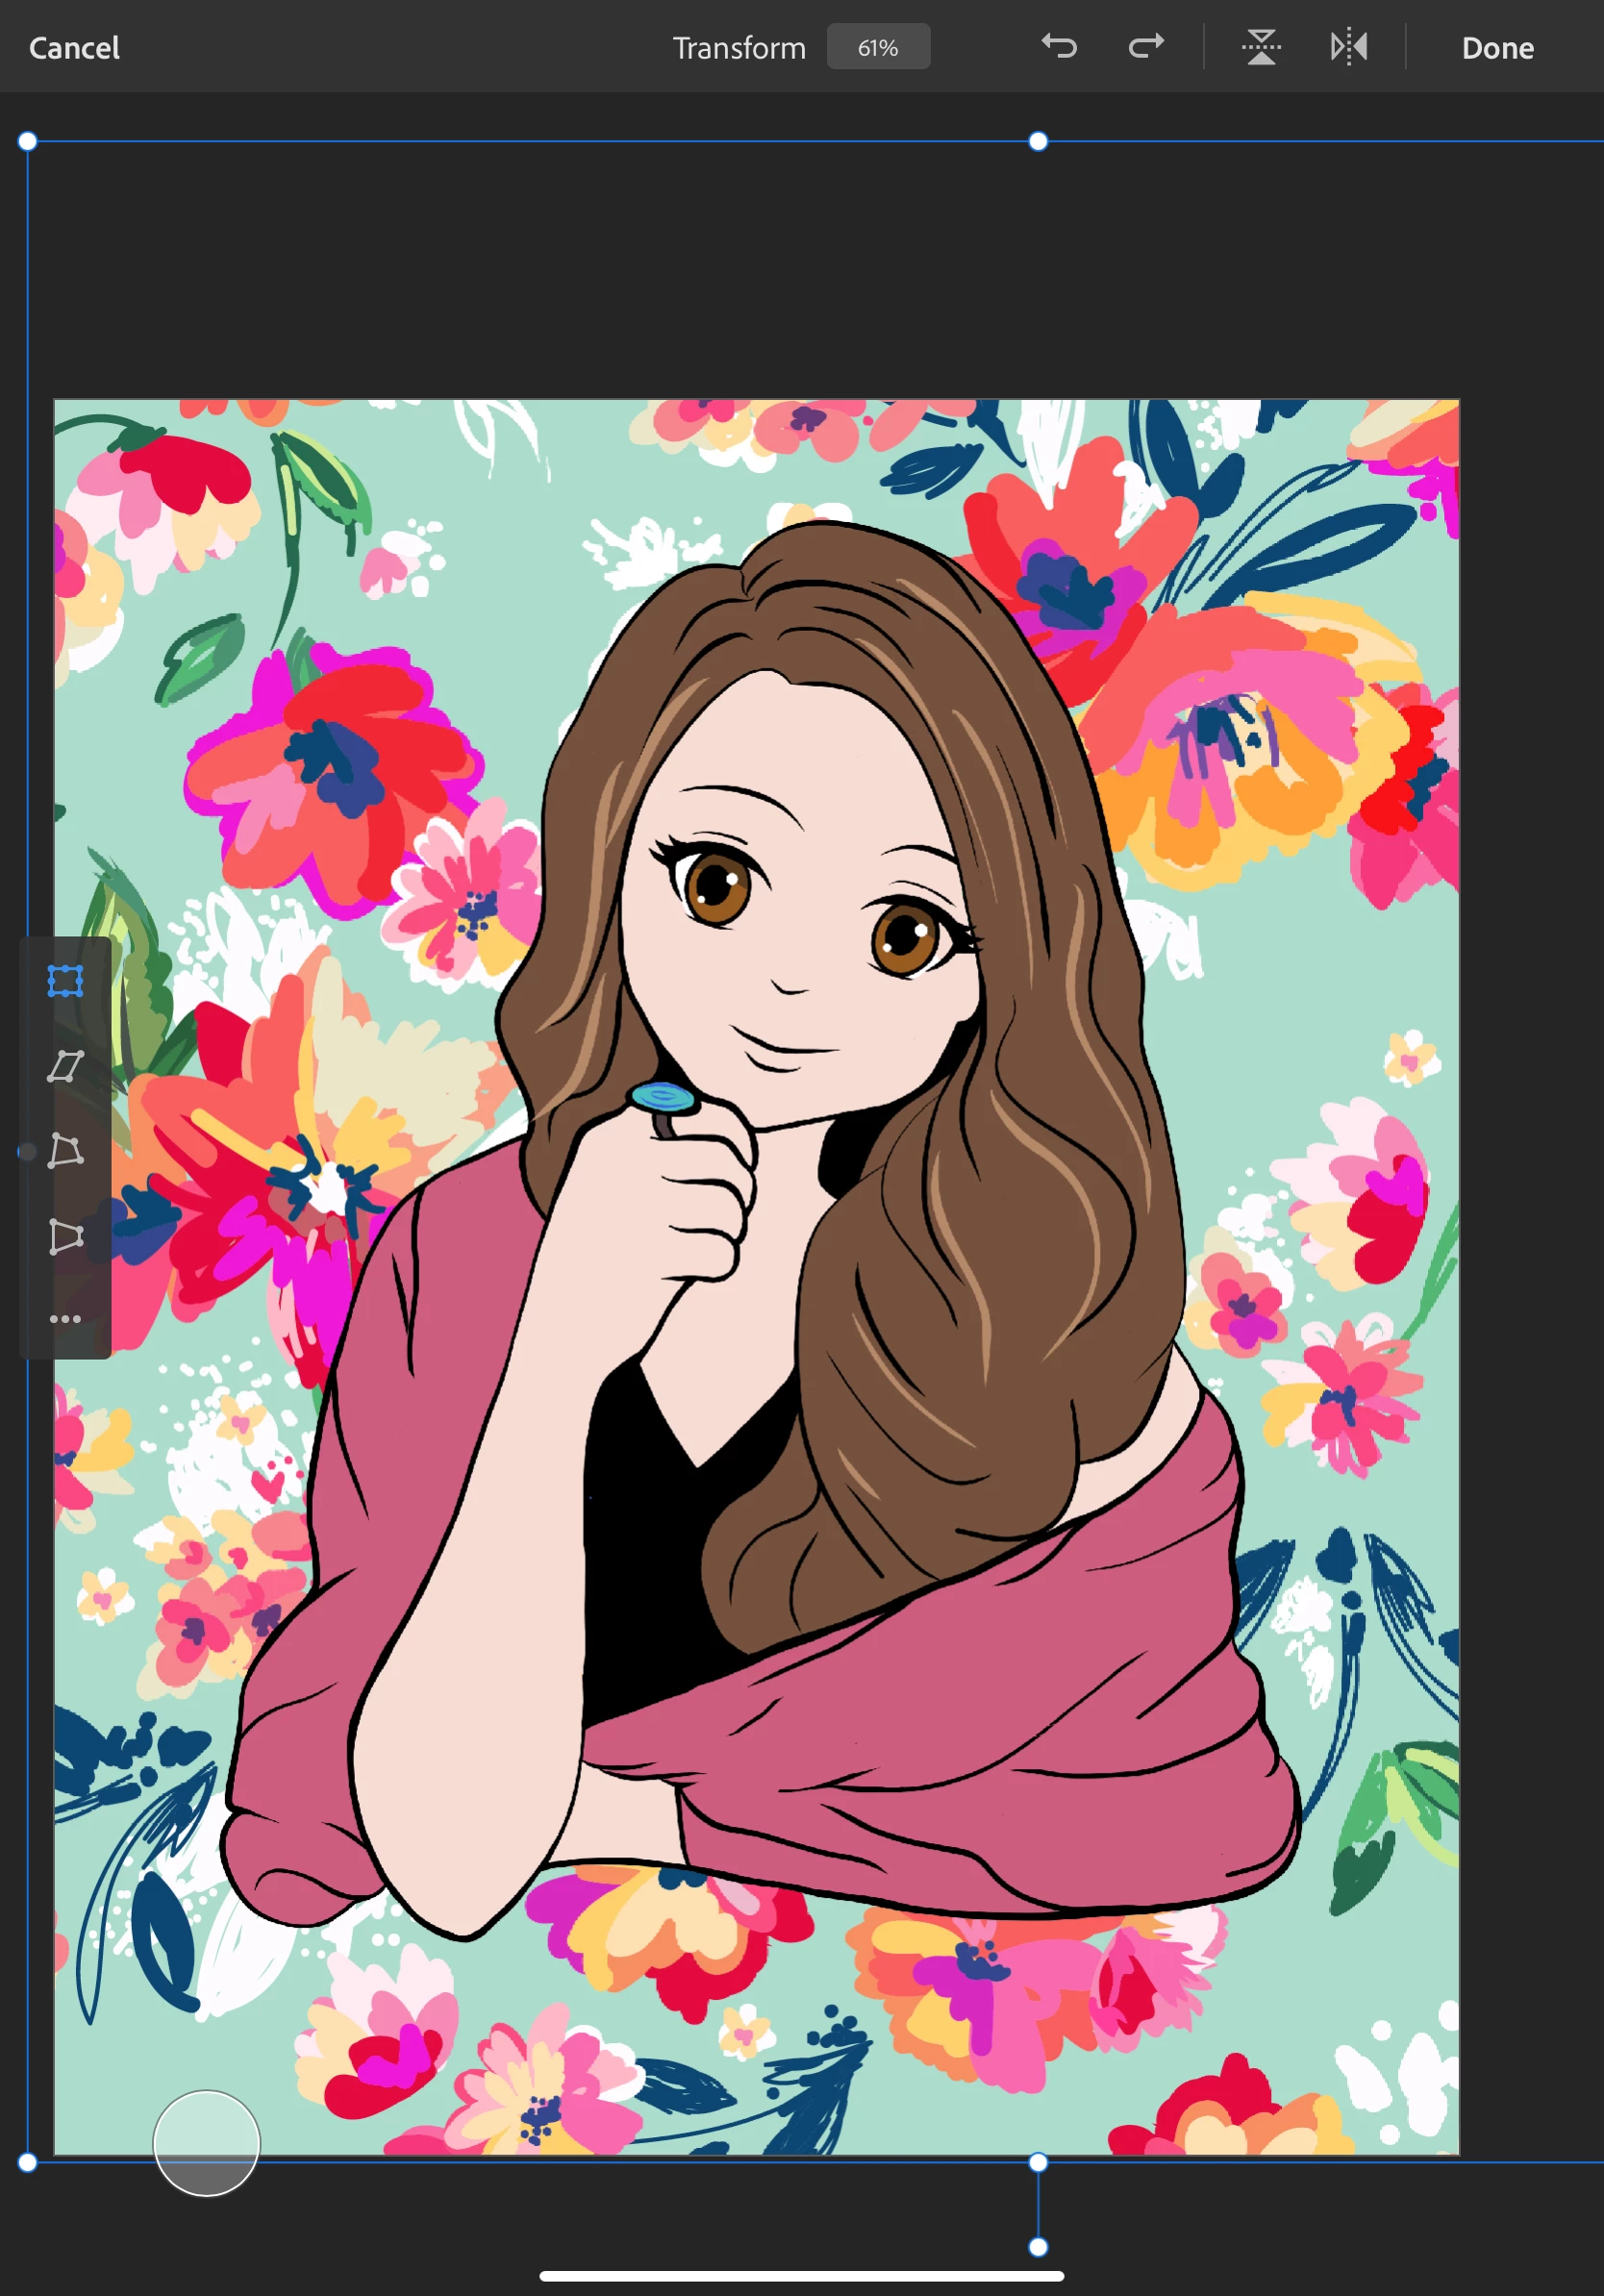
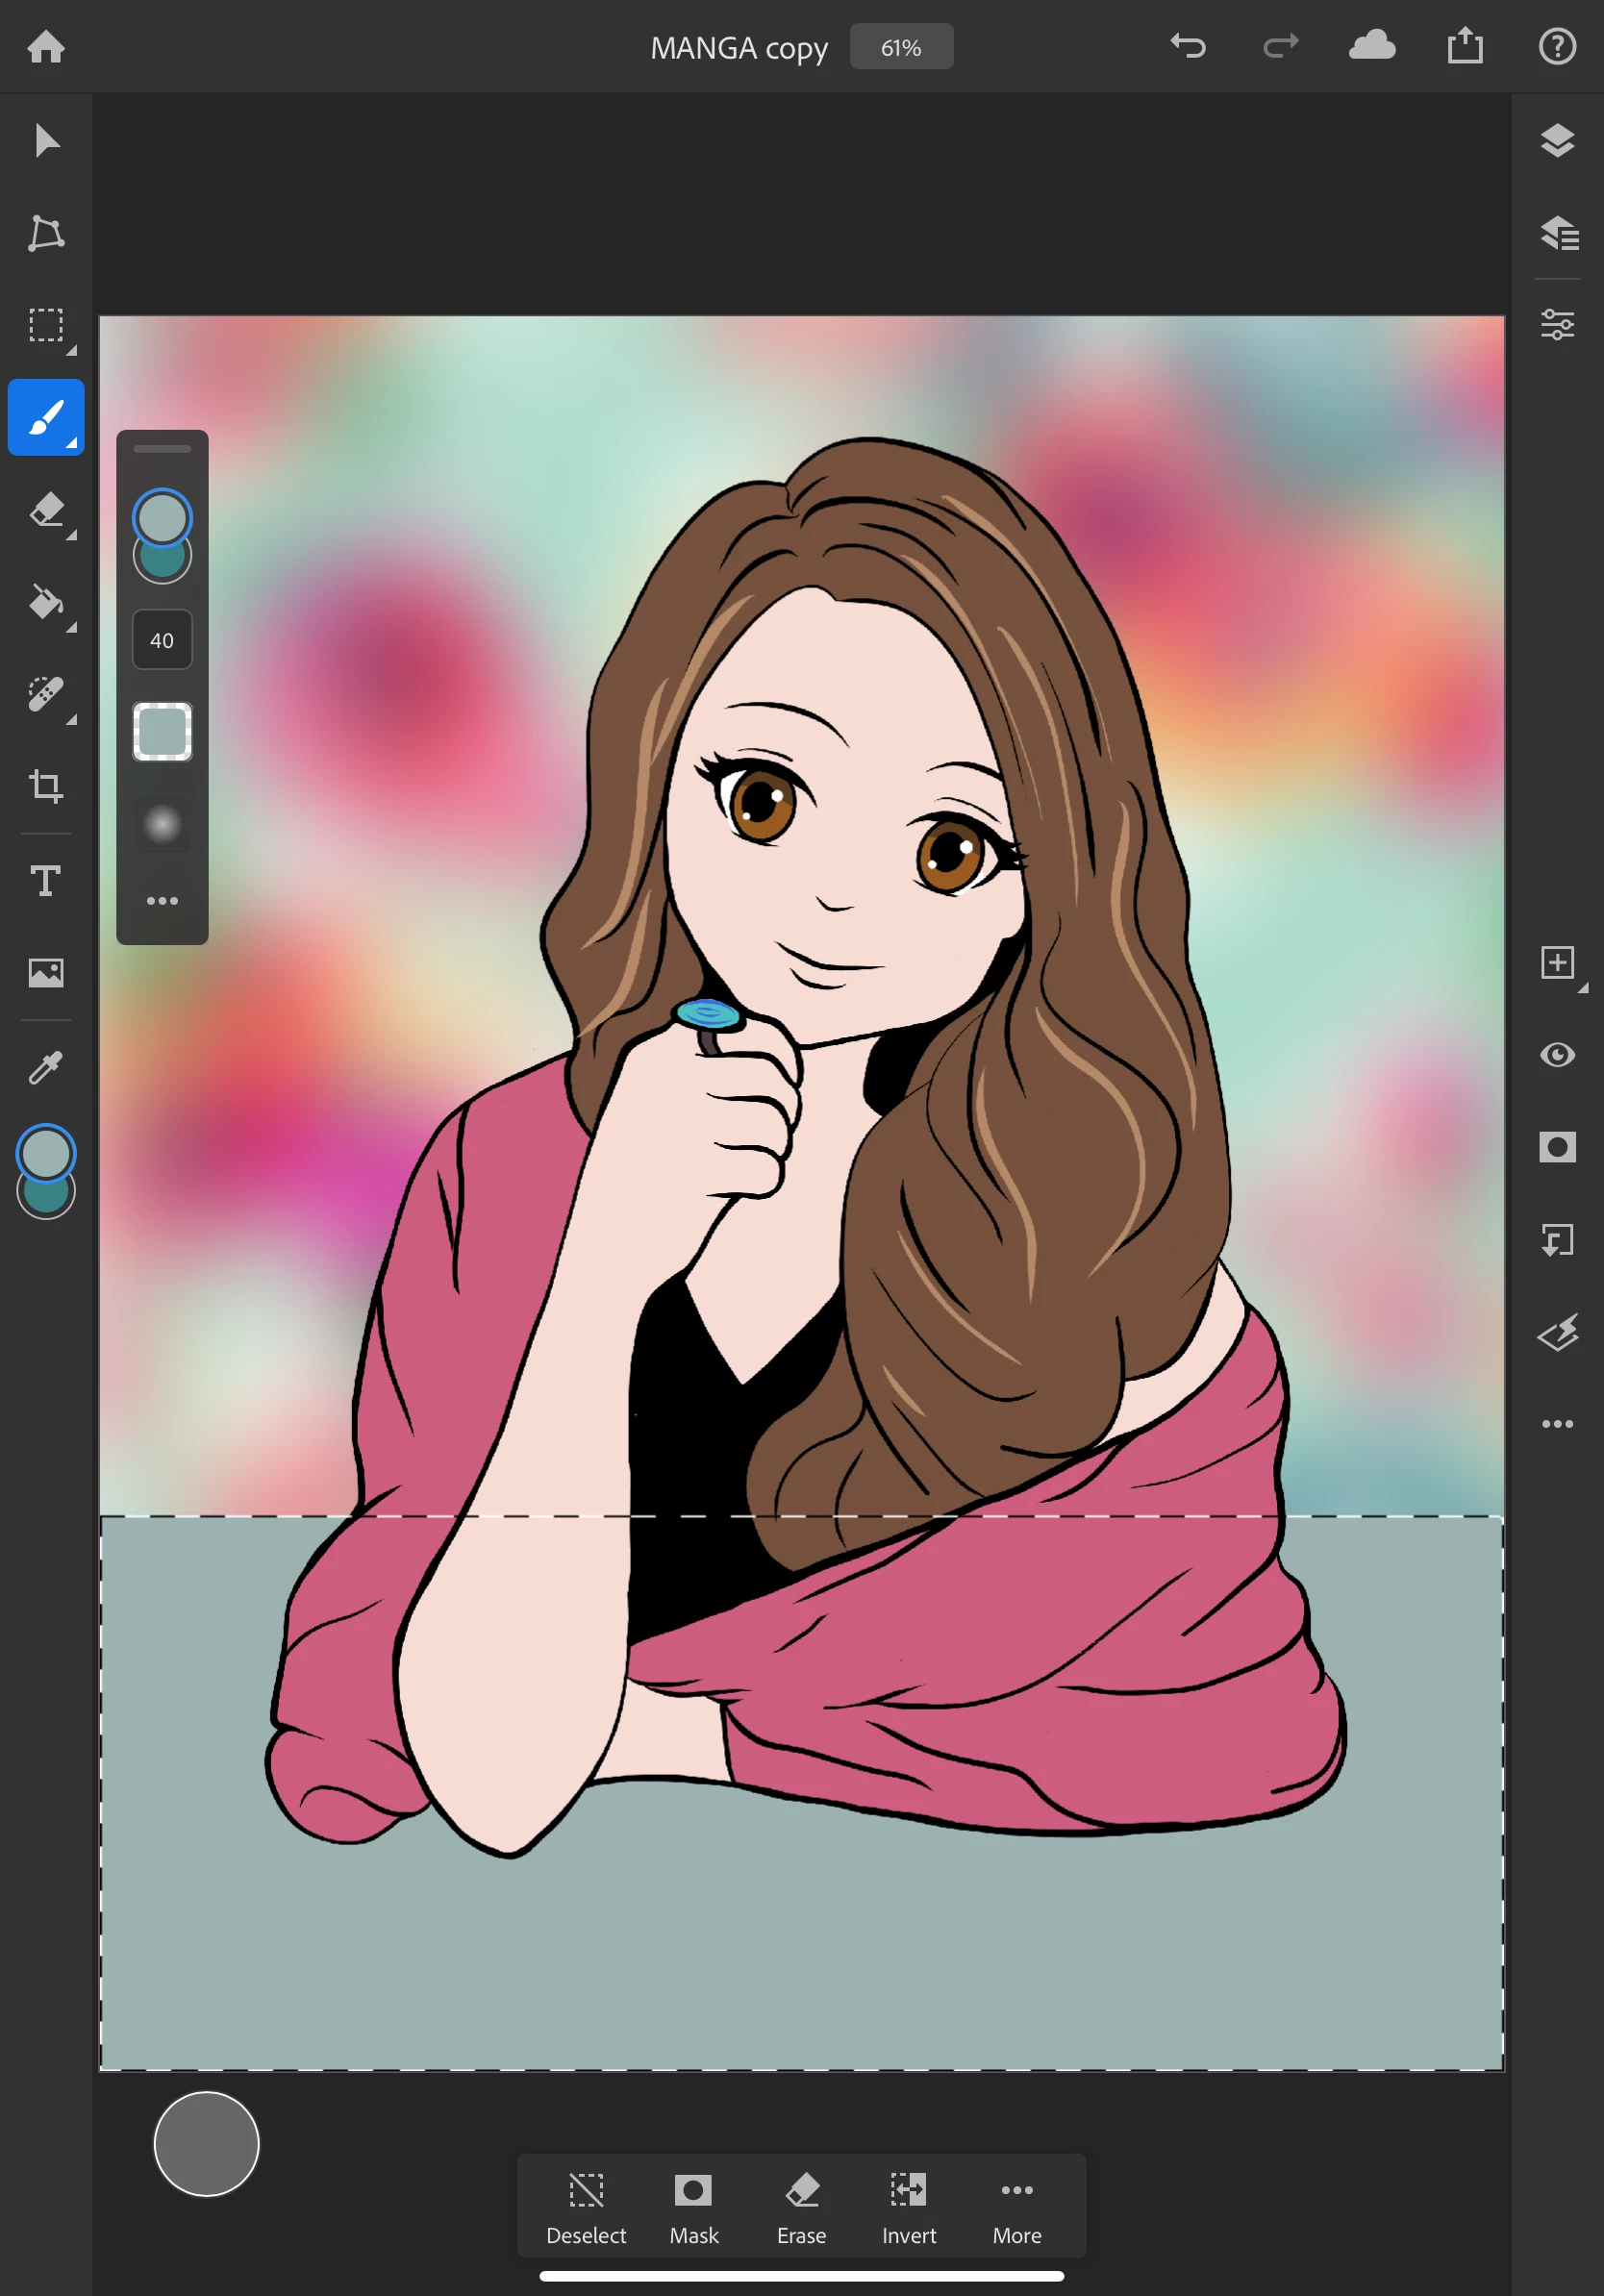
❸ Create a background
- Now that you have completed the drawing, tap the home button in Fresco to exit and save your document
- Next, open your document in Photoshop on your iPad
- Tap on the photo icon in the toolbar
- Navigate to the location of your chosen background image and select it
- Use your thumb and finger to make the image smaller or larger as desired
- Tap Done in the top-right corner
- Tap on the Filters and adjustments (lightning bolt) icon in the taskbar on the right side
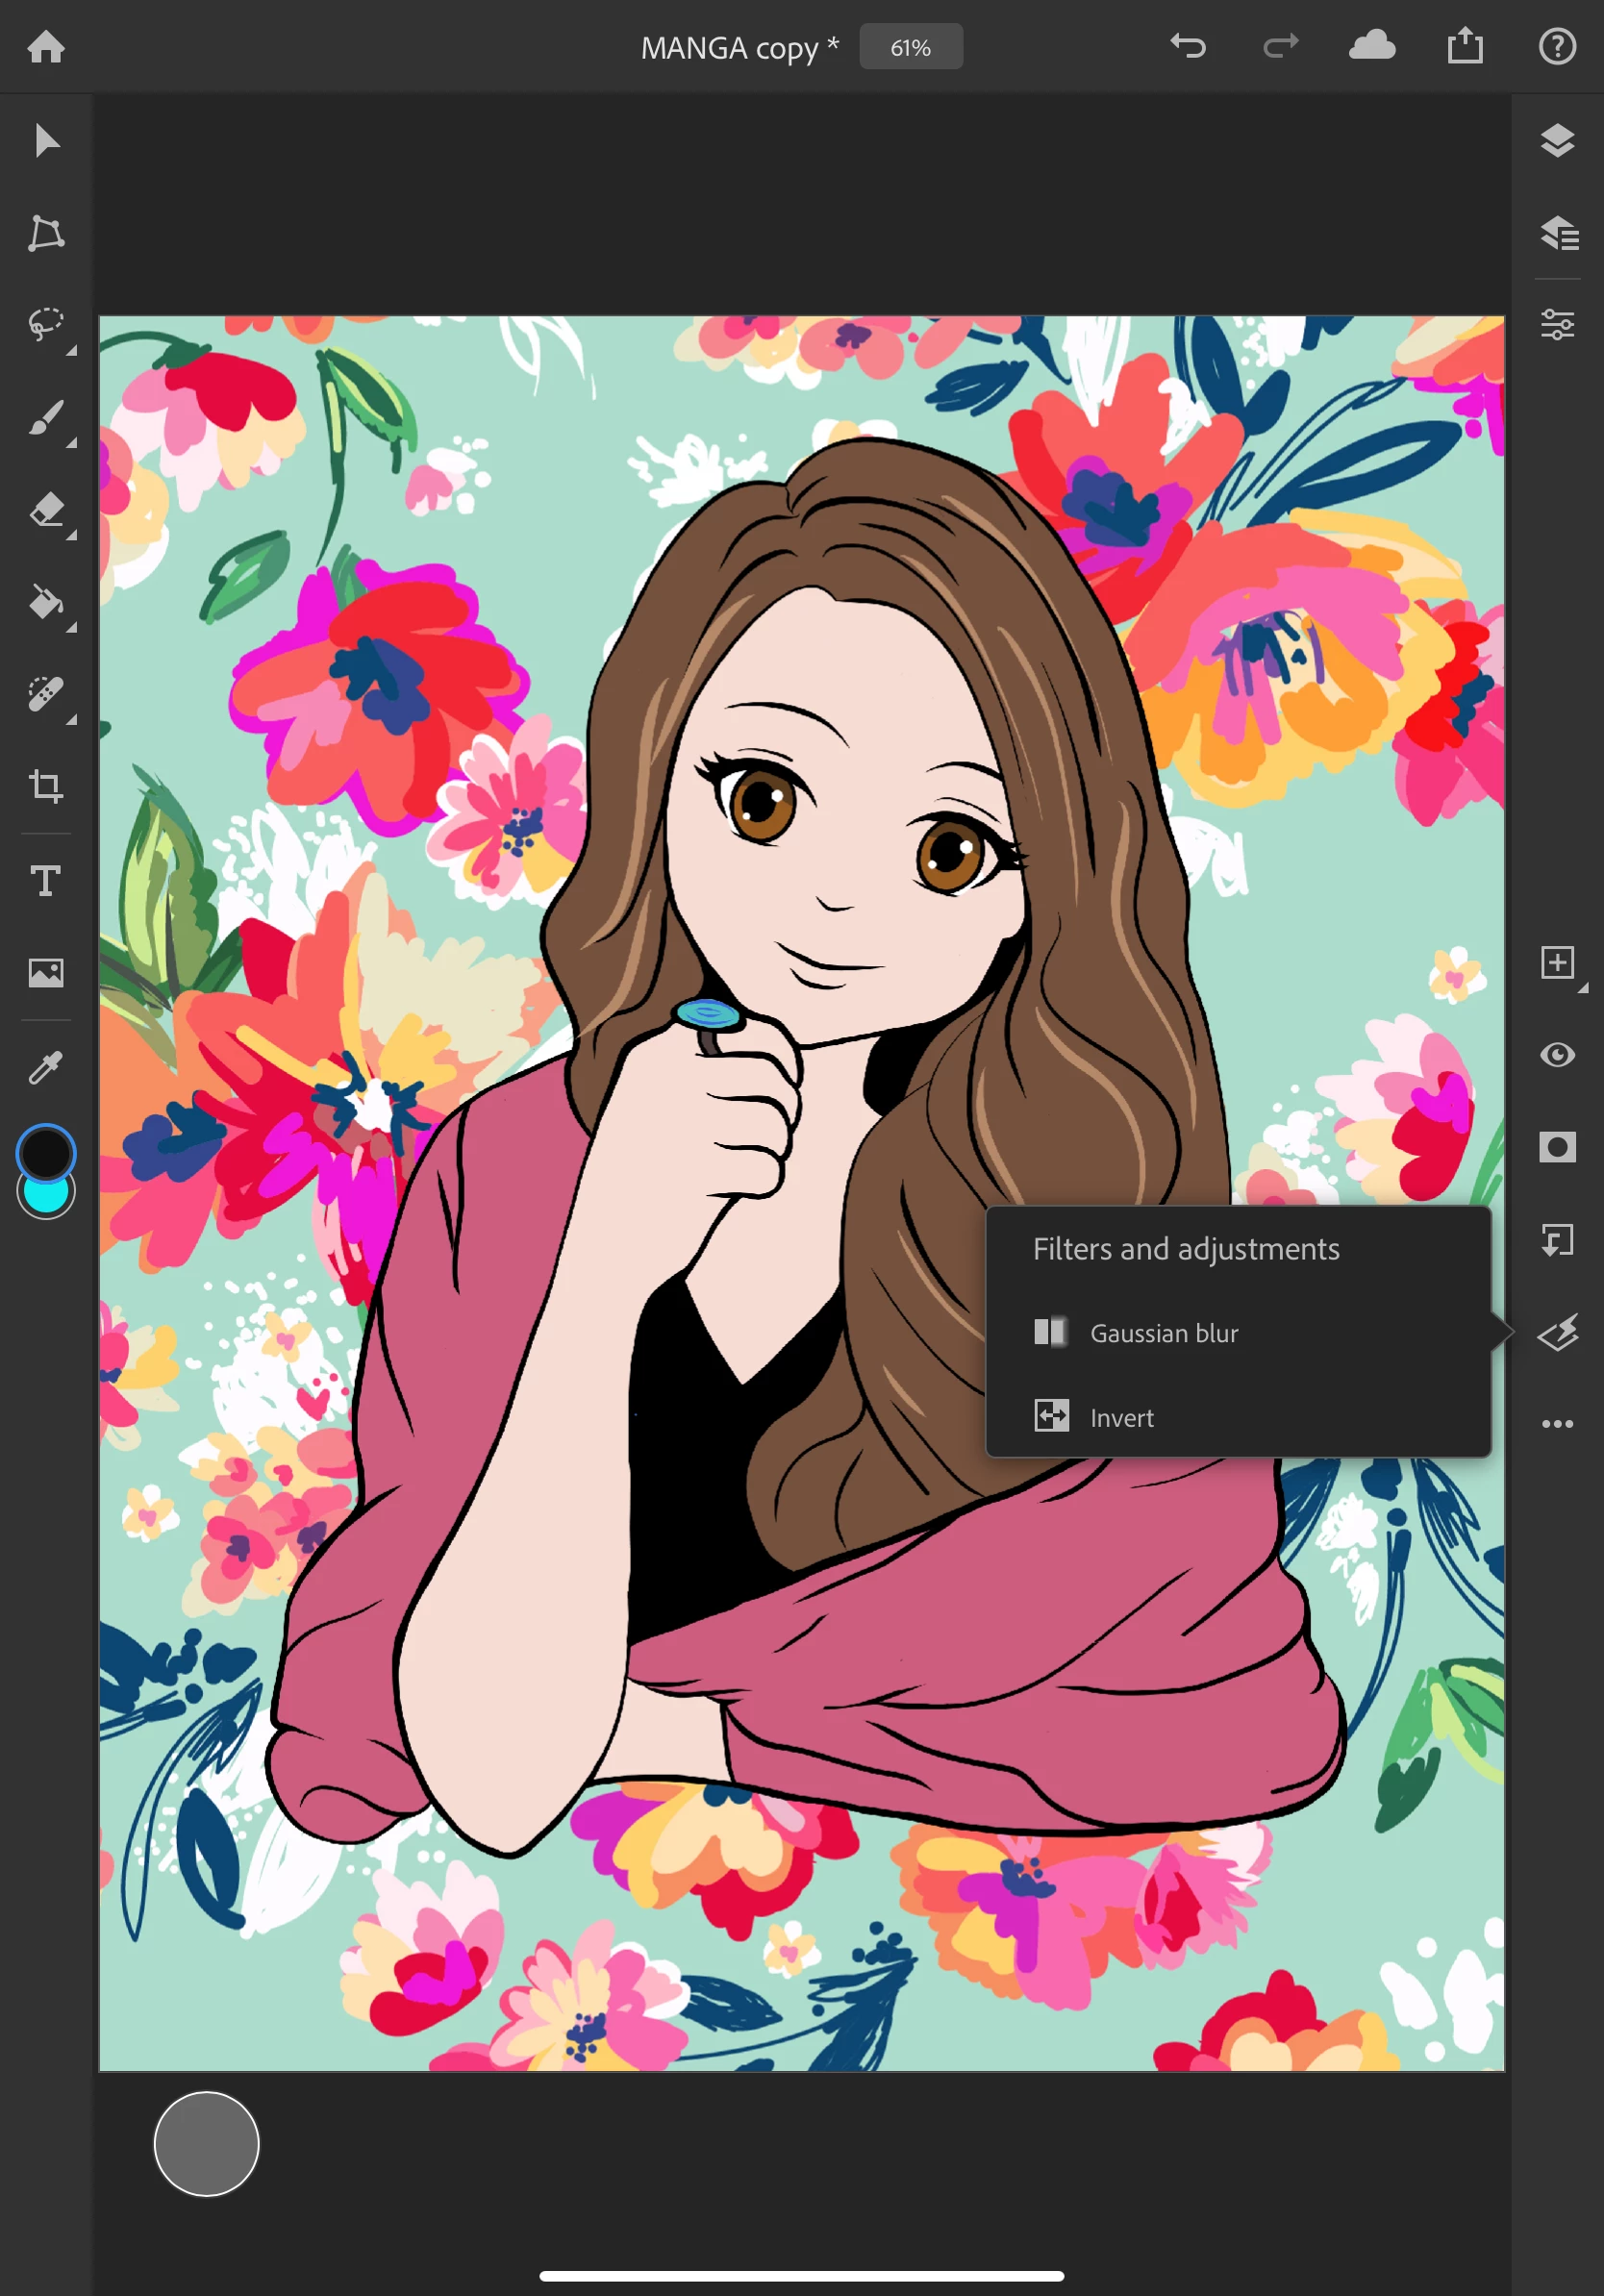
- Select gaussian blur
- Move the slider to the right to blur your background layer
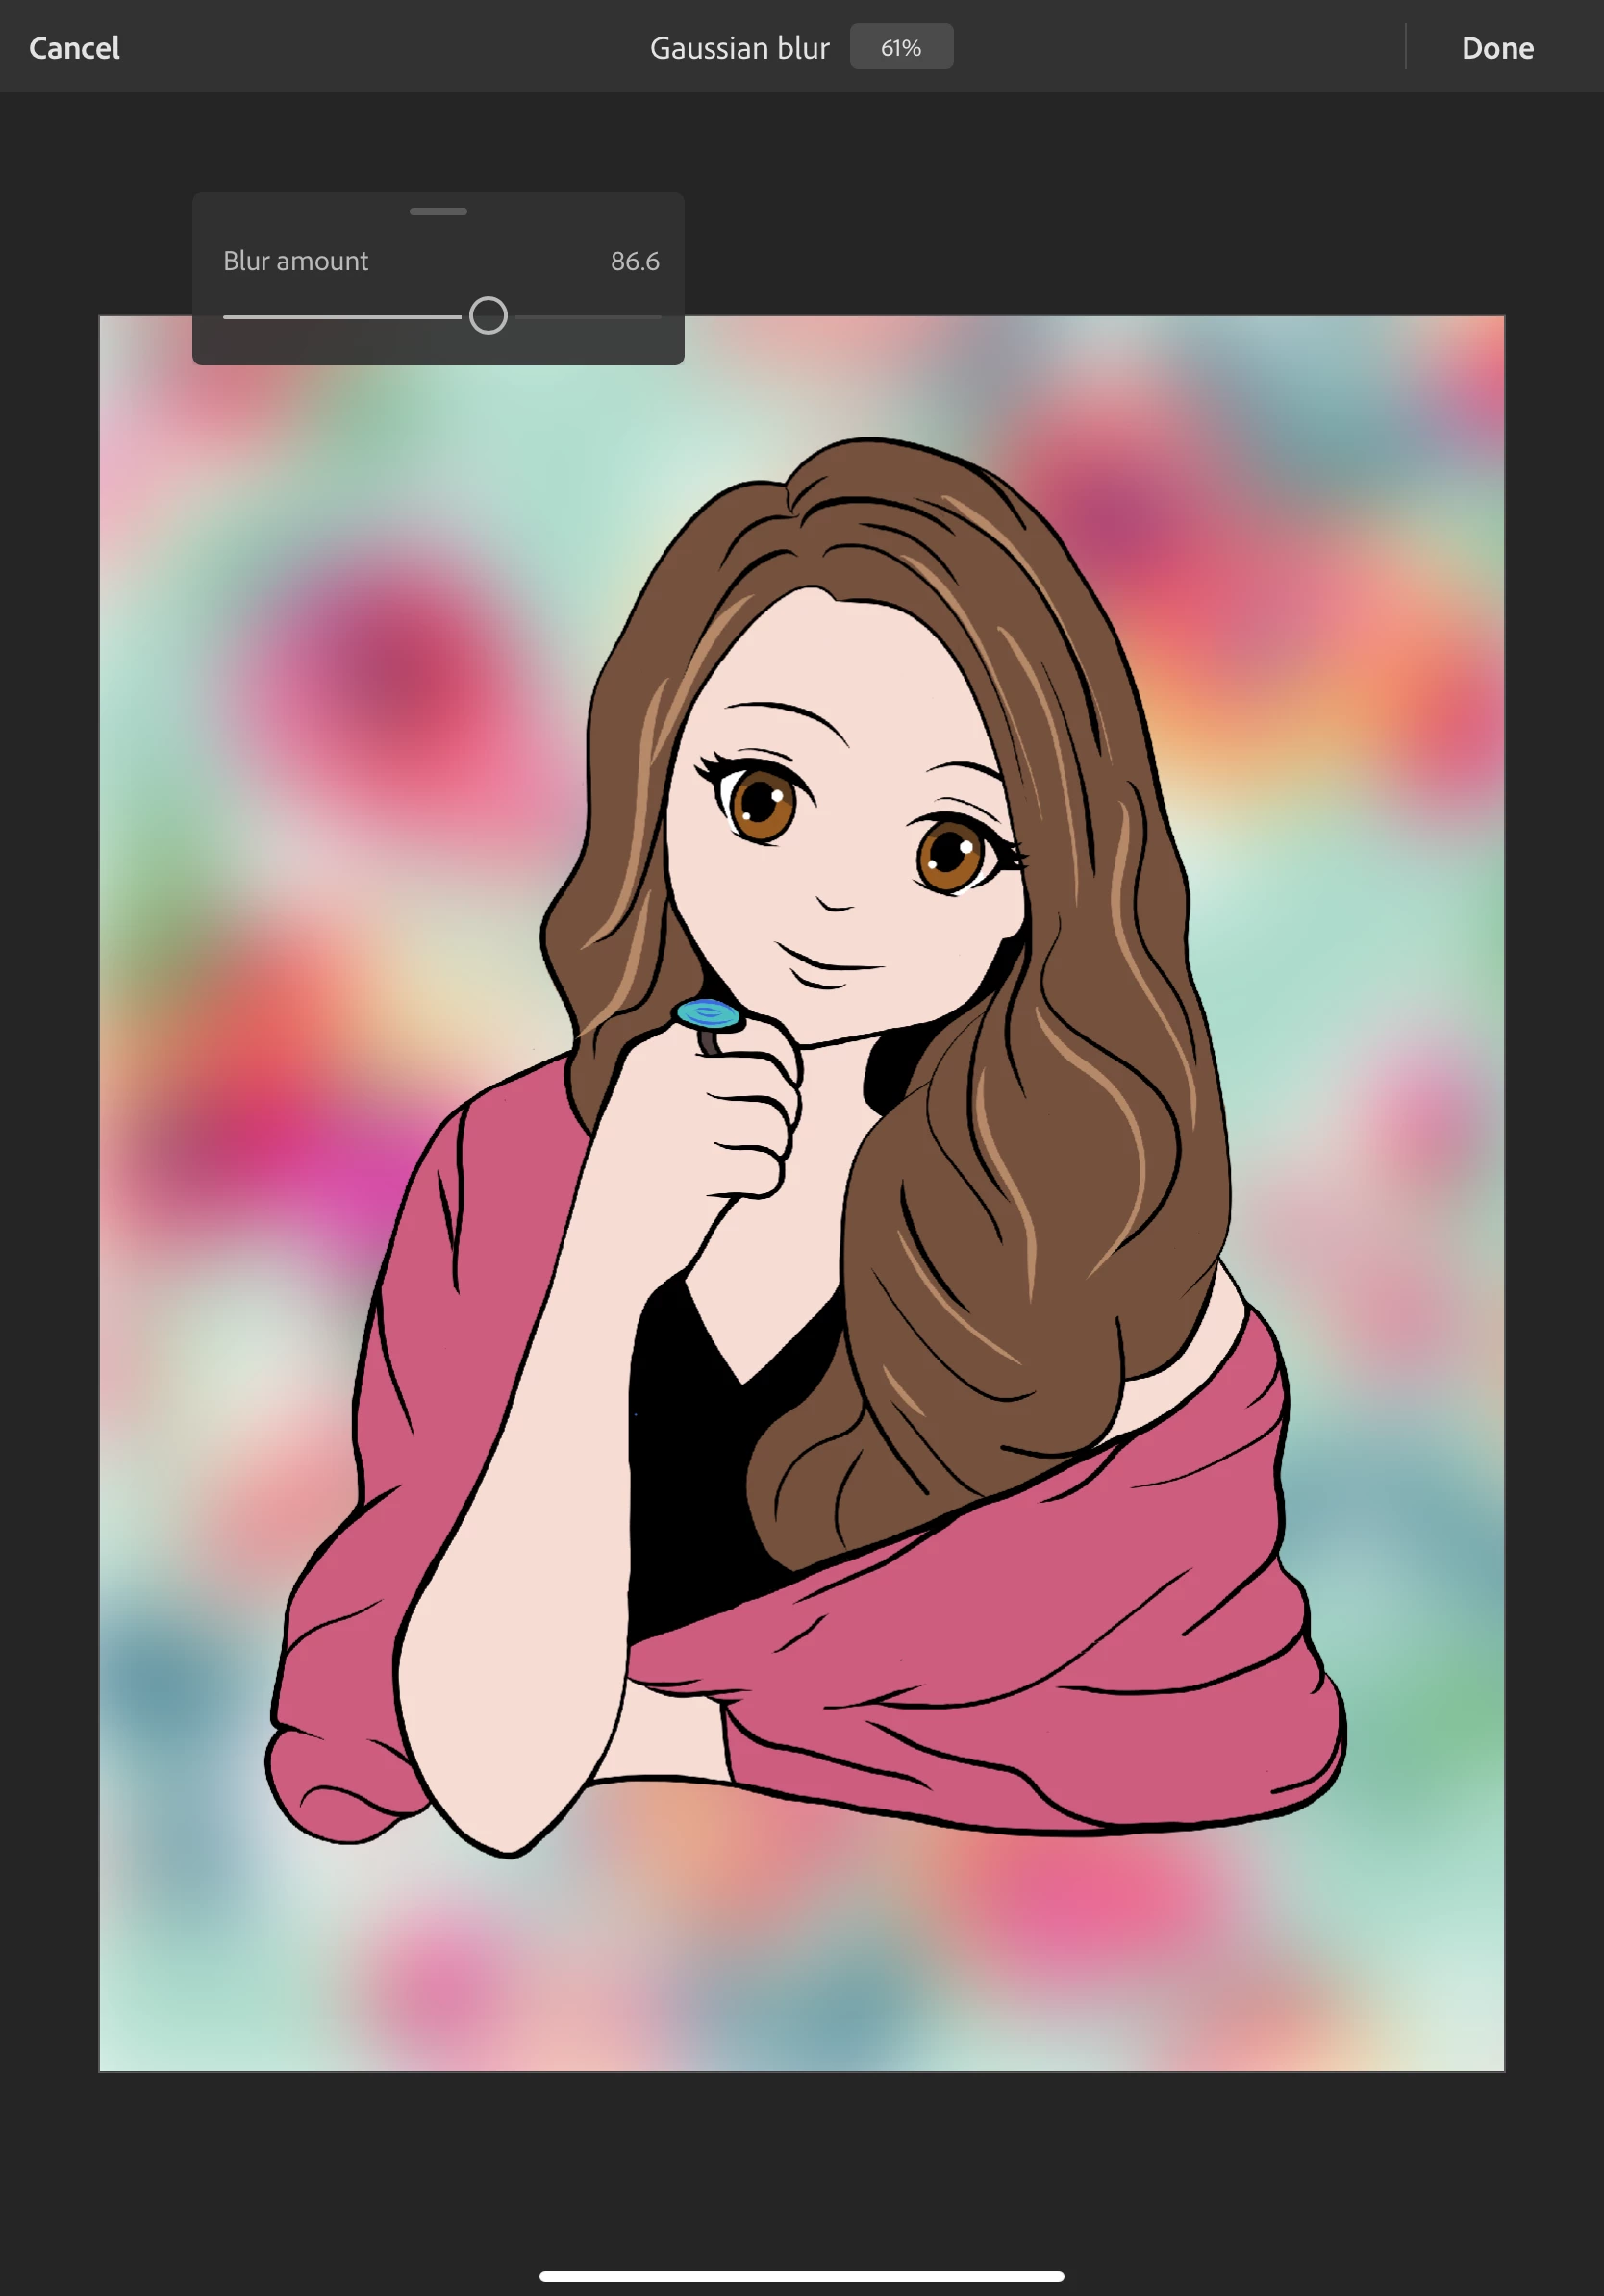
- Tap done
- Tap the + icon to add a new layer above the background layer
- If the new layer is not between the background layer and the layers of the Fresco drawing, long press to select and move the layer
- Long press the selection tool and select the rectangular marquee
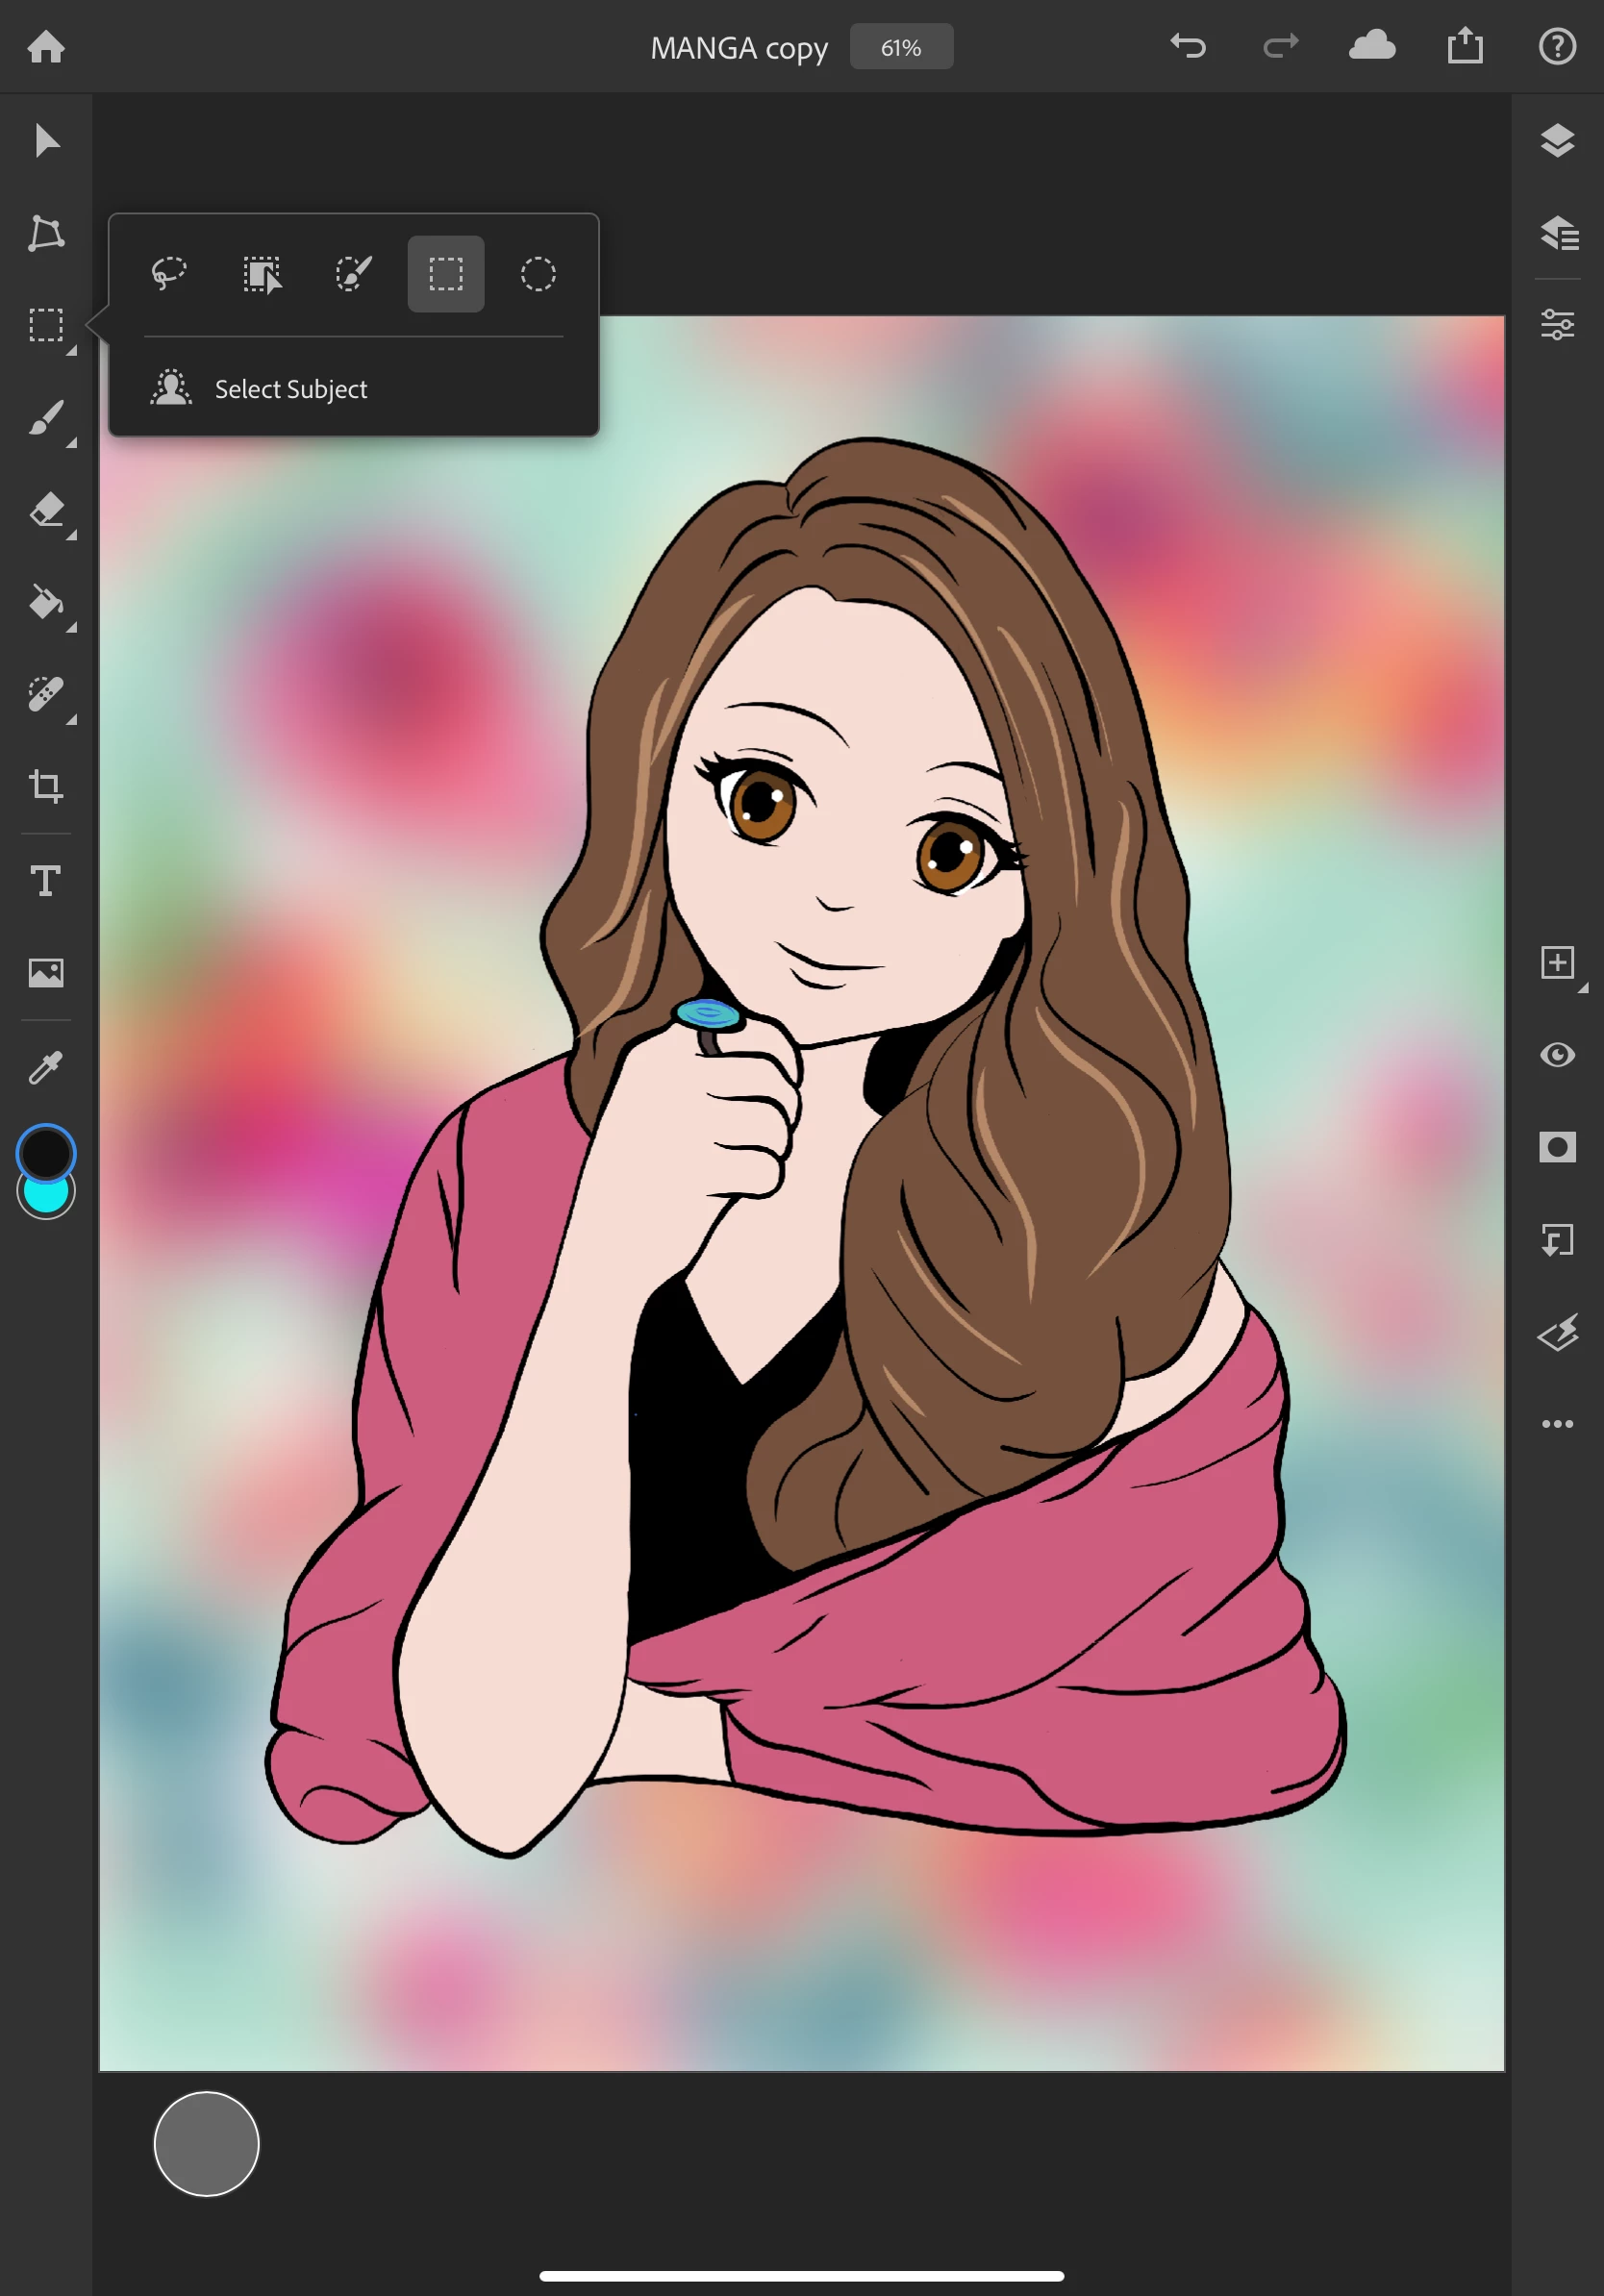
- Tap and drag to select a rectangular area at the bottom of your canvas

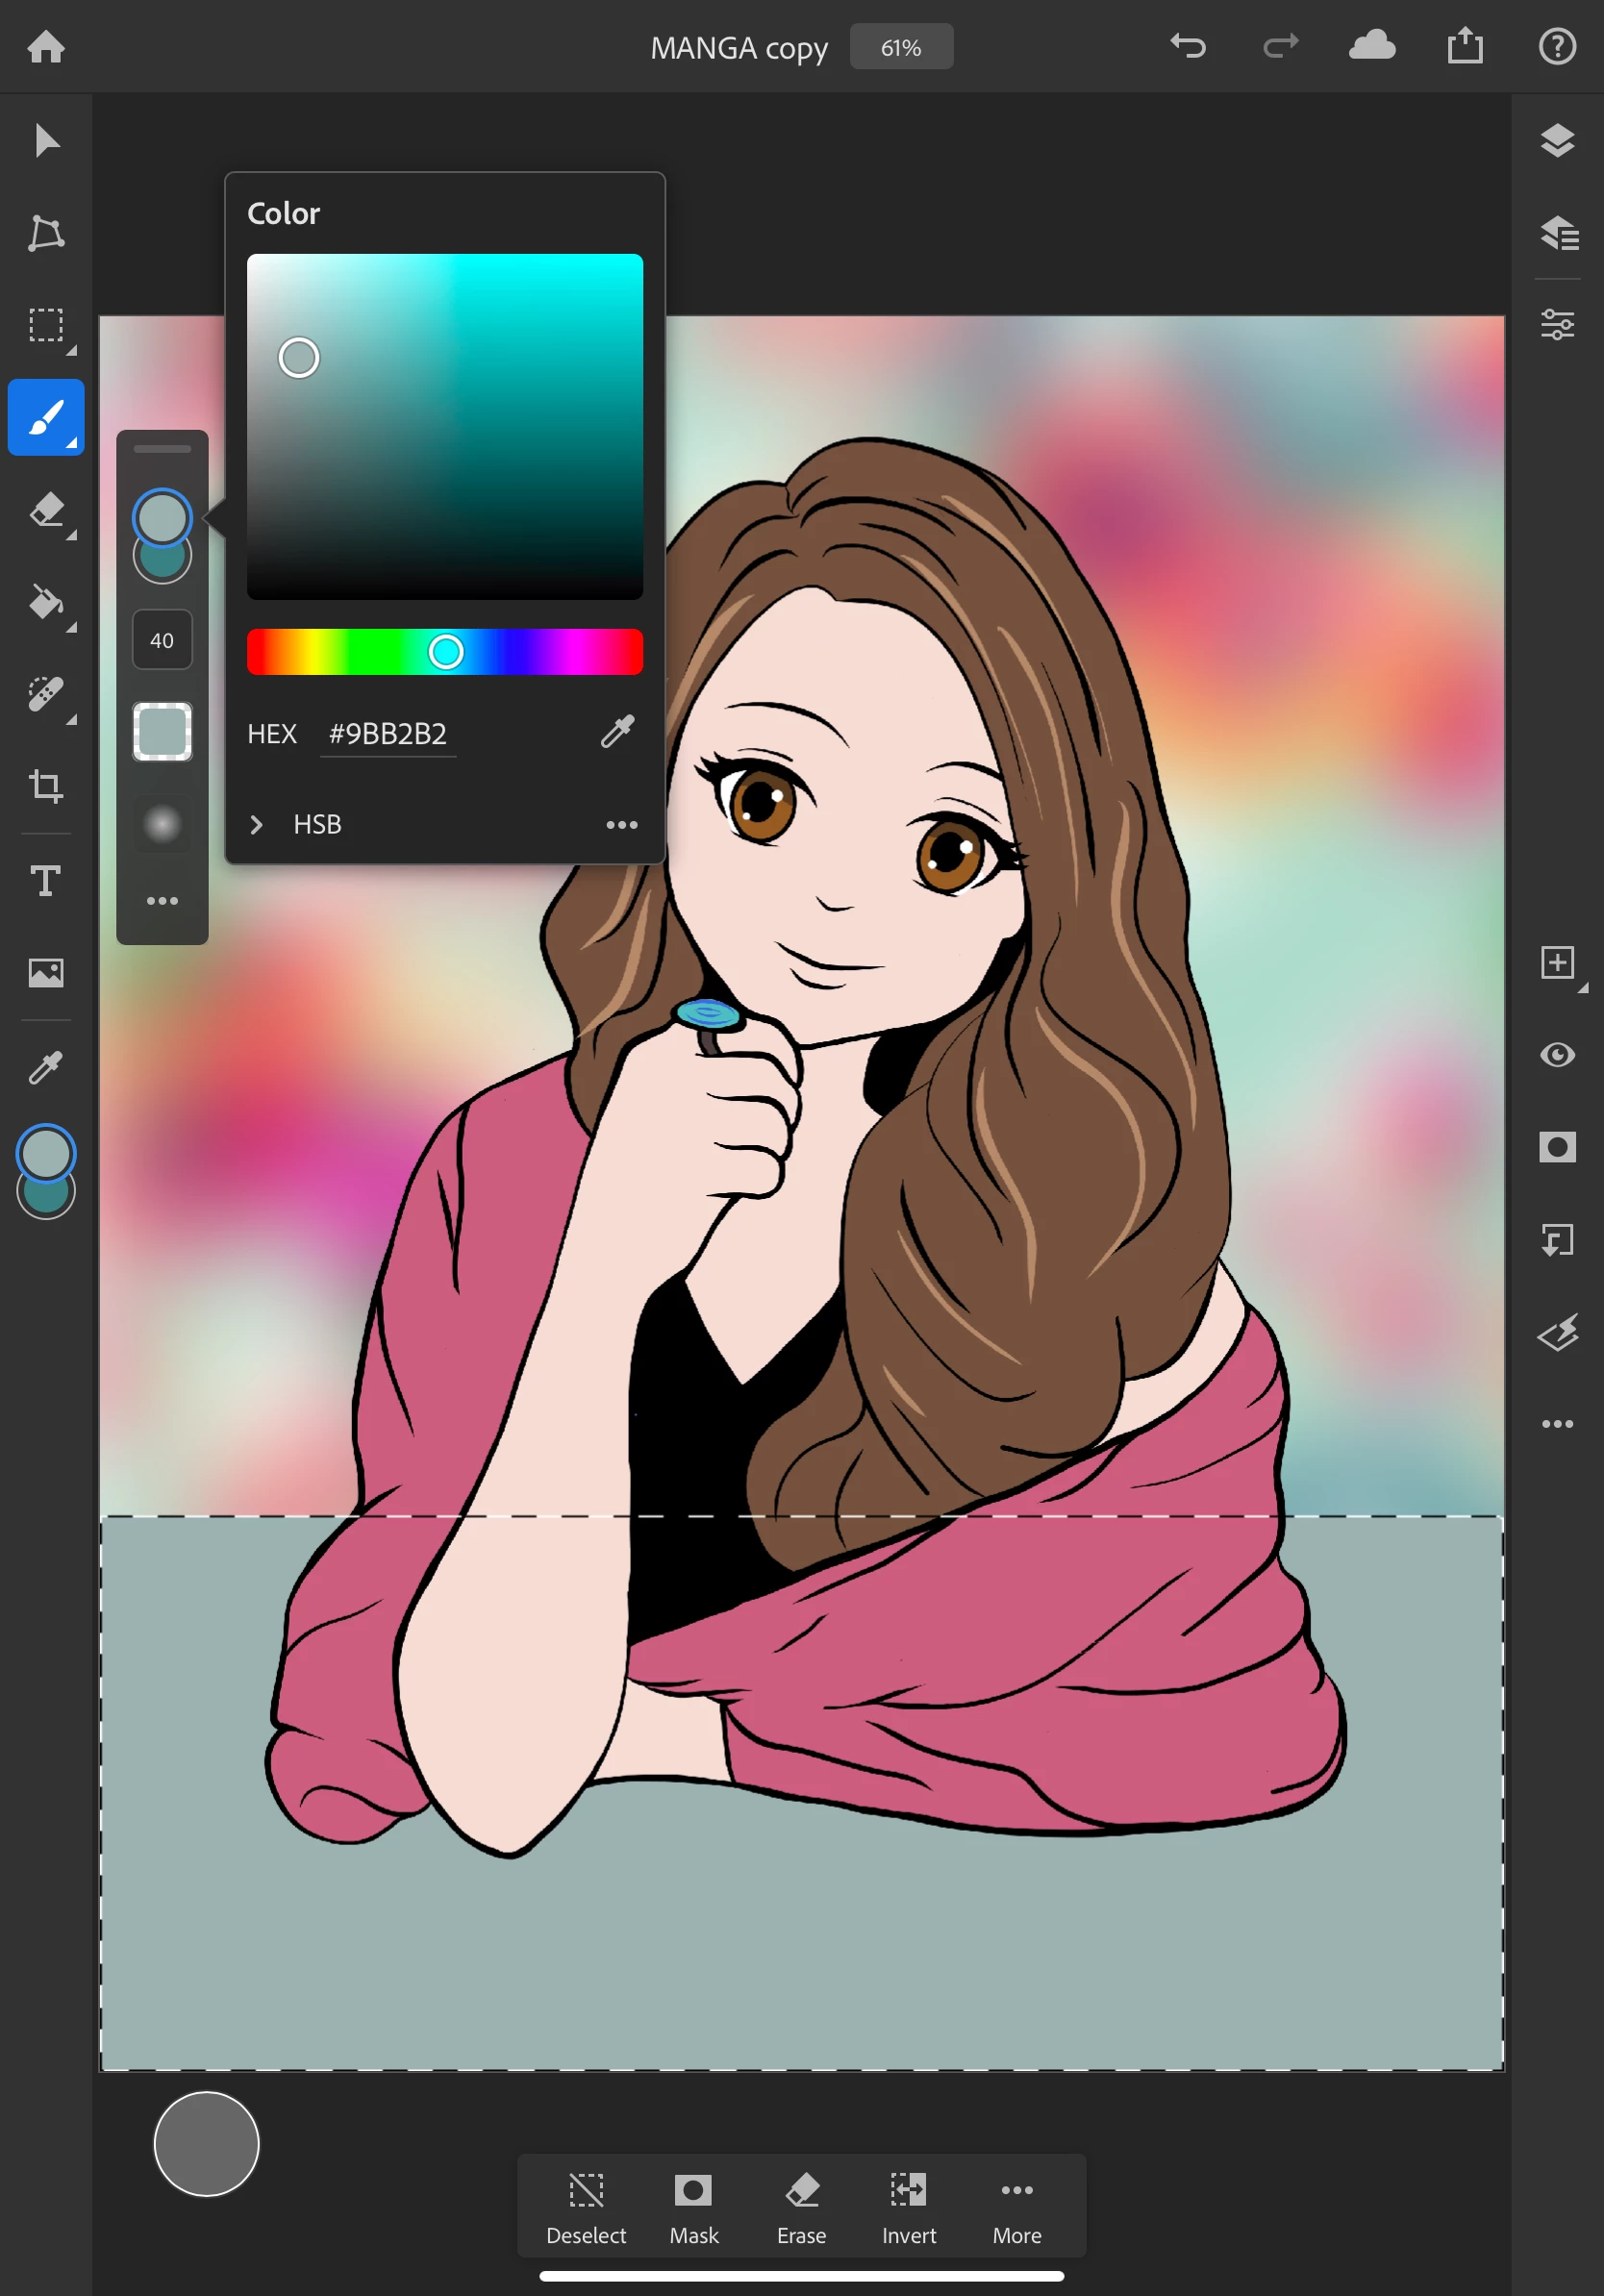
- Tap on the color swatch on the toolbar and select a color to make the surface the model is leaning on
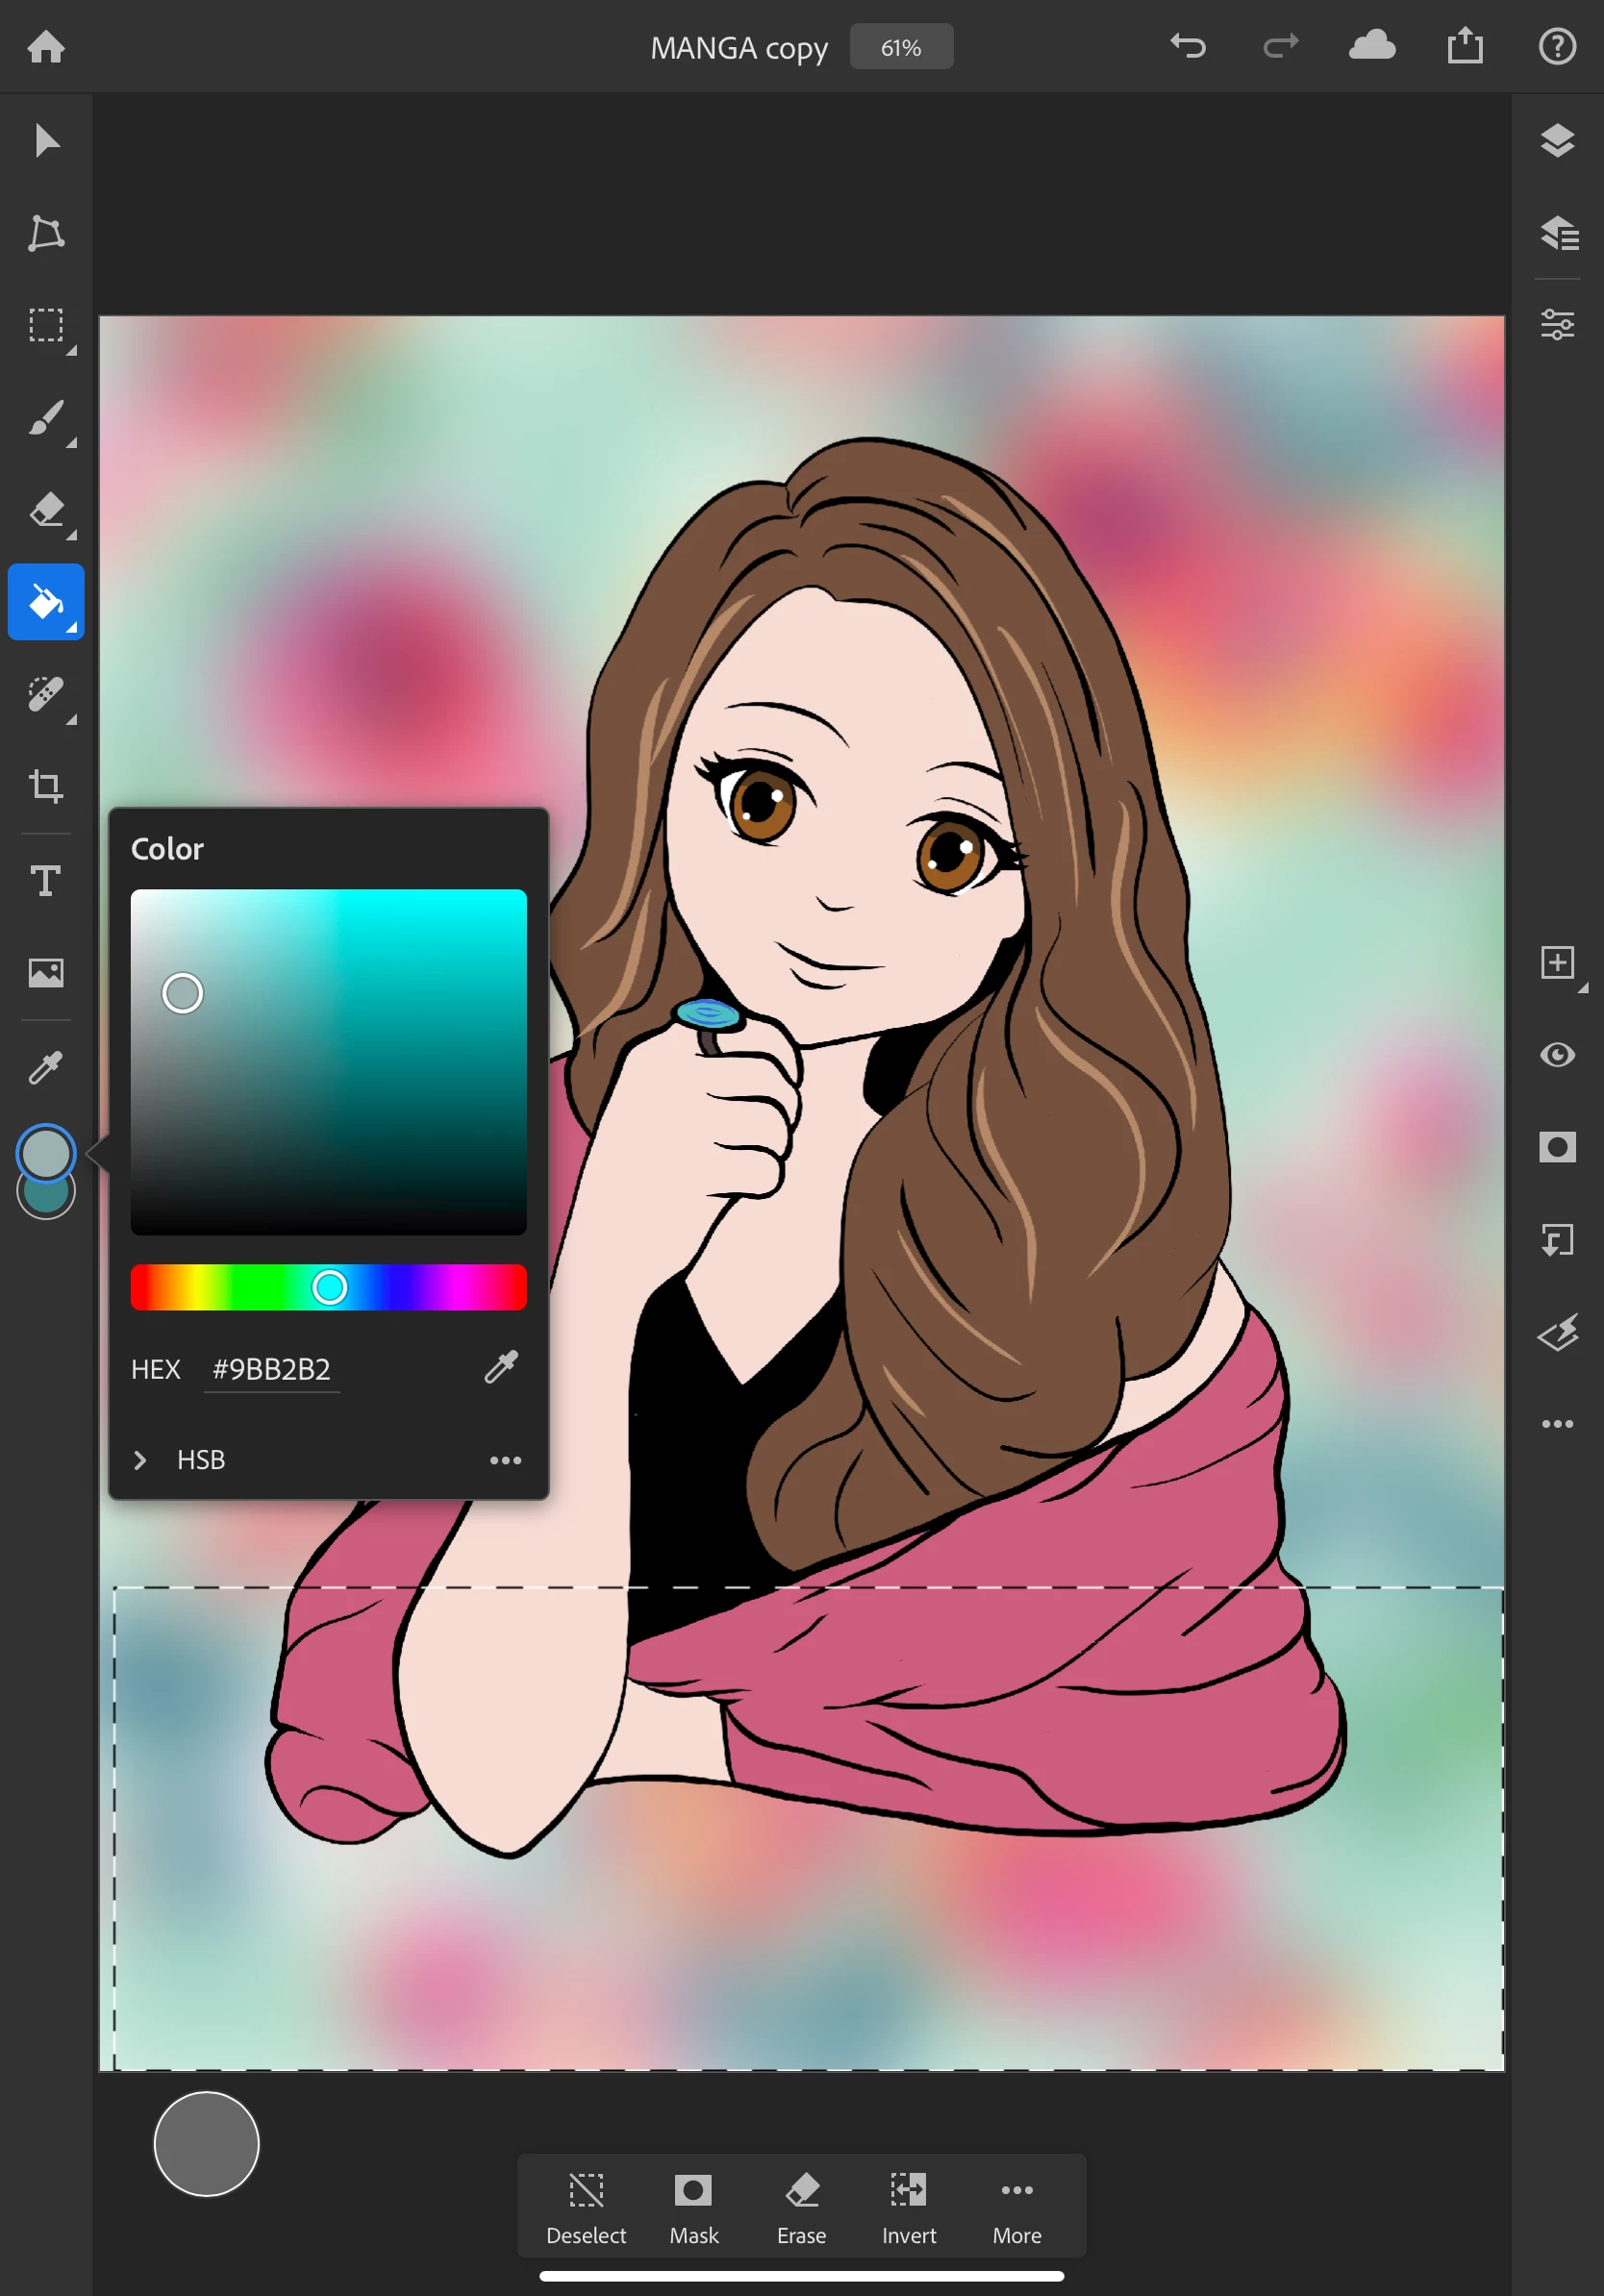
- Tap on the fill tool (paint bucket icon) in the toolbar
- Tap inside the selection to fill it with your selected color
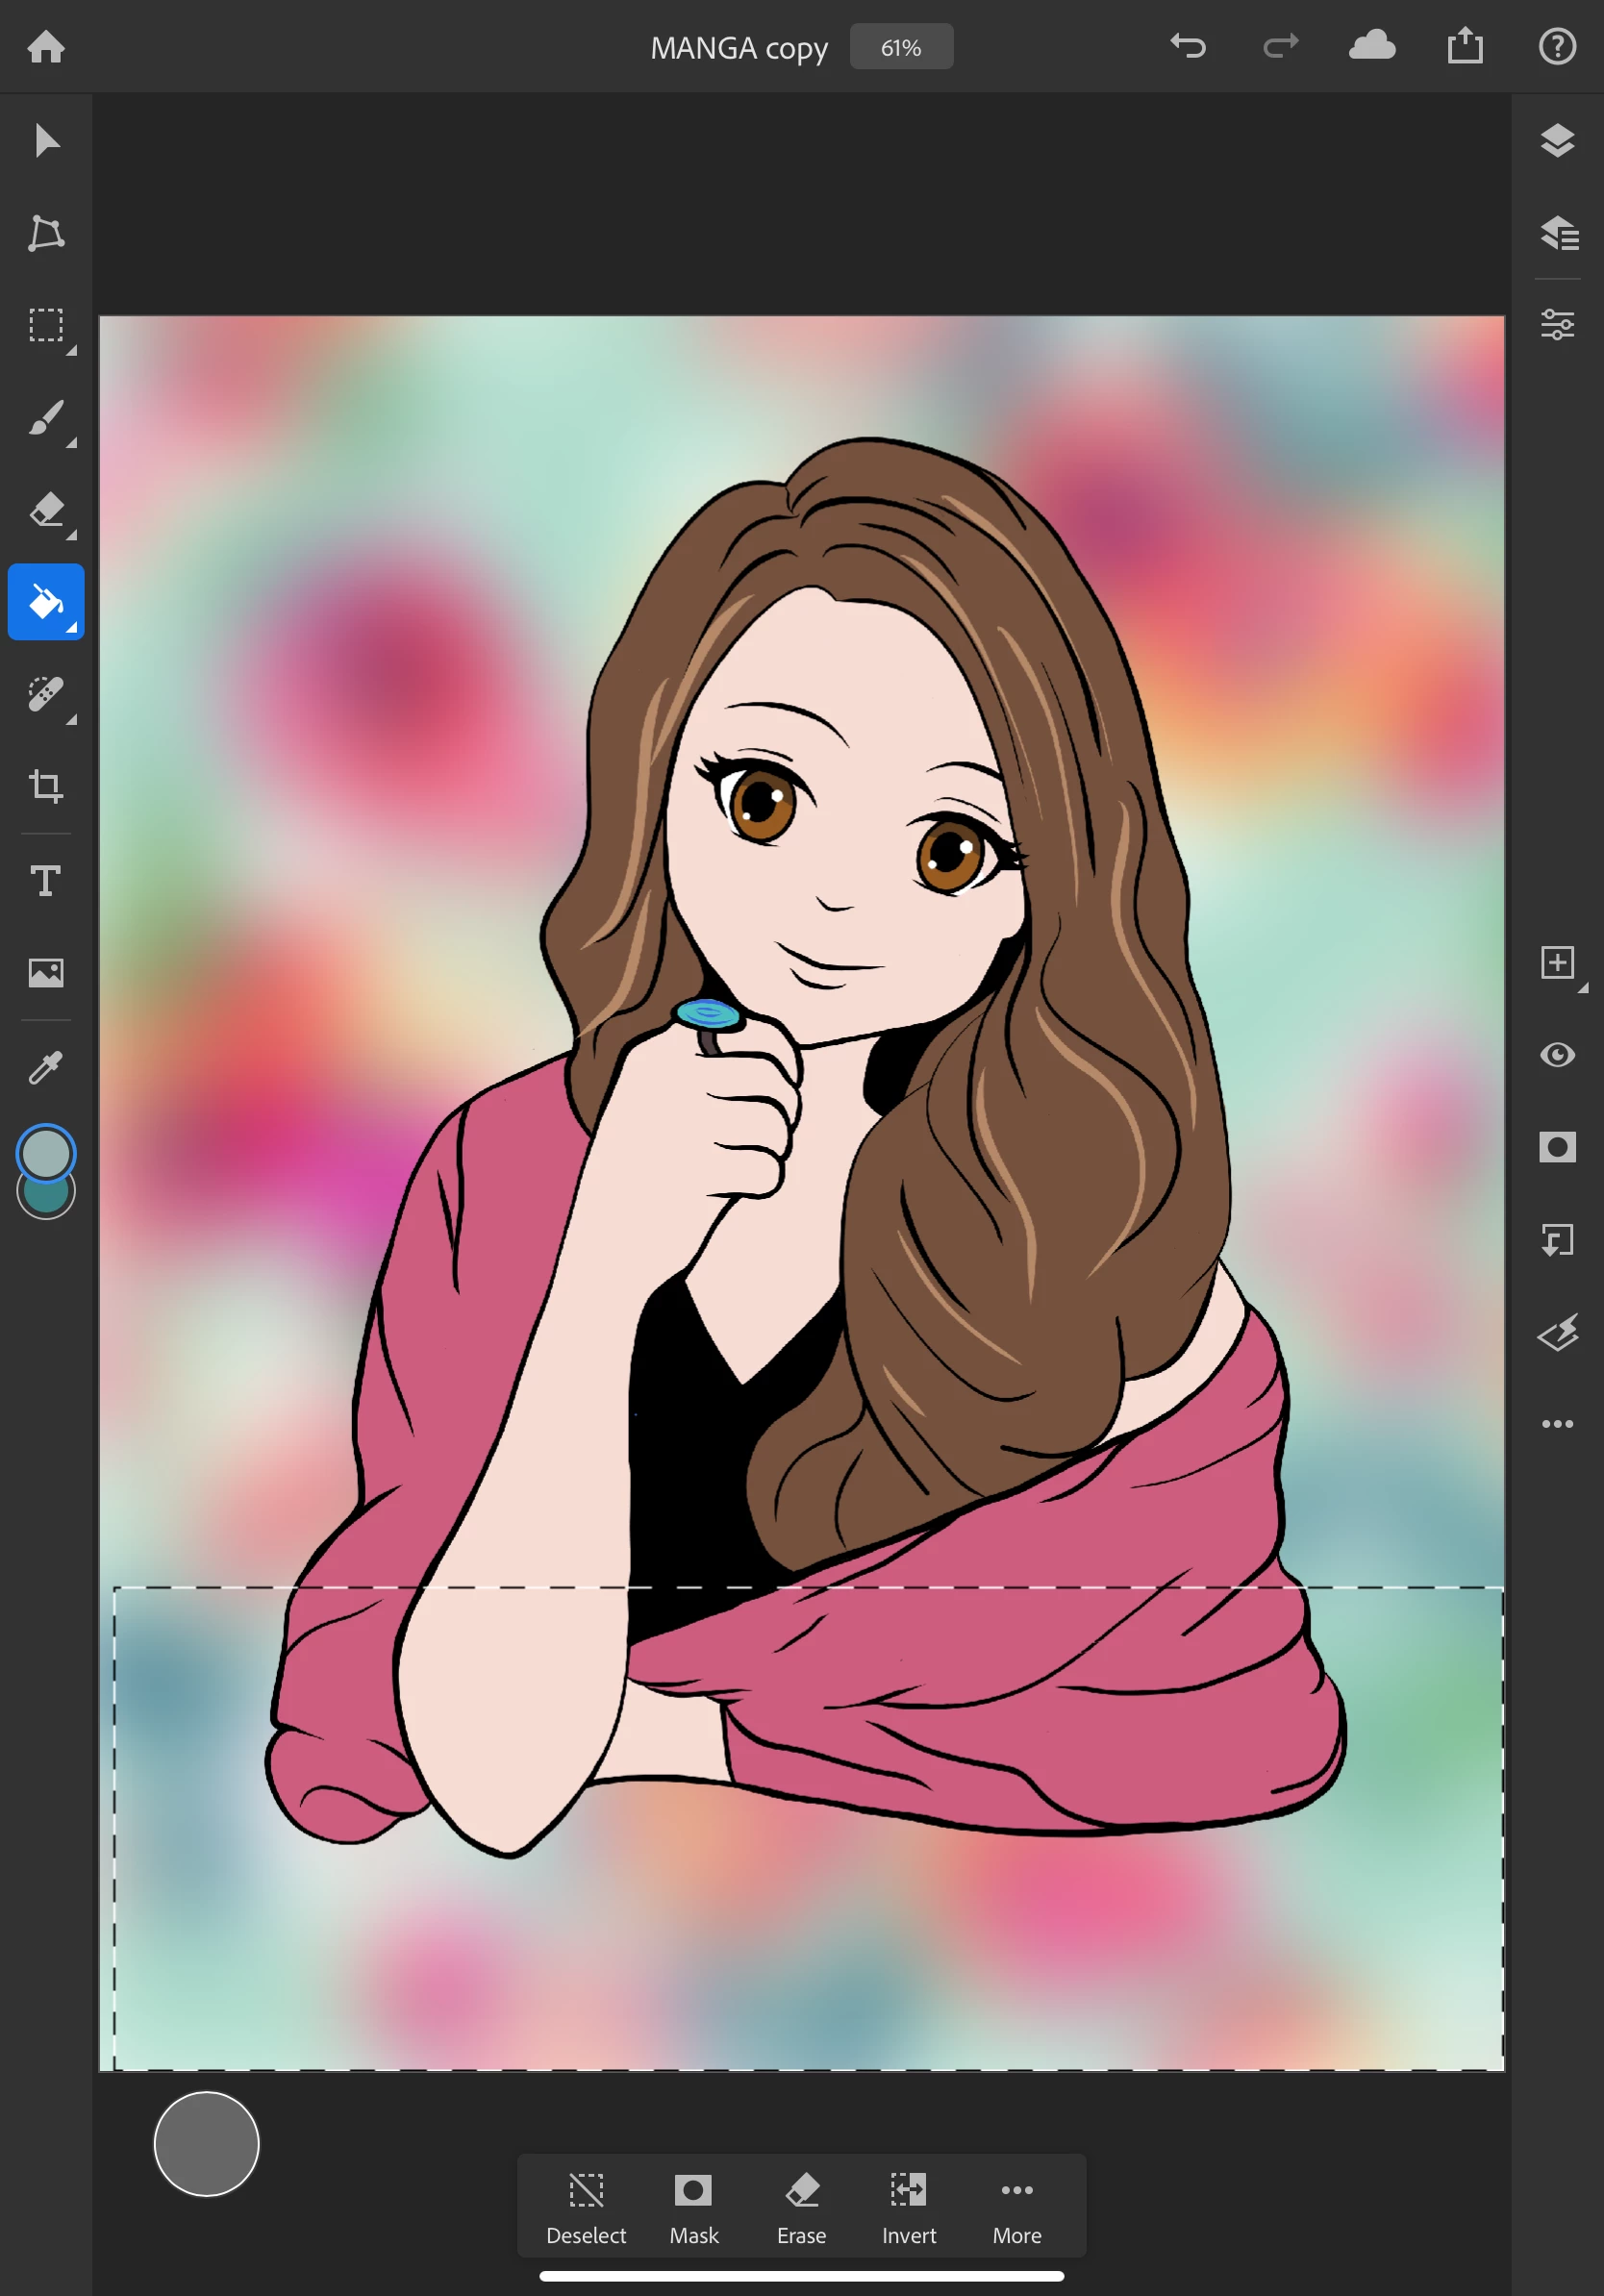
- While it is still selected, select the brush tool from the toolbar on the left
- Tap on the color swatch and select a color that is slightly darker to use as a shadow
- Double-tap on the brush tool to bring up a selection of brushes
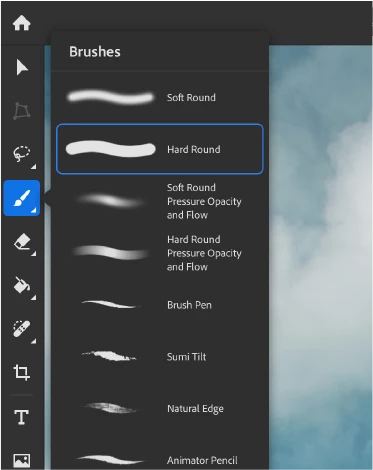
- Choose the soft round brush
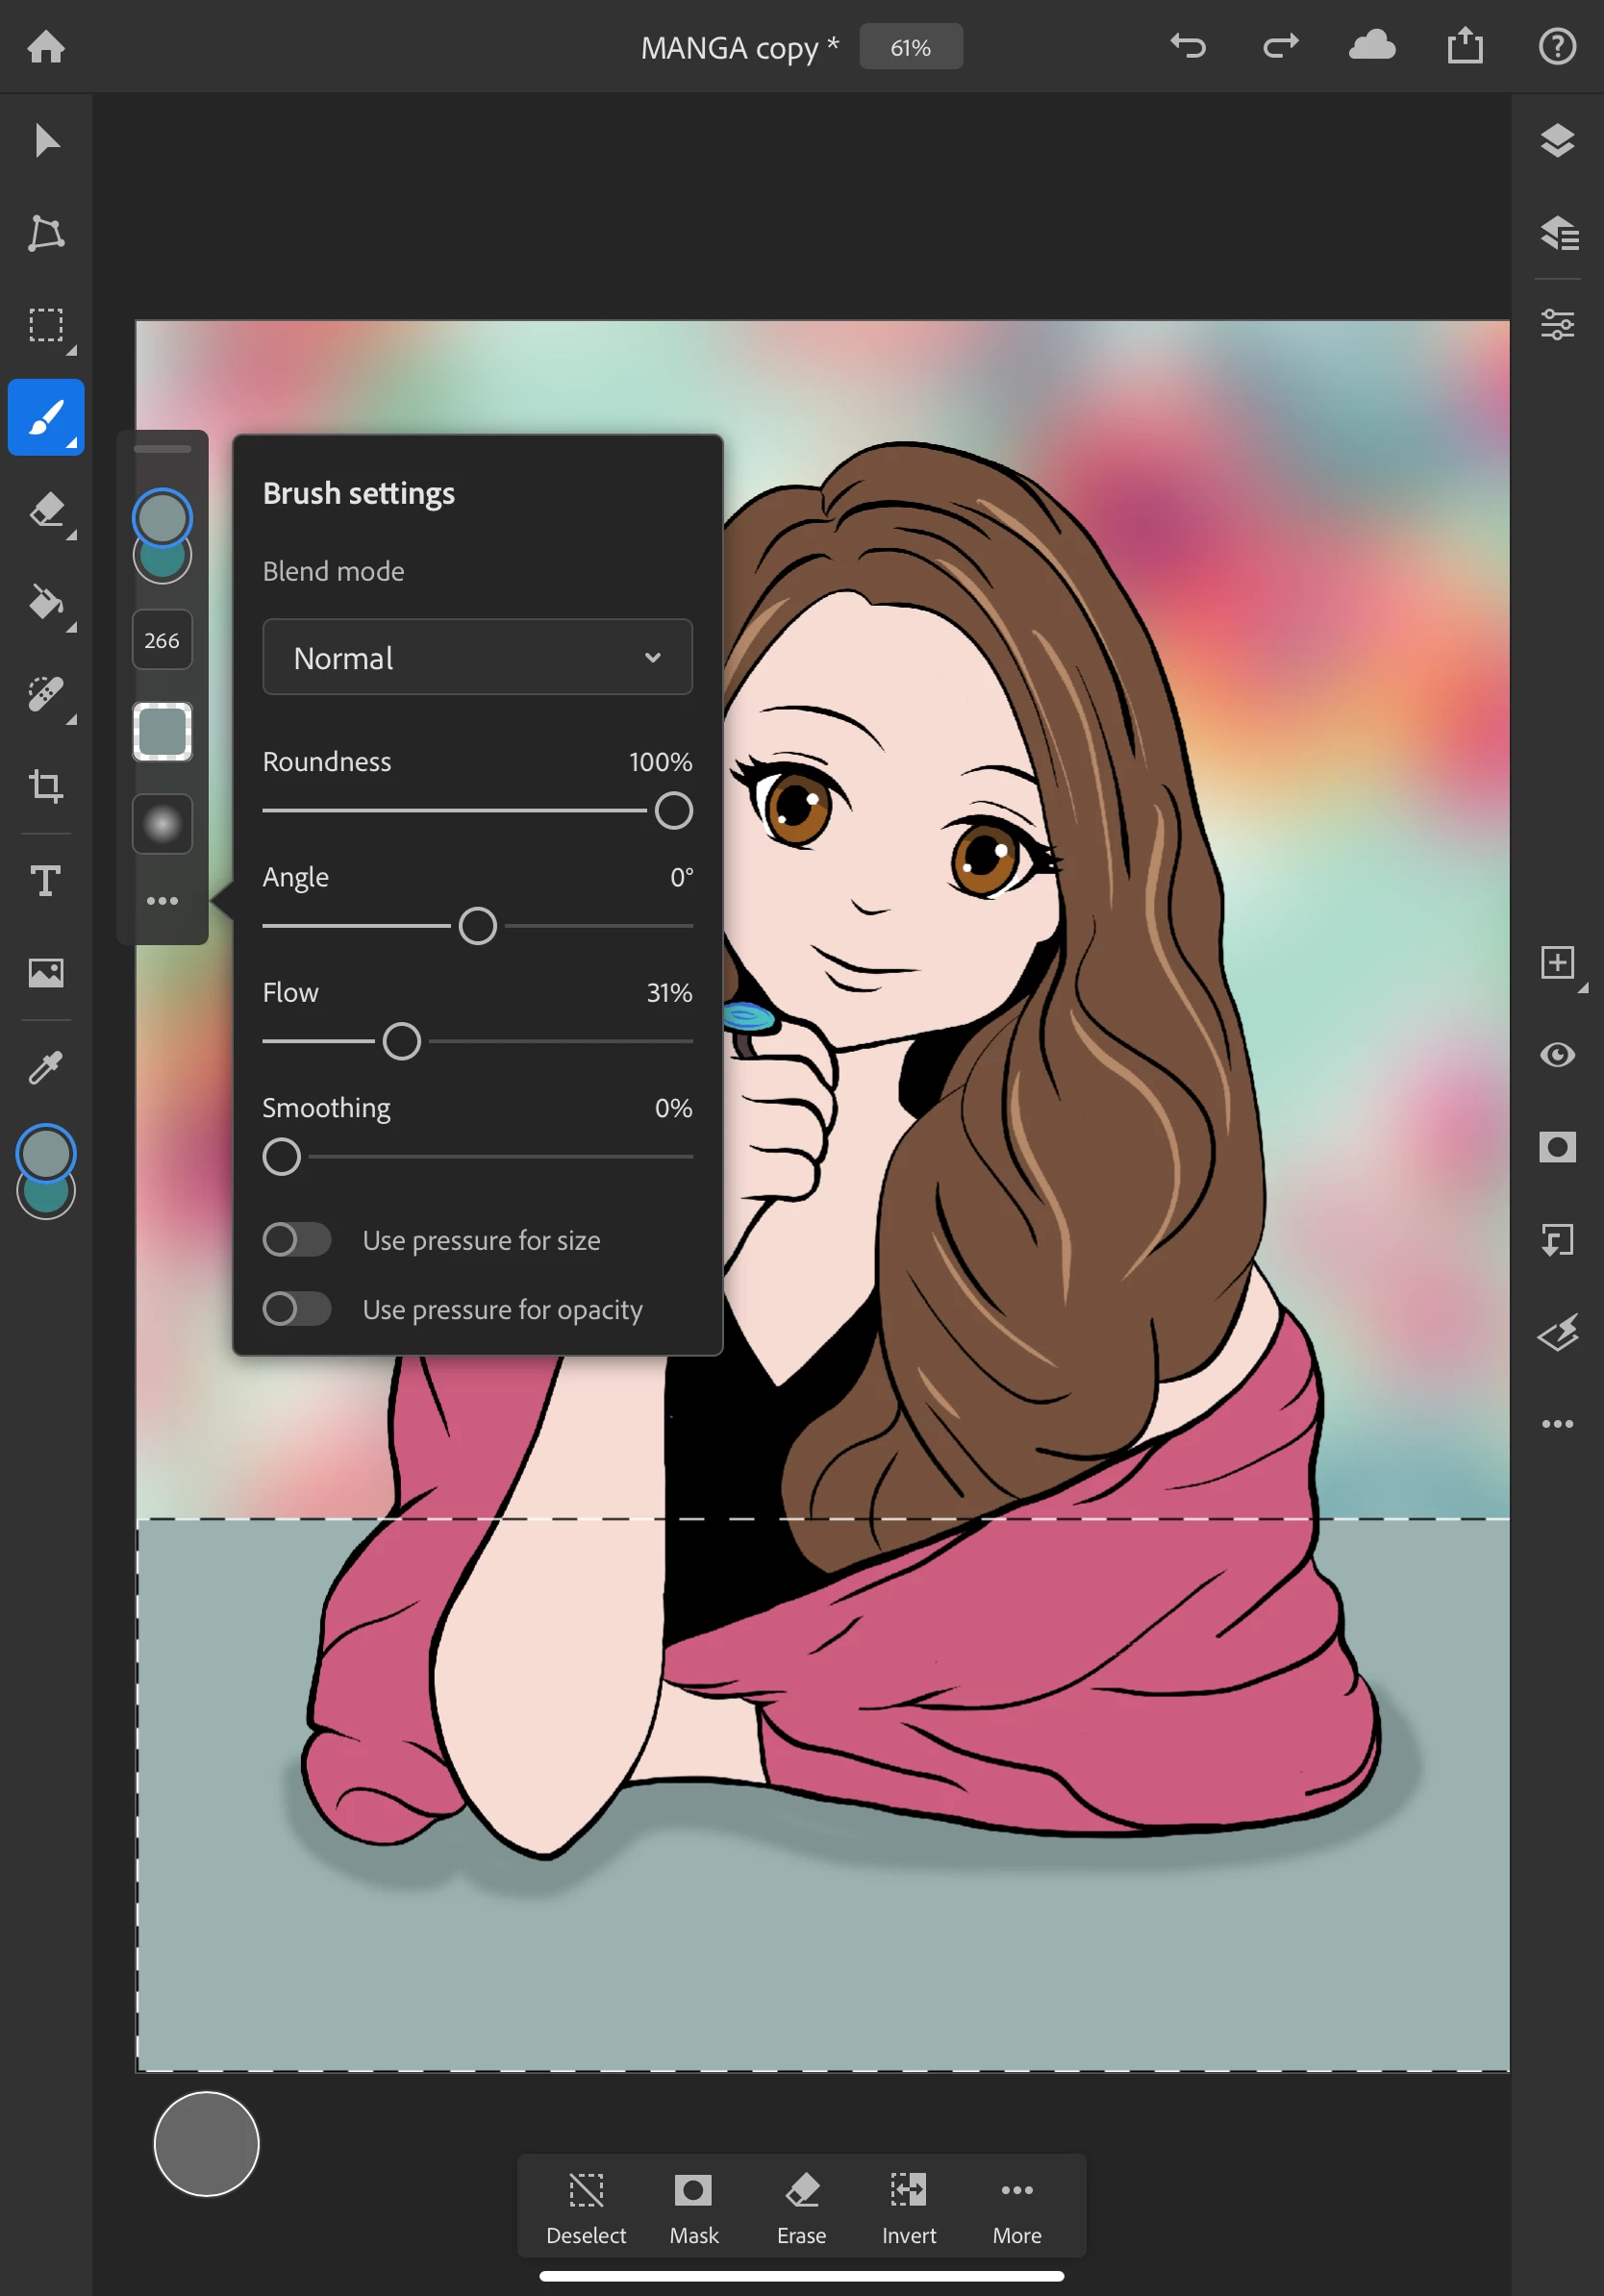
- Choose the size, opacity and hardness you prefer
- Tap on the 3 dots at the bottom of the tool options bar to make additional adjustments your brush
- Learn more information about brush settings here: Draw and paint with brushes
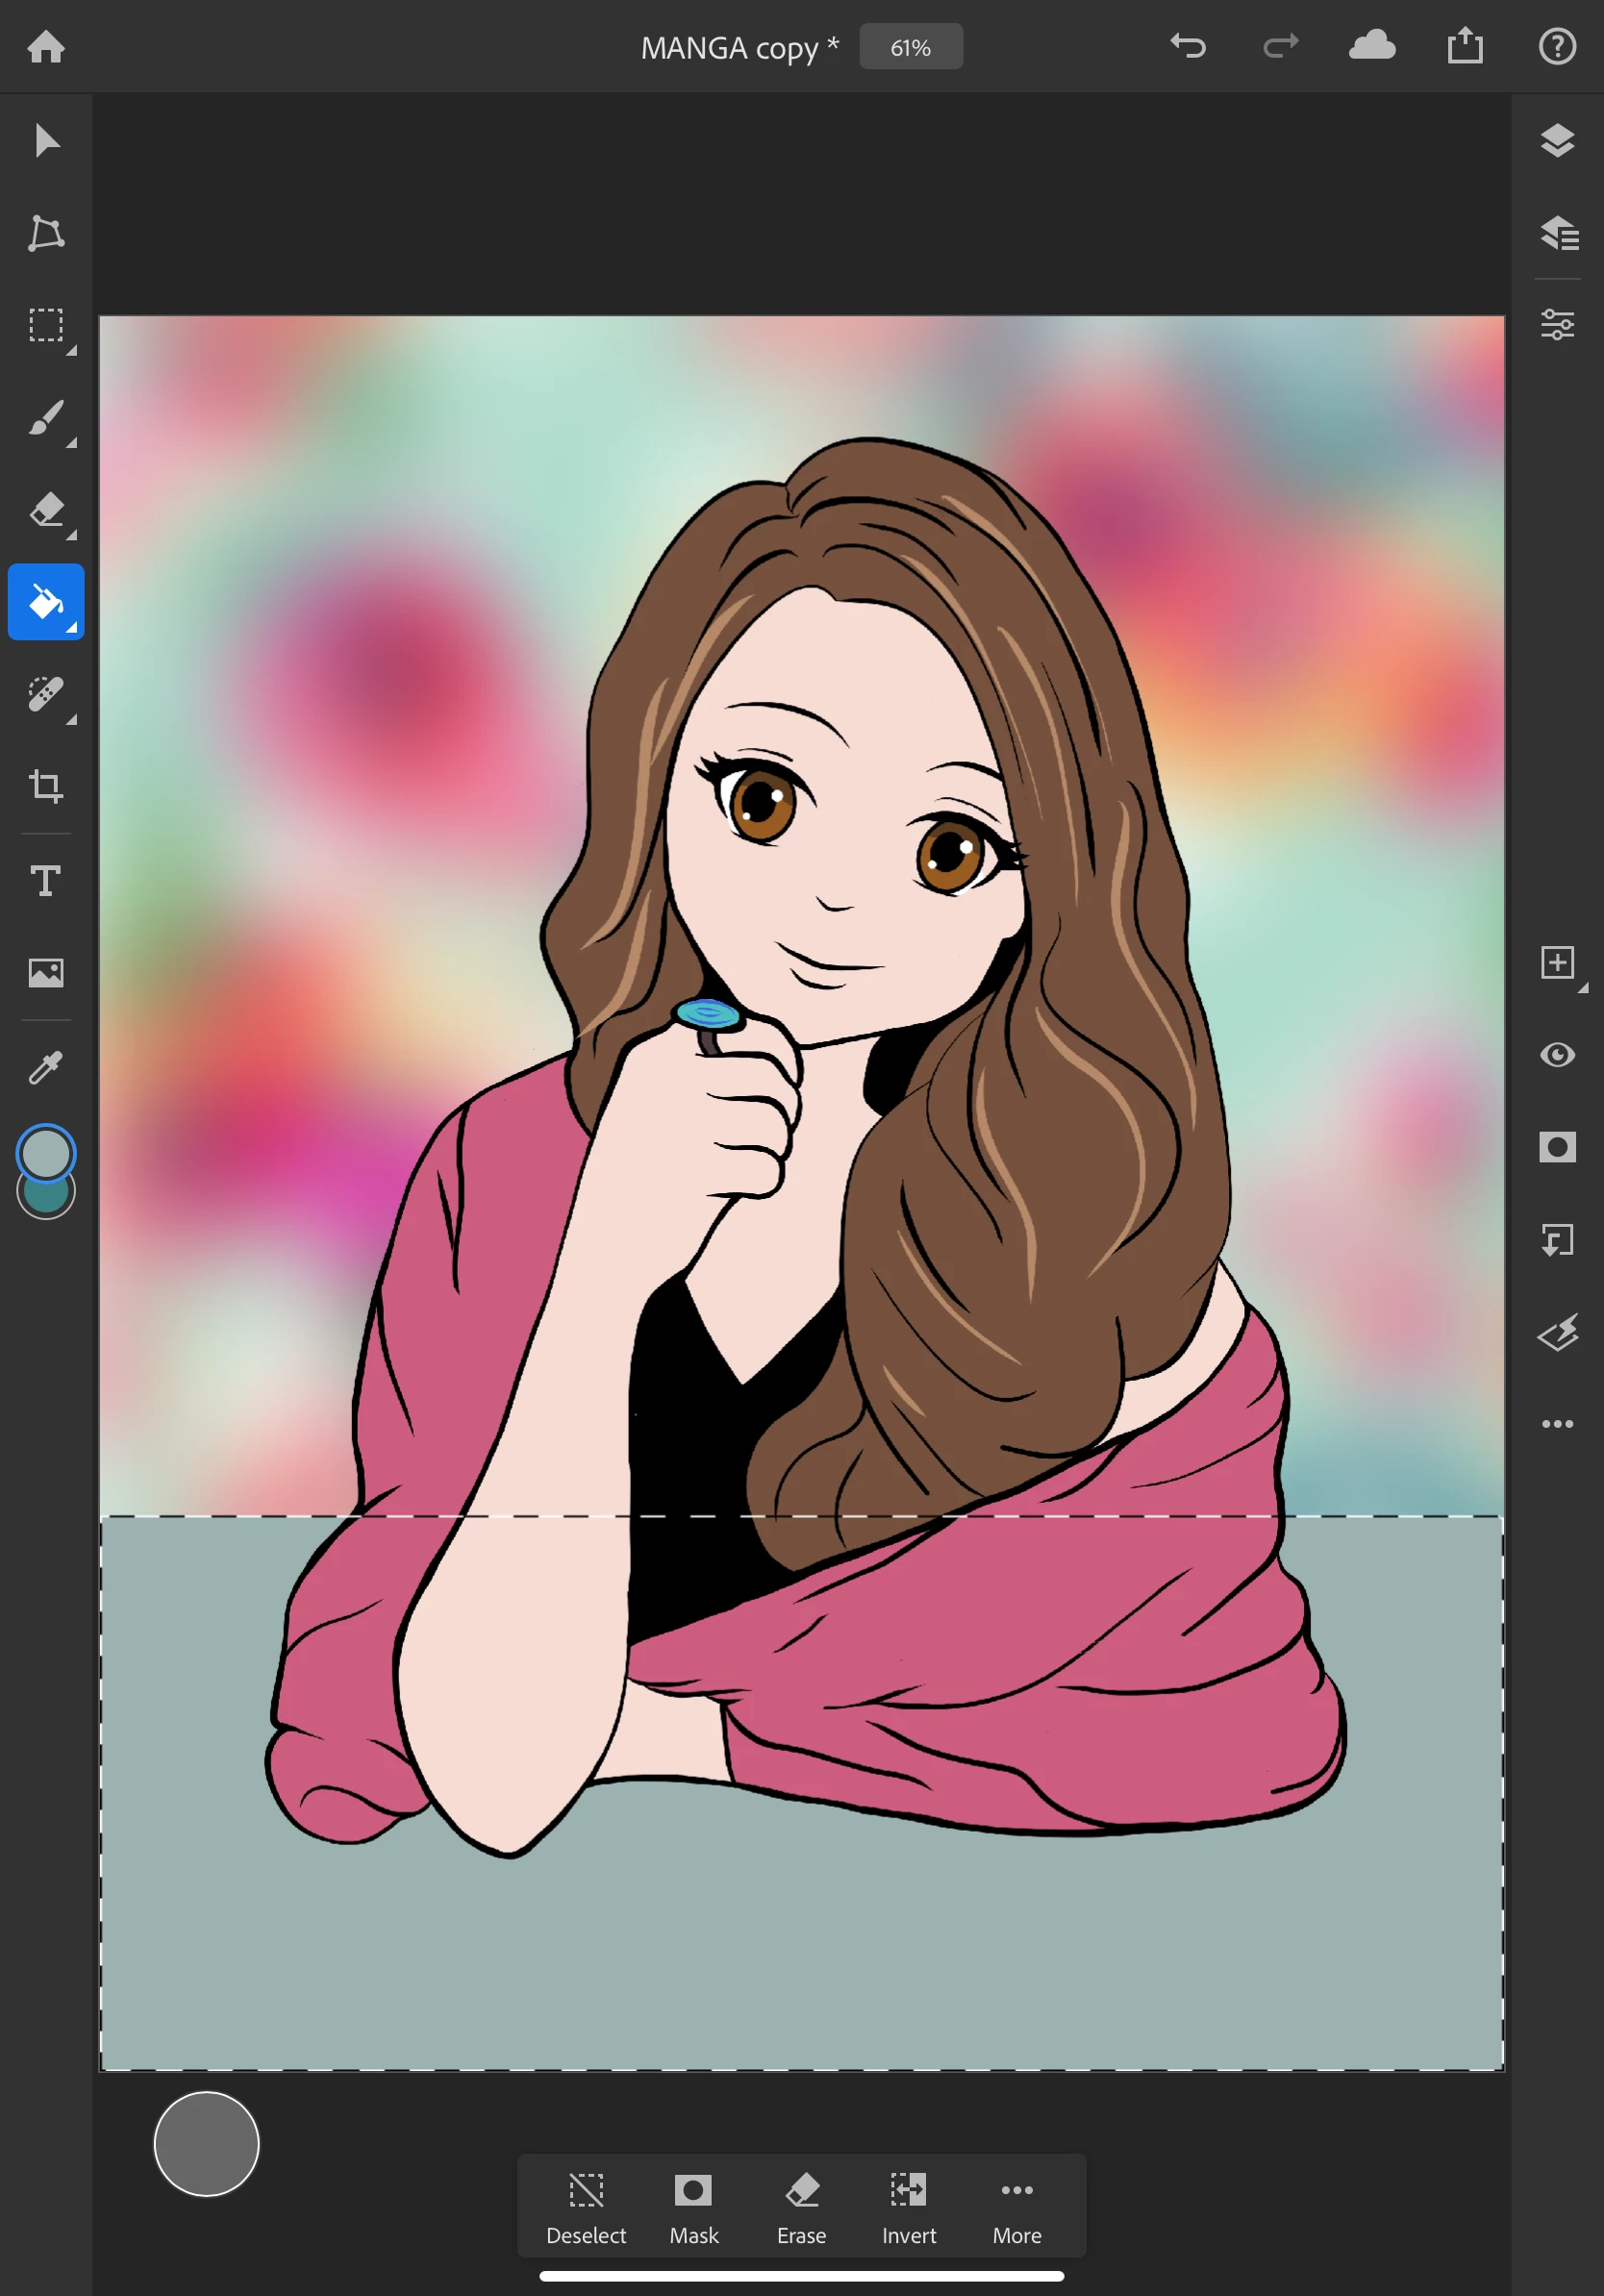
- Tap the + icon to add a new layer above the previous one
- Paint in the shadow on the table surface
- Continue to create a new layers and paint additional shadows if you like
- Tap deselect at the bottom
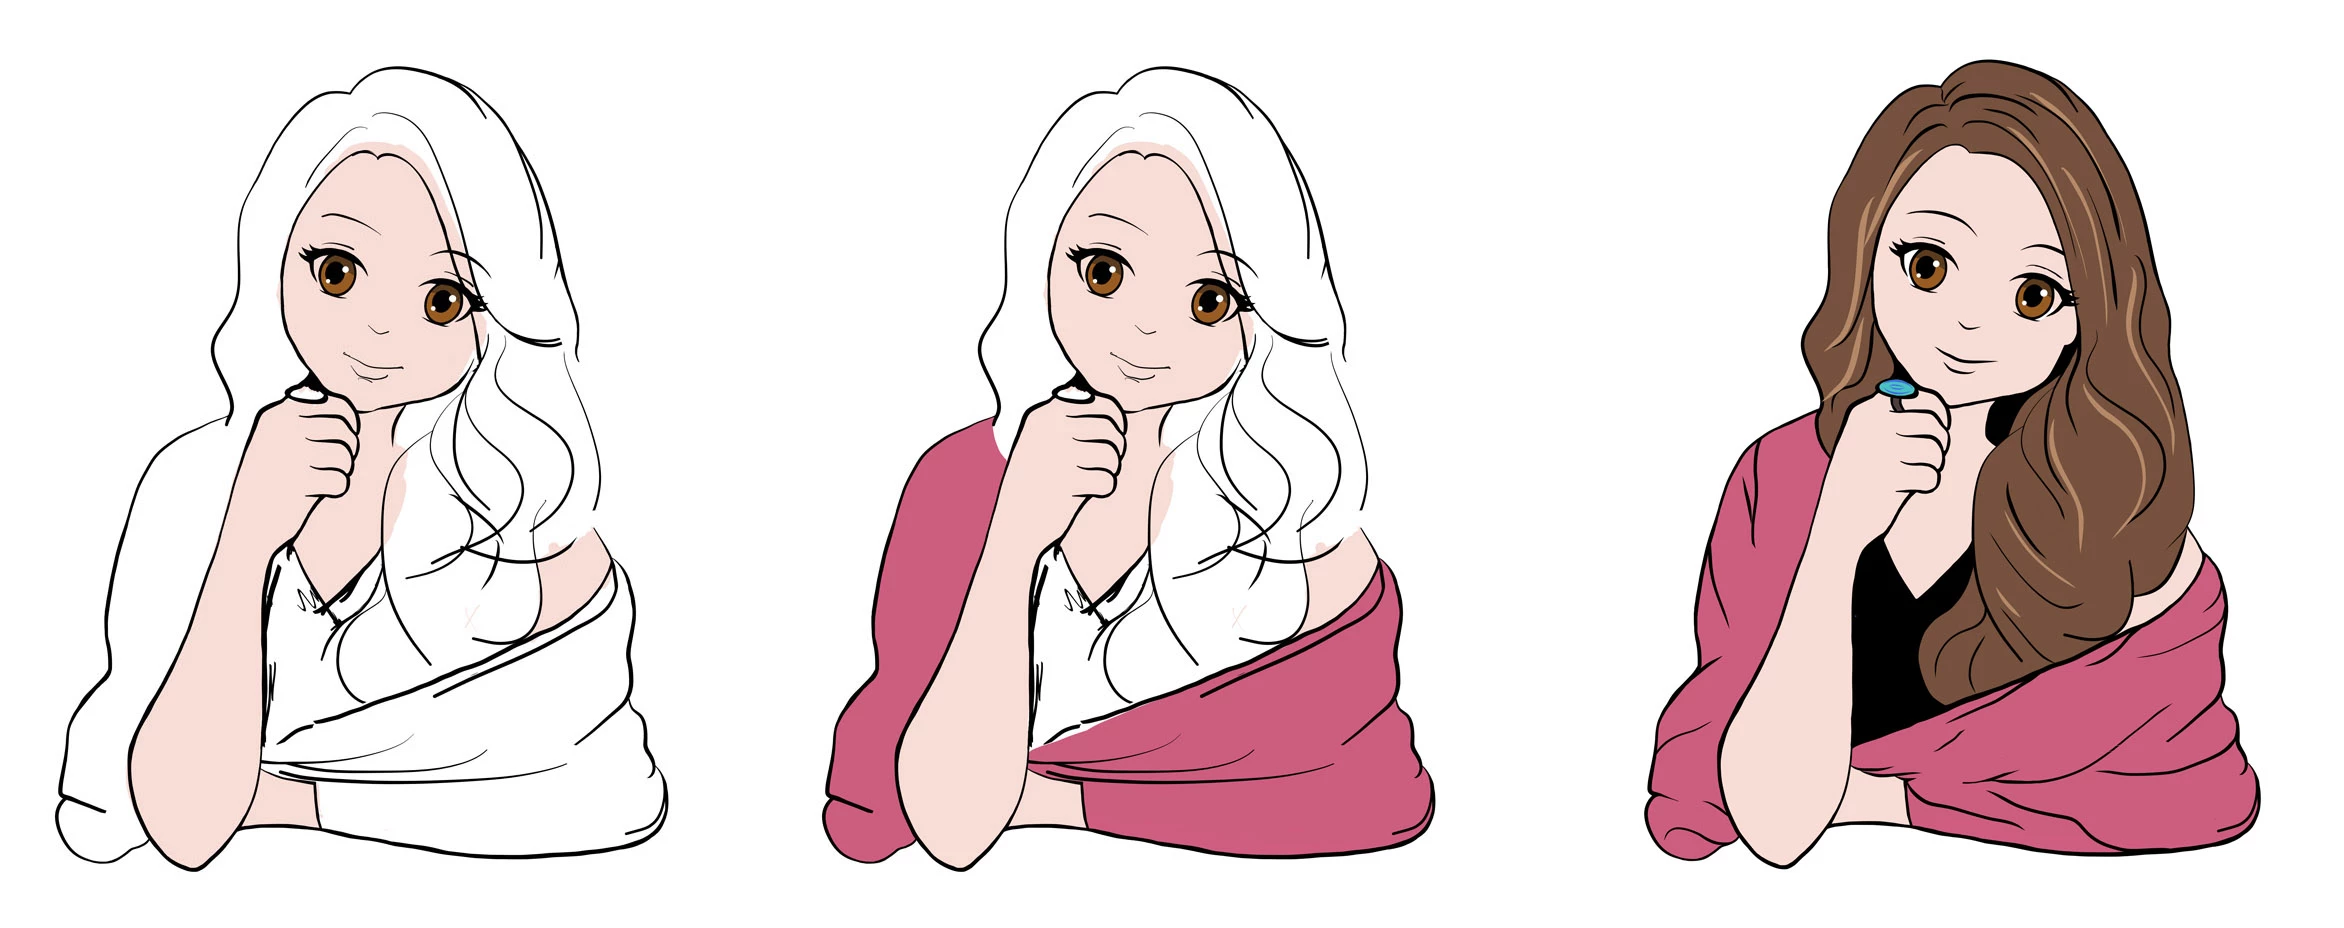
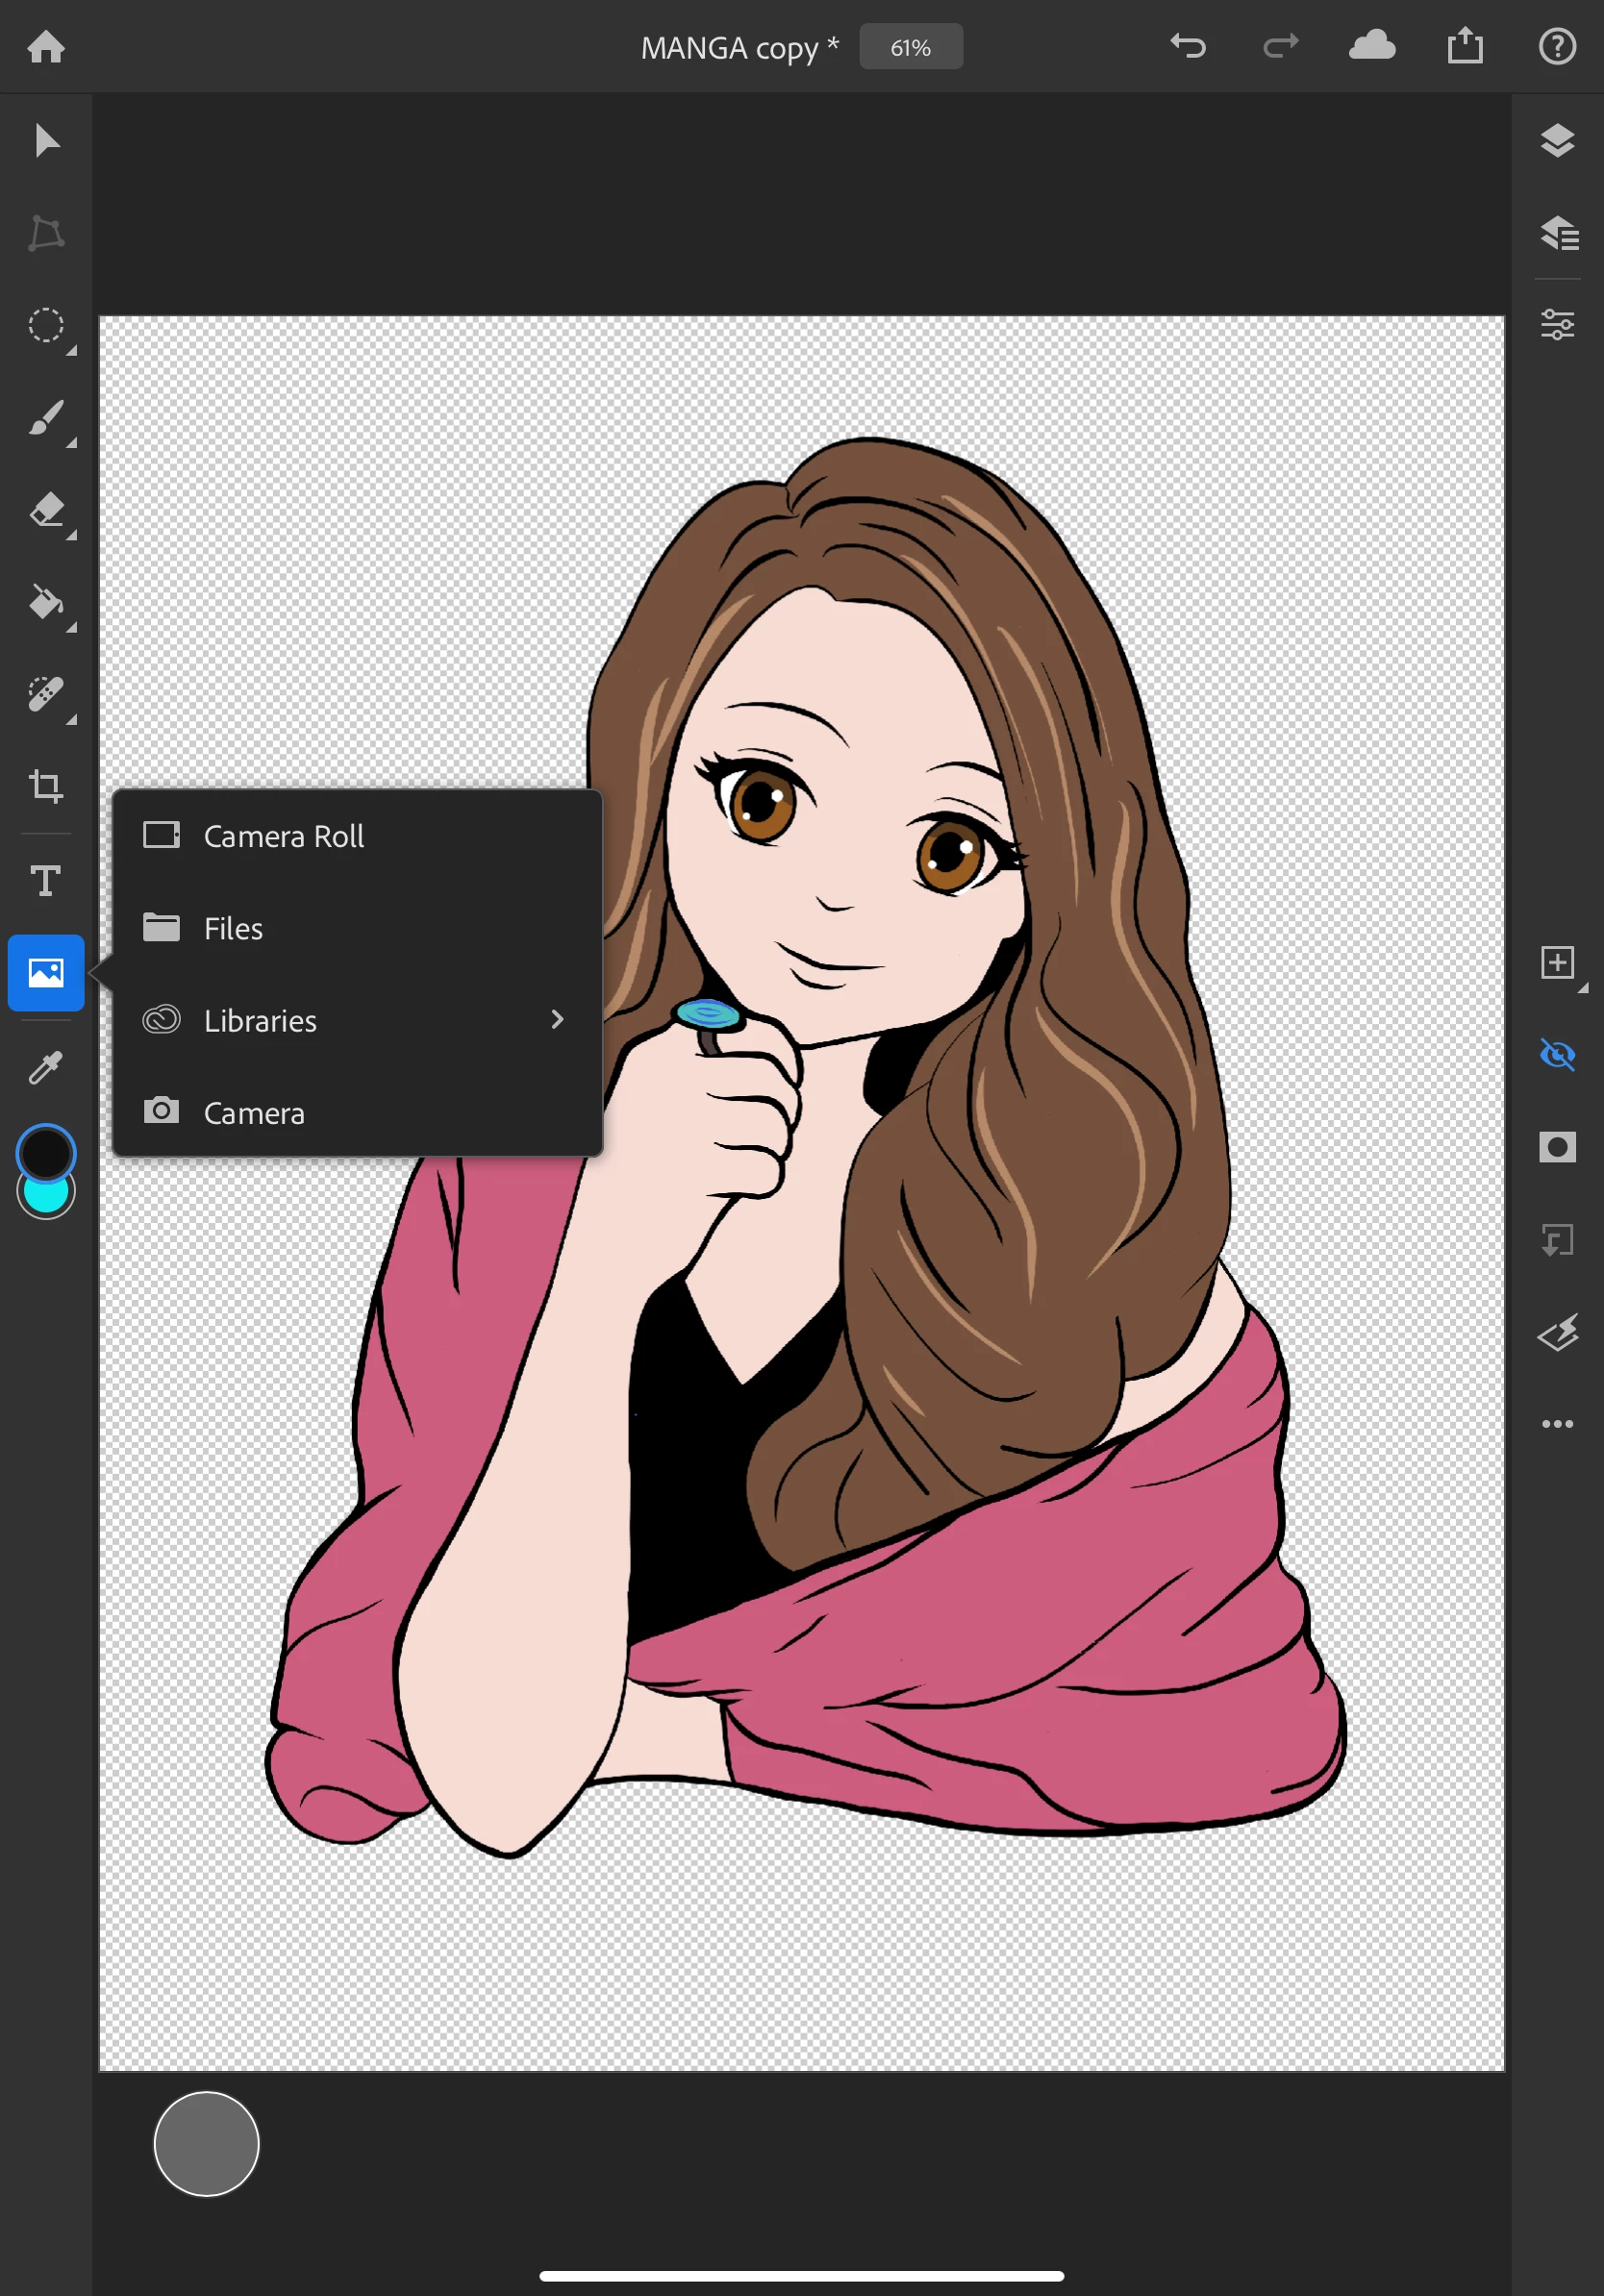
❹ Add some shadows to your character
- If you collapsed your drawing layers into a group, double-tap to open the group
- Tap on the layer icon for the hair to select it
- Tap on any selection icon and select the area you want to edit (you can edit this selection later)
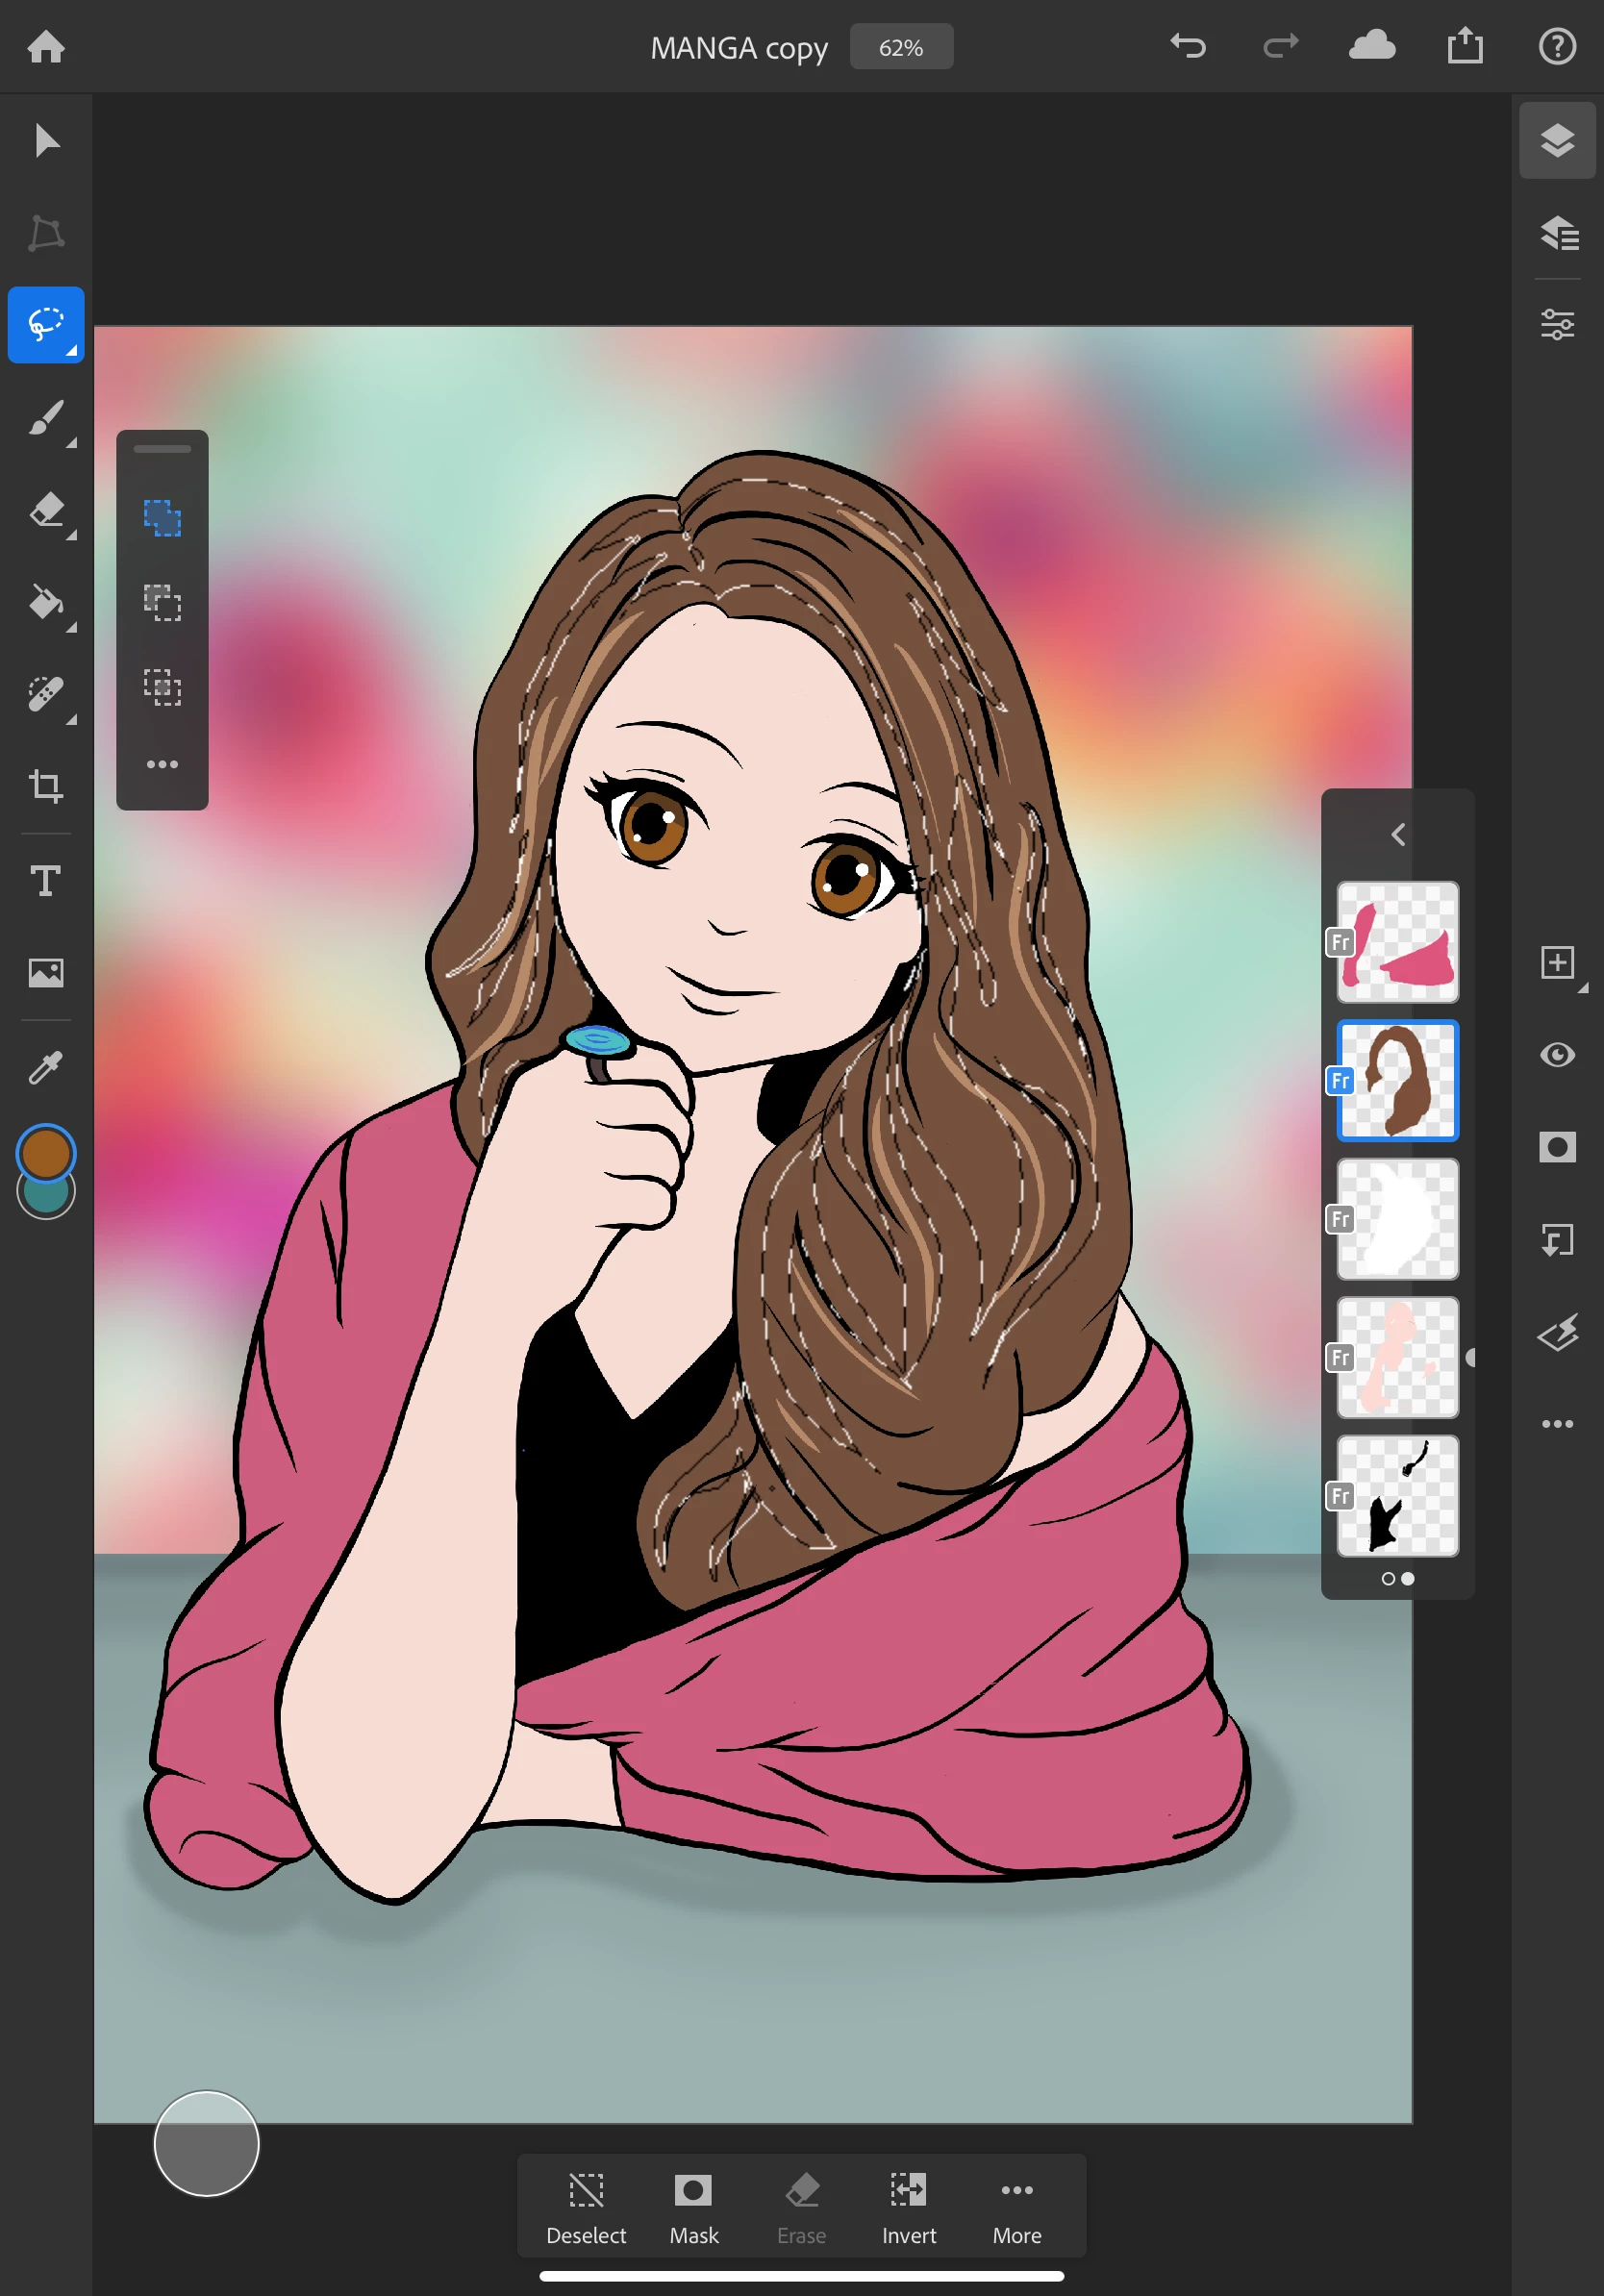
- Tap on the layer properties icon to see the flyout
- Tap on add clipped adjustment in the layer properties
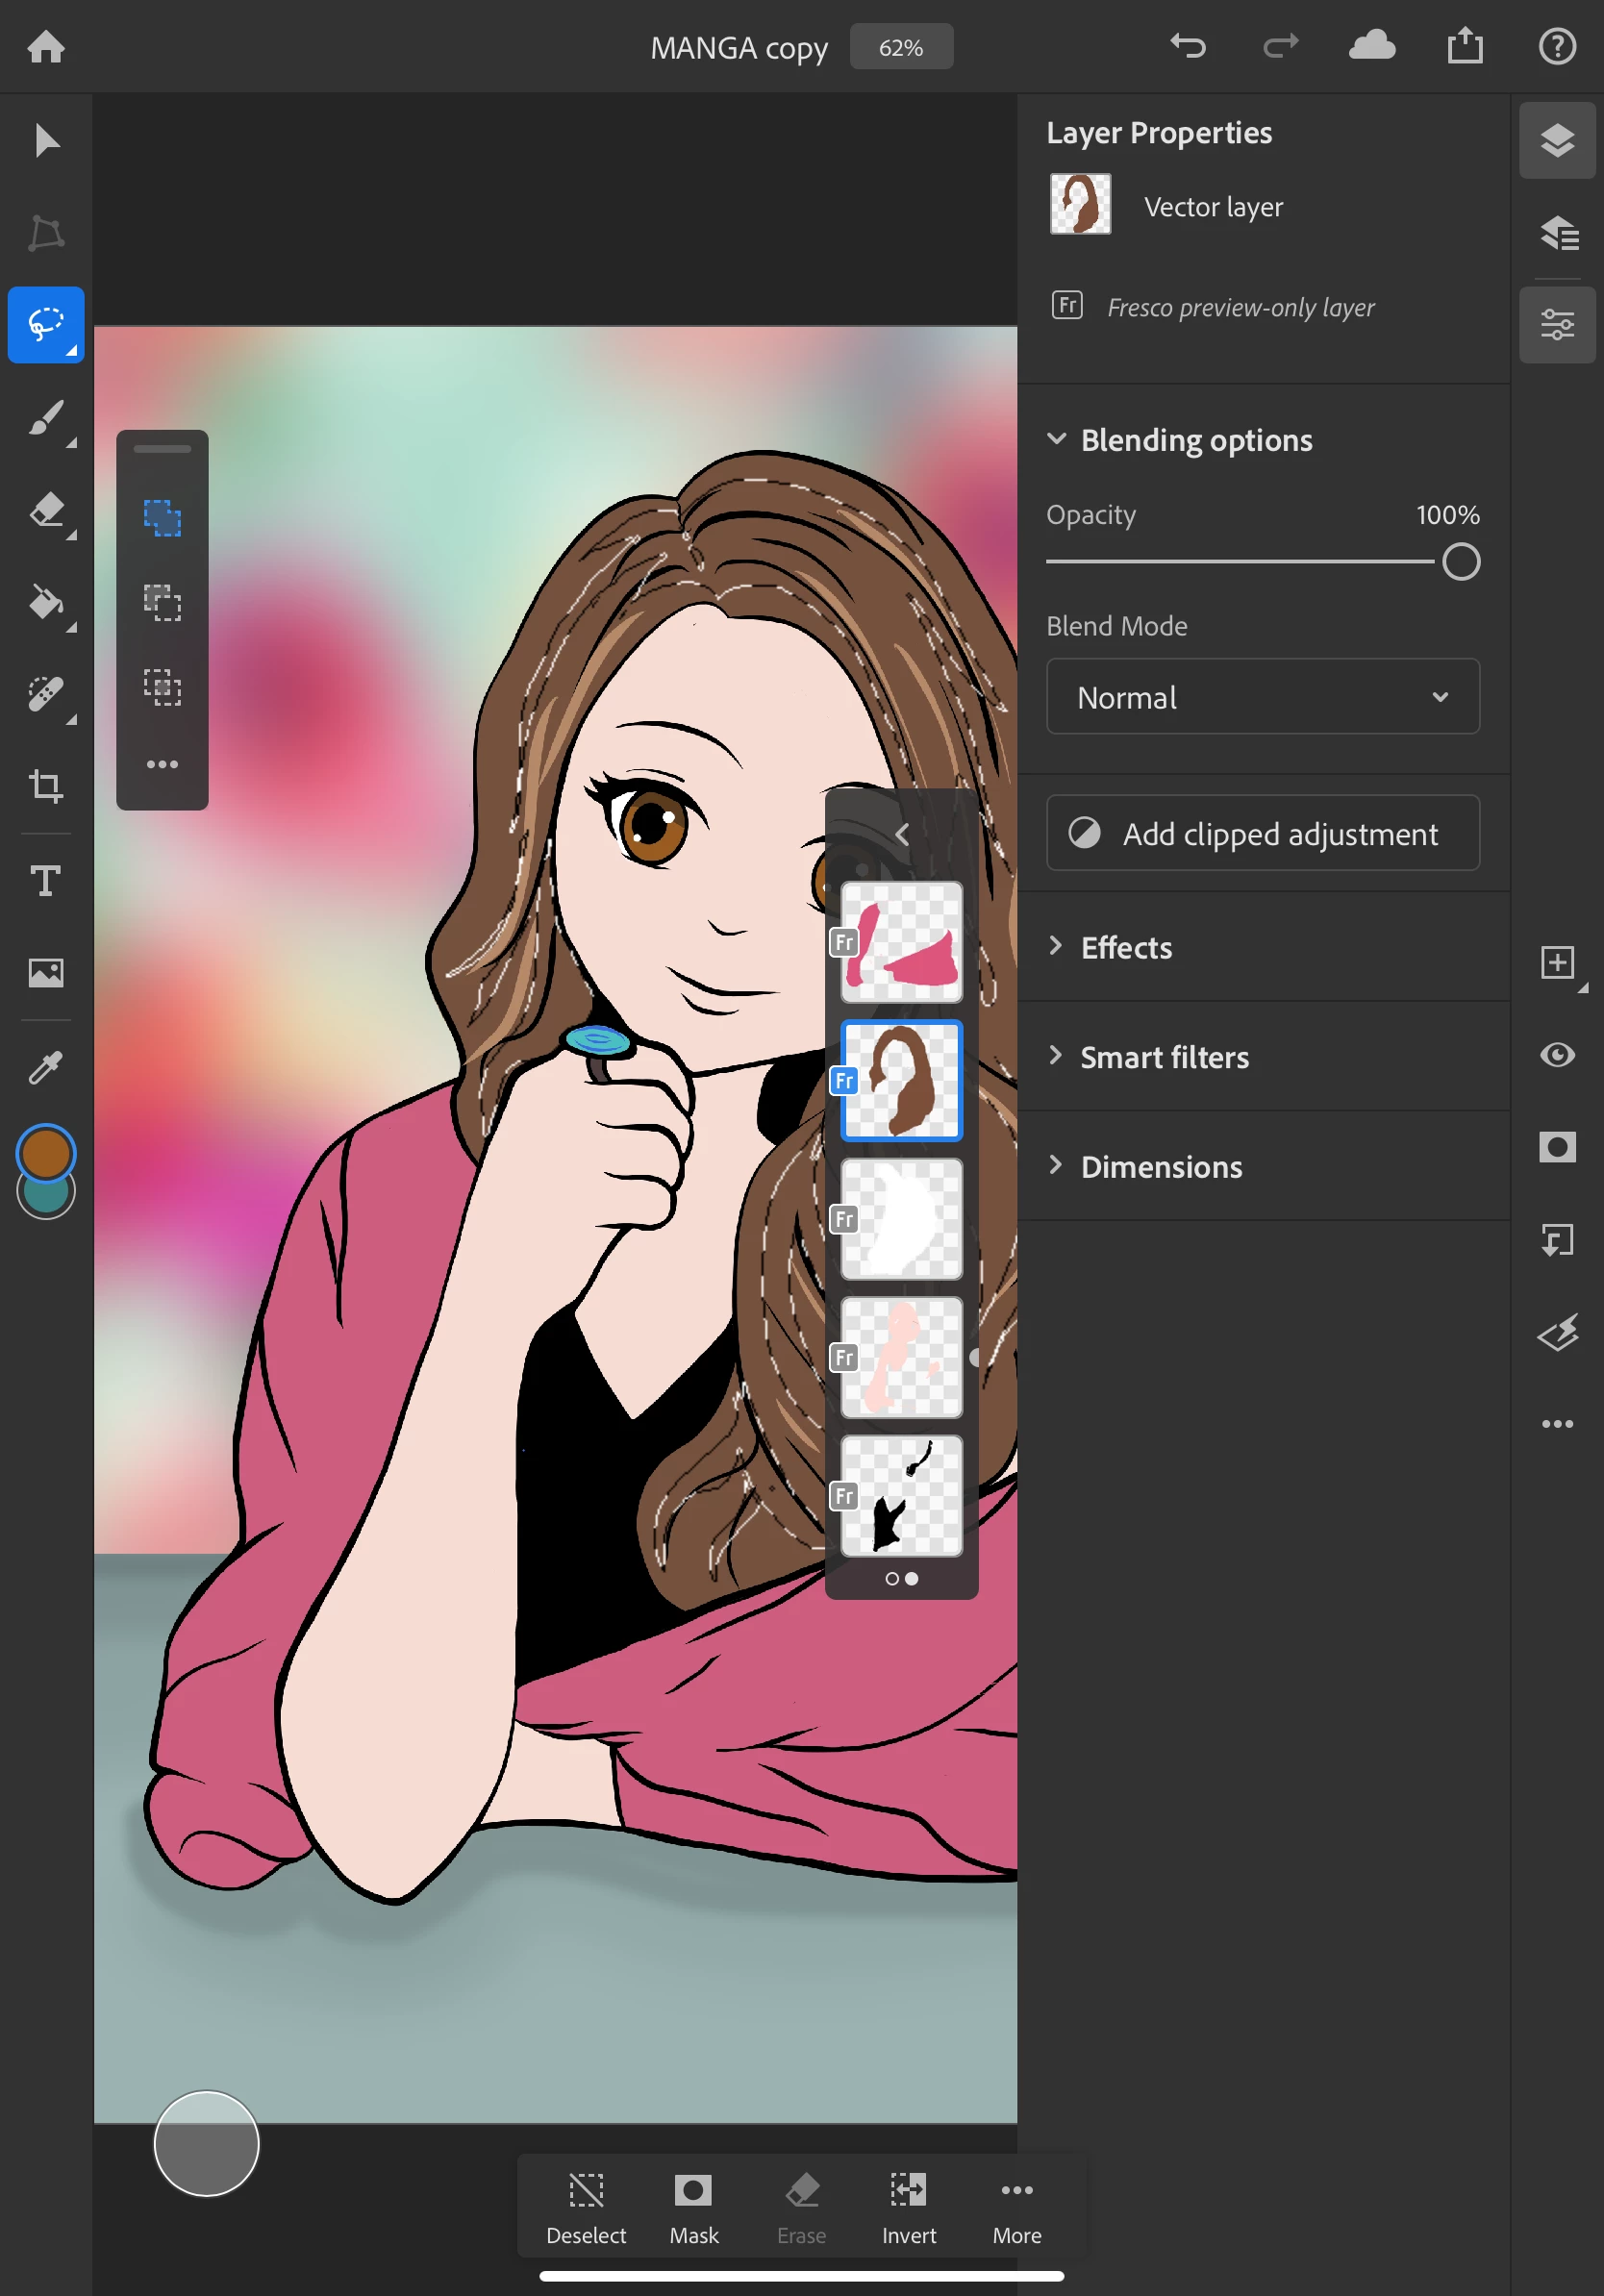
- Select brightness and contrast
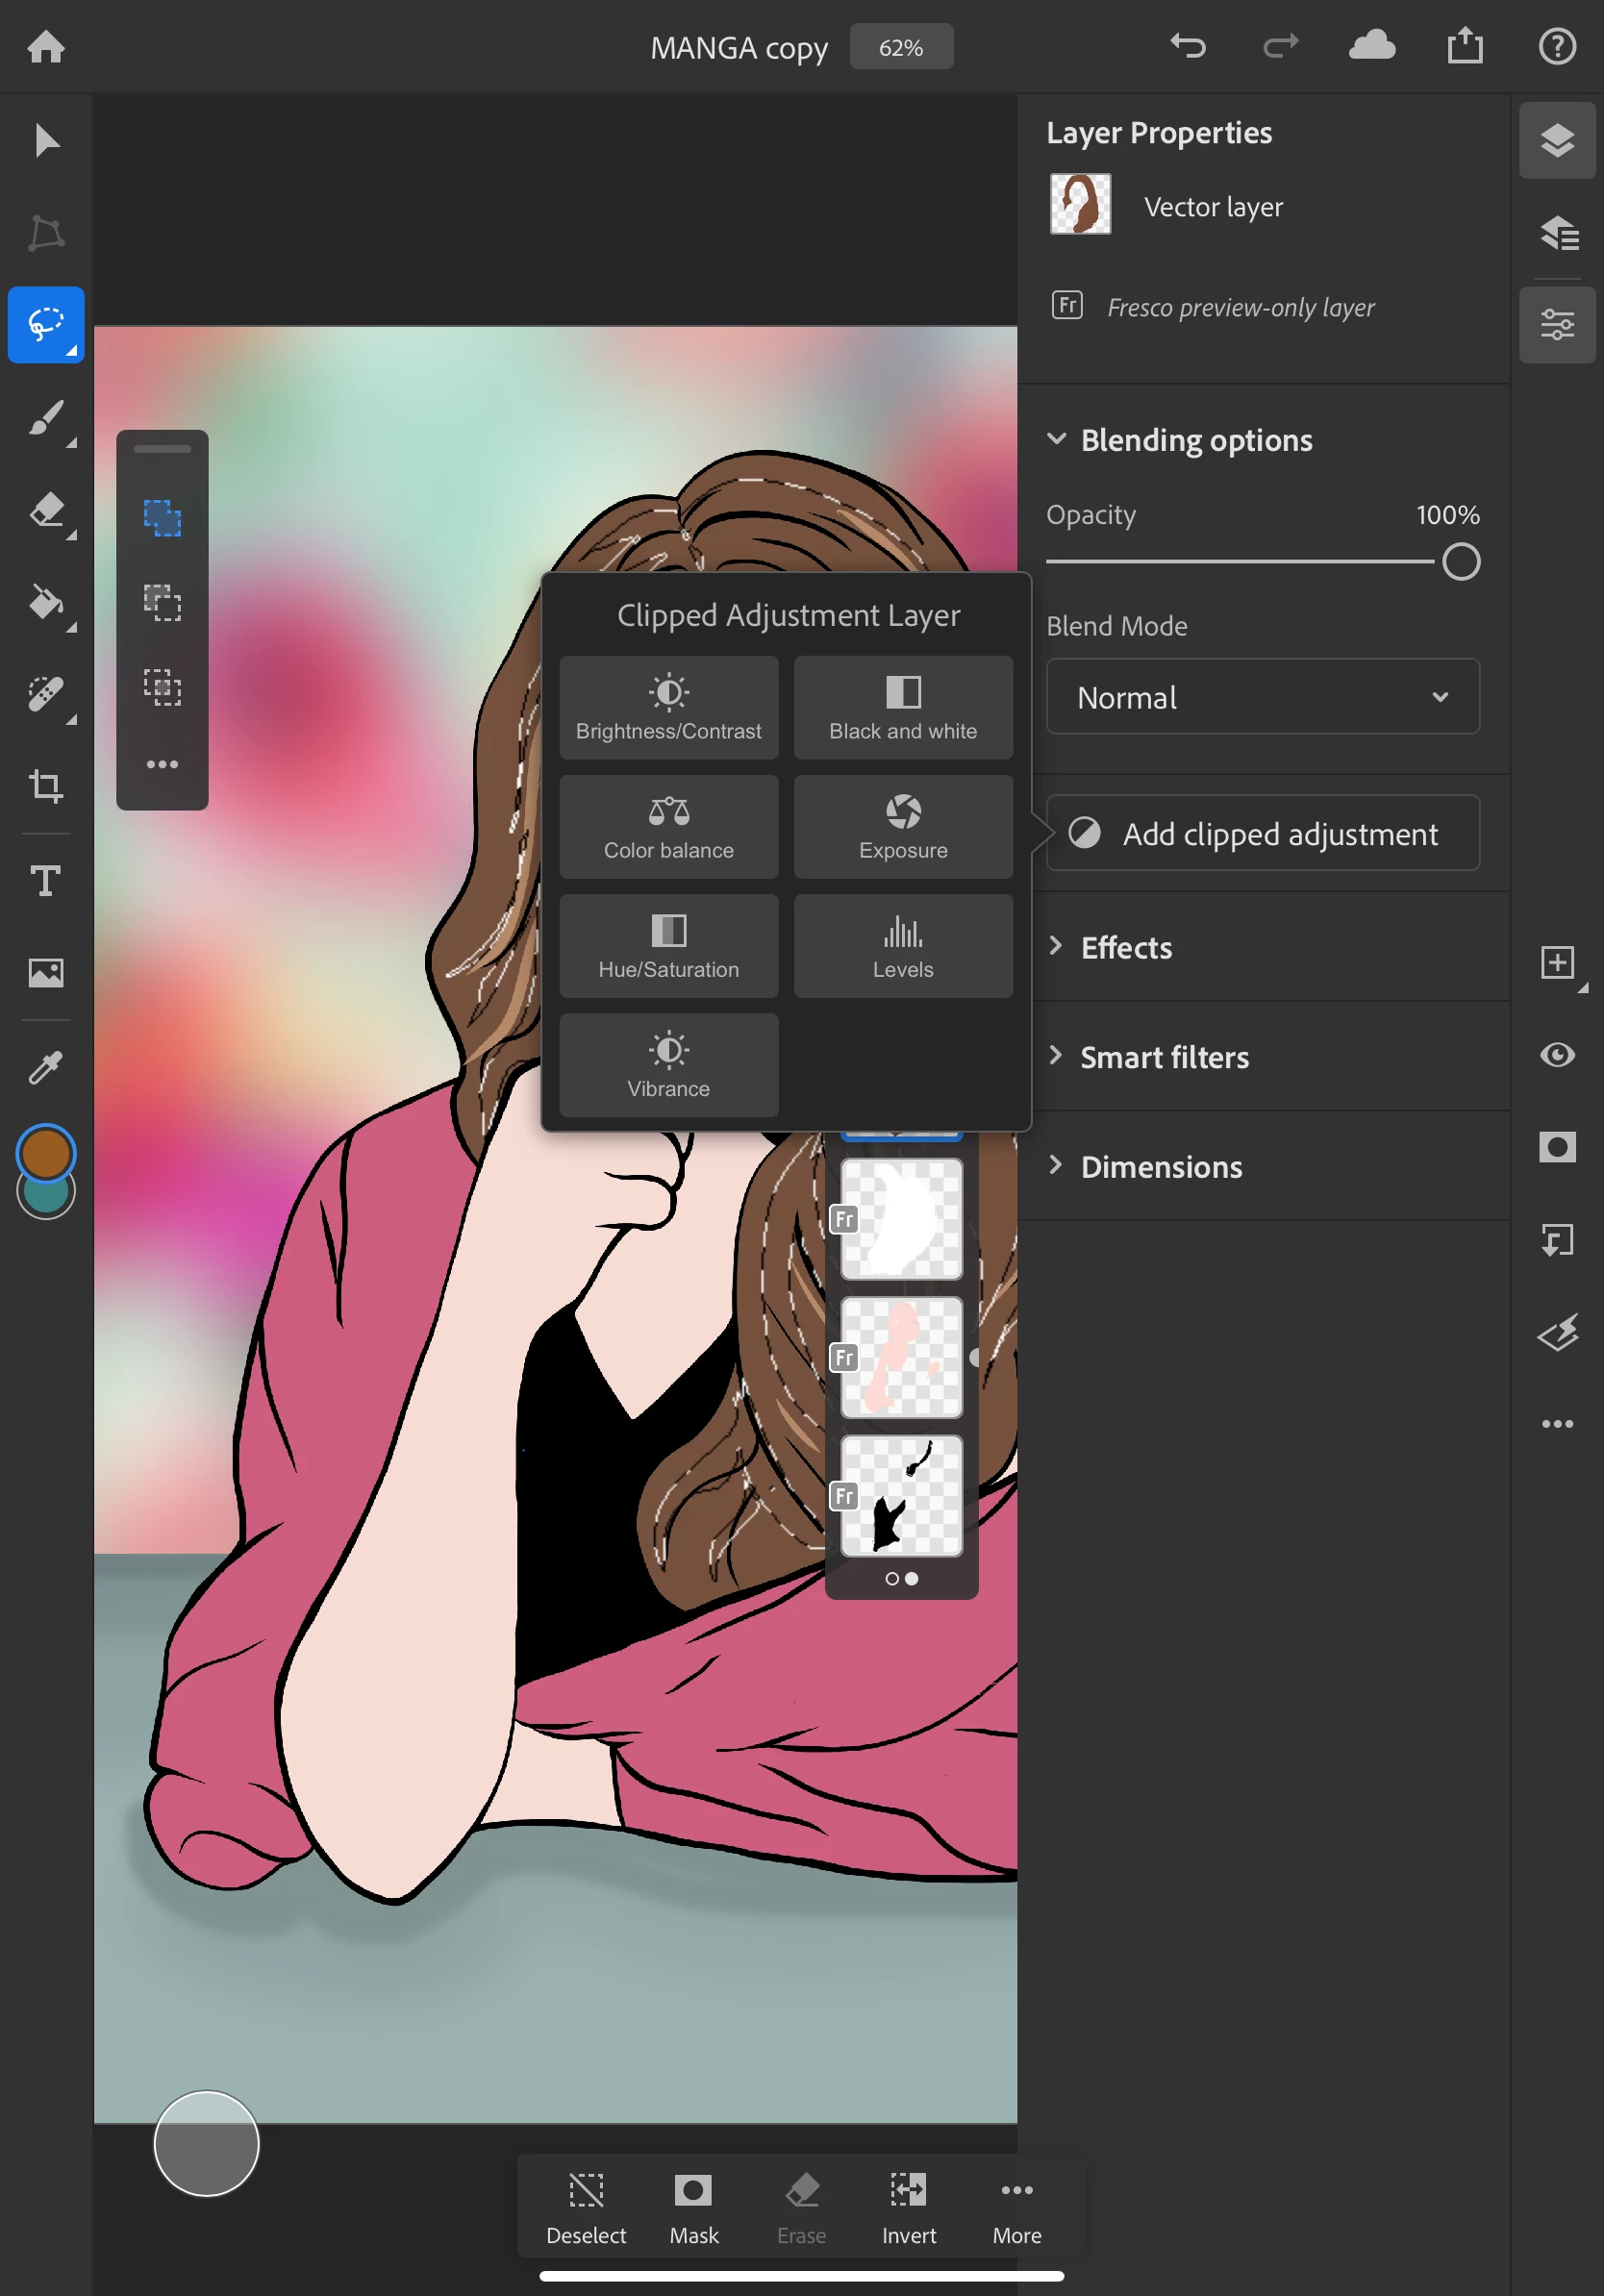
- Adjust the brightness slider down a bit to darken the selection a few shades
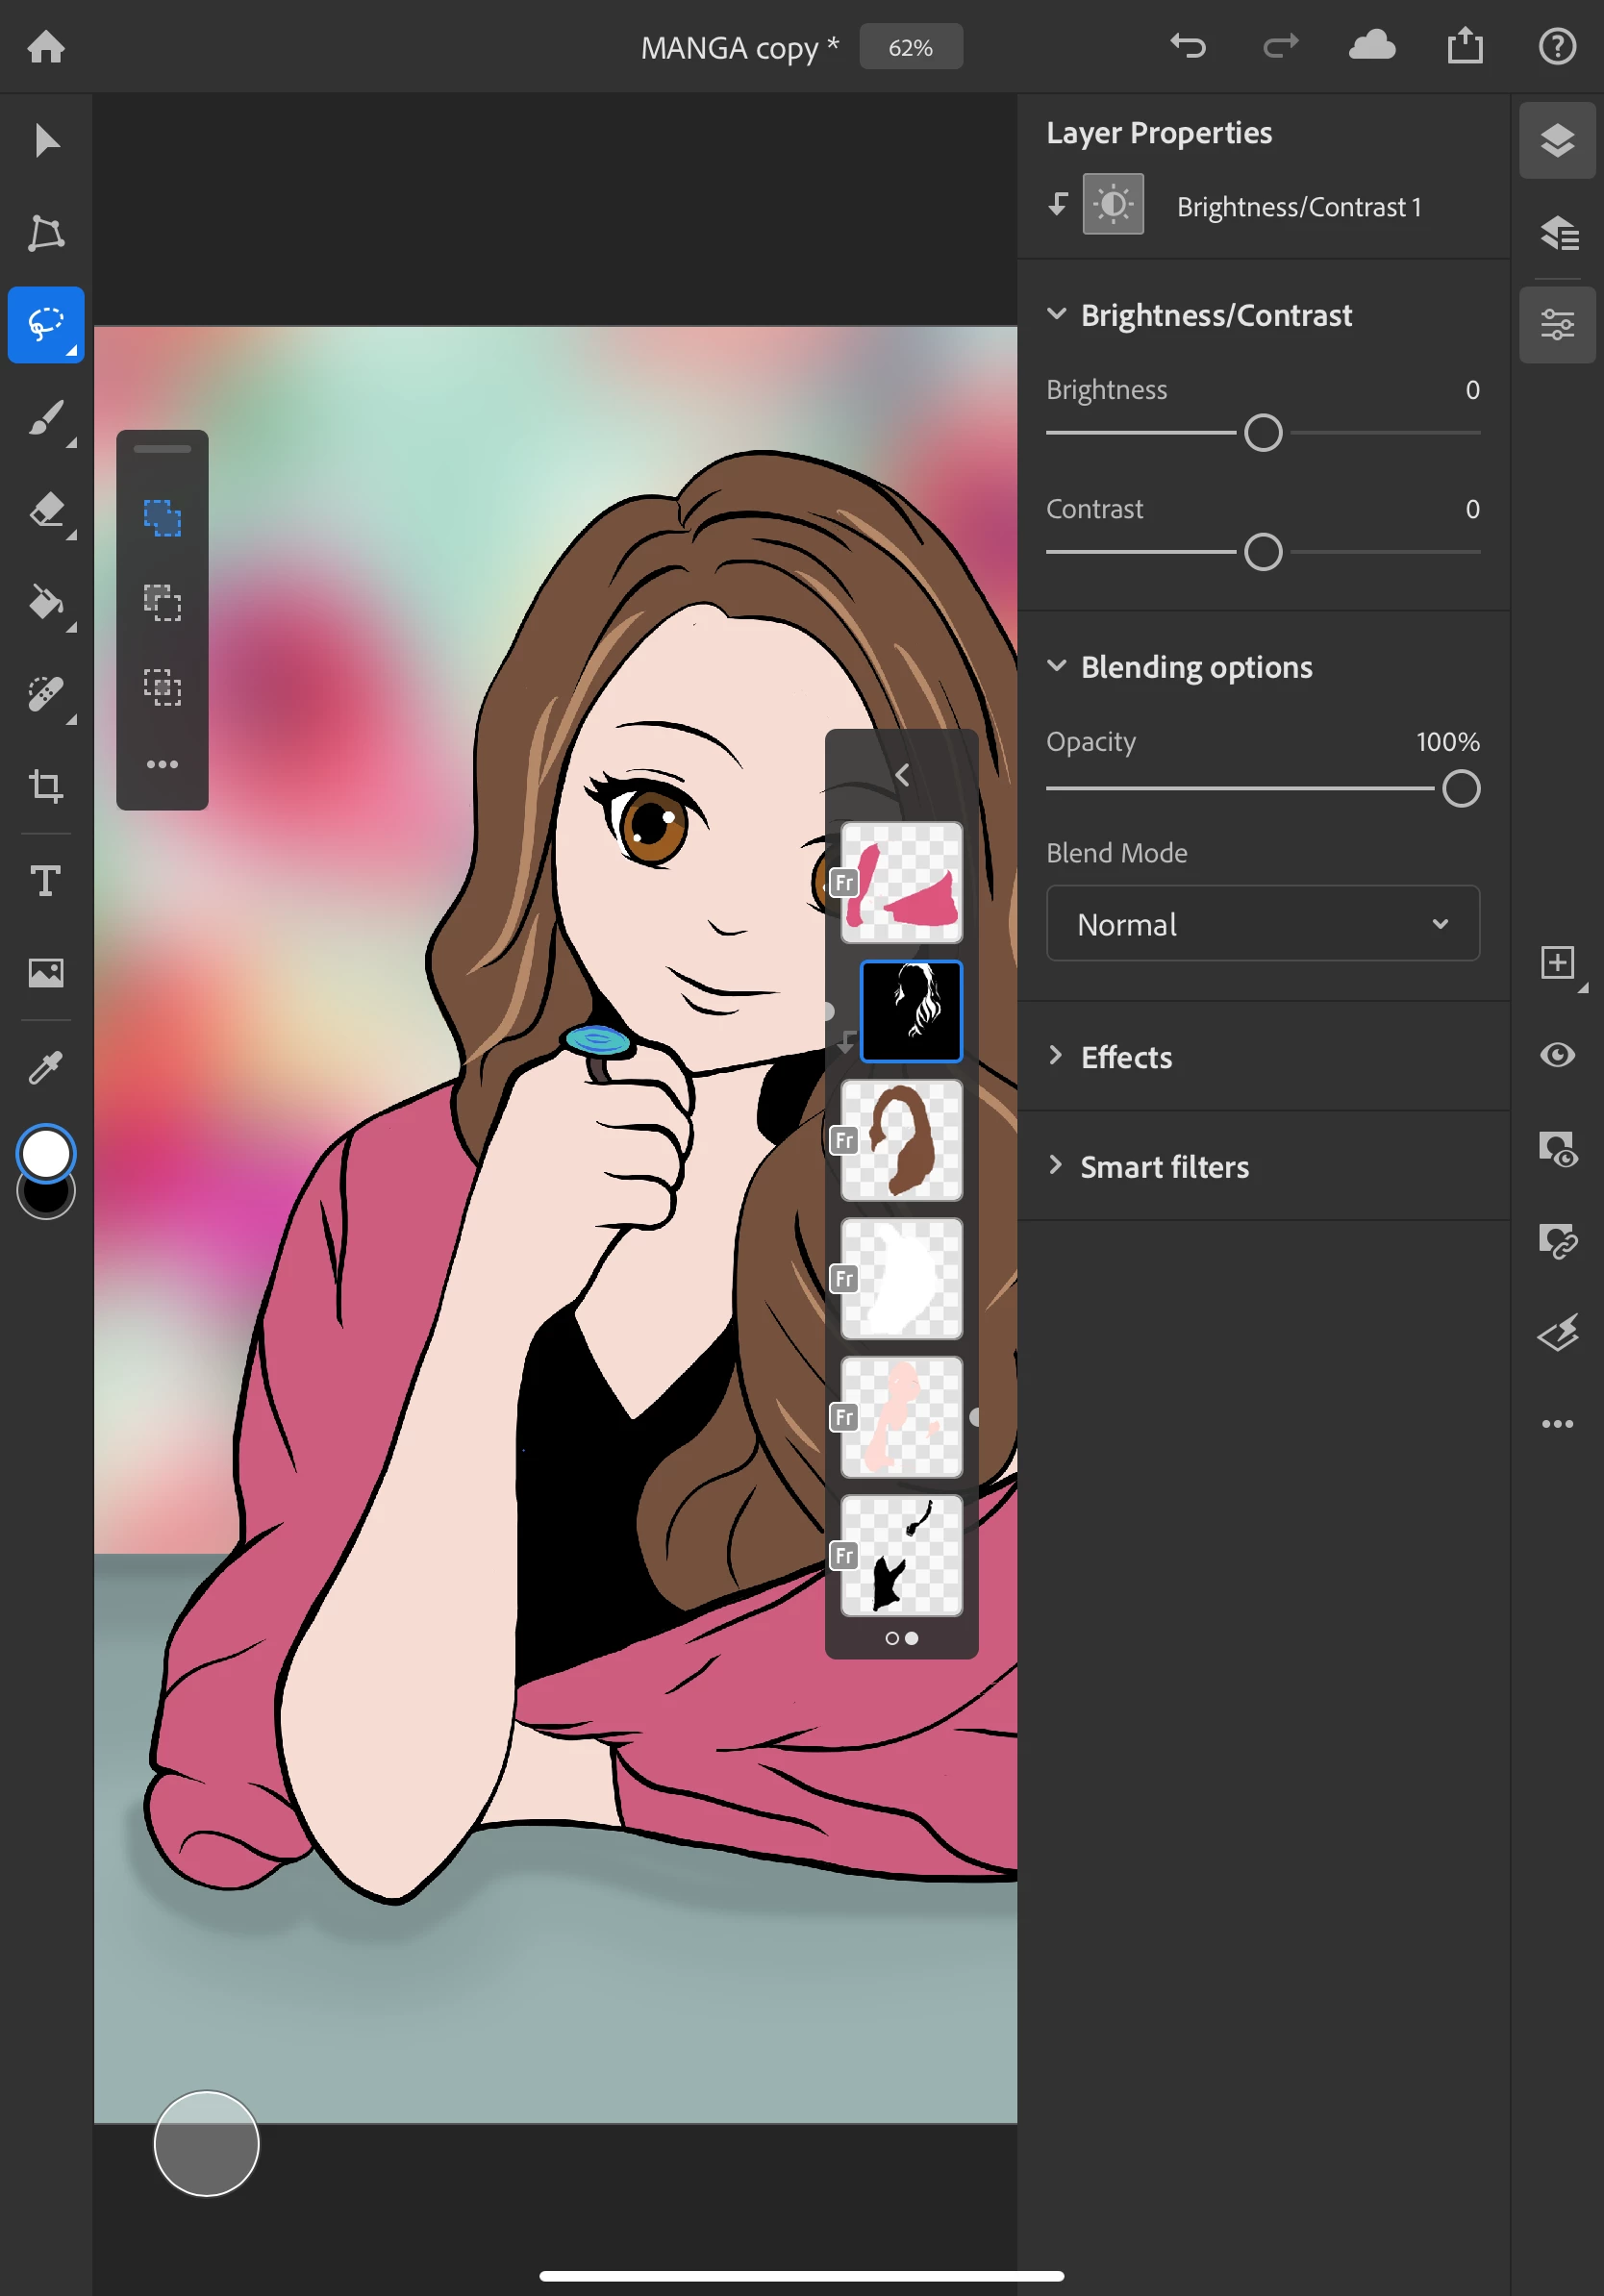
- You will see that the selection was put into a mask that was clipped to the hair layer only, so only the area not masked changed color
- Follow the same procedure to make adjustments on the clothing and on the skin layers
- Tip: If your selection was not detailed enough, you can tap on the black and white mask and edit it to change the adjusted area.
- To make changes, just paint using the brush tool in black to hide and white to expose the adjustments
- I adjusted selections from the face, clothing, and hair layers
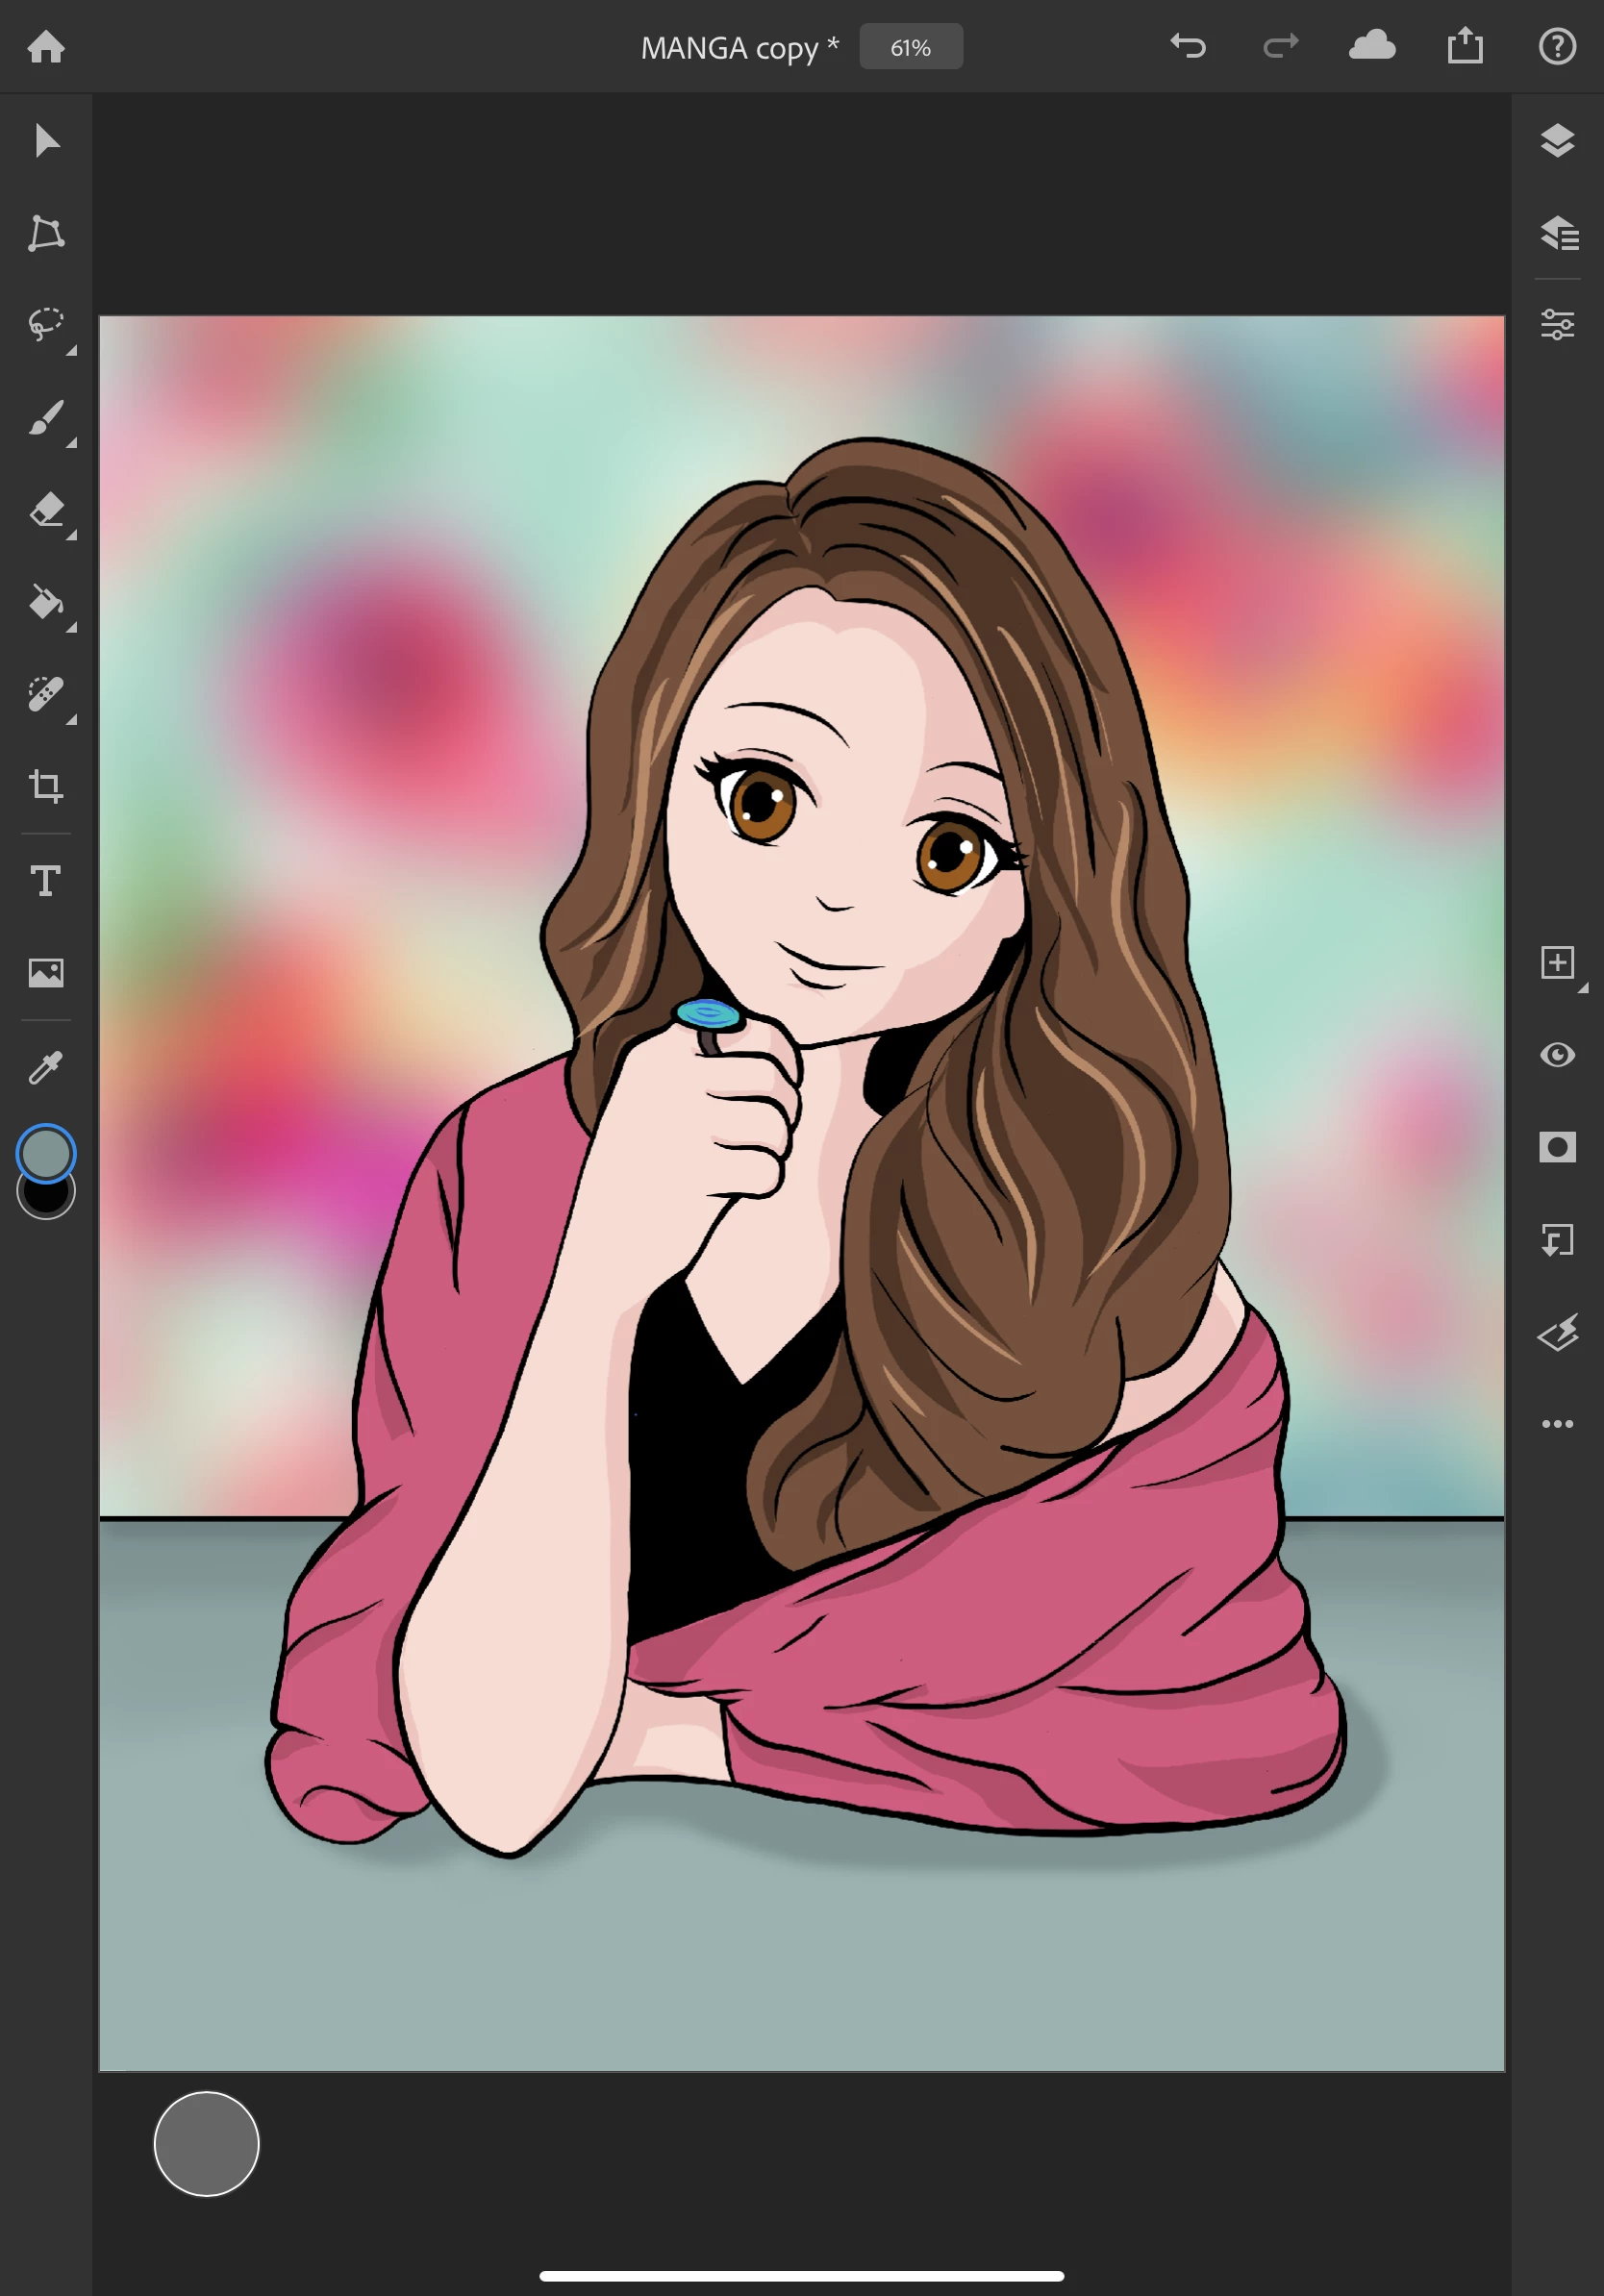
There are several ways to produce shadows and highlights on a drawing. Painting and brightness/contrast adjustment layers are just two methods I chose to show you in this demo. You can also use other types of adjustment layers such as color balance, exposure, hue/saturation, levels, and vibrance. Hopefully this got your creativity flowing and you are ready to experiment in both Fresco and Photoshop on the iPad.
Useful links
Related Fresco Links
Get to know the document workspace
Get started with the user interface
Related Photoshop on the iPad Links
Create, open, and save documents
Learn the difference between a global adjustment layer and a clipped adjustment layer
This tutorial is also on the Fresco community:
Draw-yourself-manga-or-anime-style-today (Fresco)
