Answered
Help with adding a V border to the bottom of a photo

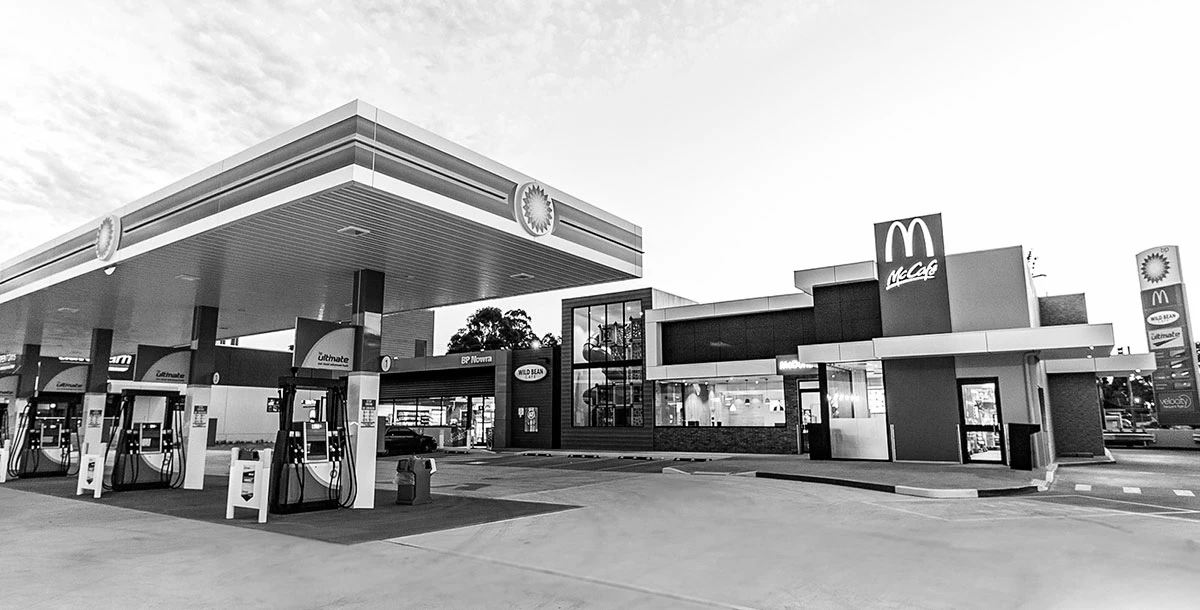
Hi if anyone could help me out in how to go about making the above image from this image
I know how to add a straight border but the v border is beyond me. Appreciate any suggestions 

Hi if anyone could help me out in how to go about making the above image from this image
I know how to add a straight border but the v border is beyond me. Appreciate any suggestions
How much help do you need?
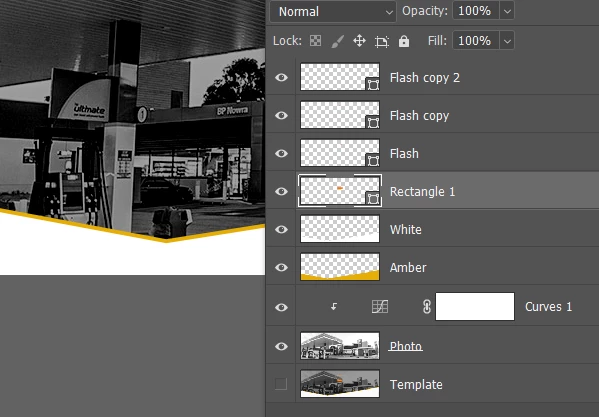
I just used the Lasso tool to select the V shape, and filled, and filled a new layer with the amber colour.
Then copied that layer, locked its opacity, and filled with white.
Them moved the white layer down a few pixels.
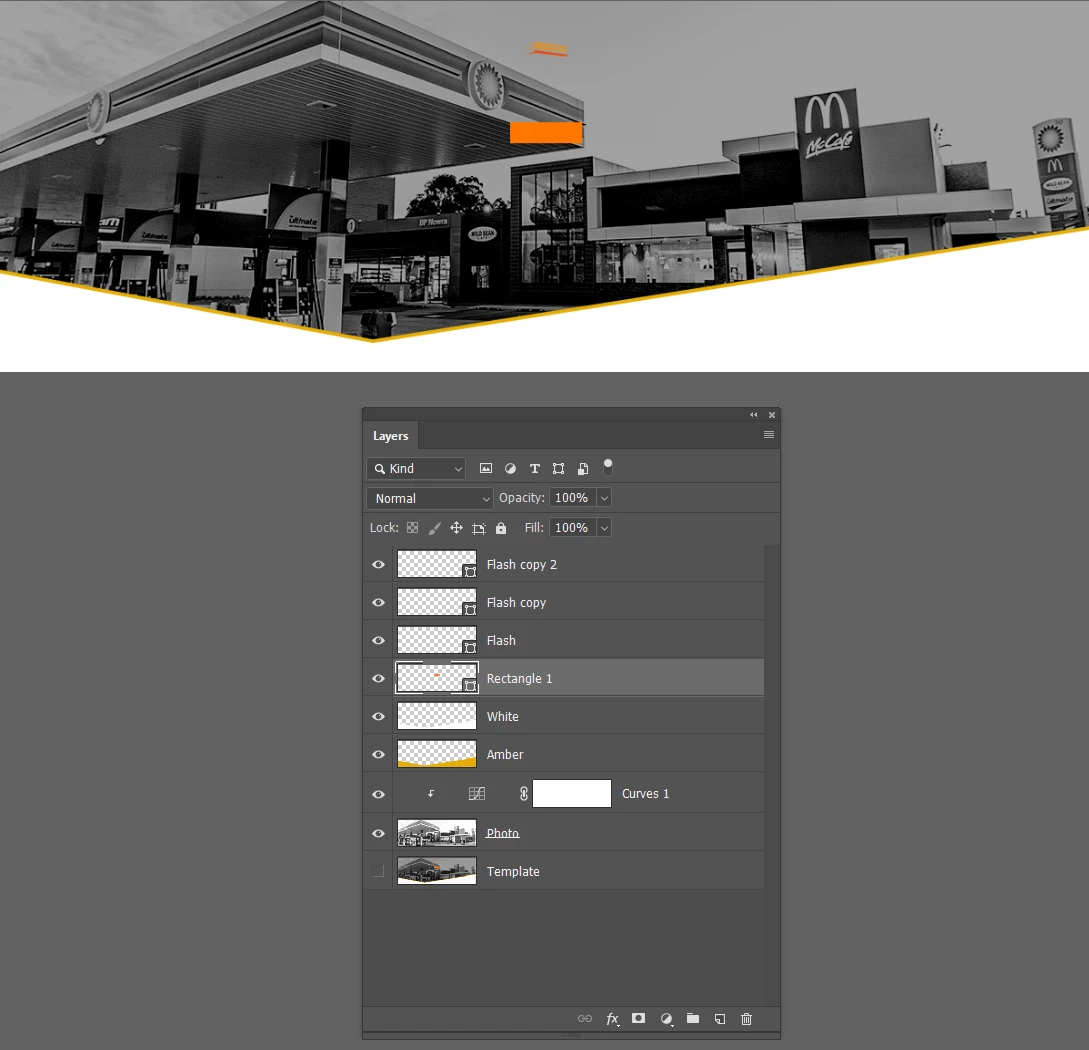
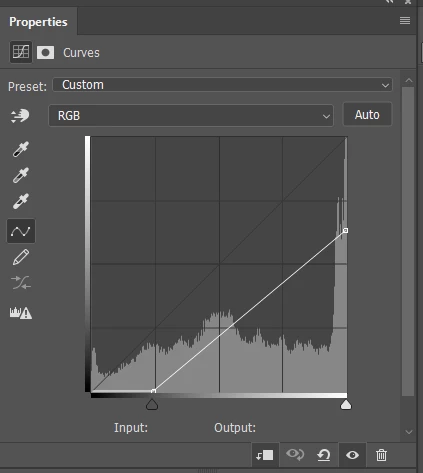
The curves darkens the photograph to about the same as the template
I'm guessing you are OK with the text?
Already have an account? Login
Enter your E-mail address. We'll send you an e-mail with instructions to reset your password.