Copy link to clipboard
Copied
Hey Guys,
I've been downloading a few mock-ups to use in my portfolio and I want to start to make my own for some that I can't find on the web. I've manages to make a realistic looking asset for what I want, but I don't know how to add text and stuff to it. Usually, when I open a downloaded mock-up PSD I just double click on the smart object, edits the contents hit save and BOOM done it's at the perspective for whatever I am changing.
However, I've made smart object and I'm trying to edit the contents so when I double click it just opens the object again and whatever I ad will add, but it doesn't save at the perspective. if that makes sense... (check out the screen shots)
So my question is,
How do I make a smart object to edit contents (text, images, logo, etc etc) on a plain PSB or PSD so it saves at the angle or perspective I want? It's there something different I am doing. Can anyone make a step by step guide?
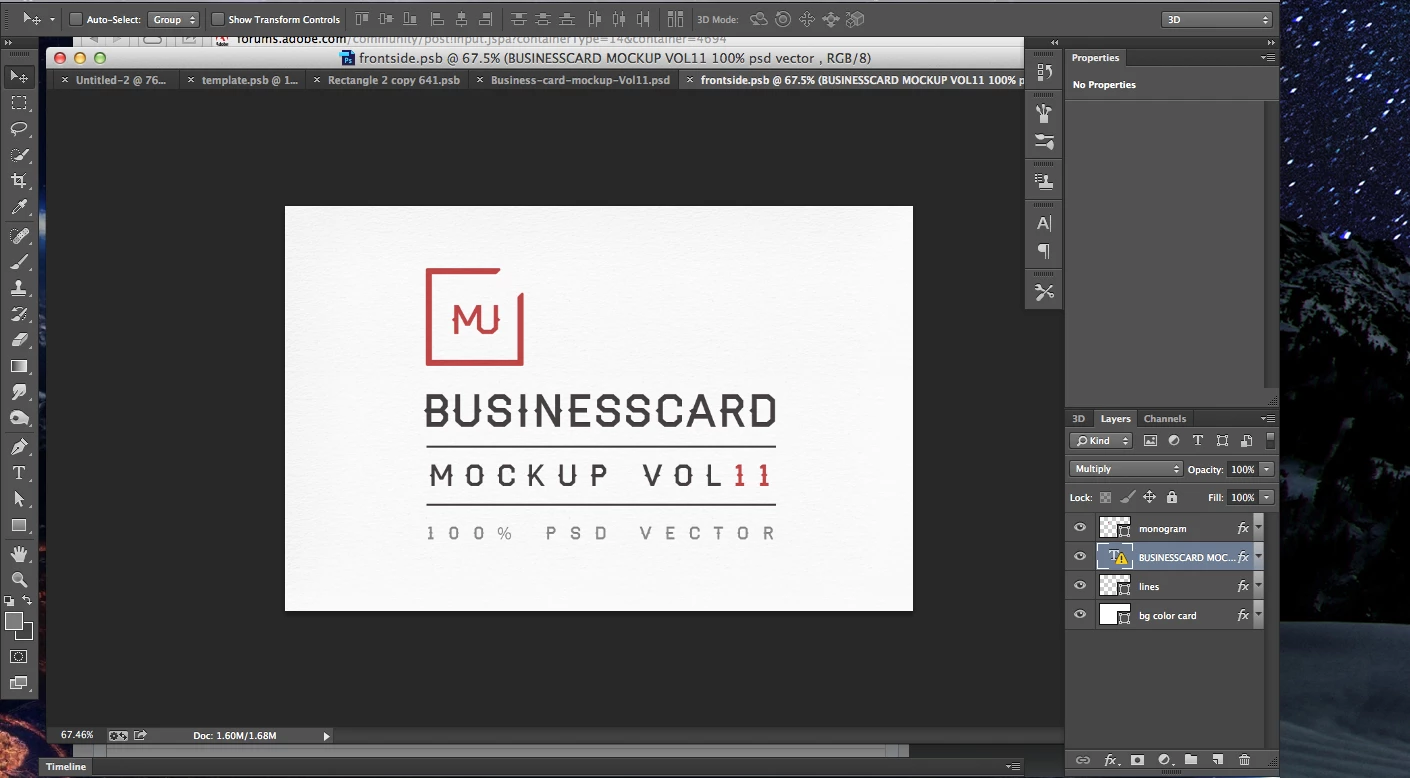
This is my design before I double click on the smart layer
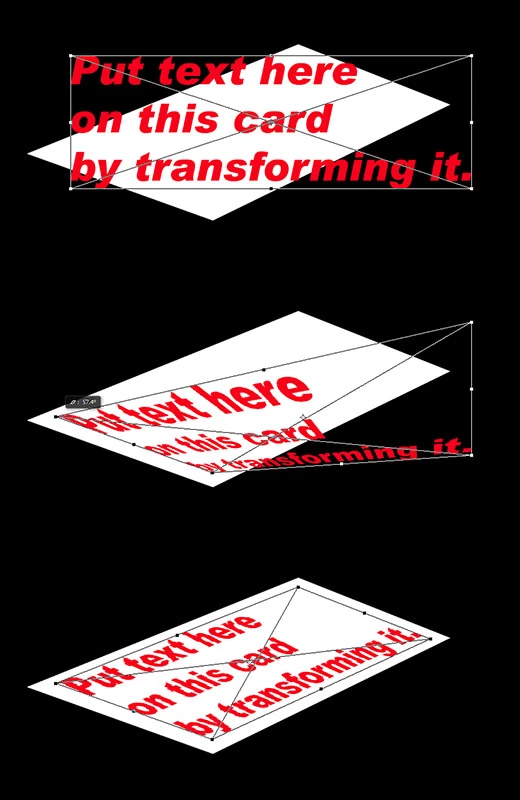
Here is the image when I double click the smart layer (not exactly what I want).
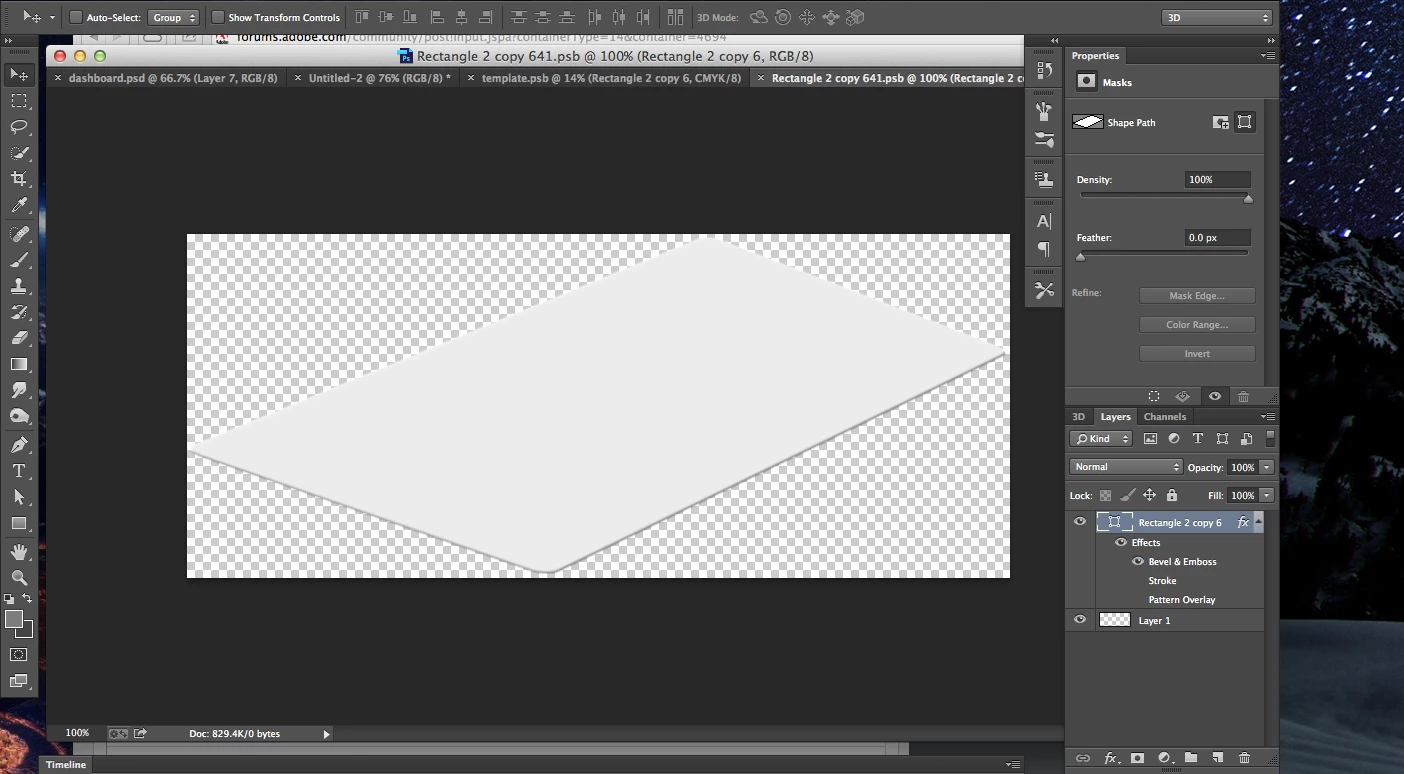
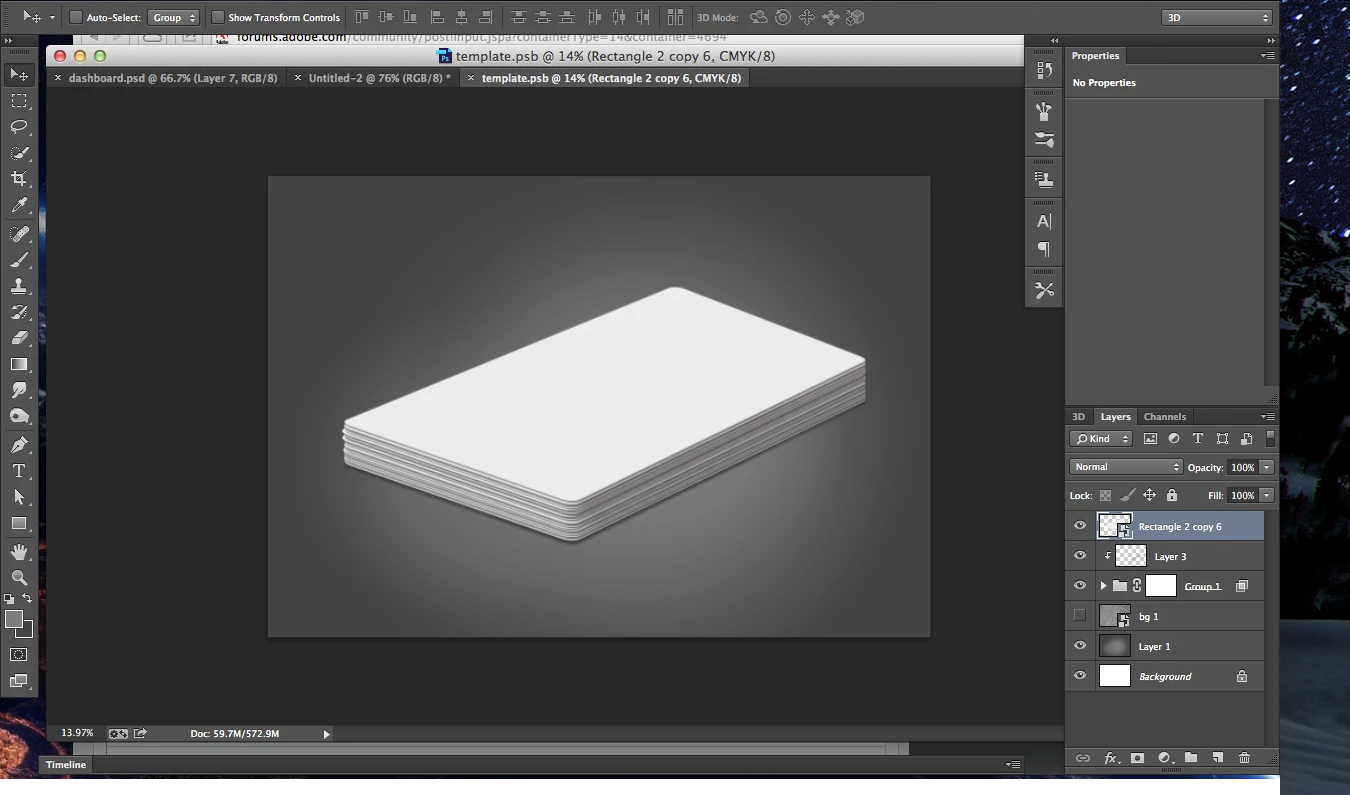
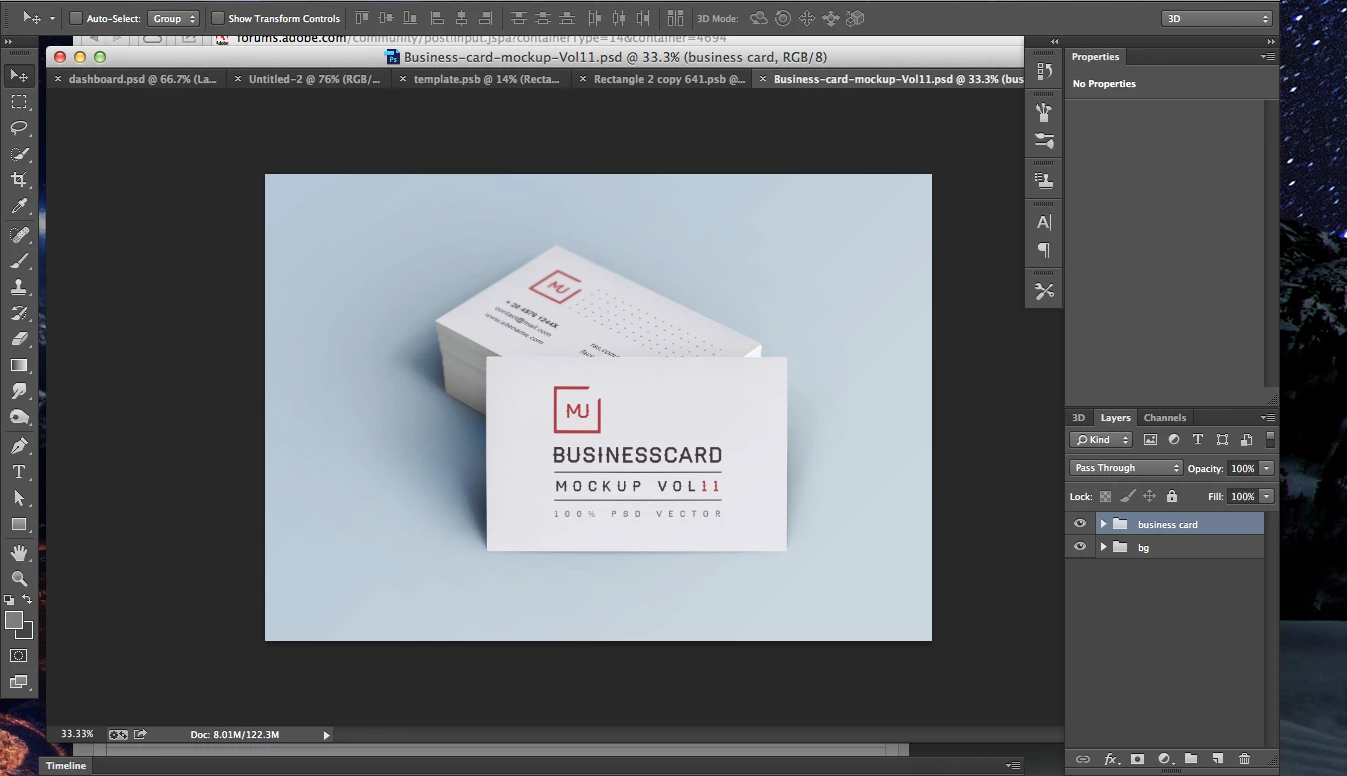
Here is a mock that I downloaded after I double click the next pictures show's what I want.
This is what I want to do in my original design, but how do I get the text to do this with a smart object?? I want to edit text in my design and apply it (not necessarily this design, but my own) to my smart object (first image) I created in photoshop. How do I do this?
1 Correct answer
Make the text the same size or larger, and put it into a Smart Object: Filter>Convert for Smart Object. You can transform the text without doing that, but you don't have as many transform options. Once you have the text in the smart object, select Edit>Transform>Distort. Then you can drag the corner points of the text to conform to the shape of the card.
Explore related tutorials & articles
Copy link to clipboard
Copied
From your samples, it looks like you want to add the text or graphic to the stack of business cards. Most likely, the business card Smart Object layer should have remaind square and not transformed. You add the text on top of the rectangle that's suppose to be the card, then select both layers and put them into a smart object. Then you transform that smart object into the shape you want for the cards. If you can't do that and have to maintain the SO you have currently of the cards, put just the text into a smart object and transform it to look like it's on the card.
Copy link to clipboard
Copied
From your screen shots its hard to tell what is what. All smart objects are not created the same and what inside a smart object can vary greatly. Every smart object layer also has an associated transform. When you you edit the embedded object the transform for the smart object layer does not change. Your temp psb file for your smart object shows a shape layer with a layer style on top and it looks like an empty lower layer. When you commit your changes the updated smart object layer will have the smart object associated transform applied to it. Did you ever transform the smart object layer. Or is the default 100% size one still in place?
The mockup up you downloaded contends are hidden from our view all you show in your screen capture are two closed layer groups. We have no way of knowing what is in them.
Templates can be created and populated many different way. Photoshop has a feature called variable driven graphics for example. I have created a Photo Collage Toolkit for Photoshop. What documentation did the site you downloaded the template supply for the template?
Copy link to clipboard
Copied
I got it from Pixeden. Here is a video to show what I want...it's a screen capture movie.
Copy link to clipboard
Copied
Copy link to clipboard
Copied
Hi,
You want to make an orthogonal view that is your text edit layer, and then create a Smart Object (SO) layer from it. Now transform that (SO) to fit the perspective of the final layout.
You can note how they did it in the mockups by selecting the SO layer and then Cmd+ T. Look at the Tool Options bar and you'll see scaling and rotation values.
regards,
steve
Copy link to clipboard
Copied
Won't it get distorted? Is there a tutorial you can send me? It seems as though they did something different. In the text edit layer even the texture for the card was there. should I make the text edit SO the same size as the card?
Copy link to clipboard
Copied
Make the text the same size or larger, and put it into a Smart Object: Filter>Convert for Smart Object. You can transform the text without doing that, but you don't have as many transform options. Once you have the text in the smart object, select Edit>Transform>Distort. Then you can drag the corner points of the text to conform to the shape of the card.
Copy link to clipboard
Copied
That makes it look a lot easier than I expected . I can't wait to try it out.
Copy link to clipboard
Copied
You should be able to do that with two smart object layer that share a common embedded object. Just dupe the card layer and transform the dupe to the top of the deck. When you change the embedded smart object both layers will change when you commit the update change.
Download PSD Template with card smart object
Copy link to clipboard
Copied
I know this is an old post, but I found this really useful:
Copy link to clipboard
Copied
Exactly what I was looking for. Merci
Copy link to clipboard
Copied
Here is a tutorial 'i made earlier showing how to make a book cover mockup using "Smart Object" layers in Adobe Photoshop CS6, hope it's what you are asking about
Copy link to clipboard
Copied
The video is no longer available and I'm also searching for this answer.
Thank you,
Linds
Copy link to clipboard
Copied
Make sure that the shape you convert to a smart object is flat. Make a square or rectangle > convert to smart object > then distort smart object to be in perspective.
Then when you double click your smart object it will open in a new page in the original shape.
Copy link to clipboard
Copied
I know this is bumping a very old thread but I just wanted to say thank you for helping me lily. I am teaching myself how to do all my mockup work and for the life of me I couldn't get my smart images to do what I needed. I didn't realize that I needed to make my shape a smart image BEFORE distorting it. After literally weeks of beating my head on my desk and probably a lot of tears (and even more wine), I serendipitously came across your comment and it was EXACTLY what I needed to know. No one explicitly says this in their tutorial videos or blogs and I've watched literally hundreds. So THANK YOU A THOUSAND TIMES OVER
Copy link to clipboard
Copied
I've also been struggling with this...thanks.
Copy link to clipboard
Copied
Thank you SO MUCH lily! I have been searching for this answer for so long. The object must be flat, then convert and distort. Thank you!
Copy link to clipboard
Copied
Thank you

