Answered
How to exactly position center of Radial Blur Filter?
Has someone a method, how to exactly position the center of Filter / Blur / Radial Blur?
Will really appreciate any help!
Many thanks in advance!

Has someone a method, how to exactly position the center of Filter / Blur / Radial Blur?
Will really appreciate any help!
Many thanks in advance!
Roland
Here is a simplified version of what I showed earlier - using Trevor's crop tool suggestion but still using a smart objects so you can alter/redo the blur later if needed
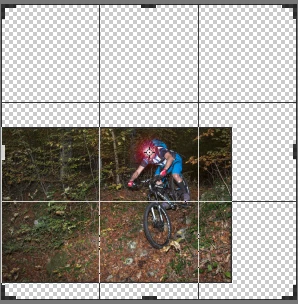
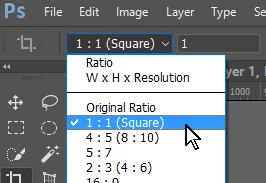
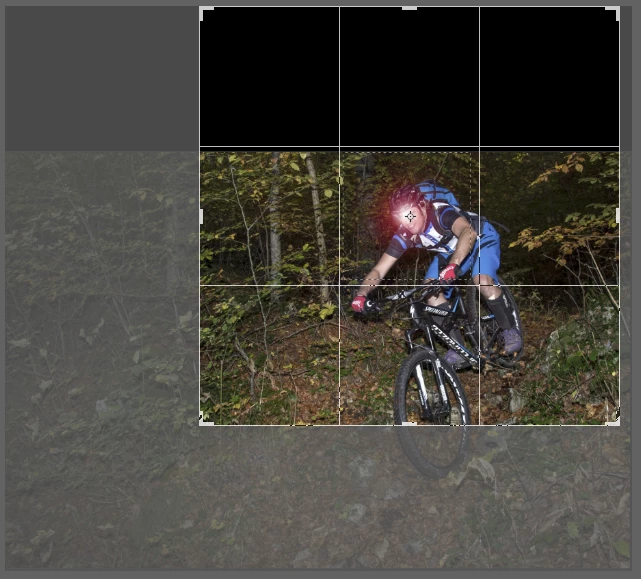
1.Use the crop tool (in the options bar set it to Ratio 1 to 1 ) and extend it so that the centre point is over the desired centre point for the blur in your image

Then click on the tick icon to accept the crop
2. Convert to a smart object
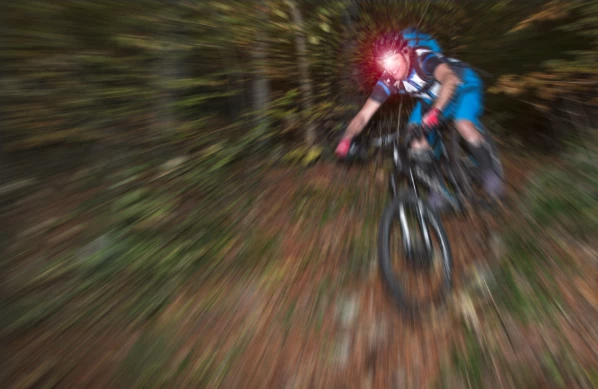
3. Apply your radial blur to the SO
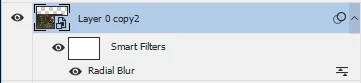
4. Convert that filtered layer to a smart object (in other words you now have a nested SO)
5 Crop as required
Dave
3am, and not asleep :-(
Roland, I'll add a tiny bit to what Dave said.
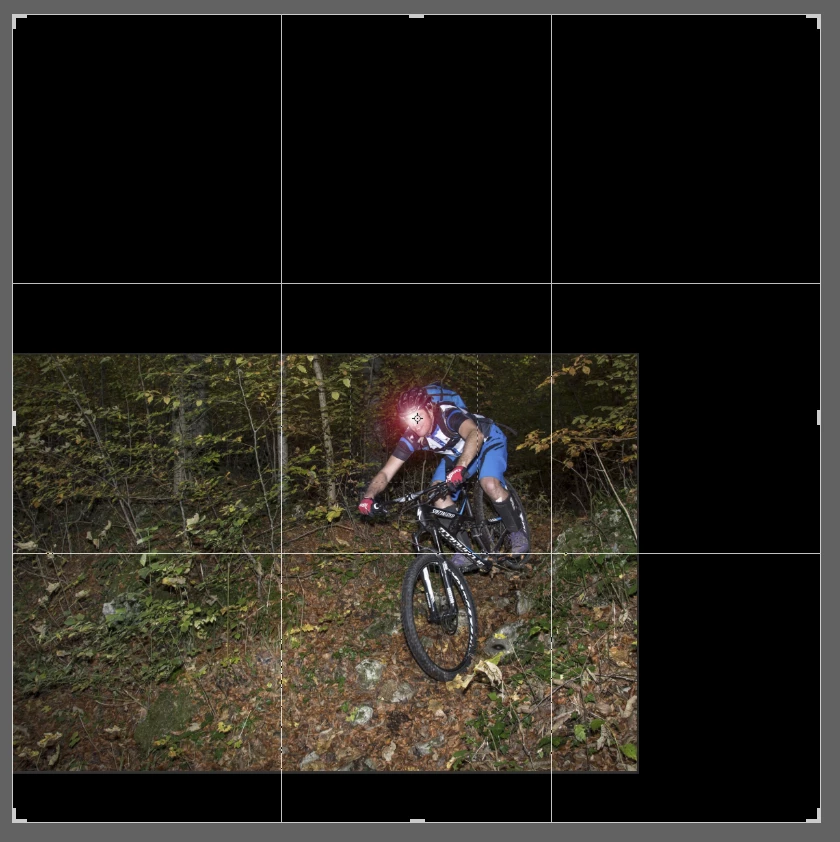
Select the Crop tool and set to 1:1
Nudge one of the corner handles to make it live. You will then be able to move the image so that the desired center point is aligned with the center handle.
Now hold down the Alt key, and drag any of the corner handles. This forces the Canvas to expand concentrically from the center point, and as the Crop tool is set to 1:1, you _must_ end up with a square perfectly centered over your desired point.
Byt all means make the layer a Smart Object, but be warned, Pixel Peeping is the first step to utter madness. Before you know it you'll be obsessing over colour look up tables and buying an Eizo. Personally, I like to make nice pictures.
Already have an account? Login
No account yet? Create an account
Enter your E-mail address. We'll send you an e-mail with instructions to reset your password.
