• Global community
    • Language:
      • Deutsch
      • English
      • Español
      • Français
      • Português
  • 日本語コミュニティ
    Dedicated community for Japanese speakers
  • 한국 커뮤니티
    Dedicated community for Korean speakers
Exit
0

How to *properly* replace colors? (Color replacement tool color too "desaturated")

Community Beginner ,
Jun 19, 2018 Jun 19, 2018

Copy link to clipboard

Copied

I am right now editing the textures of an aircraft in a game, i want to make a new "camo" for the aircraft, ofcourse while still keeping the shading. Ofcourse the ideal tool to use for this would be the color replacement tool, it changes colors while still keeping the shading, now the problem is when i use the color replacement tool on the textures, the color comes off as too "desaturated", in other words, i want the color replacement to be more saturated, it's kind of hard to explain but just look at the images below and you will probably see what i mean.

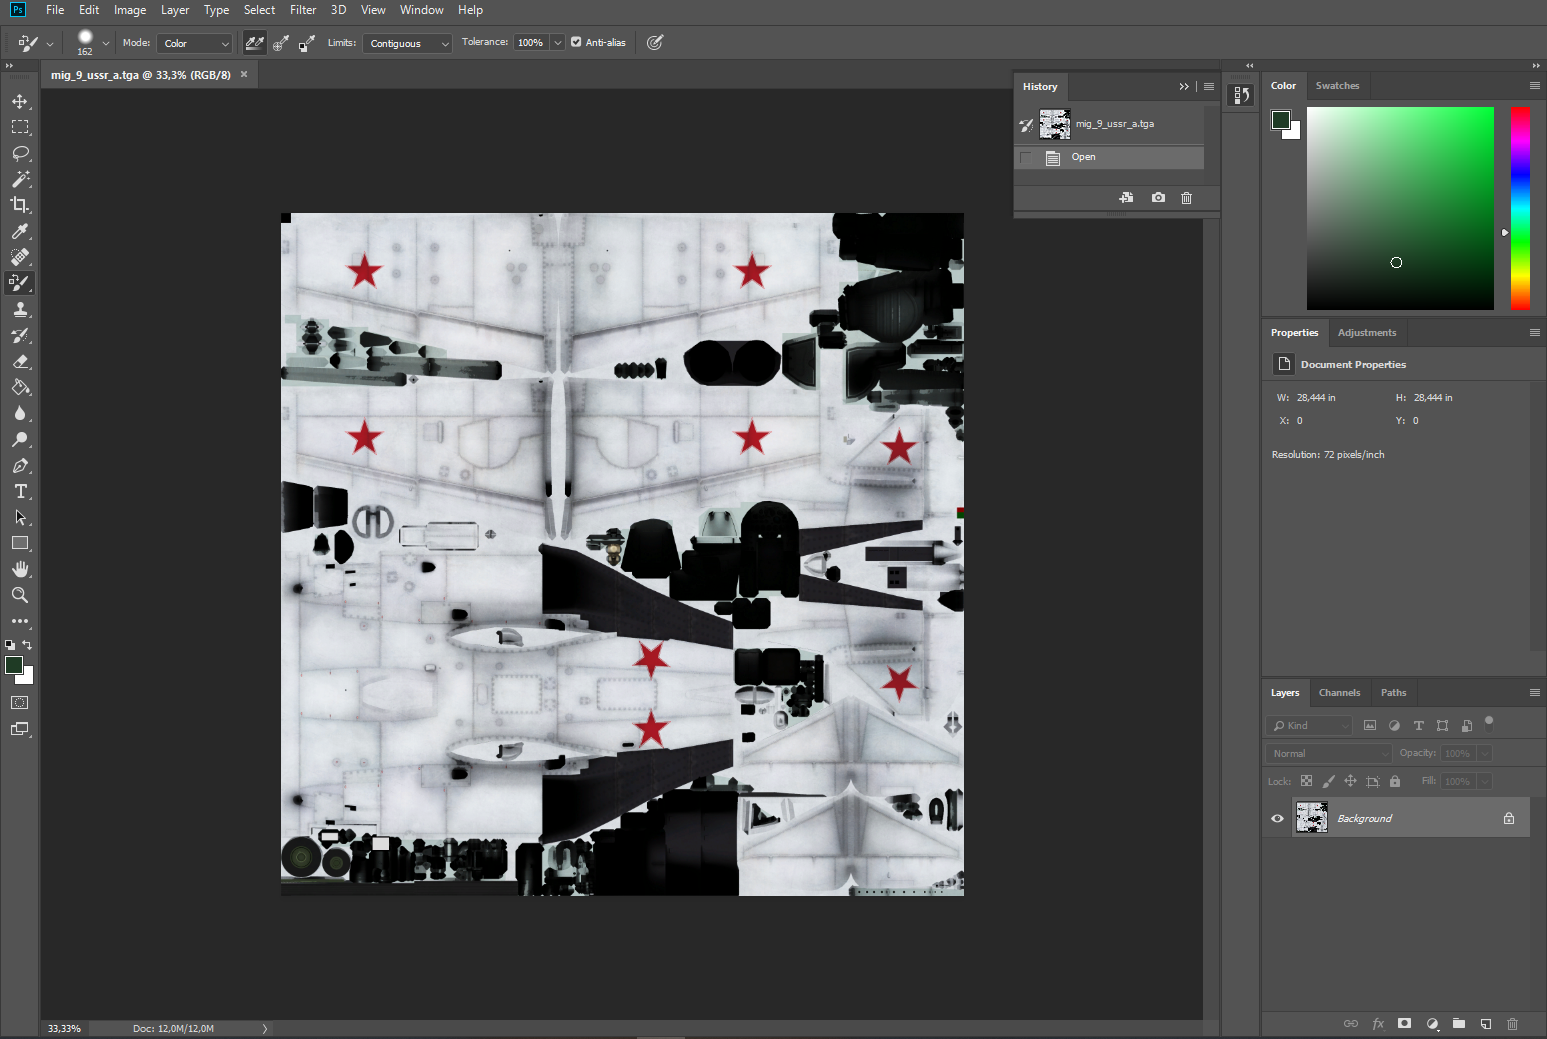
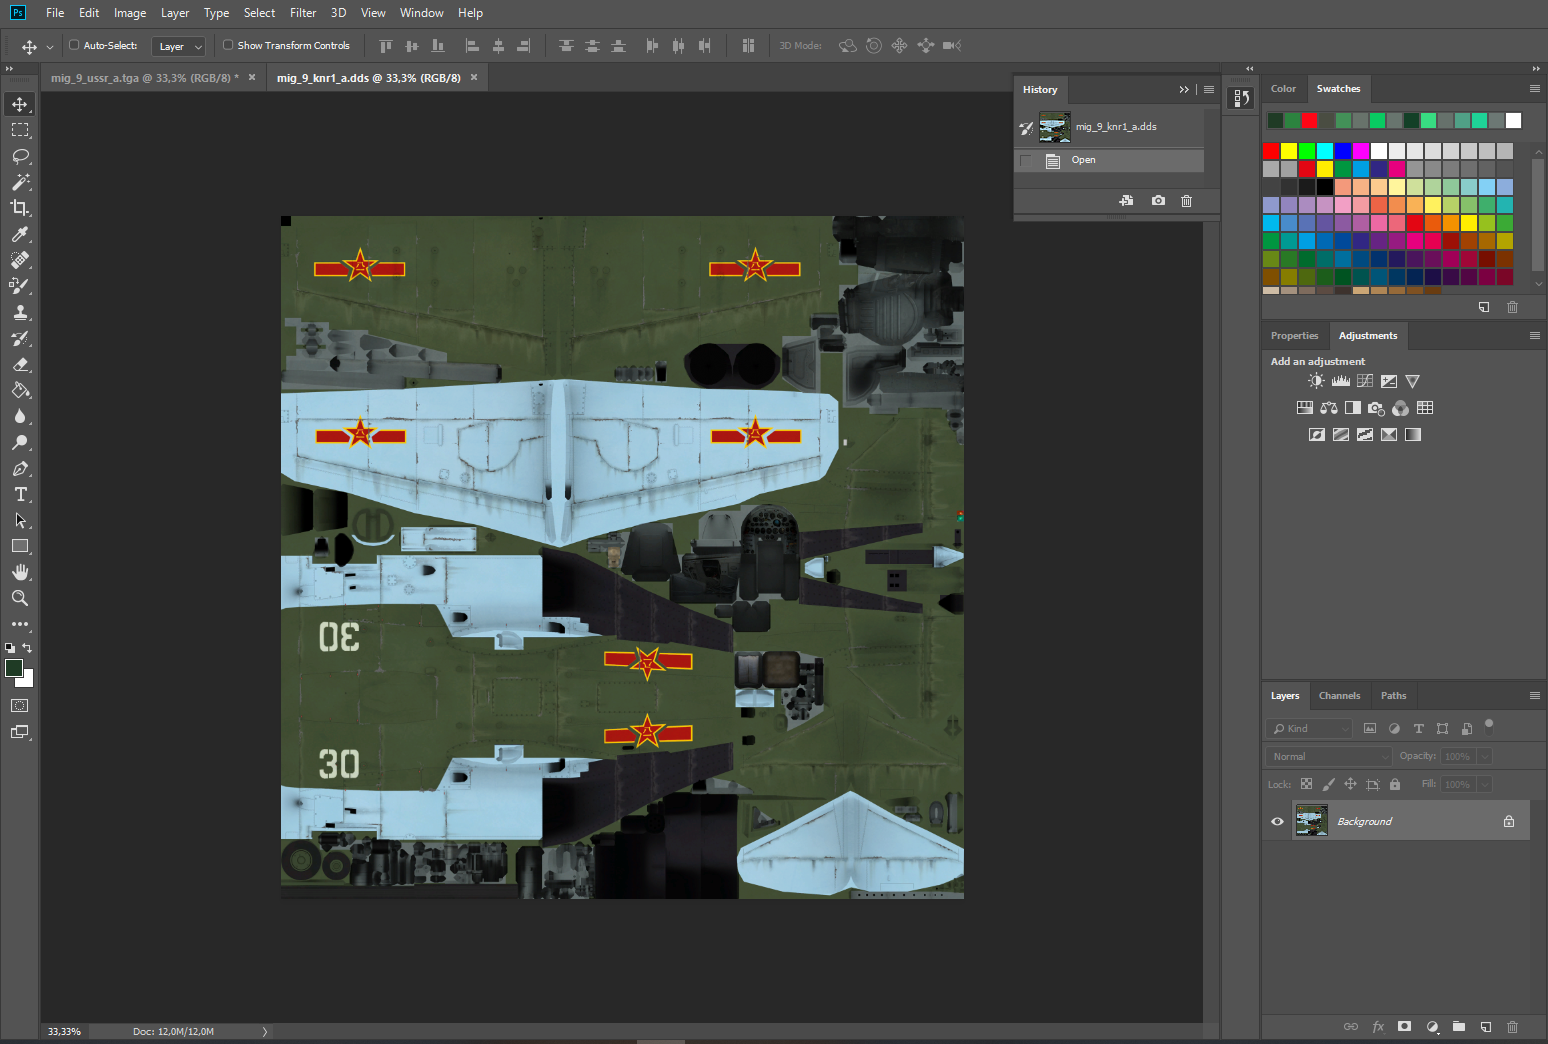
The textures before using the color replacement tool:

photoshopmig9.PNG

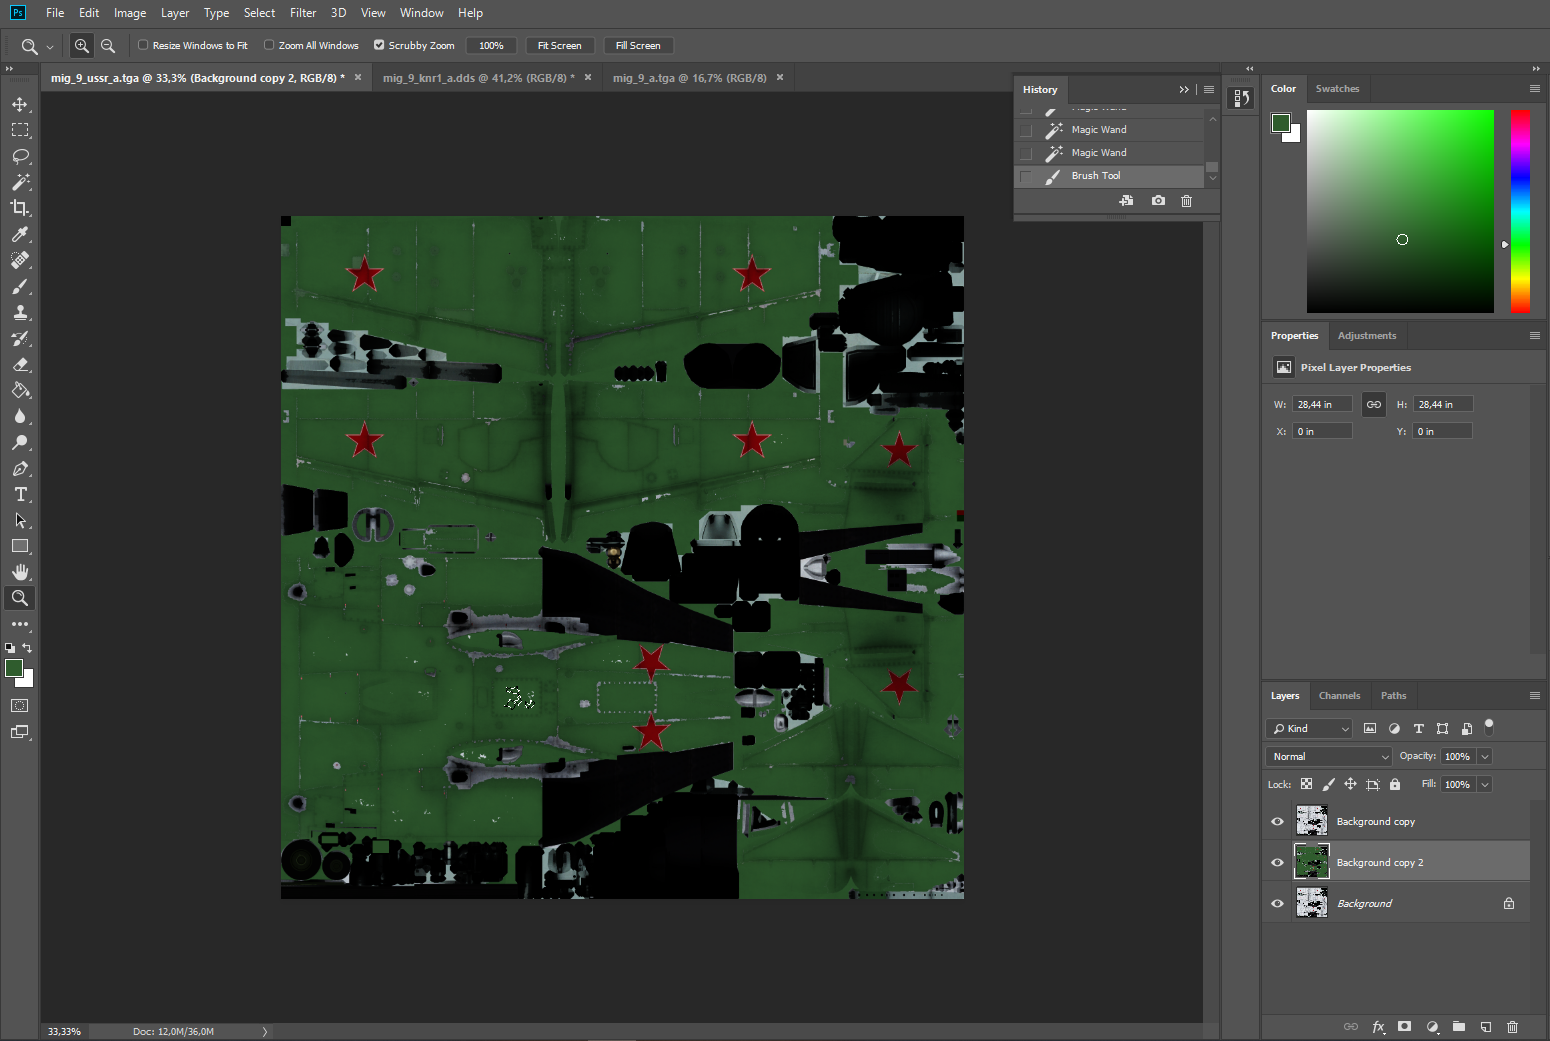
The textures after using the color replacement tool:

photoshopmig92.PNG

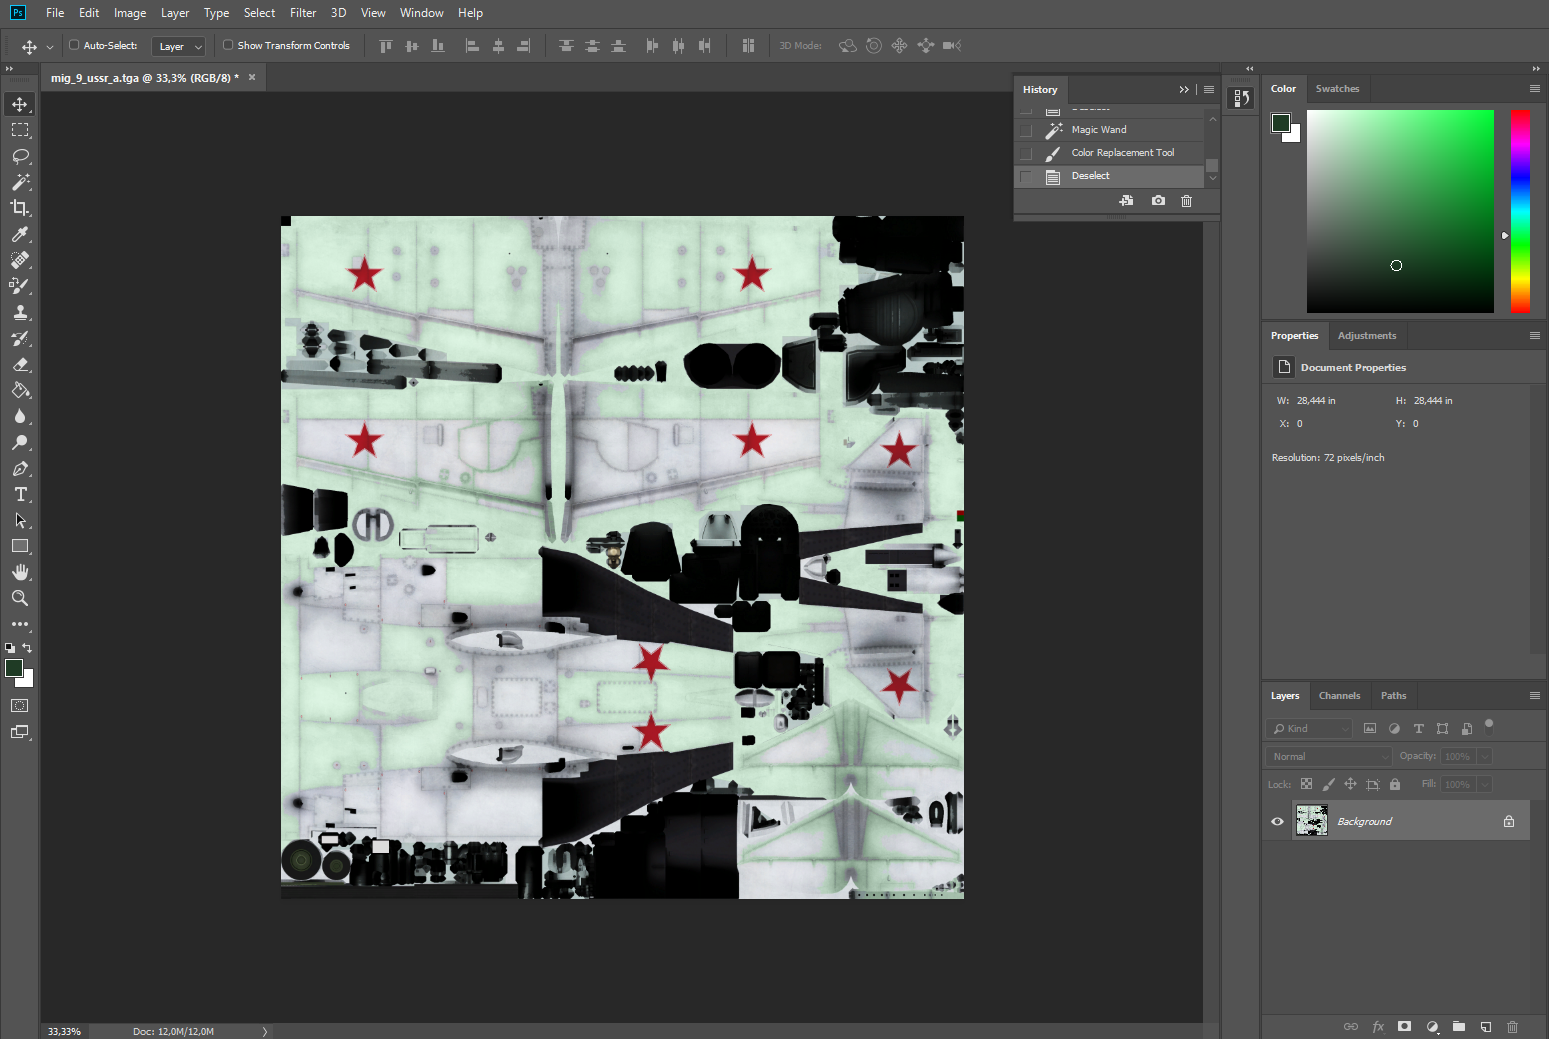
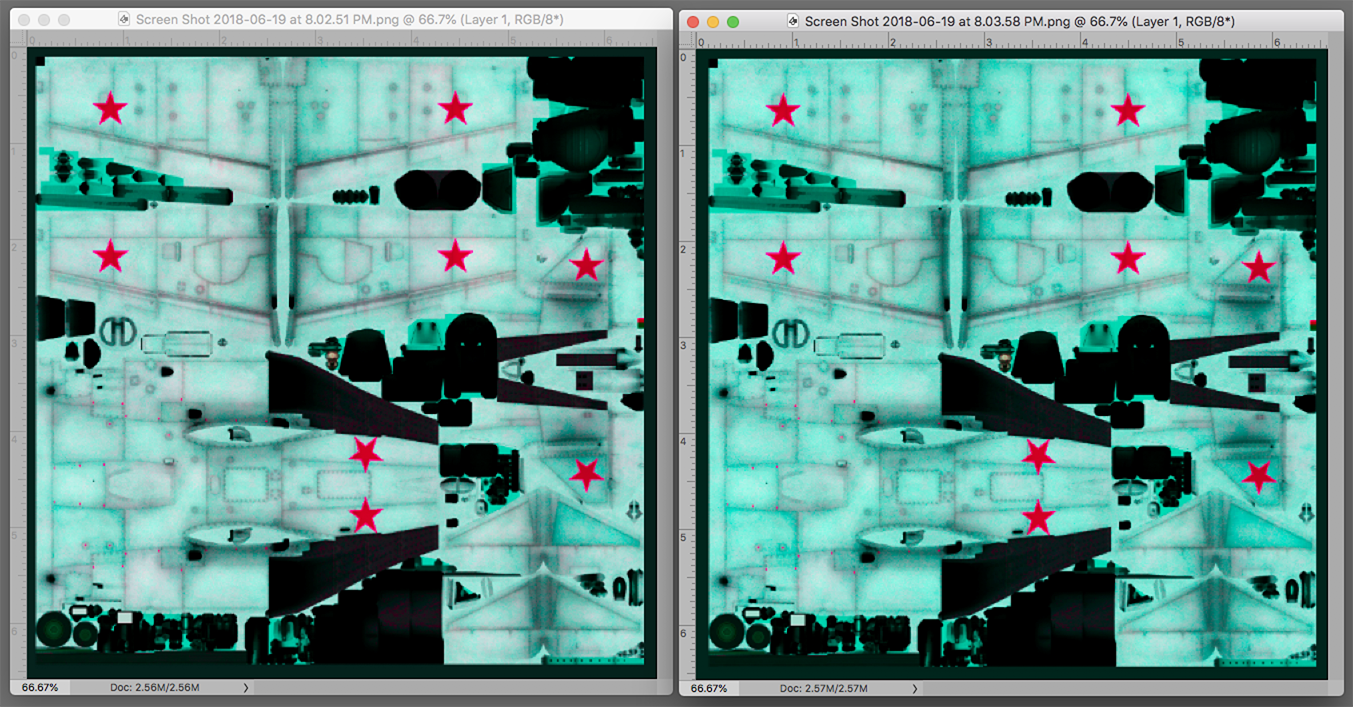
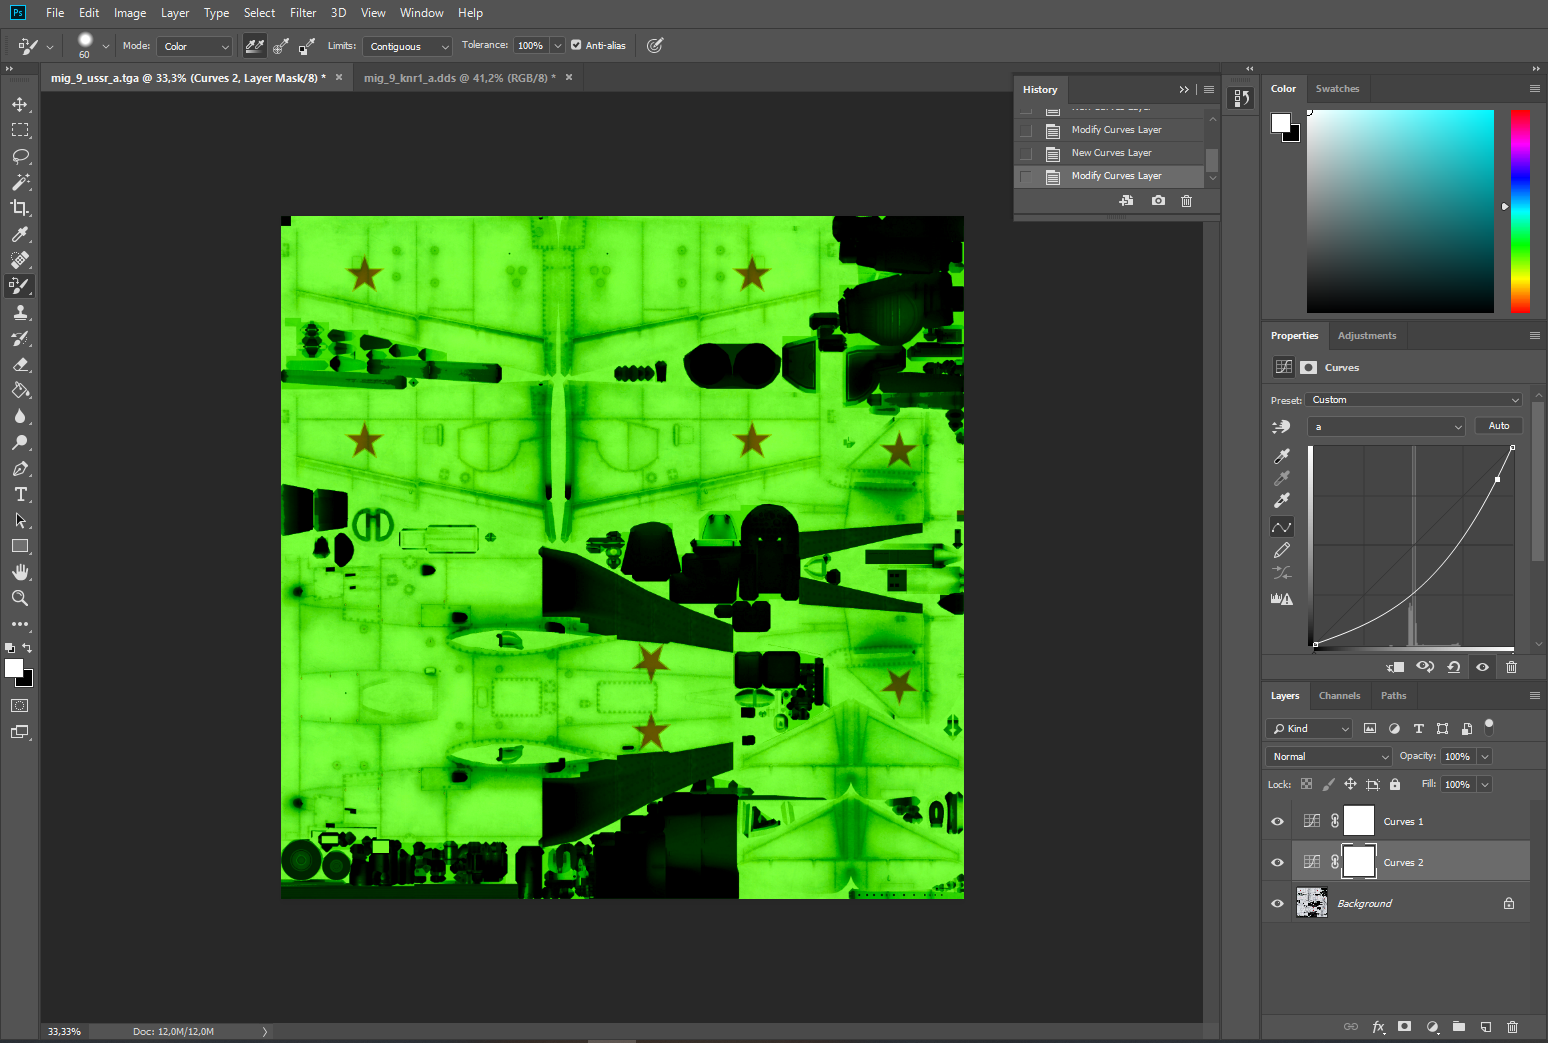
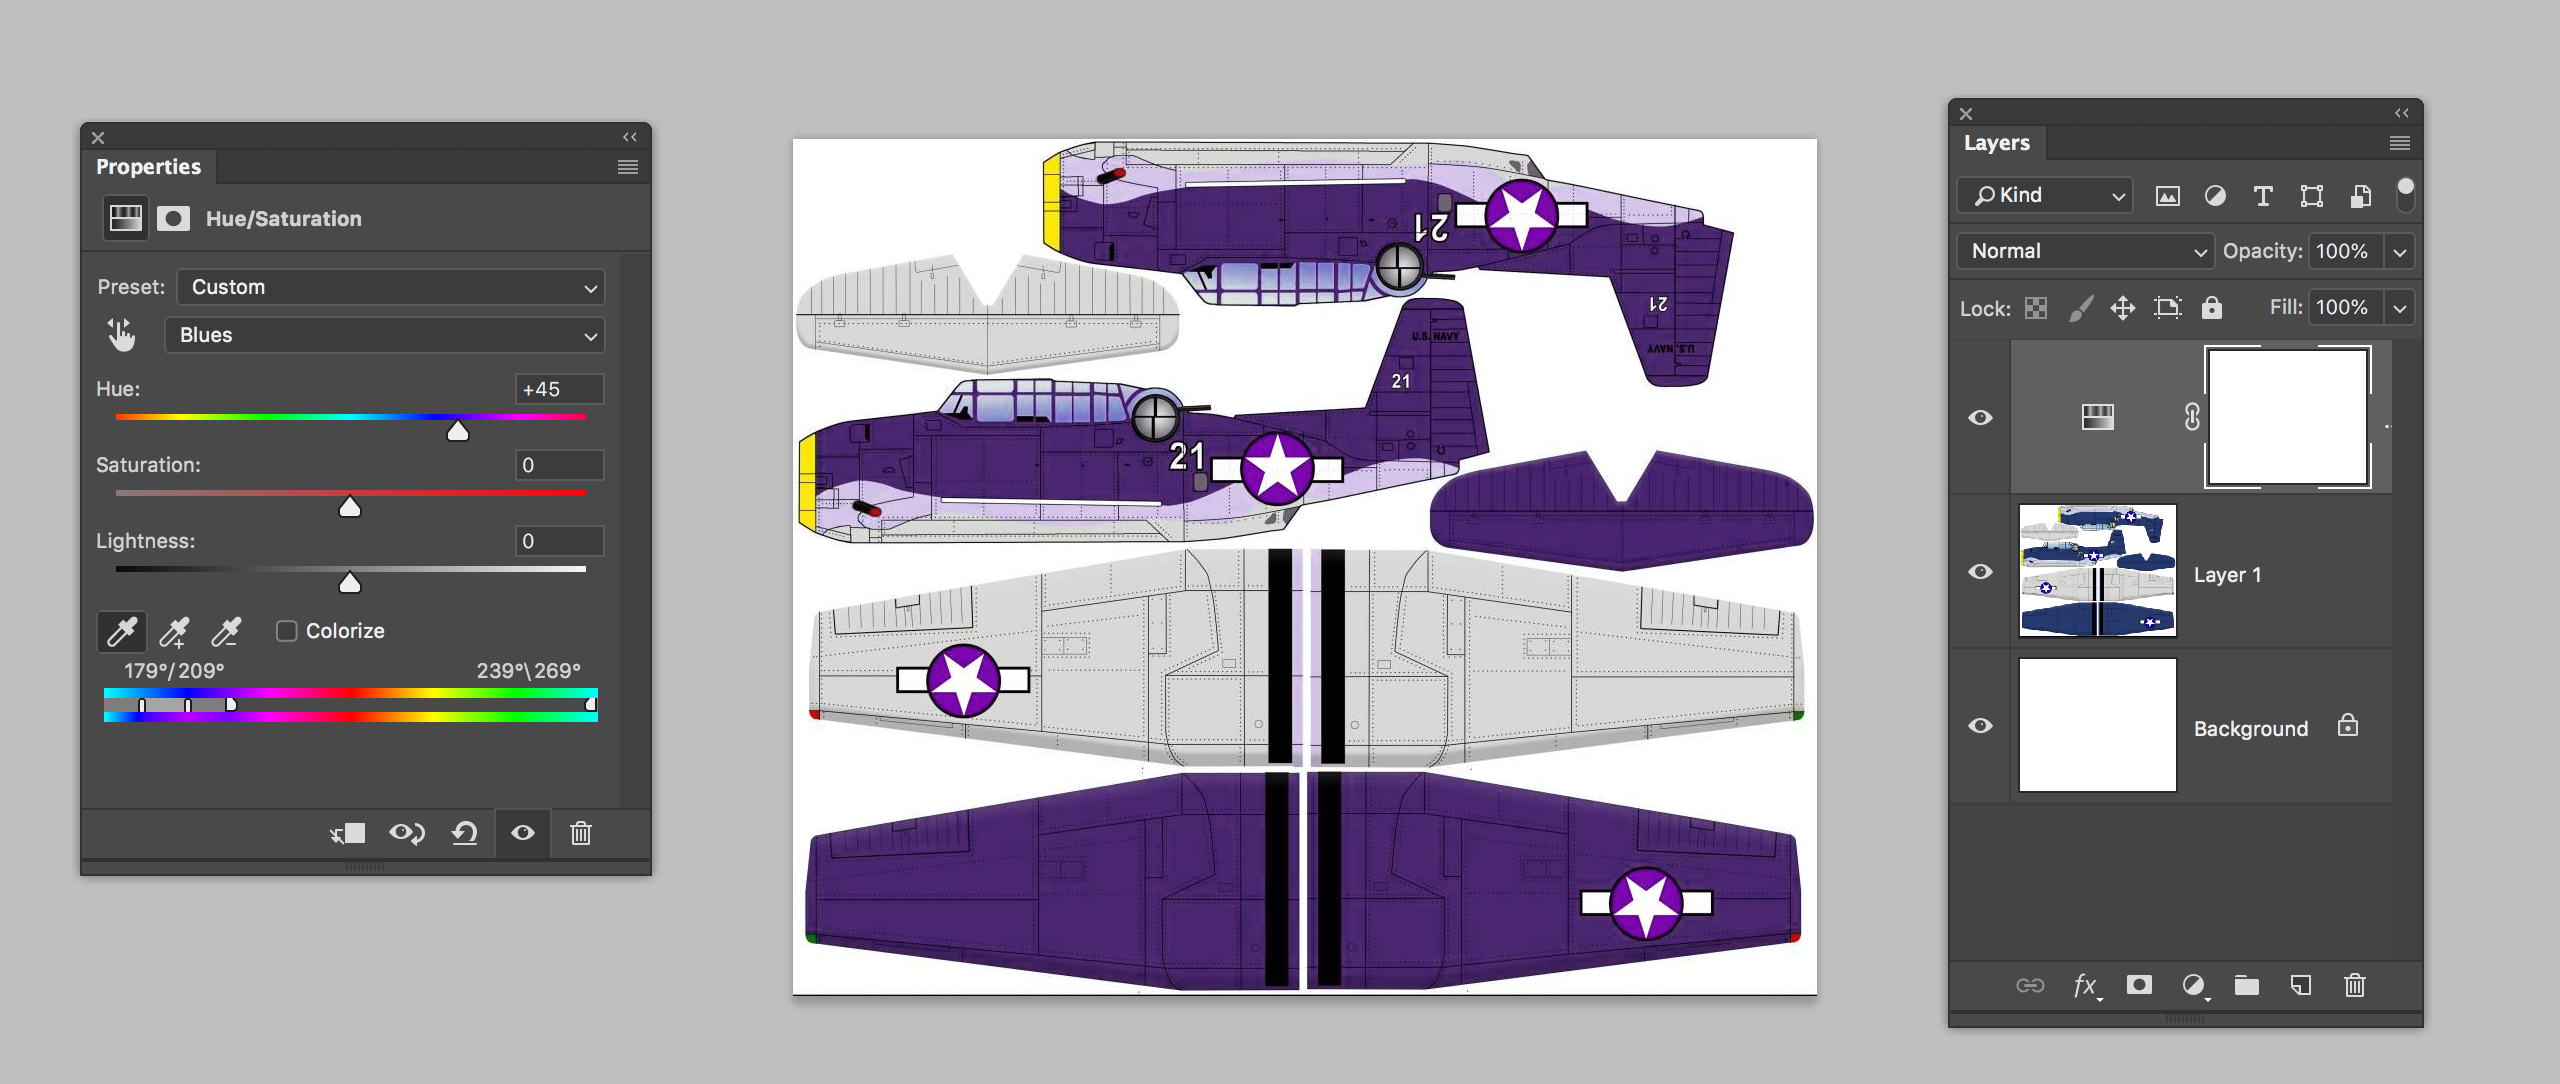
See what i mean with the color replacement being too "desaturated"? The color replacement is too desaturated for my tastes. How can i make the color replacement more saturated like in this picture?

photoshopmig93.PNG

Views

1.9K

Translate

Translate

Report

Report
Community guidelines
Be kind and respectful, give credit to the original source of content, and search for duplicates before posting. Learn more
community guidelines

correct answers 1 Correct answer

Community Expert , Jun 19, 2018 Jun 19, 2018

You could simply keep your image map with it's shading on that image layer. Change your image layer's blend mode to Overlay or Multiply. Create a new layer below the shaded layer and paint your solid color you want on it. You should still have your shading above and your color underneath. This is how comic book artists work when they start "flatting" in color to keep the shades on the ink layer above.

Votes

Translate

Translate
Adobe
Community Expert ,
Jun 19, 2018 Jun 19, 2018

Copy link to clipboard

Copied

Fig_.png

The Mode that provides the unique option of altering color and saturation without affecting tonal range and local contrast is Lab Color Mode. These versions of were created by changing only the  "a"  Channel in Curves. Greater or lesser saturation is available without affecting the modeling. Greater tonal modeling and contrast is controlled by the Lightness channel. These samples are provided for demo purposes only. You will probably choose to begin with a less electric color.

Votes

Translate

Translate

Report

Report
Community guidelines
Be kind and respectful, give credit to the original source of content, and search for duplicates before posting. Learn more
community guidelines
Community Beginner ,
Jun 19, 2018 Jun 19, 2018

Copy link to clipboard

Copied

Thanks for the answer! I have tried out the Lab Color mode now and it actually works pretty good, however, it doesn't exactly do what i want to do. It does it's job but it's maybe not what i'm looking for, see this picture:

Photoshopmig94.PNG

The colors are infact alot more saturated now and overall better, however it's not exactly what i want, i want the colors to be more like in this picture here:

photoshopmig93.PNG

And in this picture here:

photoshopmig95.PNG

Votes

Translate

Translate

Report

Report
Community guidelines
Be kind and respectful, give credit to the original source of content, and search for duplicates before posting. Learn more
community guidelines
Community Expert ,
Jun 19, 2018 Jun 19, 2018

Copy link to clipboard

Copied

You could simply keep your image map with it's shading on that image layer. Change your image layer's blend mode to Overlay or Multiply. Create a new layer below the shaded layer and paint your solid color you want on it. You should still have your shading above and your color underneath. This is how comic book artists work when they start "flatting" in color to keep the shades on the ink layer above.

Votes

Translate

Translate

Report

Report
Community guidelines
Be kind and respectful, give credit to the original source of content, and search for duplicates before posting. Learn more
community guidelines
Community Beginner ,
Jun 19, 2018 Jun 19, 2018

Copy link to clipboard

Copied

Now that you mention this, you are infact probably correct! I haven't actually tried this yet but i will soon, but i'm pretty sure that this is infact the answer i was looking for, i will try this out soon and tell you if it works.

Votes

Translate

Translate

Report

Report
Community guidelines
Be kind and respectful, give credit to the original source of content, and search for duplicates before posting. Learn more
community guidelines
Community Beginner ,
Jun 19, 2018 Jun 19, 2018

Copy link to clipboard

Copied

LATEST

Yeah i just tried out doing your first resolution, by changing the image layer's blend mode to multiply and then creating a new layer below it and painting the solid color, and i did also use the magic wand as you can see in the picture, and honestly i can say i'm pretty satisfied with the results.

photoshopmig96.PNG

Votes

Translate

Translate

Report

Report
Community guidelines
Be kind and respectful, give credit to the original source of content, and search for duplicates before posting. Learn more
community guidelines
Community Expert ,
Jun 19, 2018 Jun 19, 2018

Copy link to clipboard

Copied

If you add a Hue & Saturation adjustment layer above your image layer. You can then isolate the color you want to adjust. For example in this screenshot, the plane was originally a mix of blue, gray, and yellow. From the pull down menu in Hue and Sat I changed the MASTER menu to BLUES. Now, anytime I move the hue slider, it adjusts any color that falls into the blue spectrum. So I can easily change the color to purple, I can increase/decrease it's saturation, and also adjust lightness if needed. But the yellow nose color, and gray of the image is unaffected.

This is an alternate way to make the edit, rather than the flatting technique I mentioned earlier. Although for what you are trying to make, I still think the flatting with the outline/shade layer above would work better.

Screen Shot 2018-06-20 at 12.58.31 AM.png

Votes

Translate

Translate

Report

Report
Community guidelines
Be kind and respectful, give credit to the original source of content, and search for duplicates before posting. Learn more
community guidelines
Community Beginner ,
Jun 19, 2018 Jun 19, 2018

Copy link to clipboard

Copied

Yeah thanks, i will try this too soon when i can and tell you if it works.

Votes

Translate

Translate

Report

Report
Community guidelines
Be kind and respectful, give credit to the original source of content, and search for duplicates before posting. Learn more
community guidelines