Hi
I did the following :
1. Opened select and mask and clicked select subject
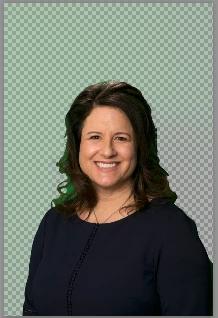
2. Went to the select refine edge tool and used a small brush (35px 100% hardness 1% spacing smart radius off) to work round the hair edges (using J to check which edges are being refined)

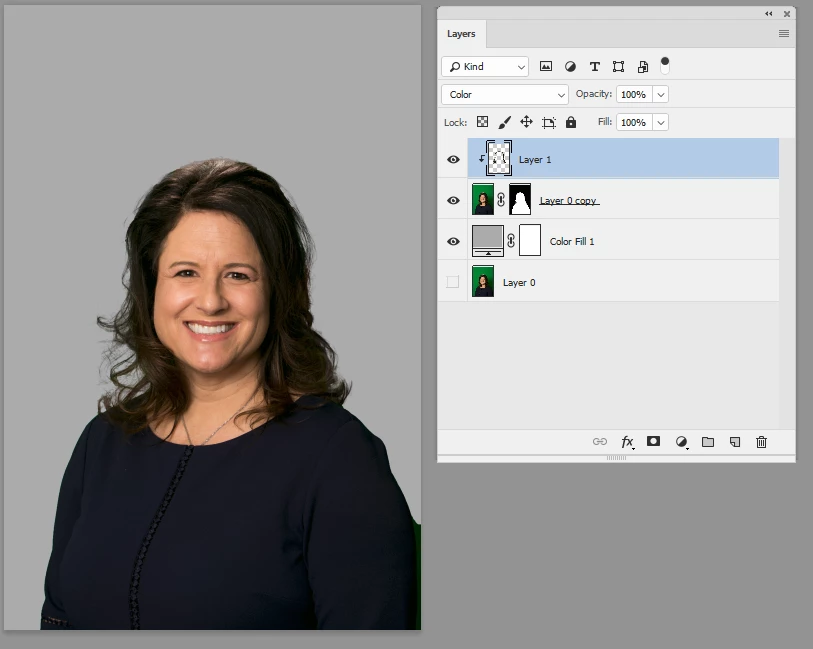
3. I output to new layer with layer mask and did not check decontaminate colours

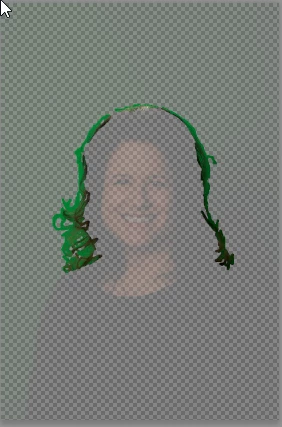
4. I added a new layer above the masked layer - clipped it to the masked layer and set blending mode to color
5. I used a soft brush , picking up color from the hair and brushing round the edges to remove any green contamination
Dave