Copy link to clipboard
Copied
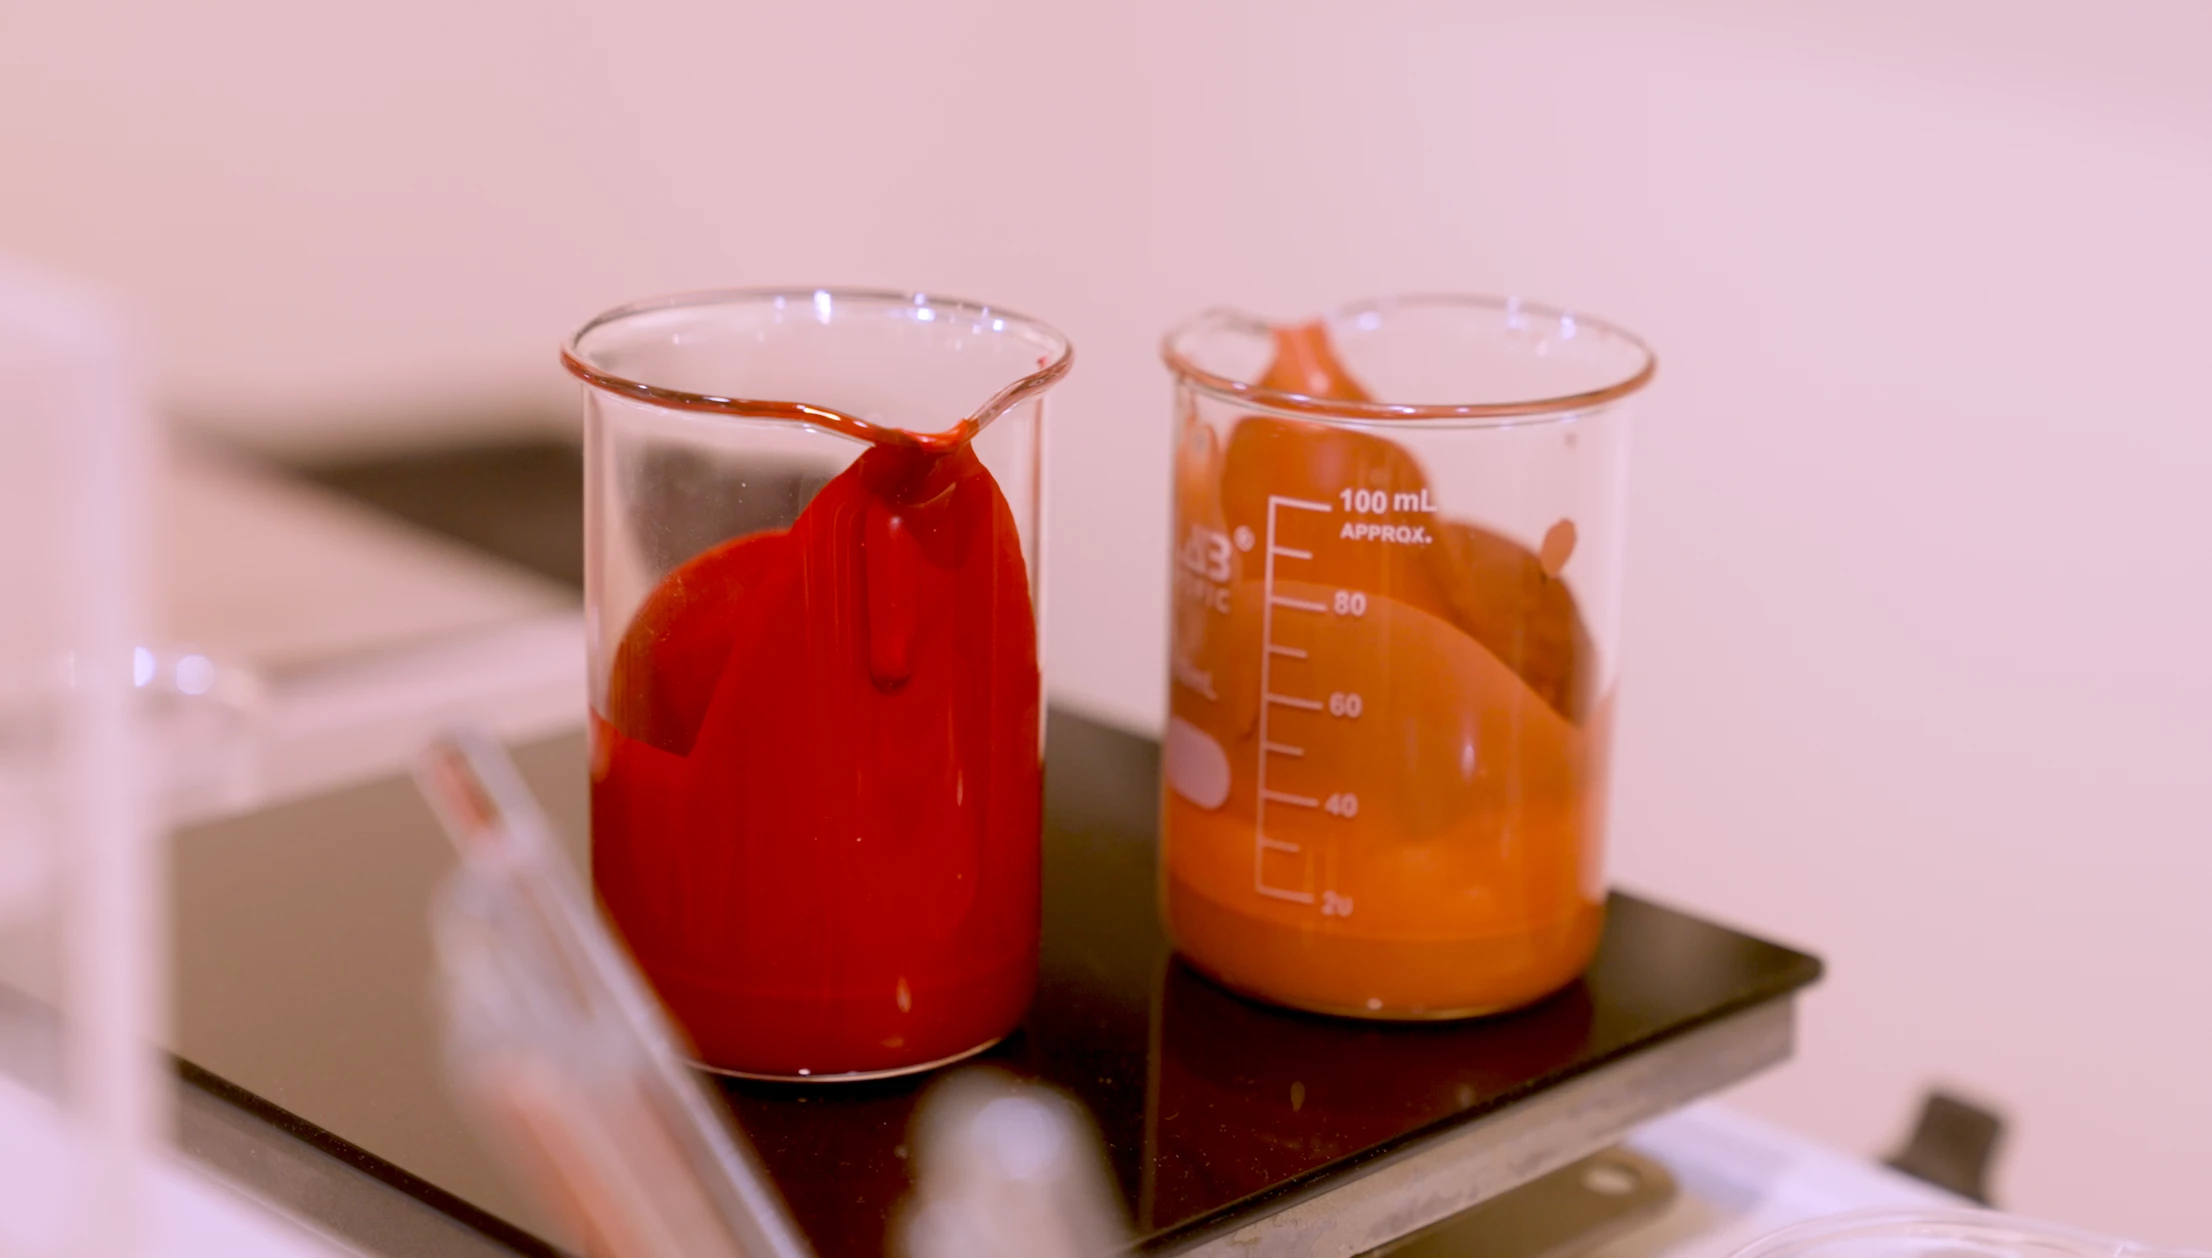
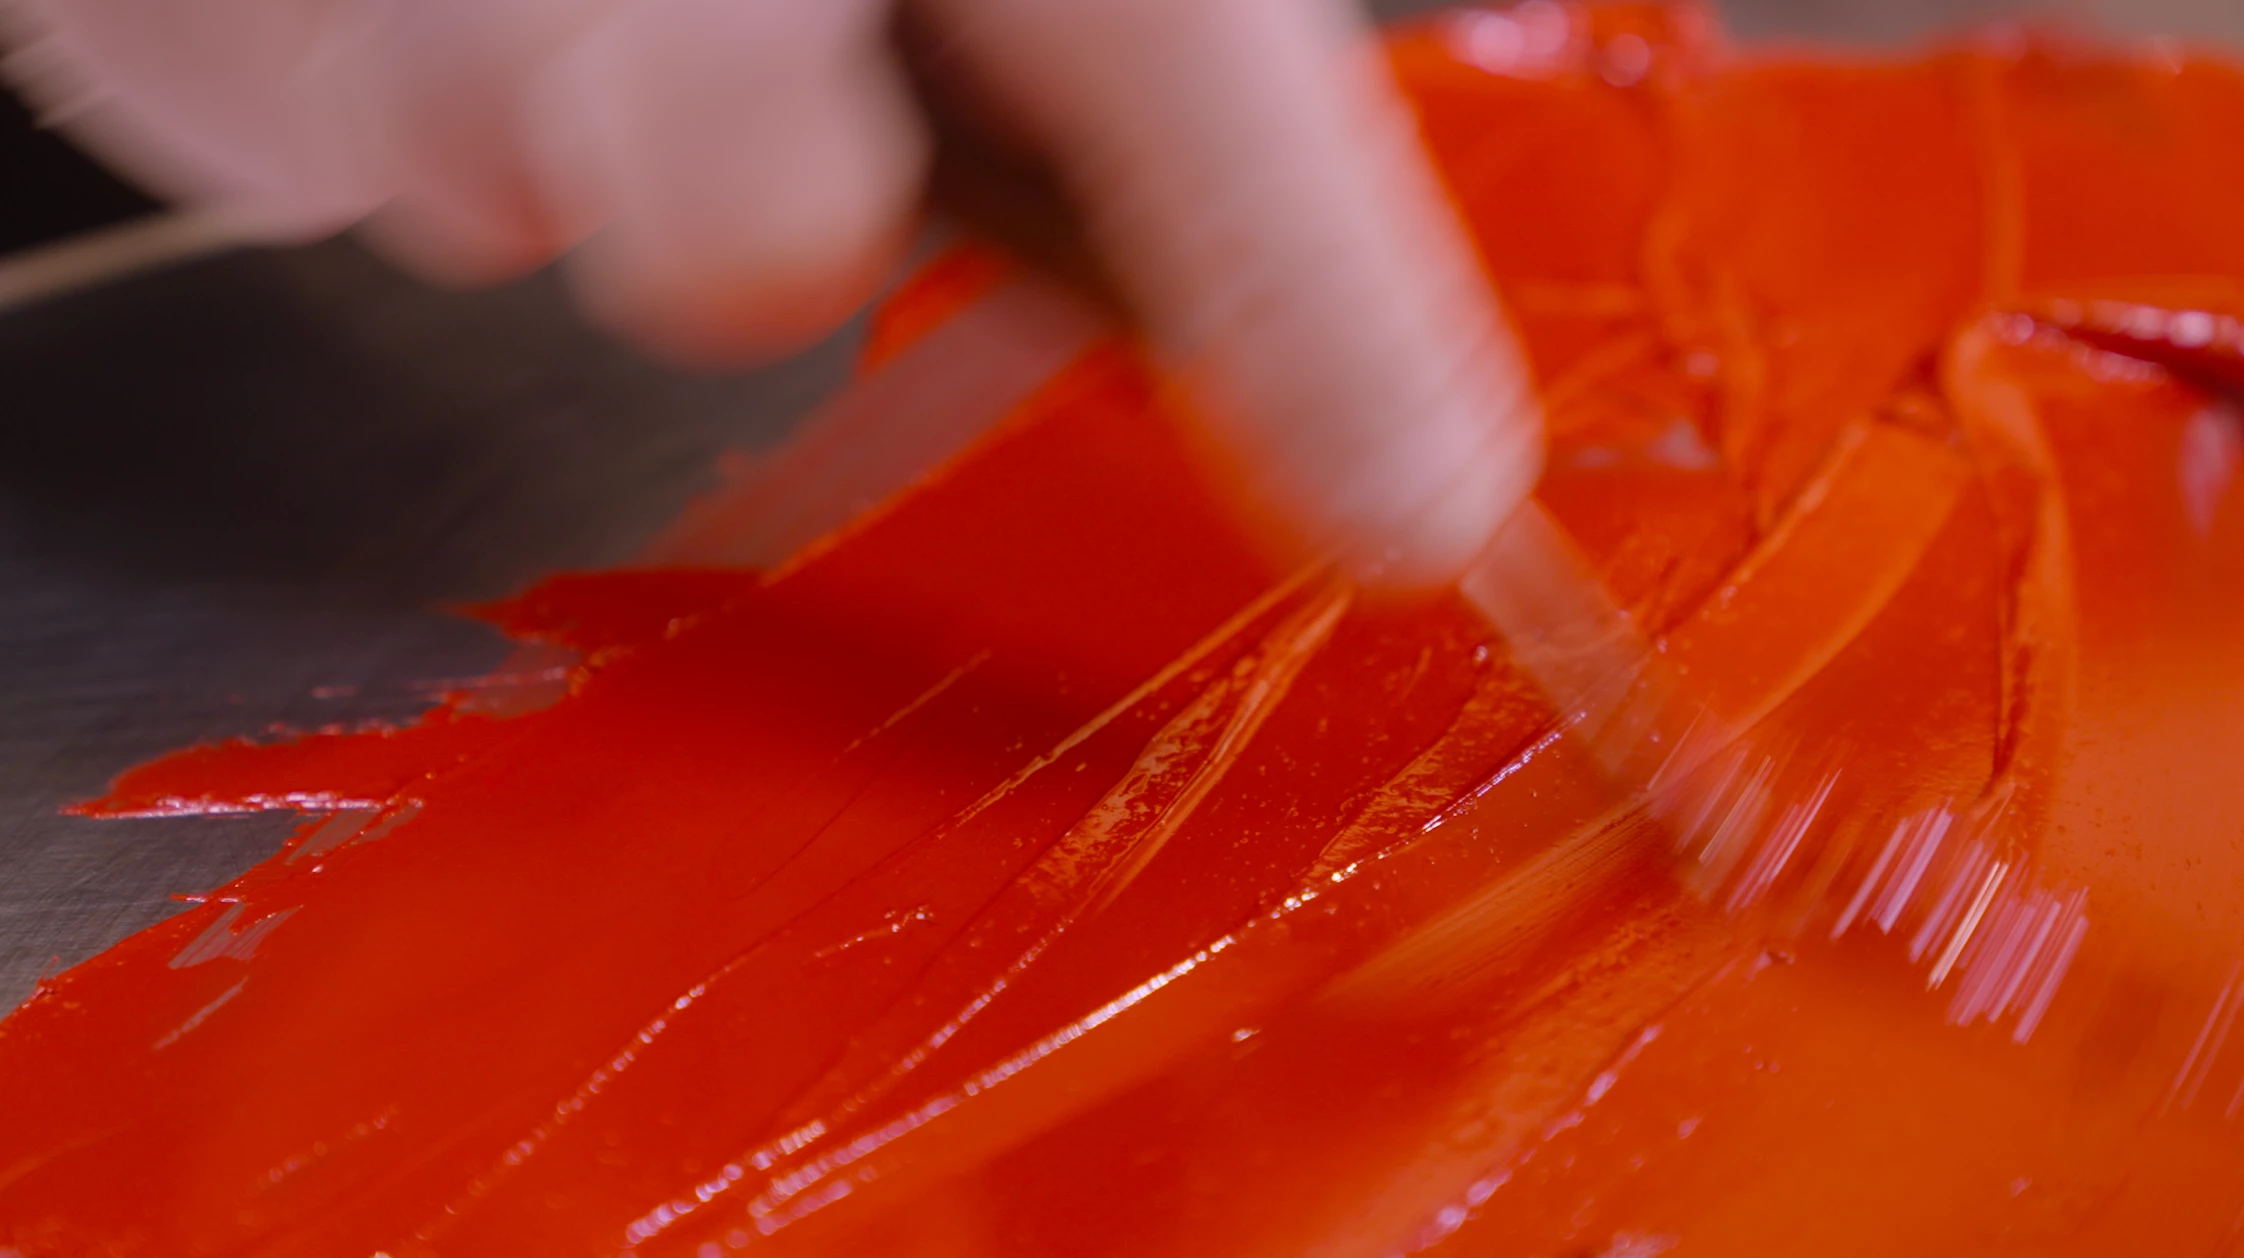
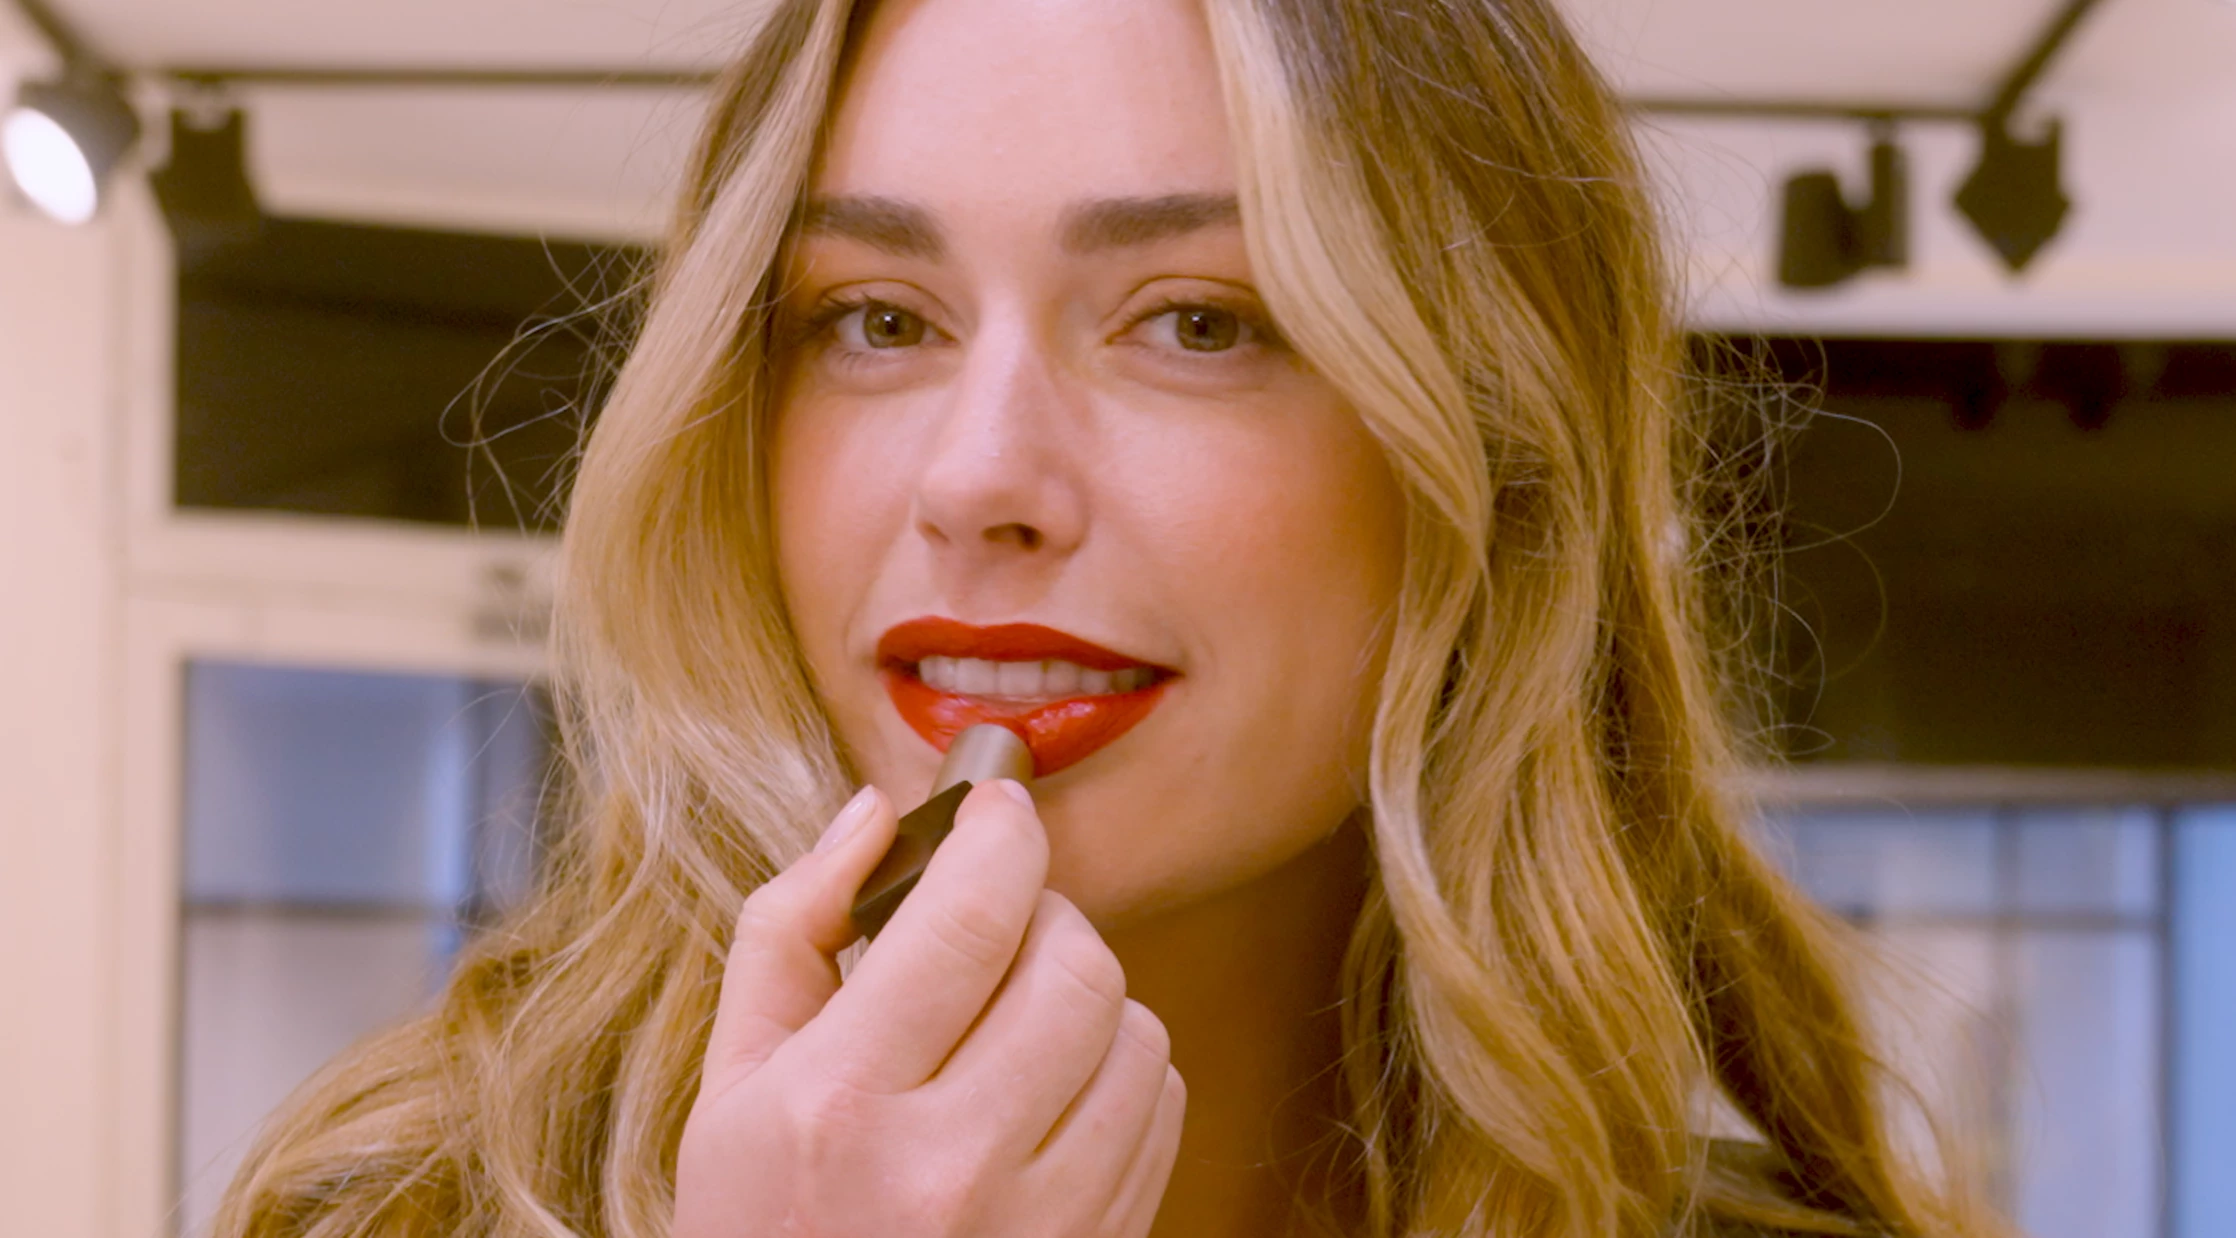
Hi, Im trying to grade some footage of bright red lipstick but the colour keeps looking wrong what is the best way to make it look good in premier pro - i like the colour in the 1st 2 screen shots attached but the last 2 dont work with the same colour grade - the red looks too orange and the girls face looks washed out ? any tips or suggestions of good LUTs to try ? Thanks
Copy link to clipboard
Copied
There are several ways to go about this, and it can be a tricksy thing to find the one that works best or at least best worst. Or the best combination and/or order of working.
You need to be isolating the red, not doing overall adjustments. So that means working with either the Curves tab of Lumetri or the HSL Secondary tab.
And ... you may need to do this on a tracked basis. Where you select an area, and use the mask for the Lumetri effect found in the Effects Control Panel 'view' of the Lumetri effect to limit Lumetri to that area ... but if it moves during the shot, you need to then track that area so the mask moves with the object on screen.
In the Curves tab, there's the Hue v Hue tool. Click on the eyedropper, then click on the red you wanna change, that gets you three dots on the curves tool. Adjust the middle one as that will change the hue involved, then adjust the two side dots horizontally if you need to widen or narrow the selection.
In the HSL Secondary tab, click the eyedropper, and click on the area you want to change. That sets the key selection sliders to a starting point. Set the mask option to something like color/grey, where the color you're selecting stays full color, but the things not selected are gray.
Now use the sliders to refine the selection. You can move the whole slider by grabbing the center, each edge separately, and also set a 'feather' in or out as needed. Sometimes you need all three Hue, Sat, and Luminance to get your selection ... sometimes you only need one or two of them. Takes some fiddling at times.
Then you probably want to add a little bit of denoise and blur in the sliders below the key controls.
Once you have your key selected, then you use the controls below to change the pixels that are selected. You can change color, sat, contrast, brightness, even sharpness.
It can at times take both of the above tools in one Lumetri and then another added instance of Lumetri to get everything looking as you want.
And a general bit of advice ... it often is best to use a smaller amount of two different tools to make a significant change, than doing all with one tool. Less chance of visible artifacts.
Neil
Copy link to clipboard
Copied
Copy link to clipboard
Copied
Like @R Neil Haugen suggests, you need to approach color grading in two steps:
Step 1: Color correction
This is all about making sure the overall picture looks as intended. Taking care of proper contrast, skin color and overall feel of the image.
Step 2: color grading
This step is intended to target specific areas of the image, such as the color of the lips or the lipstick. You do this through secondaries.
If you do this the other way around, you may achieve the preferred color for the red, but the overall image will look off.
There are a ton of tutorials on YouTube on how to properly do this process of color correction (1) and grading (2).
Hope this helps.
Copy link to clipboard
Copied