• Global community
    • Language:
      • Deutsch
      • English
      • Español
      • Français
      • Português
  • 日本語コミュニティ
    Dedicated community for Japanese speakers
  • 한국 커뮤니티
    Dedicated community for Korean speakers
Exit
2

Desaturated colours in Premiere

Community Beginner ,
Oct 02, 2023 Oct 02, 2023

Copy link to clipboard

Copied

Dear Adobe Support Community,

The colours of my videos get desaturated as soon as I import them to Premiere (or MediaEncoder).


I've read quite some posts about this problem here already, e.g. https://community.adobe.com/t5/premiere-pro-discussions/quot-why-does-my-footage-look-darker-in-prem... and in other threads.

And tried everything mentioned, but the problem persists. Also, the users with this problem state, that the colours look okay in Premiere but as soon as exported, they look different. In my case, the colours already look desaturated in Premiere and the export just looks the same way desaturated.


Here is a sample/original video file with nice colours: in.mp4 (attached)

It's only 2 MB, that's enough to state the problem. Here is a VLC snapshot of the original video file with nice colours - that's how it should look like:
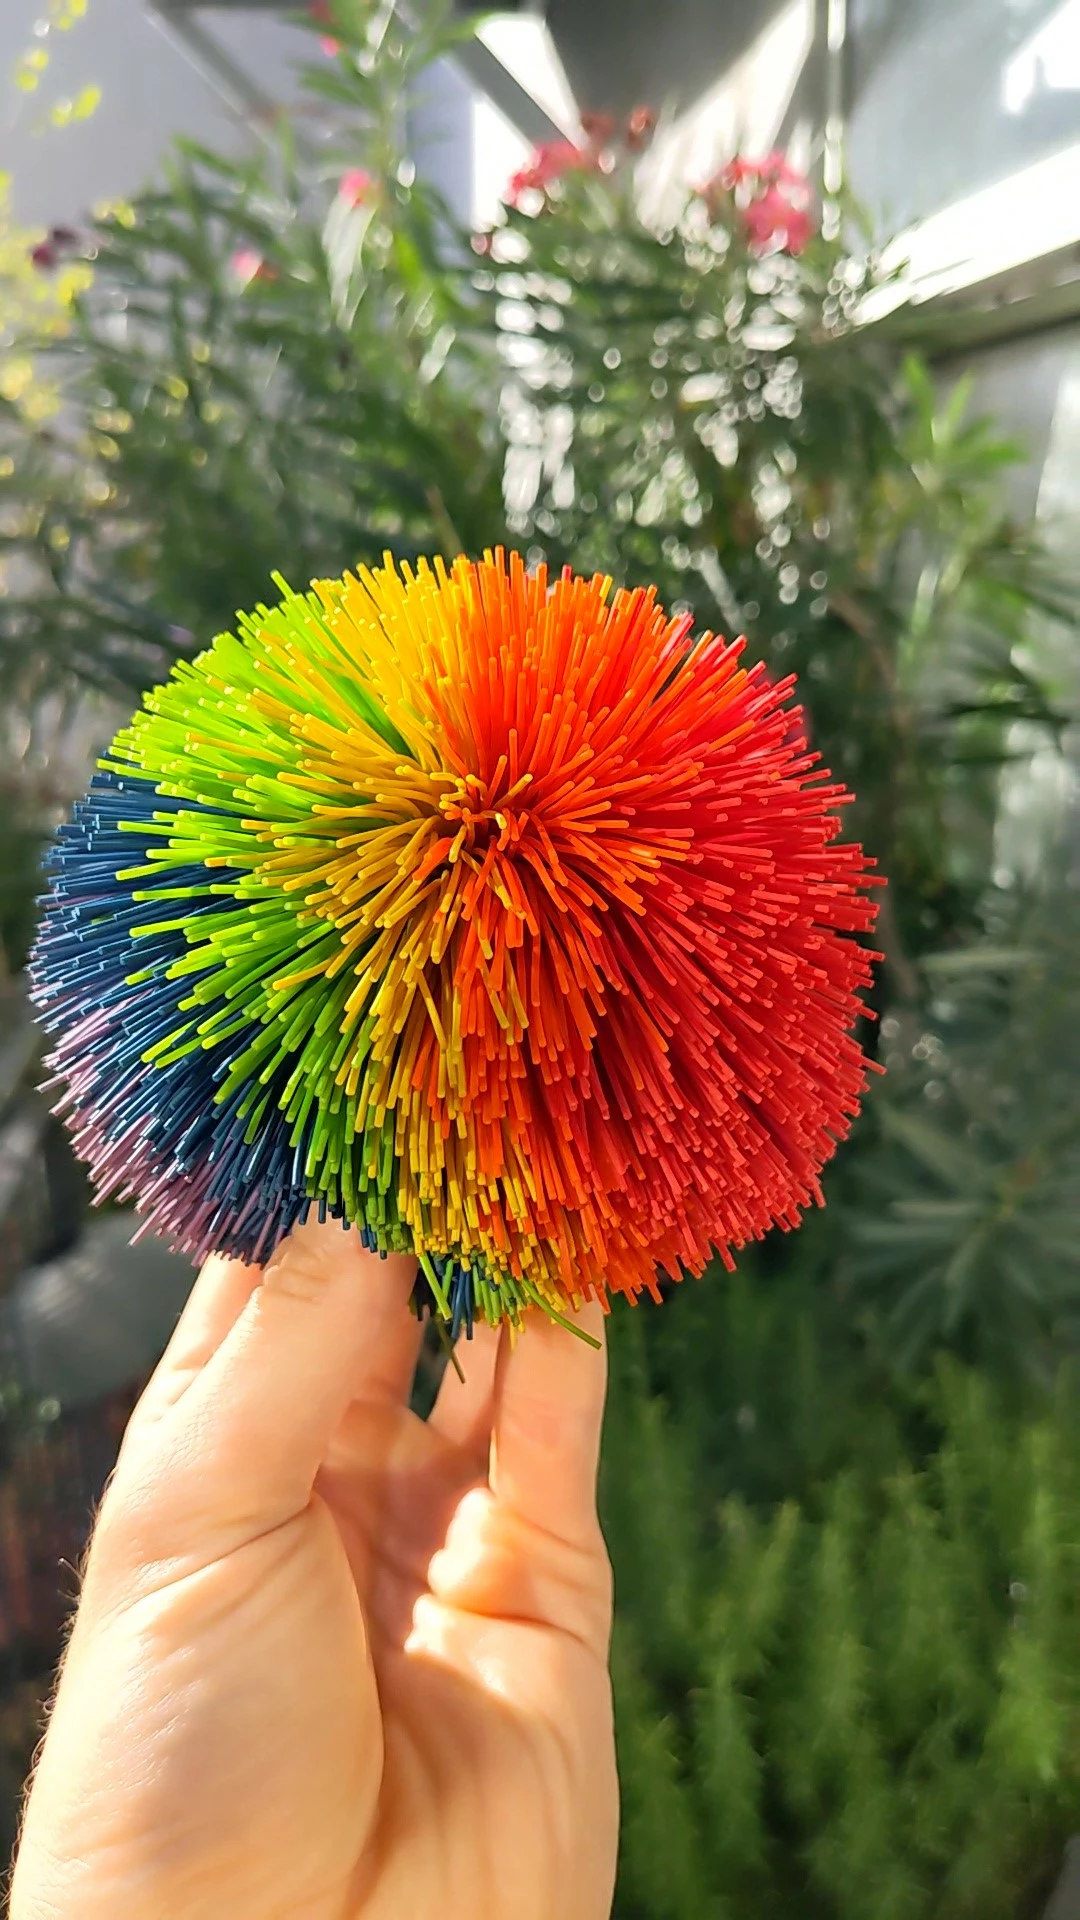
1.jpg

When I import this videofile into Premiere, automatically create a sequence and export it with all default settings, this is the output with desaturated colours: out.mp4 (attached)
Here a VLC snapshot of the output with desaturated colours:
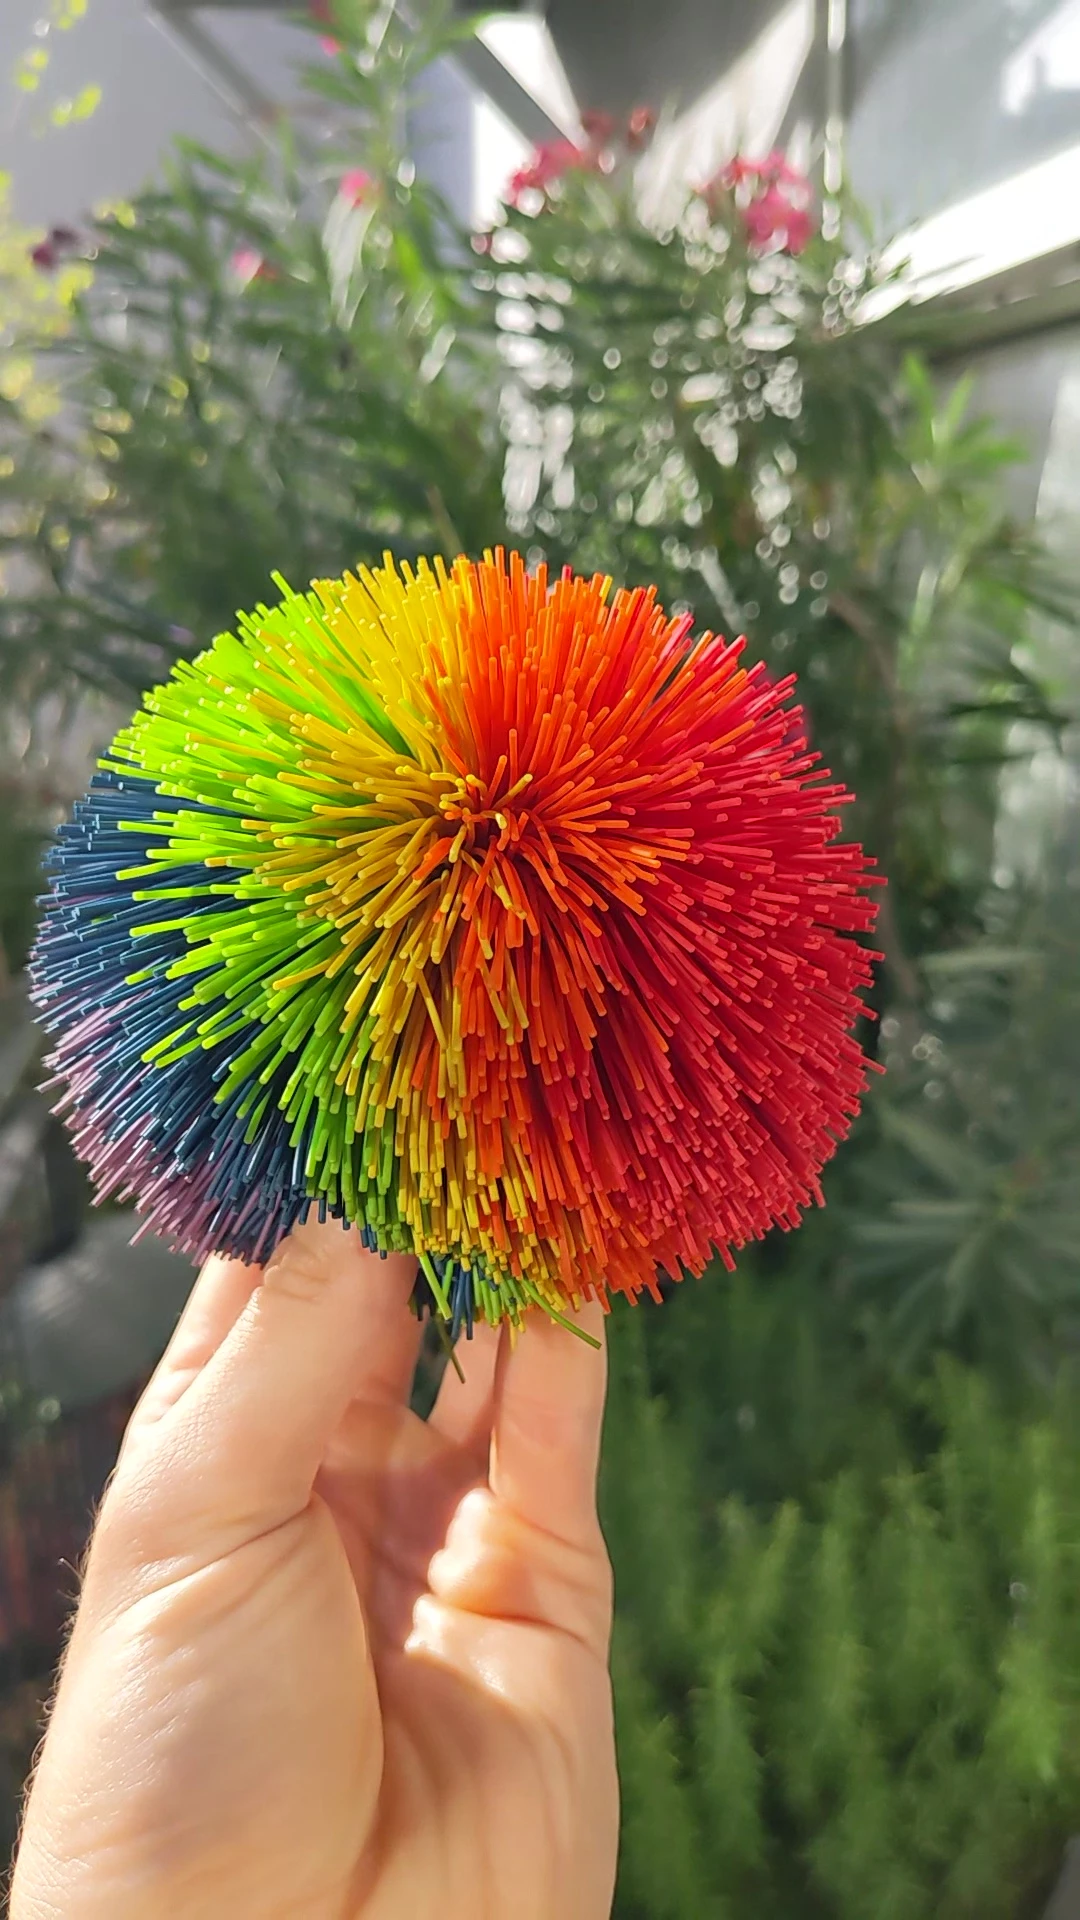
2.jpg
Save the two snapshots into a folder, so you can easily switch in between them and you can see a massive difference in colours.


If I apply the QT Gamma Compensation LUT, as suggested in other threads, the colours still look totally different to the original:
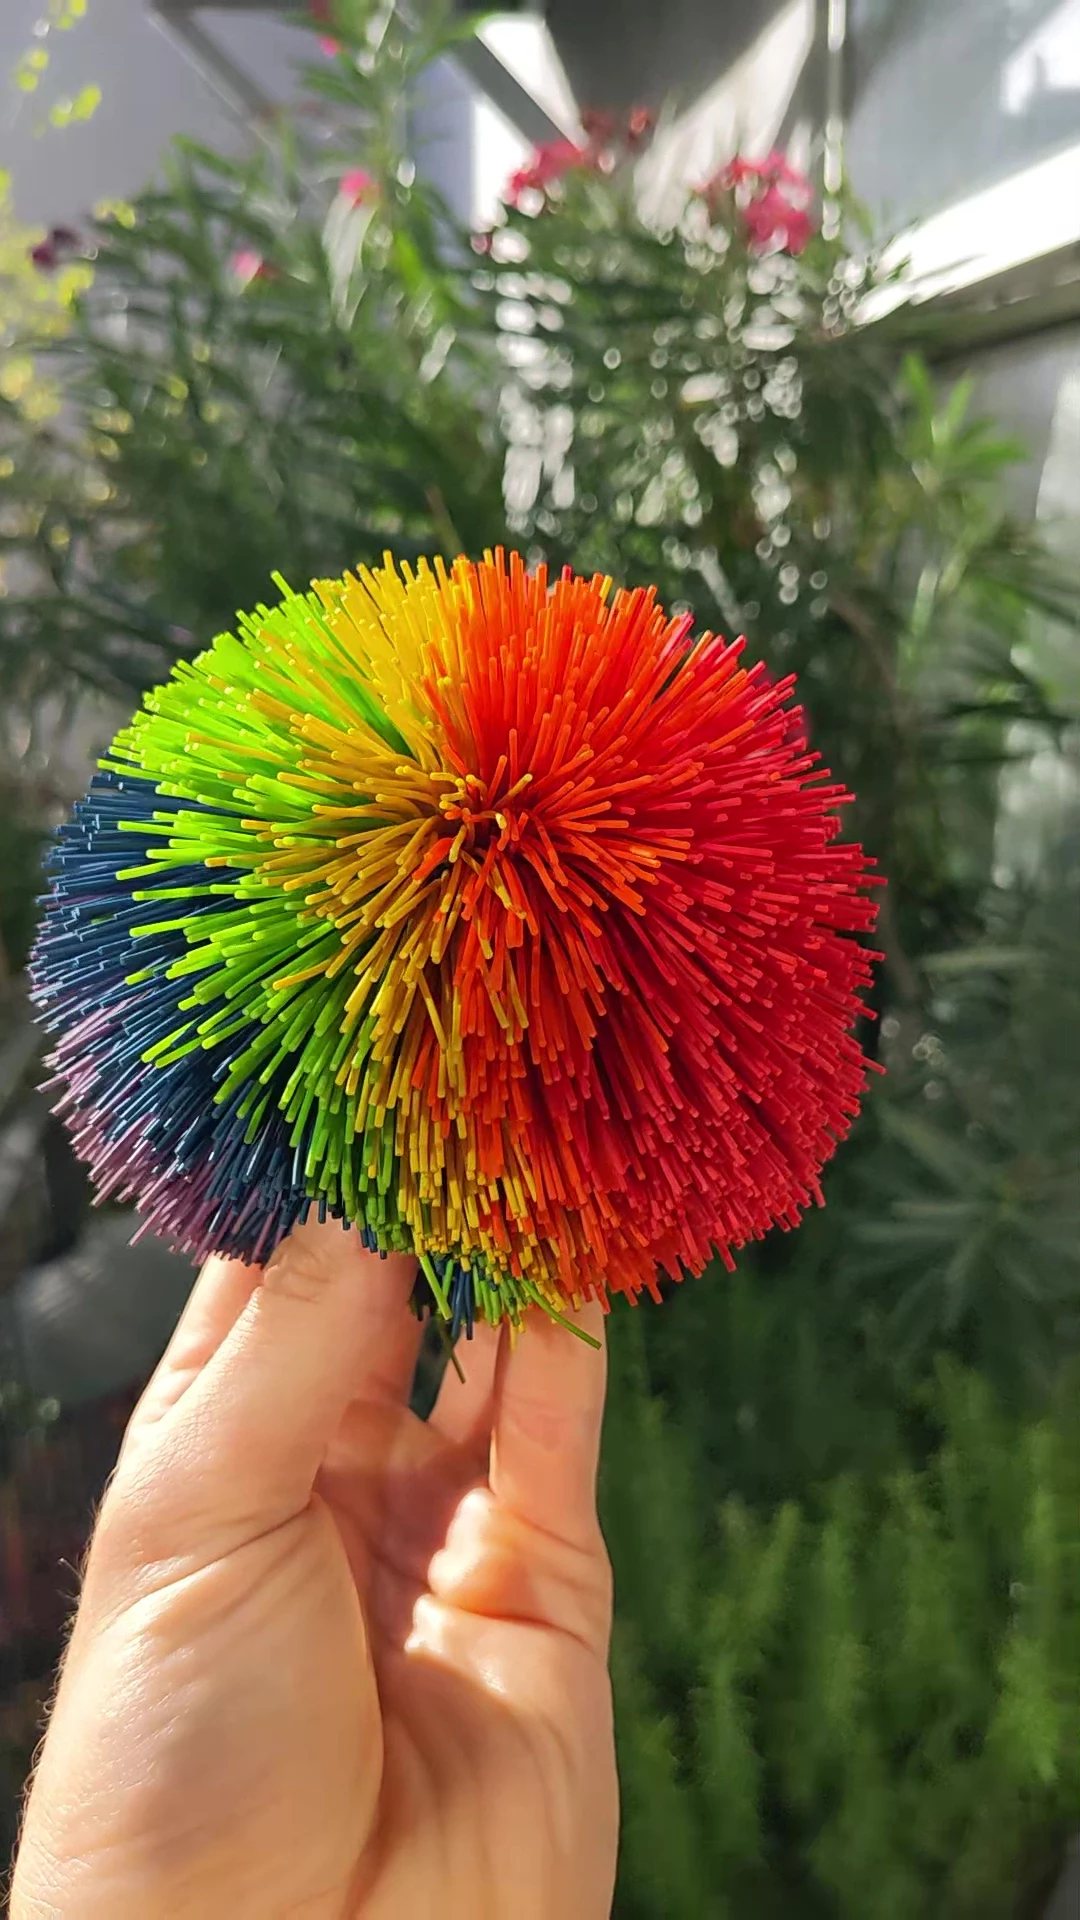
3.jpg


Why is that? I expect my rendered videos the same colours as the original, if I do no editing at all. Especially if I just compress them with MediaEncoder (exactly same problem there).


  • Camera of the original file: Google Pixel 5
    • Color space of the original file: ITU-R BT.601 Range (according to VLC)
  • Premiere Pro 23.6 (all settings default, nothing changed)
    • Export Preset: Match Source - Adaptive High Bitrate (default, nothing changed, but I also tried changing quite all possible settings, hardware/software encoding, different bitrate settings, render at maximum depth, H264 to HEVC - the problem persists with all settings)
    • "Display Color Management" disabled by default. Activating it did not change anything.
    • Project Settings Color Management:
      • HDR Graphics White (Nits): 203
      • 3D LUT Interpolation: Tetrahedral (GPU)
      • Auto Detect Log Video Color Space disabled
      • These are the default settings. I tried different combinations - problem persists.
    • Sequence Settings (automatically created at file import):
      • Working Color Space: Rec 709
      • Auto tone Map Media enabled
      • Again, these are the default settings. I tried different combinations - problem persists.
  • App used for viewing video files: VLC 3.0.18
  • PC: (I also tested it on another machine - same output, same problem)
    • OS: Windows 10
    • CPU: Intel i7-6700K
    • GPU: MSI GTX 980 Ti
      • Changing the Nvidia ControlPanel settings to Full Dynamic Range (0-255), as suggested in some other threads, did not change anything, thus set back to default.


All I expect Premiere/MediaEncoder to do, is if I just import a file and export it again (with all default settings), to display the colours the same way as the import file. Simple as that.


By the way: If I just apply the same export settings (or any other) with avidemux, the rendered output file has the exact same colours as the original. Just as I expect it to be. But I want it to work with Premiere/MediaEncoder.


I would be very thankful for support, as I know here are some highly qualified professionals around.


Thank you!

Best wishes
Josef

TOPICS
Formats

Views

1.1K

Translate

Translate

Report

Report
Community guidelines
Be kind and respectful, give credit to the original source of content, and search for duplicates before posting. Learn more
community guidelines
LEGEND ,
Oct 02, 2023 Oct 02, 2023

Copy link to clipboard

Copied

I did notice the original is Rec.601, an older spec'd space. Mostly similar to Rec.709, but not identical, I've been told. I wonder if that is where some unexpected bit comes in ... huh. Everything "these days" is Rec.709 or of course some form of HDR.


Next ... expectations. This is an area that trips up nearly everyone starting out in video. And definitely, your expectations are due for an update.


To begin with, no camera ever made has a perfect to spec monitor ... not even the $70,000 RED, Arri, and Sony rigs.  If you want accurate viewing on-set, you get a calibrated monitor for that. Either rigged directly to the camera or set to view from the card after shooting.


So what you see on the camera back (or phone screen) is a representation of the image data, but not nearly an exact one for hue, satuation, dynamic range and saturation.


Past that, every computer screen and/or TV will show the same file differently ... count on it. Which is the bane of pro colorists, by the way. And even on the same computer, different apps will display it differently. Or the same ... maybe.


Then of course, you have the right mess Apple created when they came out with the otherwise excellent Retina monitors. Which was to design the OS color management system with a major problem: they use the specified camera transform of 1.96 as the display transform. When all professional systems, broadcast-streaming-whatever, expect to use the Rec.709/Bt.1886 spec gamma of 2.4.


So the apps that allow ColorSync to "manage" color will use a display gamma 1.96 on a Mac for Rec.709 video.  This includes QuickTime player, and Chrome and Safari browswers. Apps that don't, like VLC, will use the correct 2.4 gamma for Rec.709 video.


So on the same computer, you'll see two different presentations of the same data depending on what you use to view it. And the QuickTime view ain't the "accurate" one, btw. Unless of course, all you care about for audience are people on Mac computers with Retina monitors ...


Although, Apple does throw in another monkey wrench. Some Mac monitors/OS allow an option called "HDTV" , along with Rec.709 et al. The HDTV option does use full Rec.709 standards, including ... gamma 2.4. But many Macs don't have that option. So some Mac users will see the file one way, others ... the other way. Cool, right?


Premiere has up to now always followed full-on broadcast specs for Rec.709. But the public beta 24.x series, which will undoubtedly "drop" sometime early on the morning of Adobe MAX opening (10 October this year) has a new set of options for screen gamma. Rec.709/2.4, or Mac 1.96 ... so you can choose what you want to work with.


As to getting the color sat you want ... that is a matter of setting it to your taste. As noted above, Premiere simply shows the file at technically correct specs. Which of course is not "aesthetically correct", which is up to the user.

Votes

Translate

Translate

Report

Report
Community guidelines
Be kind and respectful, give credit to the original source of content, and search for duplicates before posting. Learn more
community guidelines
Community Beginner ,
Oct 02, 2023 Oct 02, 2023

Copy link to clipboard

Copied

Thanks a lot for your comprehensive answer, Neil. I'm aware of that the same file will look different on different screens, played with different apps, etc. However I'm not okay with the same footage looking different on the same screen, played with the same app, only because Premiere messes things up in between.


If I understand you right, my sample file is in an old colour space. Rec601. From a phone, which was released 3 years ago. And premiere is not able to handle this colour space. Instead, it just converts it to the colour space, which Premiere says is the "technically correct specified" colour space, namely Rec.709. Is this correct?


I attached another sample file. According to VLC, it is Rec709. And I have the very exact problem here. Here a VLC screenshot of the original file:

1.jpg


I imported the file to premiere and exported it again. Here a screenshot of the output:


2.jpg


Download the 2 screenshots and compare. Look at the sky or at the bushes. The output looks washed out in comparison to the input. So how is this possible now, if both input color space and working color space are Rec.709?


Is there no way in telling Premiere: "Yeah Premi, we know you are reeeeally good in all this color stuff, you're very special. But can you please, just once, return the color space just the way I gave it to you? Your little friend Avidemux does this trick flawlessly."


Votes

Translate

Translate

Report

Report
Community guidelines
Be kind and respectful, give credit to the original source of content, and search for duplicates before posting. Learn more
community guidelines
LEGEND ,
Oct 02, 2023 Oct 02, 2023

Copy link to clipboard

Copied

Starting out, trying to get both the system you're working on correctly setup, and ... learning what to actually expect after it is, are not at all intuitive. It can be a right pain to work through at times. And yes, been there done that. Getting my first rig setup correctly for video work only took about three months of thrashing around.


And I'd been a professional stills photographer for 30 years at that point, thought I understood color management. Well, stills and video ain't the same. Sheesh.


I"ll start by noting there's another potential issue here ... and that is "levels". Video or "legal" versus full. As in, if anything here ... the camera producing the image file, the GPU, any of the apps involved go to "full" ... well, that's a problem as all Rec.709 YUV (technically Y-Cb/Cr) media is expected to be encoded in video/legal levels. It doesn't change the actual image data, just how it's encoded (written) to file. GoPros at times use the 'full' as their normal encoding step ... which can be a pain in the tushie in processing the file.


Only RGB media ... the 12-bit files from a few upper-end cameras ... is expected to be "full".


A properly setup system plays both back at 'full', actually. Yea, it's bizarre, but it is what it is. And if any of the apps whether in producing the file or displaying it are doing a "full" thing, it messes everything up.


And Premiere will handle YUV as legal, RGB as full ... period. And that's been at times an issue to sort out for why some files look different here or there. Now for some questions and comments.


Did you check the Vectorscope on the image in Premiere? That shows saturation, both 'total' and of course, along which hue vectors. The Mark 1 Human Eyeball is a good relative comparator, but horrible at absolutes. Scopes save your backside.


And further, did you re-import the PrPro export into Premiere, and check it against both the image on the Program monitor and more importantly the scopes? Including RGB Parade and Vectorscope? Or just while viewing outside Premiere? That is a rather crucial question.


Check the Vectorscope on the reimported file against the original file. If the Vectorscope trace (visual representation) is the same, then ... the image exported out of Premiere was the same, as far as image data goes.


And if the file exported from Premiere appears identical when re-imported, it clearly isn't Premiere that's the problem. Although this is a rather common for those first dealing with professional level video applications.


You may have expectations rather backwards.


These are two very different apps.


One is designed for simple amateur video playback, without extensive color science involved.


One is built to be used in demanding professional workflows, where your outputs must be able to pass the dreaded QC (quality control) machines for network broadcast. And work well with the colorist and VFx people.


But because the amateur app display of your clip matches what you think it should be, you are assuming the professional app's wrong.


Yet, on my system, the PrPro export version will be viewed identically in both PrPro and Resolve. And Resolve is the app used most by pro colorists ... the folks I work for/with/teach ... and I trust my calibration and profiling of my system. It's been demonstrated to be very tight to the specs.


I'd love to get both originals to test on my system for you ... if you can give a dropbox/wetransfer type link, that would be good.


So, that leave me wondering if the issue is 

Votes

Translate

Translate

Report

Report
Community guidelines
Be kind and respectful, give credit to the original source of content, and search for duplicates before posting. Learn more
community guidelines
Community Beginner ,
Oct 02, 2023 Oct 02, 2023

Copy link to clipboard

Copied

Thanks again for your answer, Neil.


Ad levels: As mentioned above, I've tried setting the Dynamic range to Full (0-255) in the GPU settings, but this didn't change anything. Is there a way to figure out if a file was encoded legal or full?

I reimported the exported file. RGB Parade and Vectorscope are slighlty but significantly different to the original file.


Do I understand you correctly that you downloaded the GOPR0257_.mp4 file, imported it into Premiere, exported it with all default settings and you have the same colors in the output file? If so, that would be really strange. I tried it on 3 machines now already - everywhere the same problem.


And what do you mean with "I'd love to get both originals to test on my system for you"? These files provided are the originals.

I think, I won't come around color correction for all my video files, which need some Premiere effects (mostly Warp Stabilizer). Will look better with color correction than the original either way, but consumes more precious time. It's a loooot of files 😄

Votes

Translate

Translate

Report

Report
Community guidelines
Be kind and respectful, give credit to the original source of content, and search for duplicates before posting. Learn more
community guidelines
LEGEND ,
Oct 02, 2023 Oct 02, 2023

Copy link to clipboard

Copied

I just downloaded the GoPro file, right-clicked the file, Properties ...

RNeilHaugen_0-1696296746809.png

Two things right off the bat, yes, the original file is 4:2:0 Full, not legal (as it should be) ... and second, Premiere thinks it's VFR ... variable frame rate. (I'll get to that below.)


The first thing, this being a full range file. So your issue with the saturation is not actually the saturation ... it's how the file is displayed. A bit darker gamma, or displaying a file in 'full', gives an appearance of more saturation.


As an example, one thing often commented about the Mac 1.96 gamma display is the file looks "desaturated". It isn't, it's just being shown at a higher gamma, lifting the shadows and mids ... so it looks like it's desaturated.


Display the same file with proper 2.4 gamma, it's not looking desaturated at all. 


And a problem with full range encoding, when it should have been legal, can cause the same appearance of desaturation depending on how it's displayed. In this case, the shadows and mids appear a bit darker, and look more saturated. And as I've noted before, Premiere properly follows the standards ... so as this is a YUV file, when it encodes the output at export, it creates a correct, legal range file.


Thus your problems with the image after export. Premiere has correctly exported a legal range file, your original is full, therefore it looks darker in the mids & shadows when displayed darker. But a full range YUV file is ... not a correct file.


I've only viewed this file on my laptop, which isn't nearly as tight to the specs for display as my desktop ... but I've tweaked things so it appears close. And that file, in VLC on my laptop, has crushed blacks. On account of being full range.


In Premiere, create a new sequence using the New Item/Bars & Tone, maybe using the UHD Rec.709 choice. Then full-screen the Program monitor, and check your image. You can find stuff online how to read the boxes, but especially the black and near-black lower right of the B&T ... seeing how that shows the subtle differences, especially the box you should barely see, while not seeing the box you shouldn't see ... if your screen is set correctly, and is legal, that should give you a more accurate look at darks.


Now to the second issue, this maybe being a VFR/variable framerate file.


First, VFR means the framerate is nominally set to 59.94, but the device will change to faster or lower framerate moment by moment depending on how much detail & motion it sees. If it doesn't see motion, especially, the framerate can drop for say half a second. But any audio is recorded in "straight time".


So if you get the right app  studying the file, like MediaInfo, it may vary from as little as 57.5fps to as high as 60.5fps, in my experience. Premiere doesn't work well with VFR media, so if MediaInfo says it's VFR, it's wise to use say the free front-end for ffmpeg called ShutterEncoder to convert that to CFR, constant frame rate. ShutterEncoder download page.


The fun thing with this file, is MediaInfo says it's CFR, constant frame-rate. In this case, I'll trust MediaInfo's data over Premiere's.

Votes

Translate

Translate

Report

Report
Community guidelines
Be kind and respectful, give credit to the original source of content, and search for duplicates before posting. Learn more
community guidelines
Community Beginner ,
Oct 03, 2023 Oct 03, 2023

Copy link to clipboard

Copied

I just noticed that all of my video files, be it from phone or from gopro, are full range. So if full range YUV files are incorrect, why then do all these devices encode it that way?


So, I defnitely need to work with those (full range) files in Premiere, as I need to apply some filters like the stabilizer. And I don't want the colours to *appear* less satuarted after export on most displays. (I've learned a lot from you today.) What's the most straight forward workflow to achieve this? I guess, just open the Lumetri Color tab and click the "Auto" button? (It's thousands of video files and I just cannot manually do colour correction for each file.)


I've also created a Bars & Tone sequence and had a look on it. I didn't know that - very interesting. Now I also see the "crushed blacks" in my file as you mentioned. Again, I've learnt a lot from you today, Neil. If you send me your paypal via dm, I'd love to buy you a coffee.


Votes

Translate

Translate

Report

Report
Community guidelines
Be kind and respectful, give credit to the original source of content, and search for duplicates before posting. Learn more
community guidelines
LEGEND ,
Oct 03, 2023 Oct 03, 2023

Copy link to clipboard

Copied

As to why some devices use Full for YUV clips, it's all the marketing idiots. It "sounds" like you're getting more dynamic range in the files, so ....it's a selling thing. Give the option or even set it as default behavior.


Not the only thing this is done with of course.


There are included Lumetri presets in the Effects panel, Full to Legal and the other way. I would recommend selecting all those files in the Project panel or bins, then drag/drop the Full to legal preset to the group.

Votes

Translate

Translate

Report

Report
Community guidelines
Be kind and respectful, give credit to the original source of content, and search for duplicates before posting. Learn more
community guidelines
Community Beginner ,
Oct 08, 2023 Oct 08, 2023

Copy link to clipboard

Copied

Hi Neil, I've just followed your advice and applied the "Full to Legal Range, 10-bit" Lumetri preset on some of my Full clips, but this made it just worse on all of them: With this preset, the colors appear even more desaturated than they already do when just exporting it without any preset in premiere.


My questions was: I want the colors of the Legal export to look just as saturated as they do of the Full original clip. How to achieve this in the fastest way?


Regarding your theory that it is just marketing on why many devices use Full YUV clips: I'm not sure if this is a possible reason. I've never seen a smartphone or action cam commercial that advertises a Full range camera.

Votes

Translate

Translate

Report

Report
Community guidelines
Be kind and respectful, give credit to the original source of content, and search for duplicates before posting. Learn more
community guidelines
LEGEND ,
Oct 08, 2023 Oct 08, 2023

Copy link to clipboard

Copied

As to the last, well ... exactly. I've seen the marketing for a couple different cameras that allow user choice to full, and they say it's to allow for the widest possible dynamic range. Which ... well, ain't really the case, actually. Total marketing bs.


The situation you're in is very uncomfortable. First, you've got to get your OS/monitors working correctly for Rec.709 such that no matter whether the Rec.709 file is YUV (Y-Cb/Cr) or RGB, in other words limited or full, they are displayed correctly. 


Such that an RGB full range file with the appropriate bars & tone image  and a YUV limited range file with appropriate bars & tone ... both look identical. Then your viewing situation is at least somewhat properly setup.


After you've ensured your viewing situation is within reasonable bounds, then ... you can check the image on the scopes, and set the proper saturation levels.


Past that, remember ... no camera made, not even the $70,000 Red, Arri, and Sony rigs, have an accurate monitor on the camera. To check image Q, in the field, it's scopes or a calibrated field monitor either as a separate 'station' or mounted directly to the camera.

Votes

Translate

Translate

Report

Report
Community guidelines
Be kind and respectful, give credit to the original source of content, and search for duplicates before posting. Learn more
community guidelines
Community Beginner ,
Oct 08, 2023 Oct 08, 2023

Copy link to clipboard

Copied

So we still have no answer to the question, why all those devices are recording in YUV Full. At least on my phone, there is no setting for Full/Legal. It's just recording in Full. And I've not seen any commercials advertising Full range. So, I still don't get it. Why?

My goal is not my clips' colors to appear somewhat correctly on my or any other screen. My goal is my exported clips' colors to appear as saturated as the originals just on my screen.


However, I'm afraid this cannot be done with Premiere, because one cannot get the same visual image, when the file is displayed at two different gammas/ranges, right?


Super frustrating.

So my problem is that the colors appear unsatturated and I need a fast solution, so I guess I'll just set the saturation in the Lumetri Color panel to about 125 %, Whites also a big chunk up and Blacks down. That's the only way I found by now to get the export a little bit closer to the original Full YUV clip.

Votes

Translate

Translate

Report

Report
Community guidelines
Be kind and respectful, give credit to the original source of content, and search for duplicates before posting. Learn more
community guidelines
LEGEND ,
Oct 08, 2023 Oct 08, 2023

Copy link to clipboard

Copied

LATEST

Why the folks making things do what they do is ... indecipherable. Like ... Apple ... setting their ColorSync OS level color management system to use the camera transform value of the Rec.709 specs (gamma 1.96) ... as the display transform/gamma ... rather than the clearly specified gamma 2.4 as the display gamma for all Rec.709 work. Especially broadcast.


And that's been a right mess, you can't really fix it, and ... I work for/with/teach pro colorists, most of whom are total Mac geeks, and they are ticked at Apple over this hot mess.


So to fix your relatively minor issue, make a few Lumetri presets, with slightly different settings. Name them so you know what's what. Then select similar clips in their project panel bin, drag/drop the presets on them. Done.

Votes

Translate

Translate

Report

Report
Community guidelines
Be kind and respectful, give credit to the original source of content, and search for duplicates before posting. Learn more
community guidelines