Known Participant
November 2, 2024
Answered

How to create RGB effect in version 26.4>

  • November 2, 2024
  • 1 reply
  • 1830 views

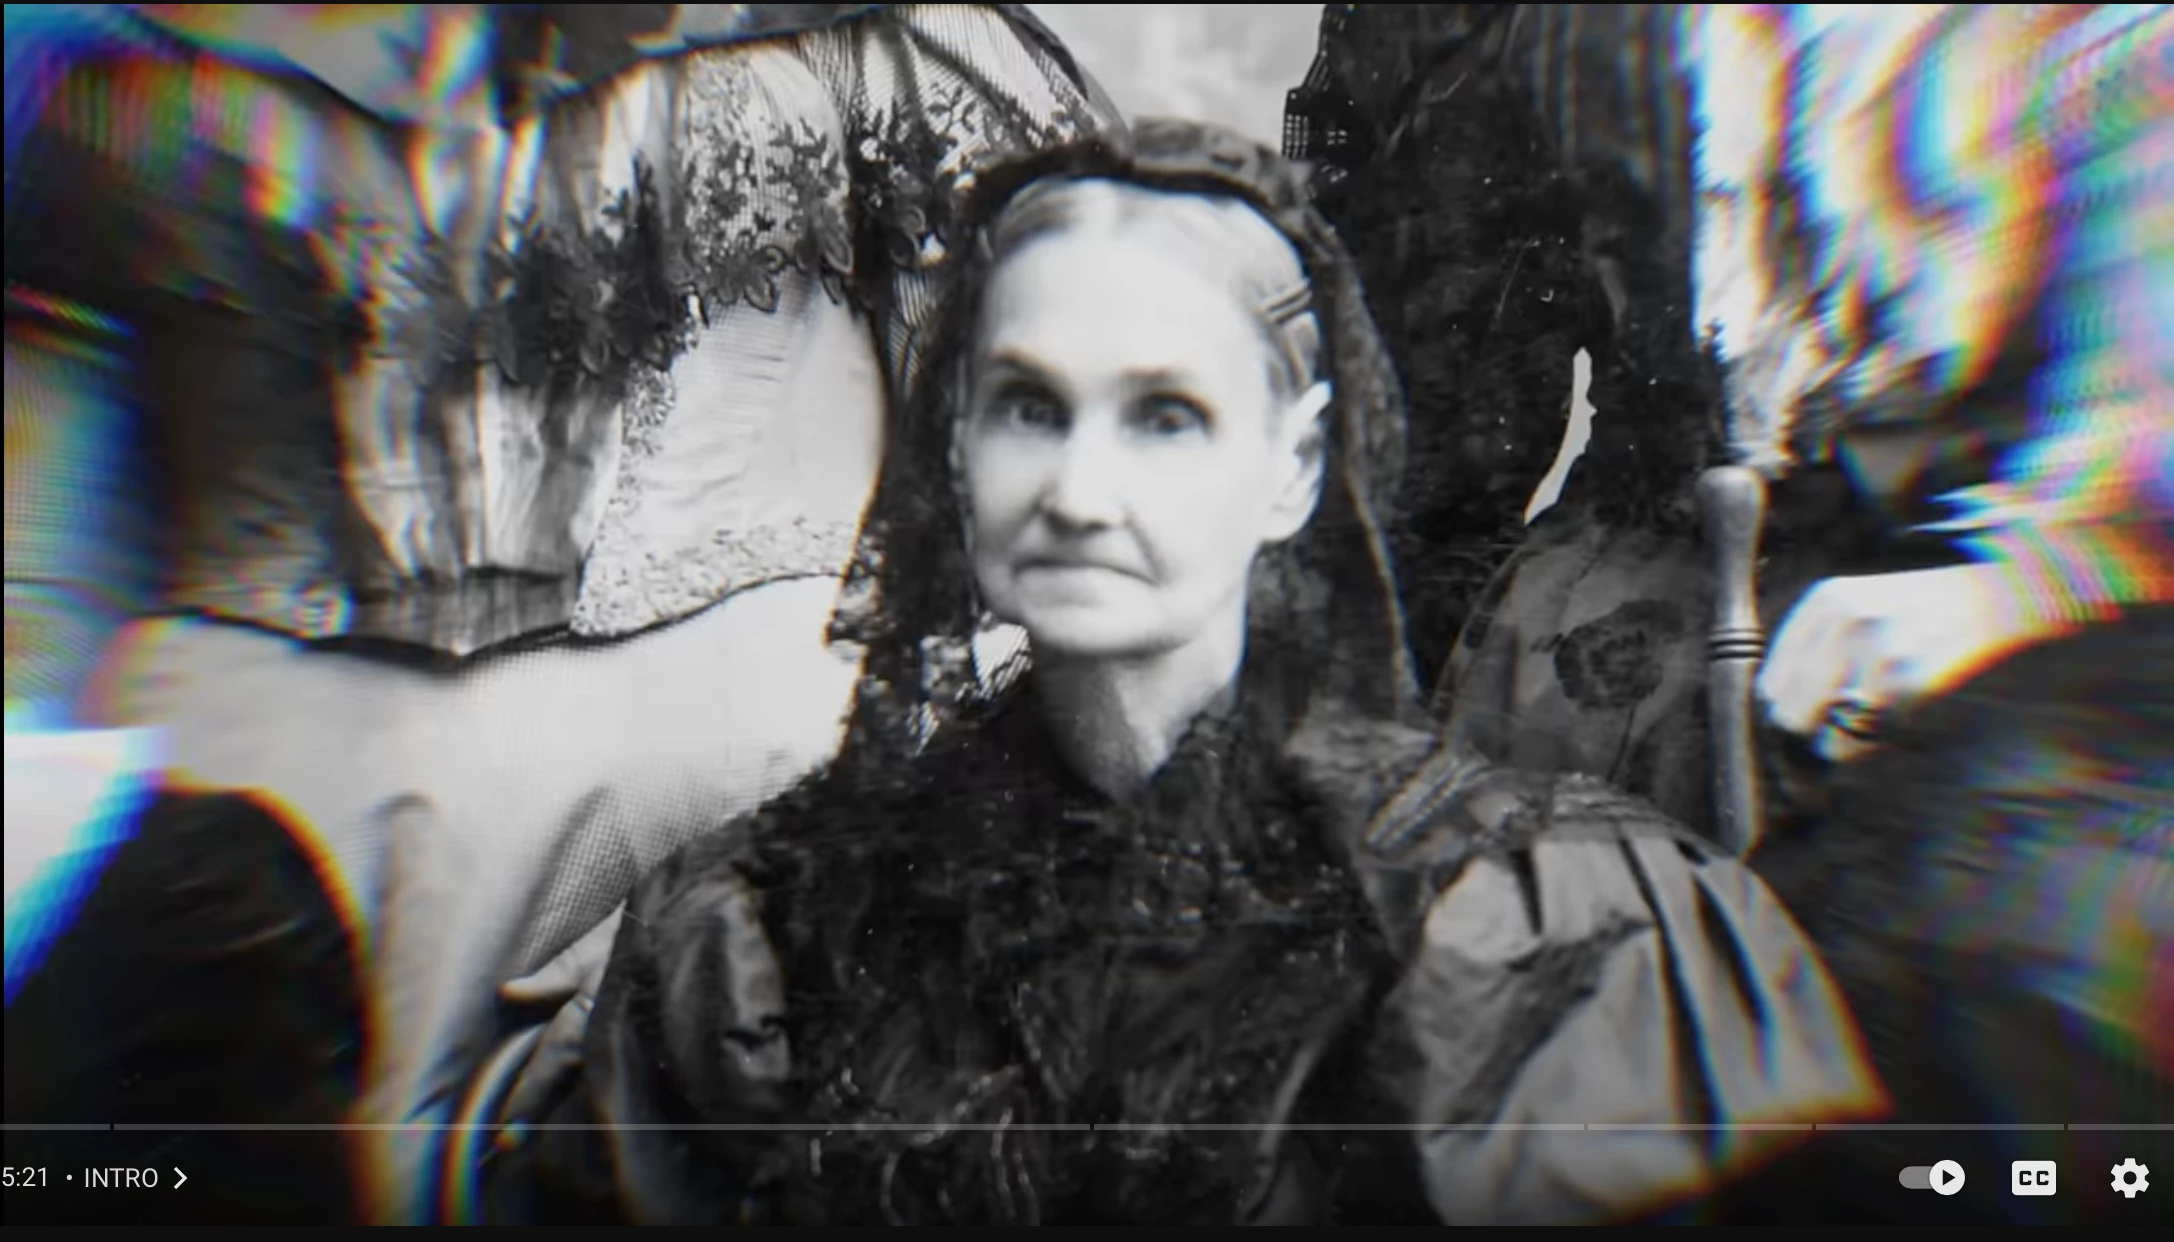
Hello I need help recreating this RGB lense effect. It seems that Color Balance Effect from Obsolete folder has been deleted since version 24.6 from my research on other community post, so I don't know how to recreate this effect.


So how would I recreate this effect? I'm trying to create documentary, such as this example, so any help would be much appreciated!


It looks to have some sort of mask and blur on the edges to keep subject in focus (mimicking an actual camera focus) with the RGB effect distorted by the blur I think? Seems to be some sort of vignette. I'm no expert please help 😄

Correct answer PaulMurphy

You can create the RGB offset effect in Premiere by splitting the image into its 3 color channels, offsetting each with slight lens distortion, and blending them together. The blurred edges in your example look like they may have been created with CC Radial Blur in After Effects, but here’s how to achieve a similar effect in Premiere Pro:

Offset RGB Effect:

  1. Add the Lumetri effect to your clip.
  2. Go to Curves > RGB Curves. For the Green and Blue curves, drag the top right point all the way down so the line is horizontal at the bottom of the graph. This will isolate the Red channel.
  3. Add the Lens Distortion effect and set Curvature to -5.
  4. Duplicate the red clip, isolate the Green channel instead of Red, and set Curvature to -10. Under Opacity, set Blend Mode to Lighten.
  5. Duplicate the green clip, isolate the Blue channel, and set Curvature to -15.
  6. To adjust the offset between channels, you can tweak the Curvature values in each Lens Distortion effect.

Radial Blur:

If you have After Effects, you can use Radial Blur or CC Radial Fast Blur with a mask to create this look.

In Premiere Pro:

  1. Add an Adjustment Layer above your clips.
  2. Add a Gaussian Blur and increase the Blurriness.
  3. Apply an Ellipse Mask to the Gaussian Blur, check Inverted, and increase the Mask Feather to fade the edges.

1 reply

PaulMurphyCommunity ExpertCorrect answer
Community Expert
November 3, 2024

You can create the RGB offset effect in Premiere by splitting the image into its 3 color channels, offsetting each with slight lens distortion, and blending them together. The blurred edges in your example look like they may have been created with CC Radial Blur in After Effects, but here’s how to achieve a similar effect in Premiere Pro:

Offset RGB Effect:

  1. Add the Lumetri effect to your clip.
  2. Go to Curves > RGB Curves. For the Green and Blue curves, drag the top right point all the way down so the line is horizontal at the bottom of the graph. This will isolate the Red channel.
  3. Add the Lens Distortion effect and set Curvature to -5.
  4. Duplicate the red clip, isolate the Green channel instead of Red, and set Curvature to -10. Under Opacity, set Blend Mode to Lighten.
  5. Duplicate the green clip, isolate the Blue channel, and set Curvature to -15.
  6. To adjust the offset between channels, you can tweak the Curvature values in each Lens Distortion effect.

Radial Blur:

If you have After Effects, you can use Radial Blur or CC Radial Fast Blur with a mask to create this look.

In Premiere Pro:

  1. Add an Adjustment Layer above your clips.
  2. Add a Gaussian Blur and increase the Blurriness.
  3. Apply an Ellipse Mask to the Gaussian Blur, check Inverted, and increase the Mask Feather to fade the edges.
Known Participant
November 3, 2024

Wow thank you so much for a thorough response! This helped a ton!