
Premiere Export vs Media Encoder Export quality differences
Hello! This is my first post here, so please let me know if you'd like any more information.
For my job, I have edit and export daily short (<1 minute) videos for instagram and youtube. I typically do them all at once for the week, and export them all at once with Adobe Media Encoder, however I have noticed a significant quality difference when exporting from Premiere Pro vs Media Encoder, specifically when it comes to lower thirds elements.
First, some background on what I'm using.
My computer:
Windows 10 64 bit
AMD Ryzen 7 3700X 8-core
32 GB Ram at 3600 MHz
Samsung 970 EVO 500GB (contains the operating system, all adobe programs, and all current files I'm using for the project)
NVIDIA GeForce RTX 2070
Premiere version: 14.4.0 (build 38)
Media Encoder version: 14.4 (build 35)
After Effects version: 17.1.4 (build 37)
Footage: (shot on a relatively new Sony DSLR, not sure about the model number, I don't shoot the footage)
MPEG Movie
Image Size: 3840 x 2160
Frame Rate: 29.97
Source Audio Format: 48000 Hz - 16-bit - Stereo
Project Audio Format: 48000 Hz - 32 bit floating point - Stereo
Pixel Aspect Ratio: 1.0
Alpha: None
Video Codec Type: MP4/MOV H.264 4:2:0
Sequence Settings:
Editing mode: Custom
Timebase: 23.976 fps
Video Settings
Frame size: 3840h 2160v (1.0000)
Frame rate: 23.976 frames/second
Pixel Aspect Ratio: Square Pixels (1.0)
Fields: No Fields (Progressive Scan)
Audio Settings
Sample rate: 48000 samples/second
Color Space
Name: BT.709 RGB Full
Default Sequence
Total video tracks: 3
Master track type: Stereo
Audio Tracks:
Audio 1: Standard
Audio 2: Standard
Audio 3: Standard
Audio 4: Standard
Export Settings:
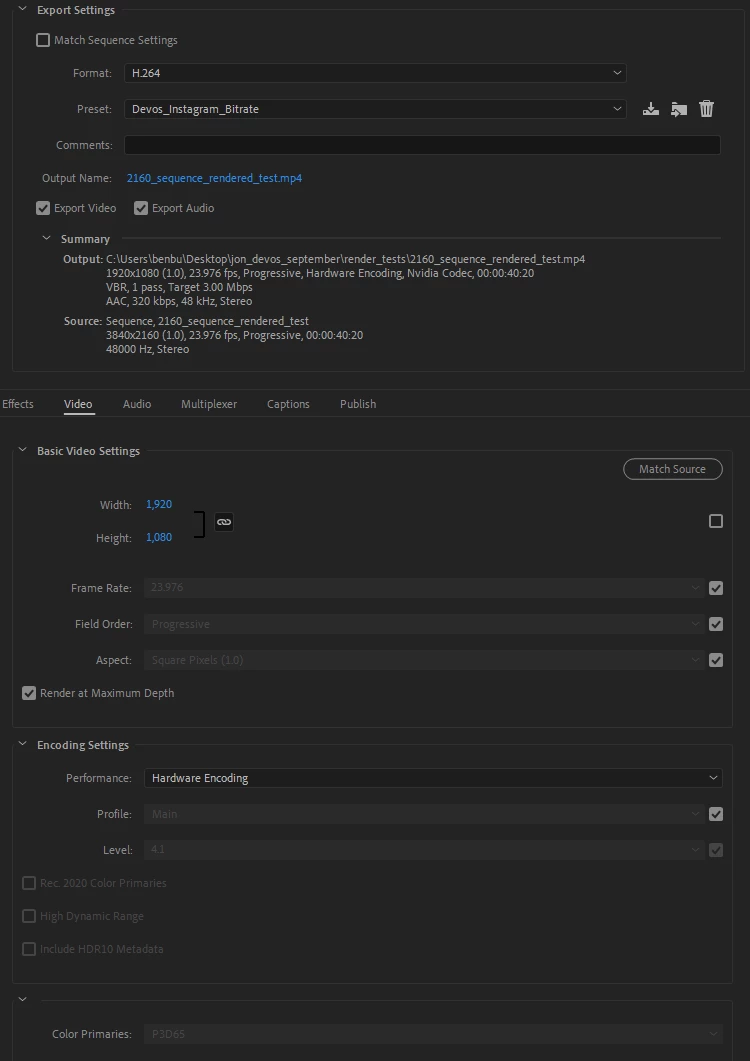
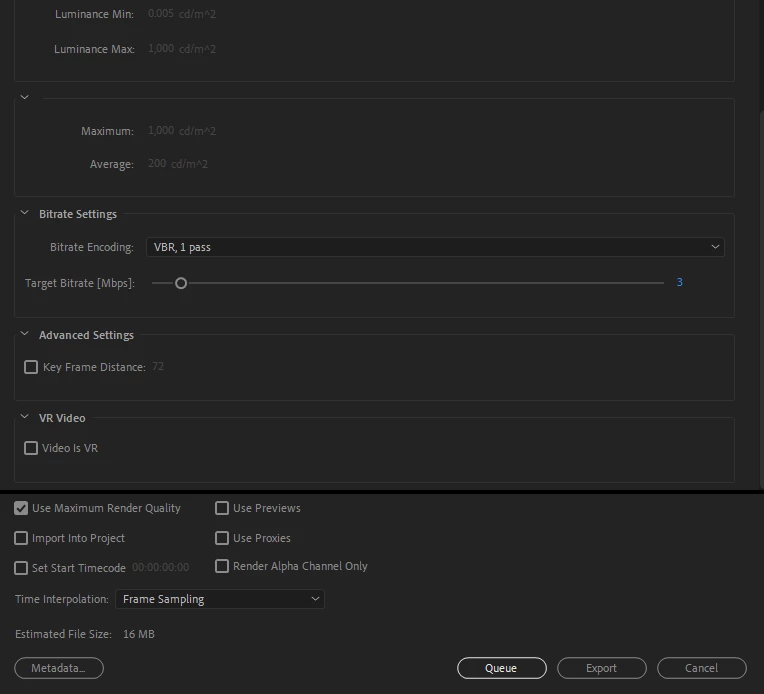
(the low bitrate is due to instagram's regulations)
Example Pictures:
Here's an example of the quality difference in the video that is being exported, specifically the low quality of the lower thirds. The lower thirds was made by me in After Effects at 4k, 60fps and then exported into the "Essential Graphics" panel for use in Premiere Pro. (I'm a little bit of a noob at AE, but am currently learning it).
GOOD:

(zoomed in)

BAD:

(zoomed in)

When I first exported, I didn't check the "Use Maximum Render Quality" (MRQ) box, and the output looked like the "bad" example above whether or not I used PR or ME. When I later checked the MRQ box, a PR export will look like the "good" example above, but a ME export will still look like the "bad" example. I even did a sanity check, and made SURE that the MRQ box was still selected after being placed in ME.
For further exploration, I tried rendering the footage before exporting it, which made no difference. The projects are so minimal and my computer is powerful enough that rendering before exporting is not neccessary for playback and is a waste of time for me.
To be completely thurough, I did the project again in a 1080p sequence, and the issue dissapeared entirely.
This leads me to believe that the issue is a scaling issue that is present in ME, but no PR.
Now I realize that the obvious solution would be to use a 1080p sequence, or just export in PR and not ME, however I don't prefer to use a 1080p sequence to preserve the quality for a possible later export (future proofing), and I don't like to export in PR because I'm typically doing 6 exports at the same time, and ME is a HUGE time saver since I can queue all of them.
Is there a solution here that I am not seeing? Or am I forced to use one of the solutions above? I love using ME for all my projects, large or small, and I hate to mistrust it.
Thanks for any help, and please let me know if I need to elaborate anything!